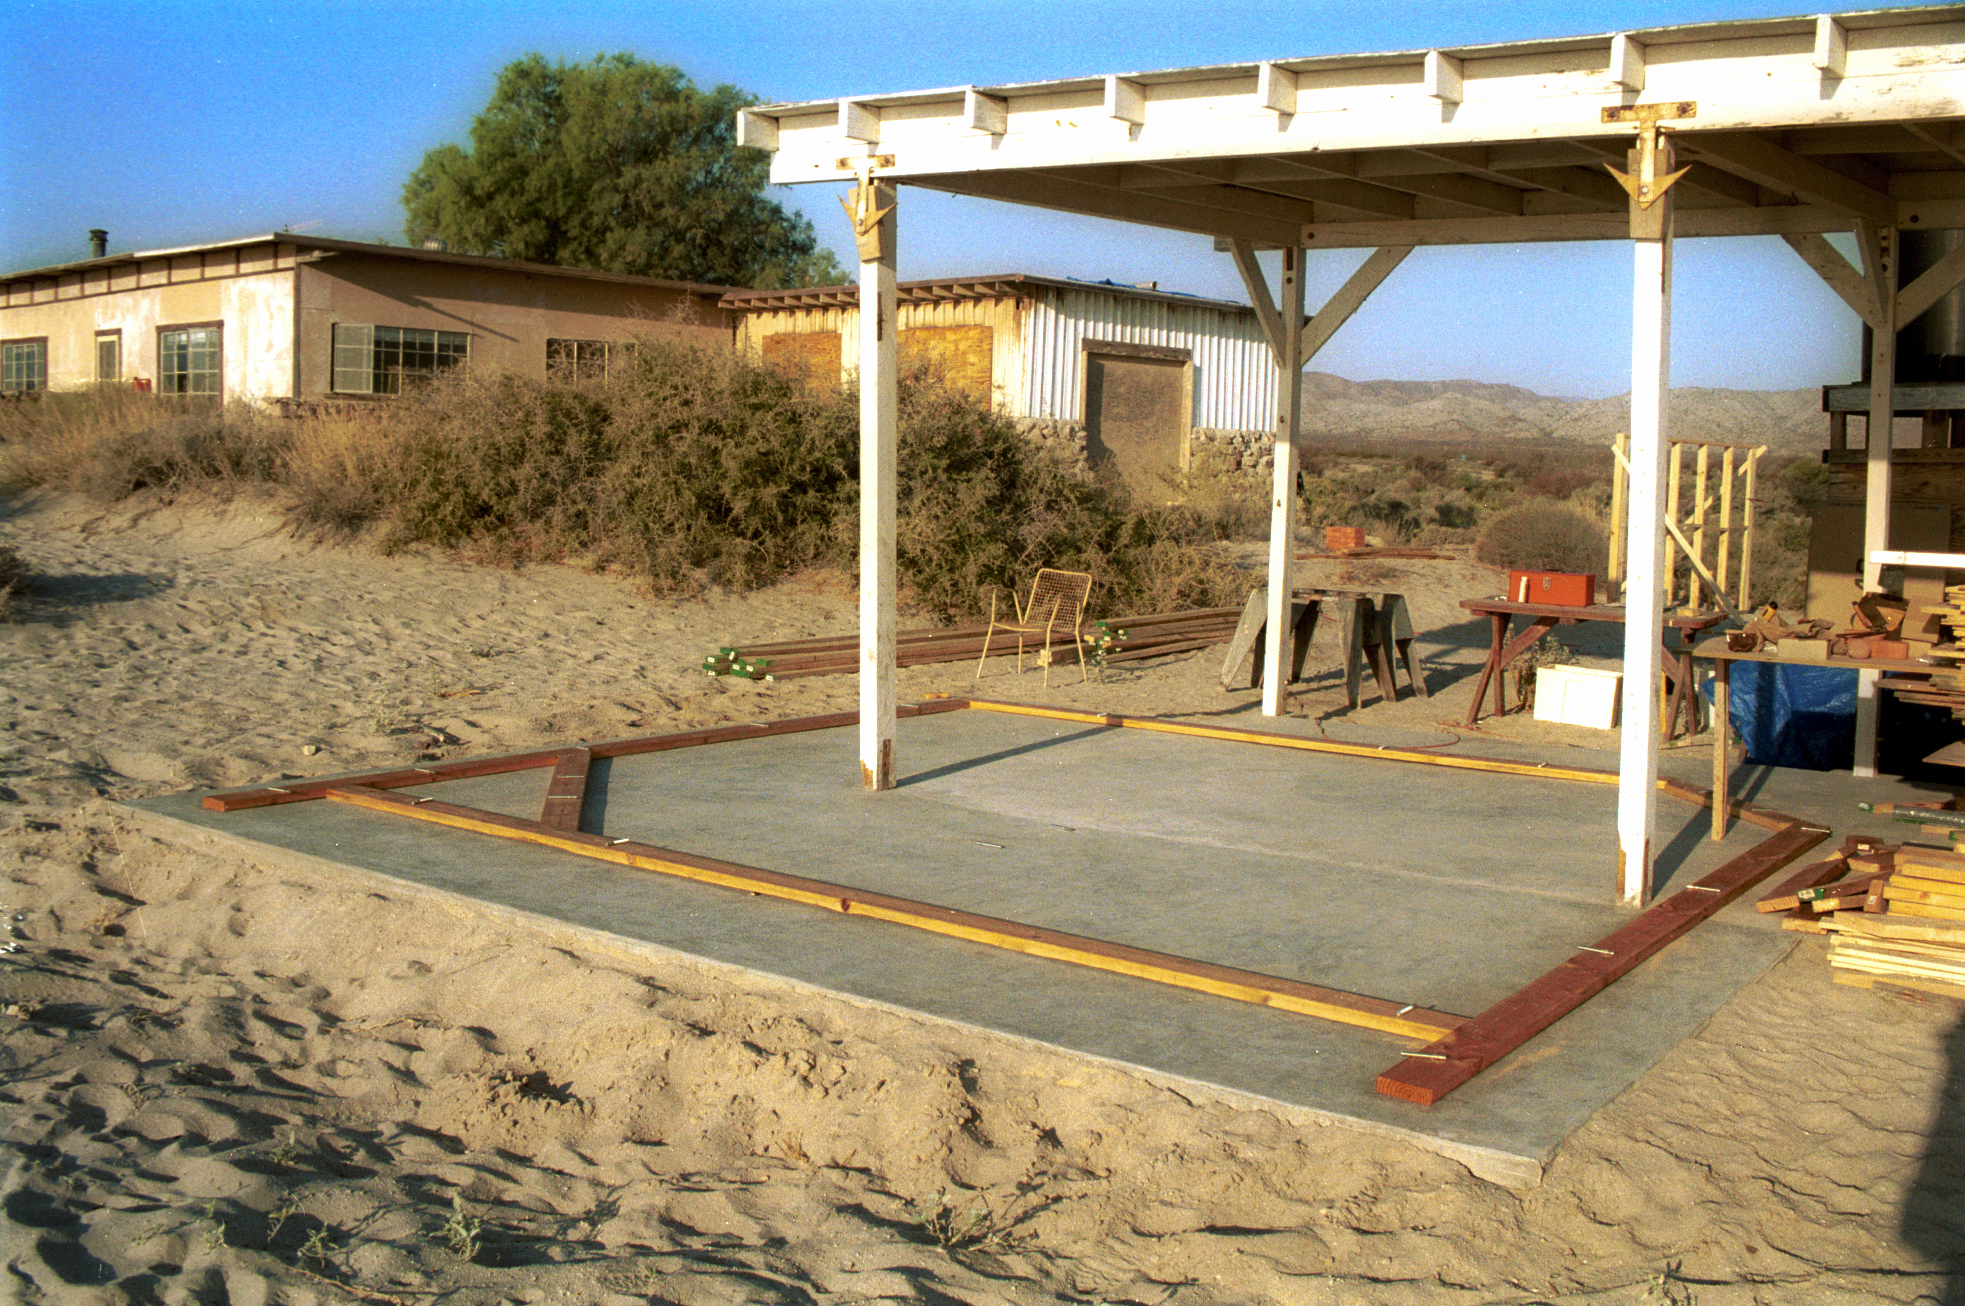
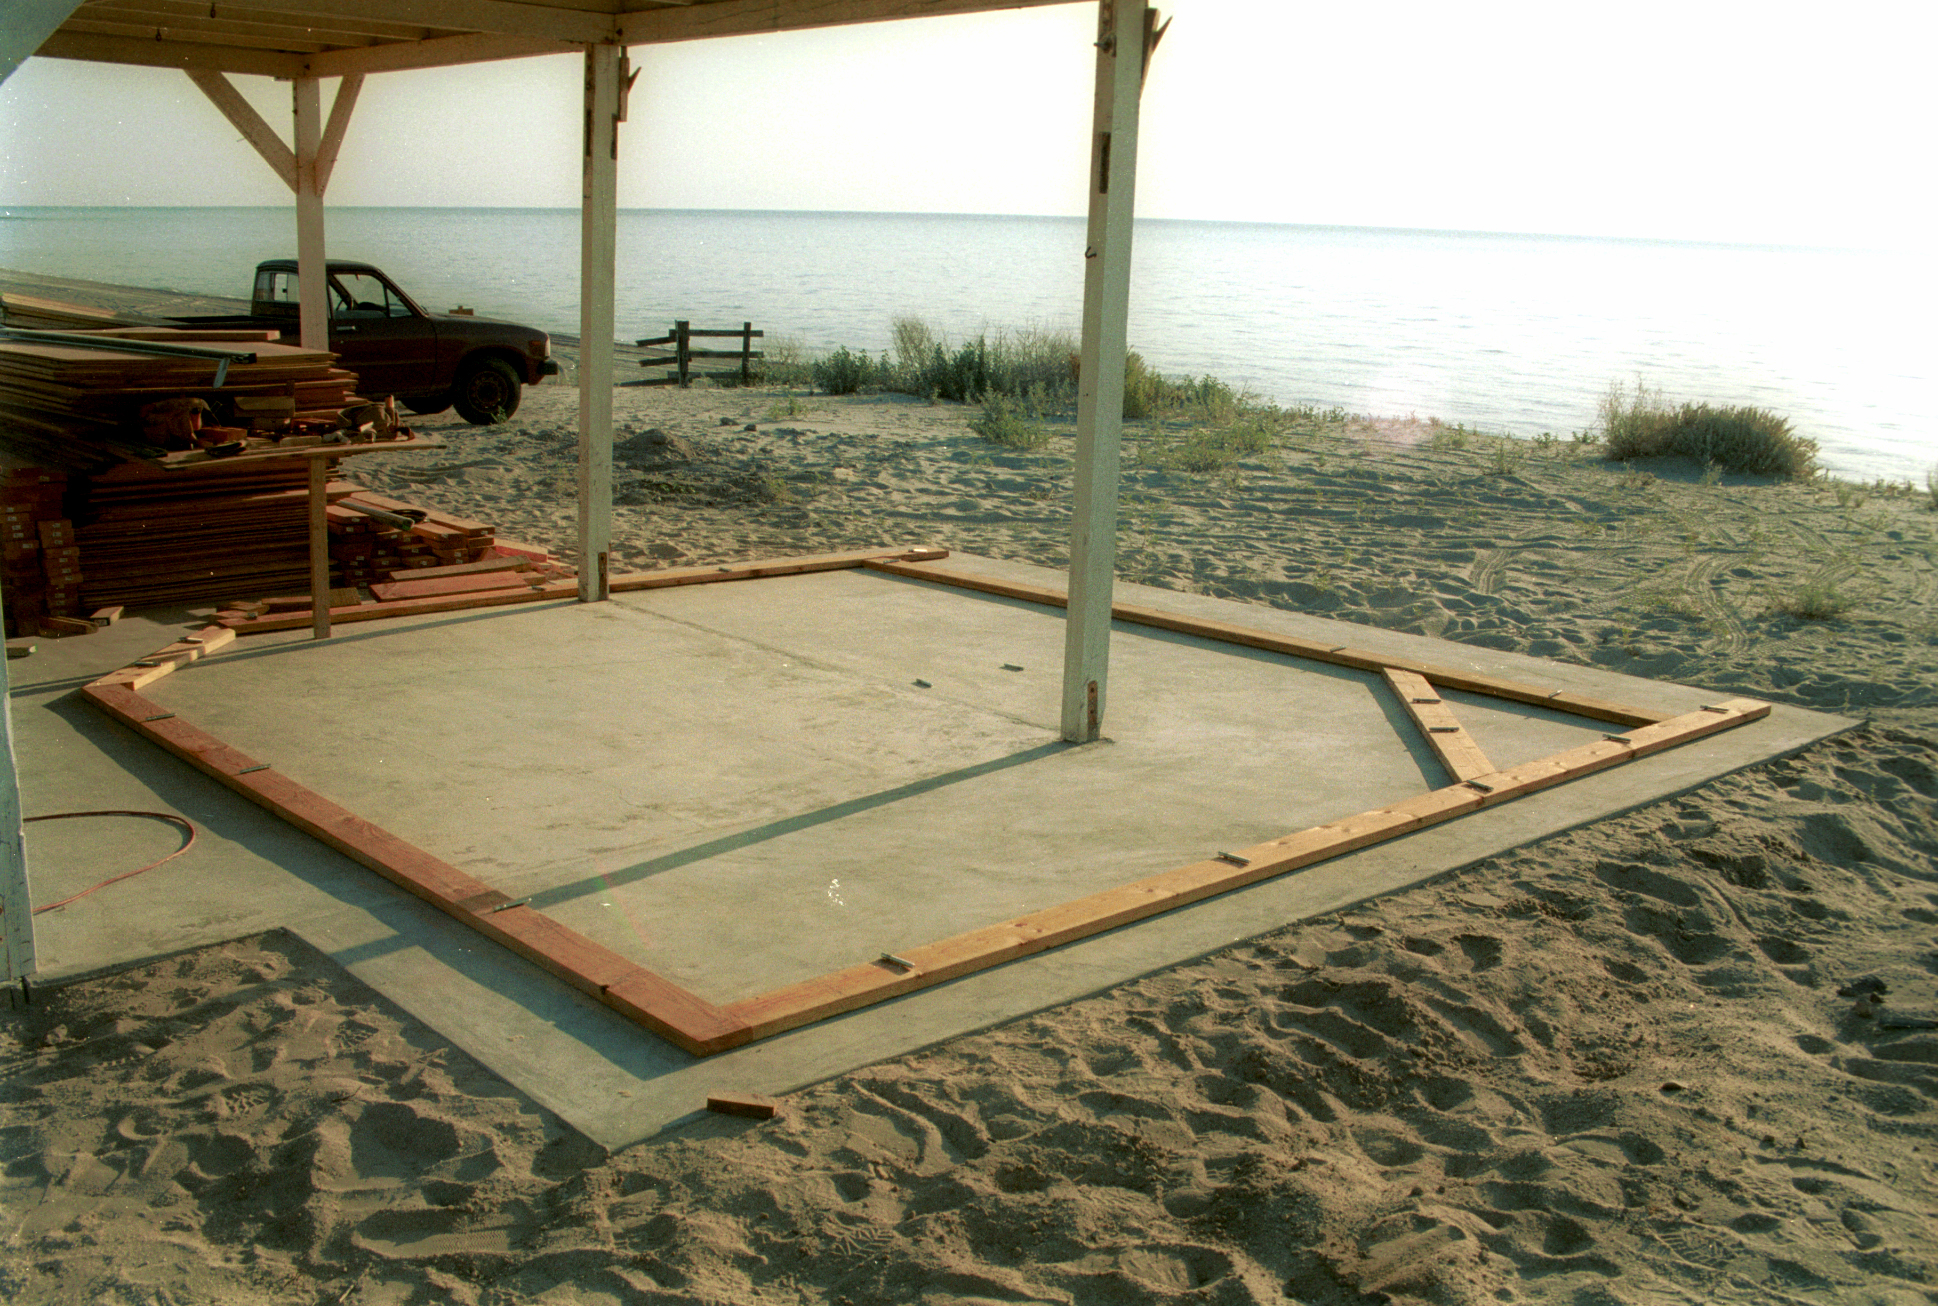


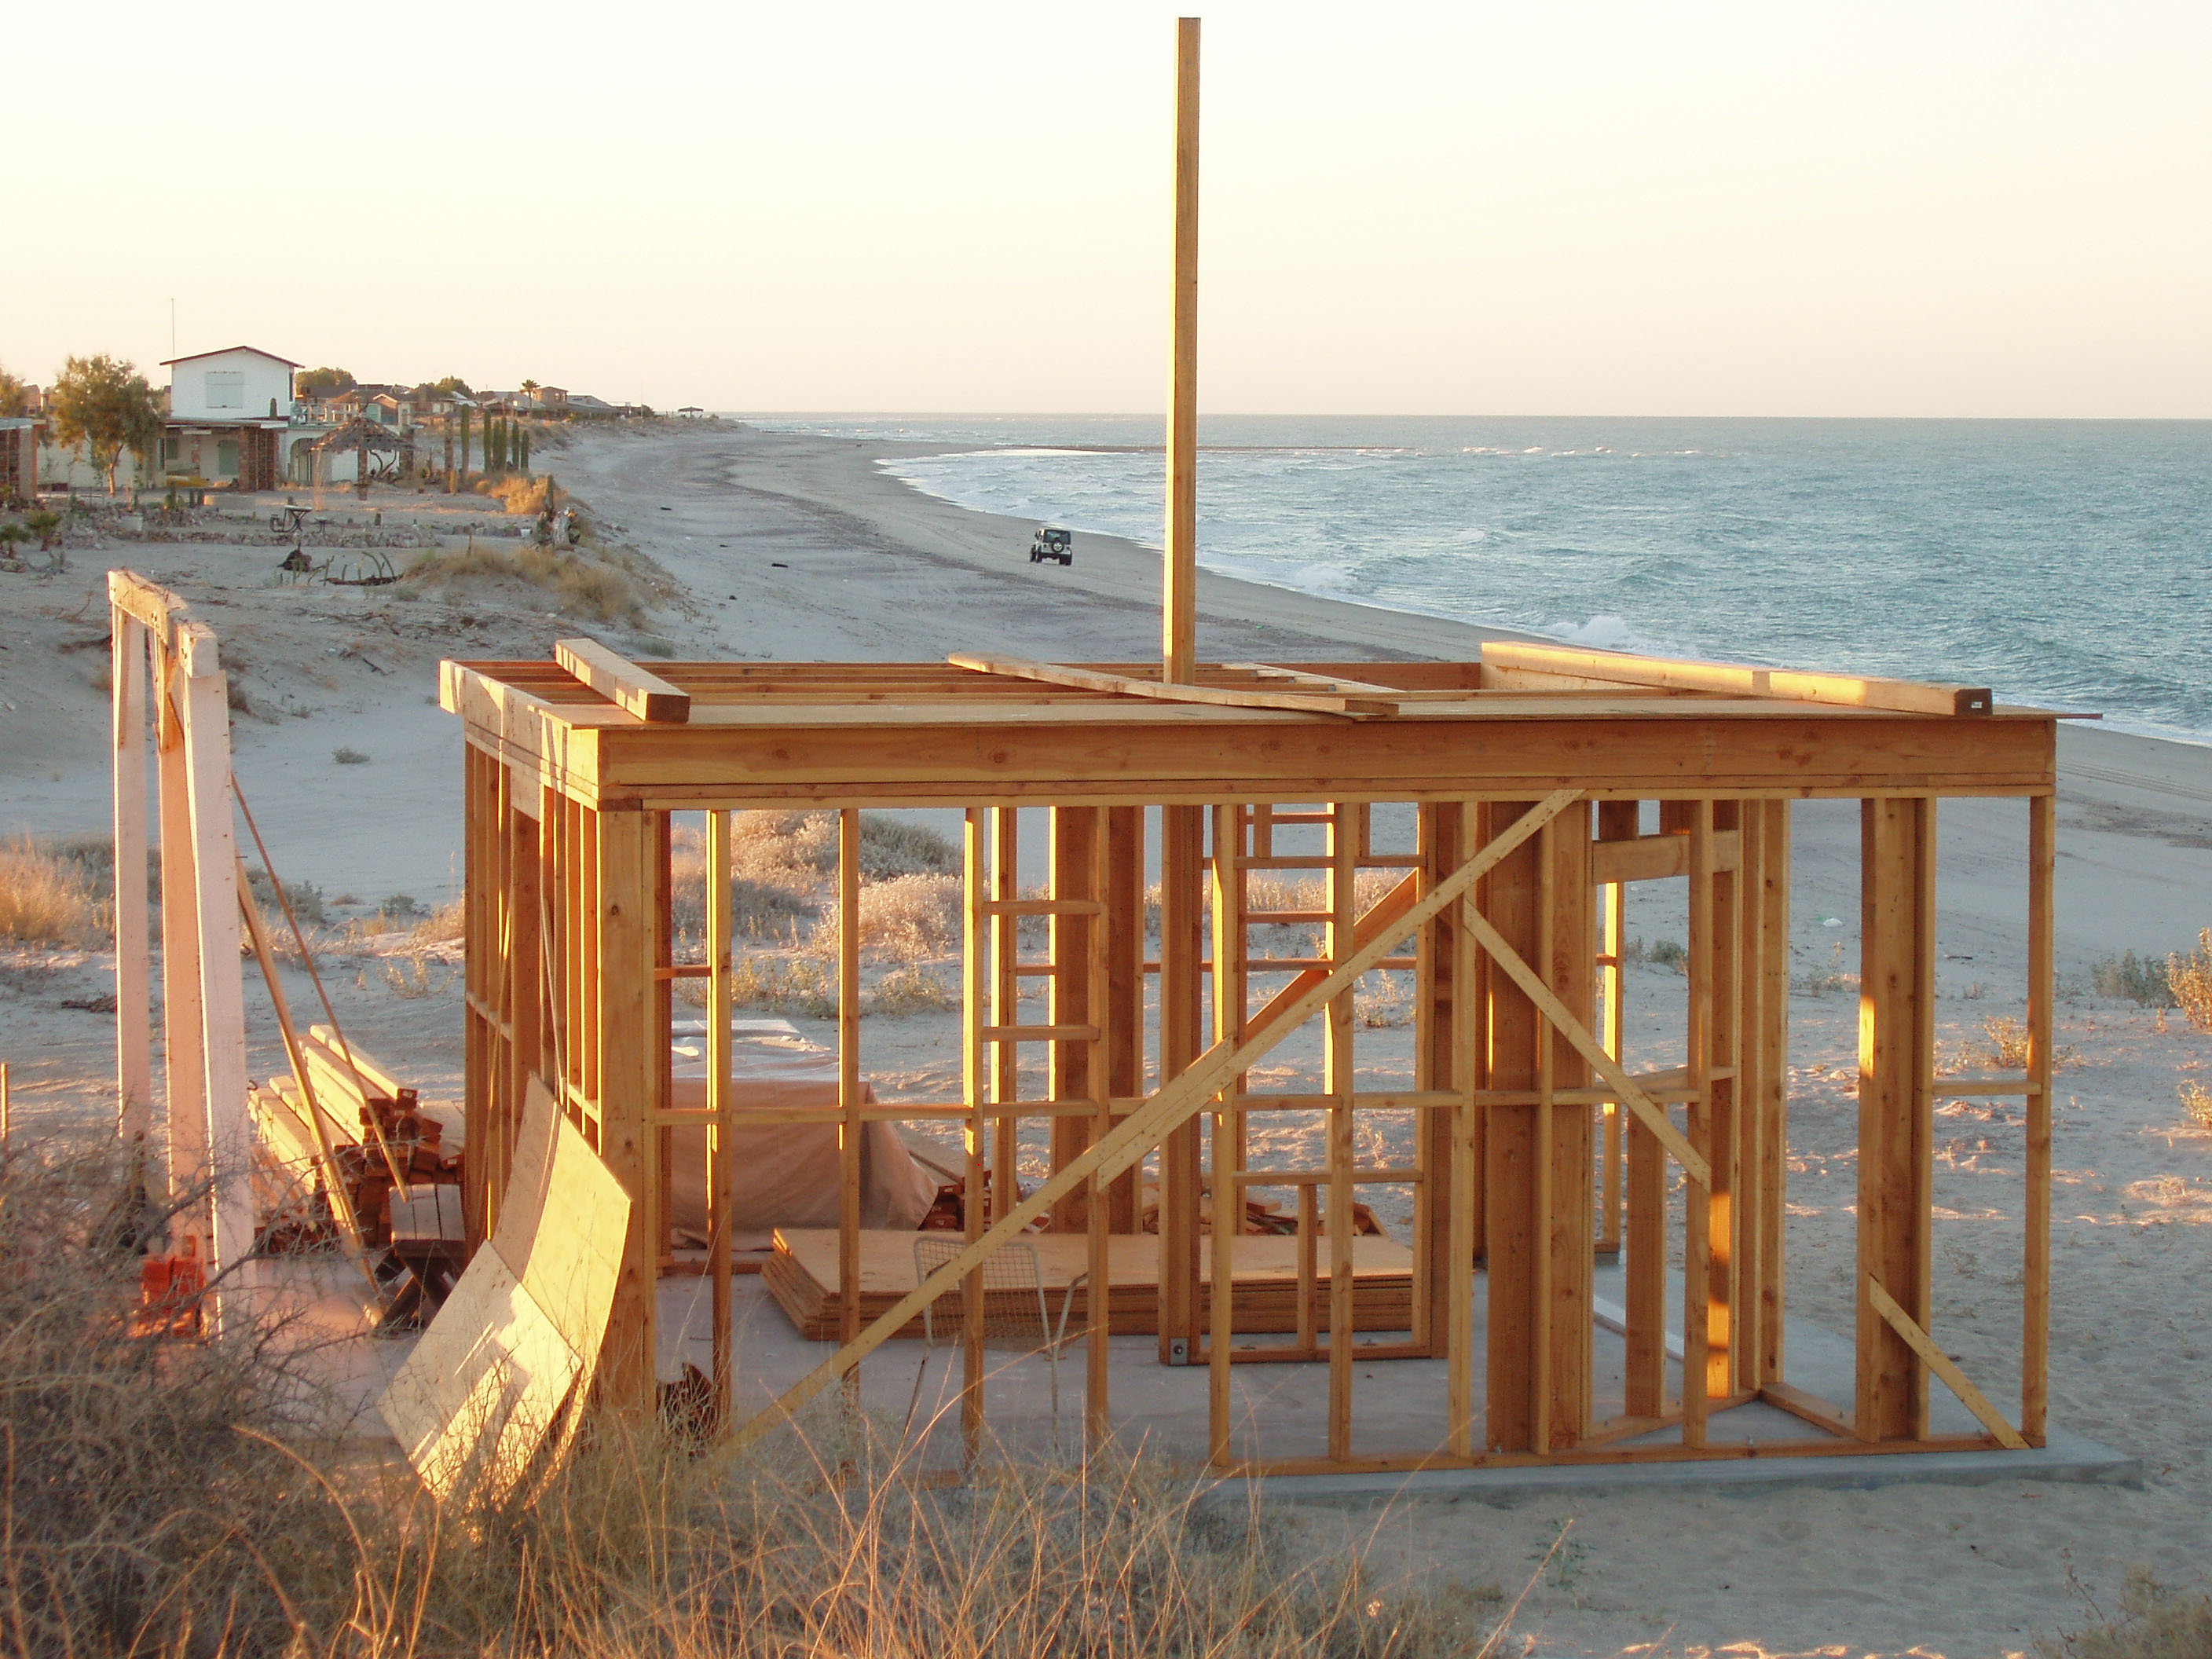


The footprint of the Cube traced by 2 x 6 bottom plates laid on the slab. Concrete bolts are placed ready for drilling as the first wall of the shed is seen in the background. The old palapa remains.
The original palapa slab had been extended to the East and South with an L-shaped pour.
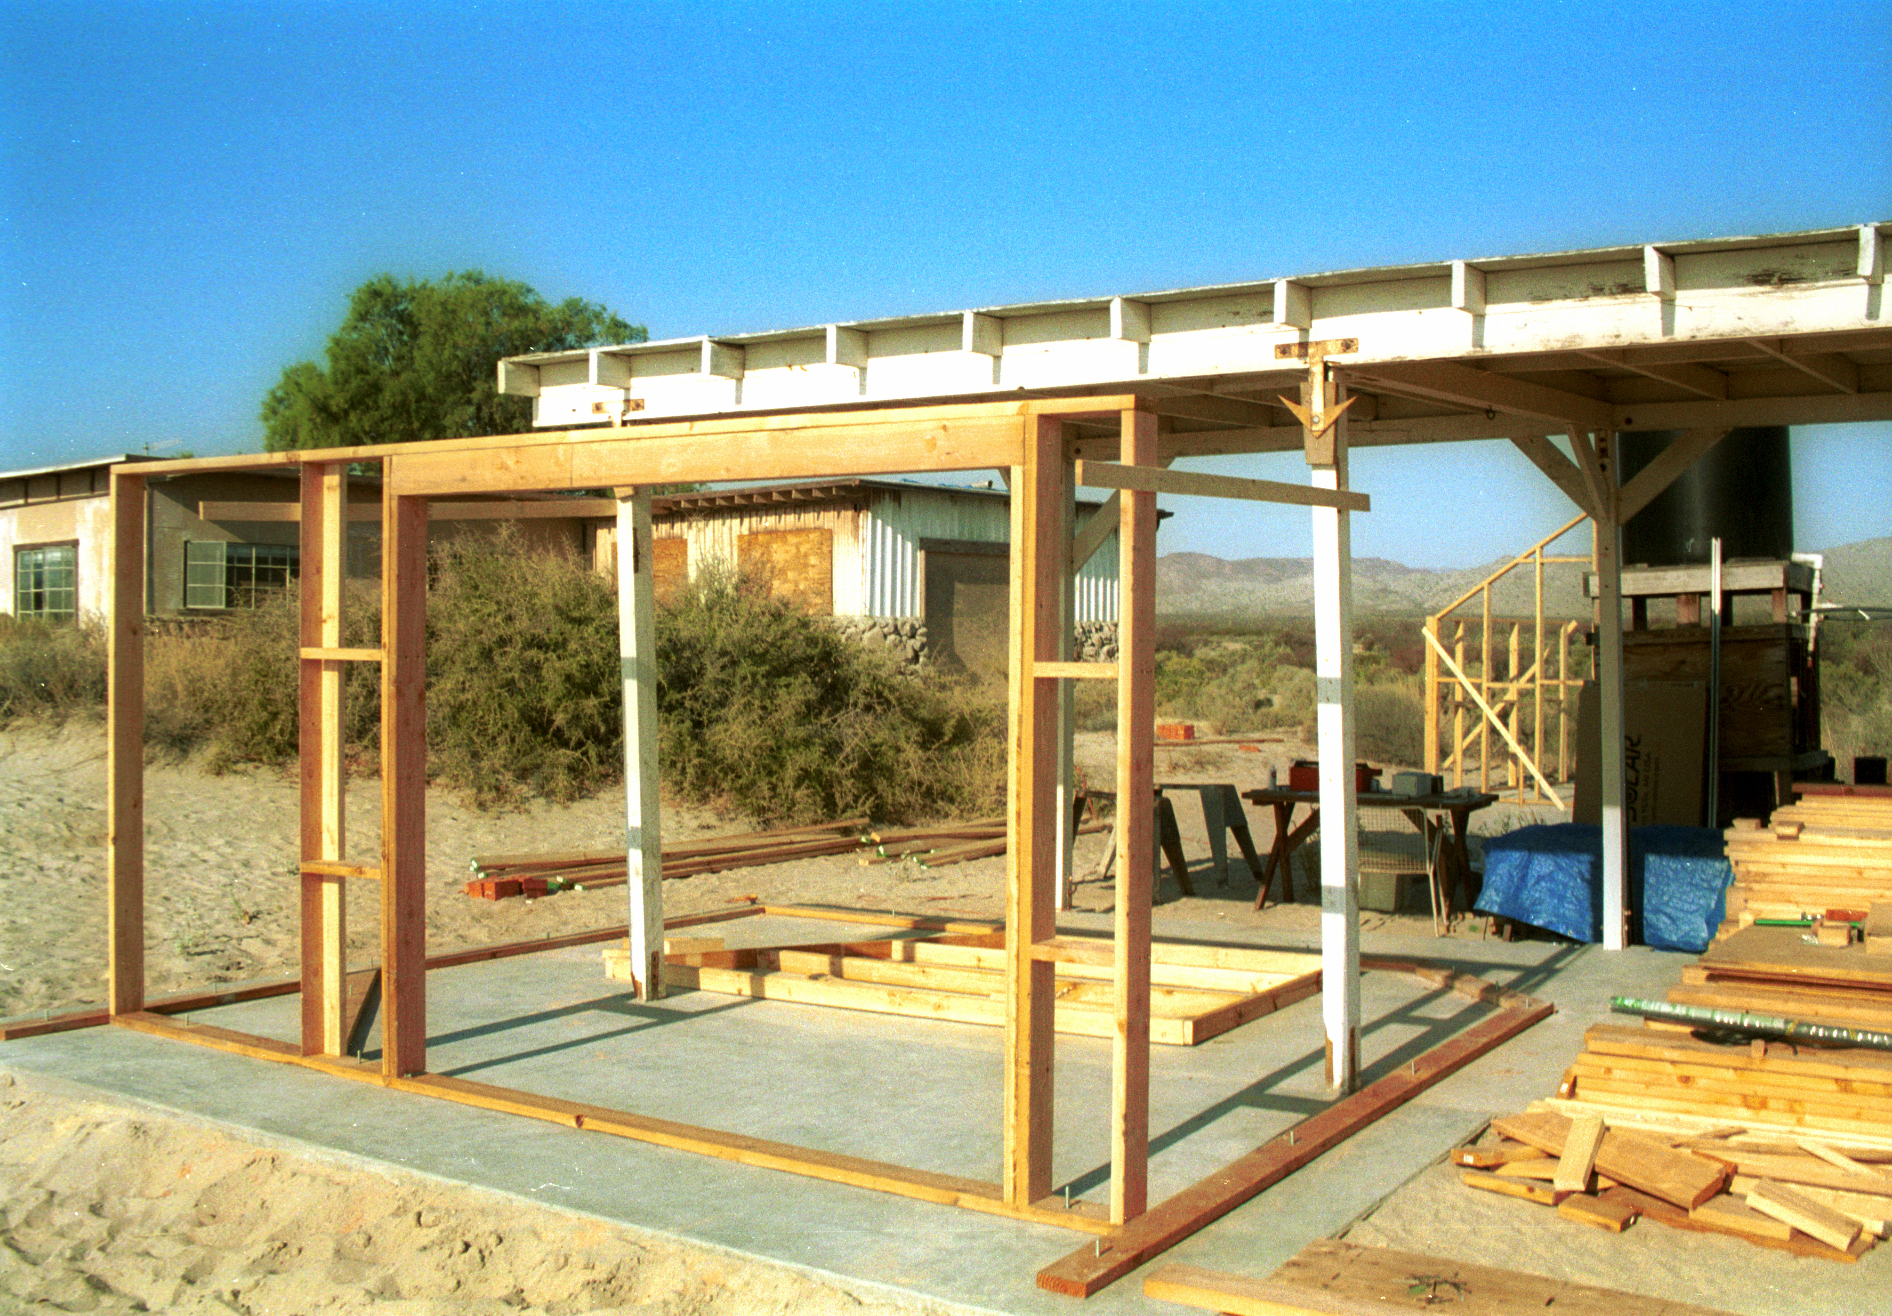
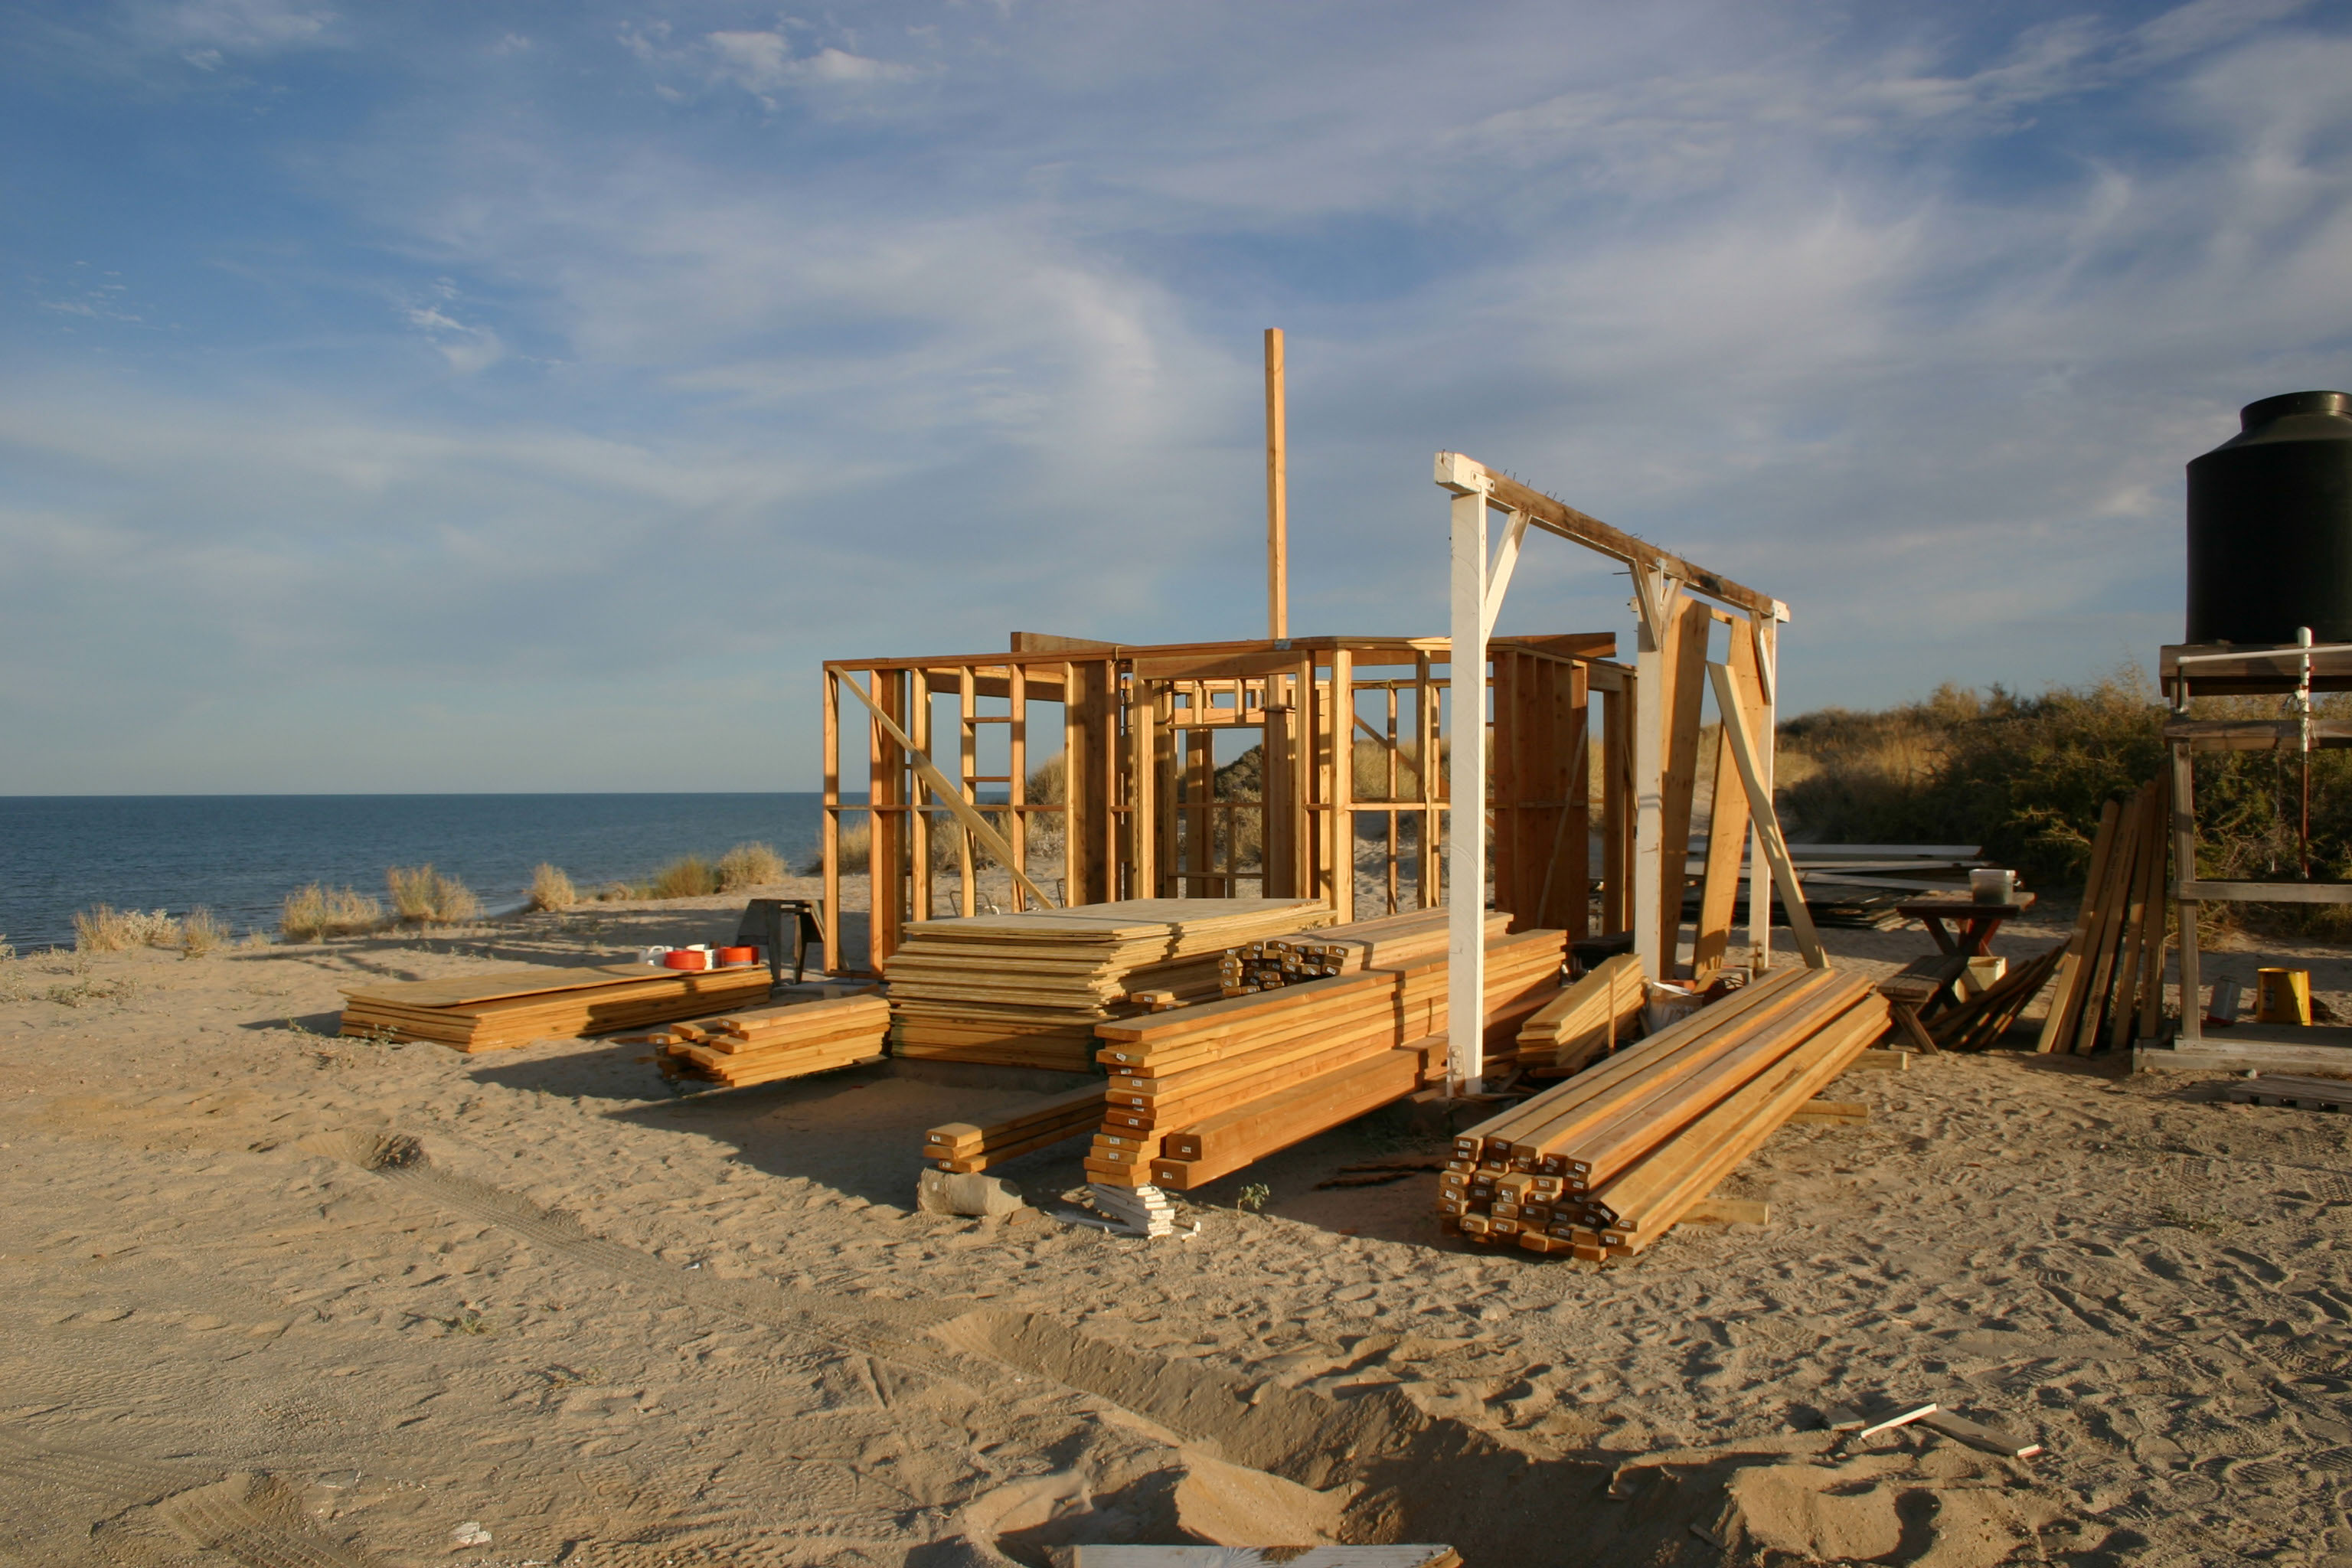
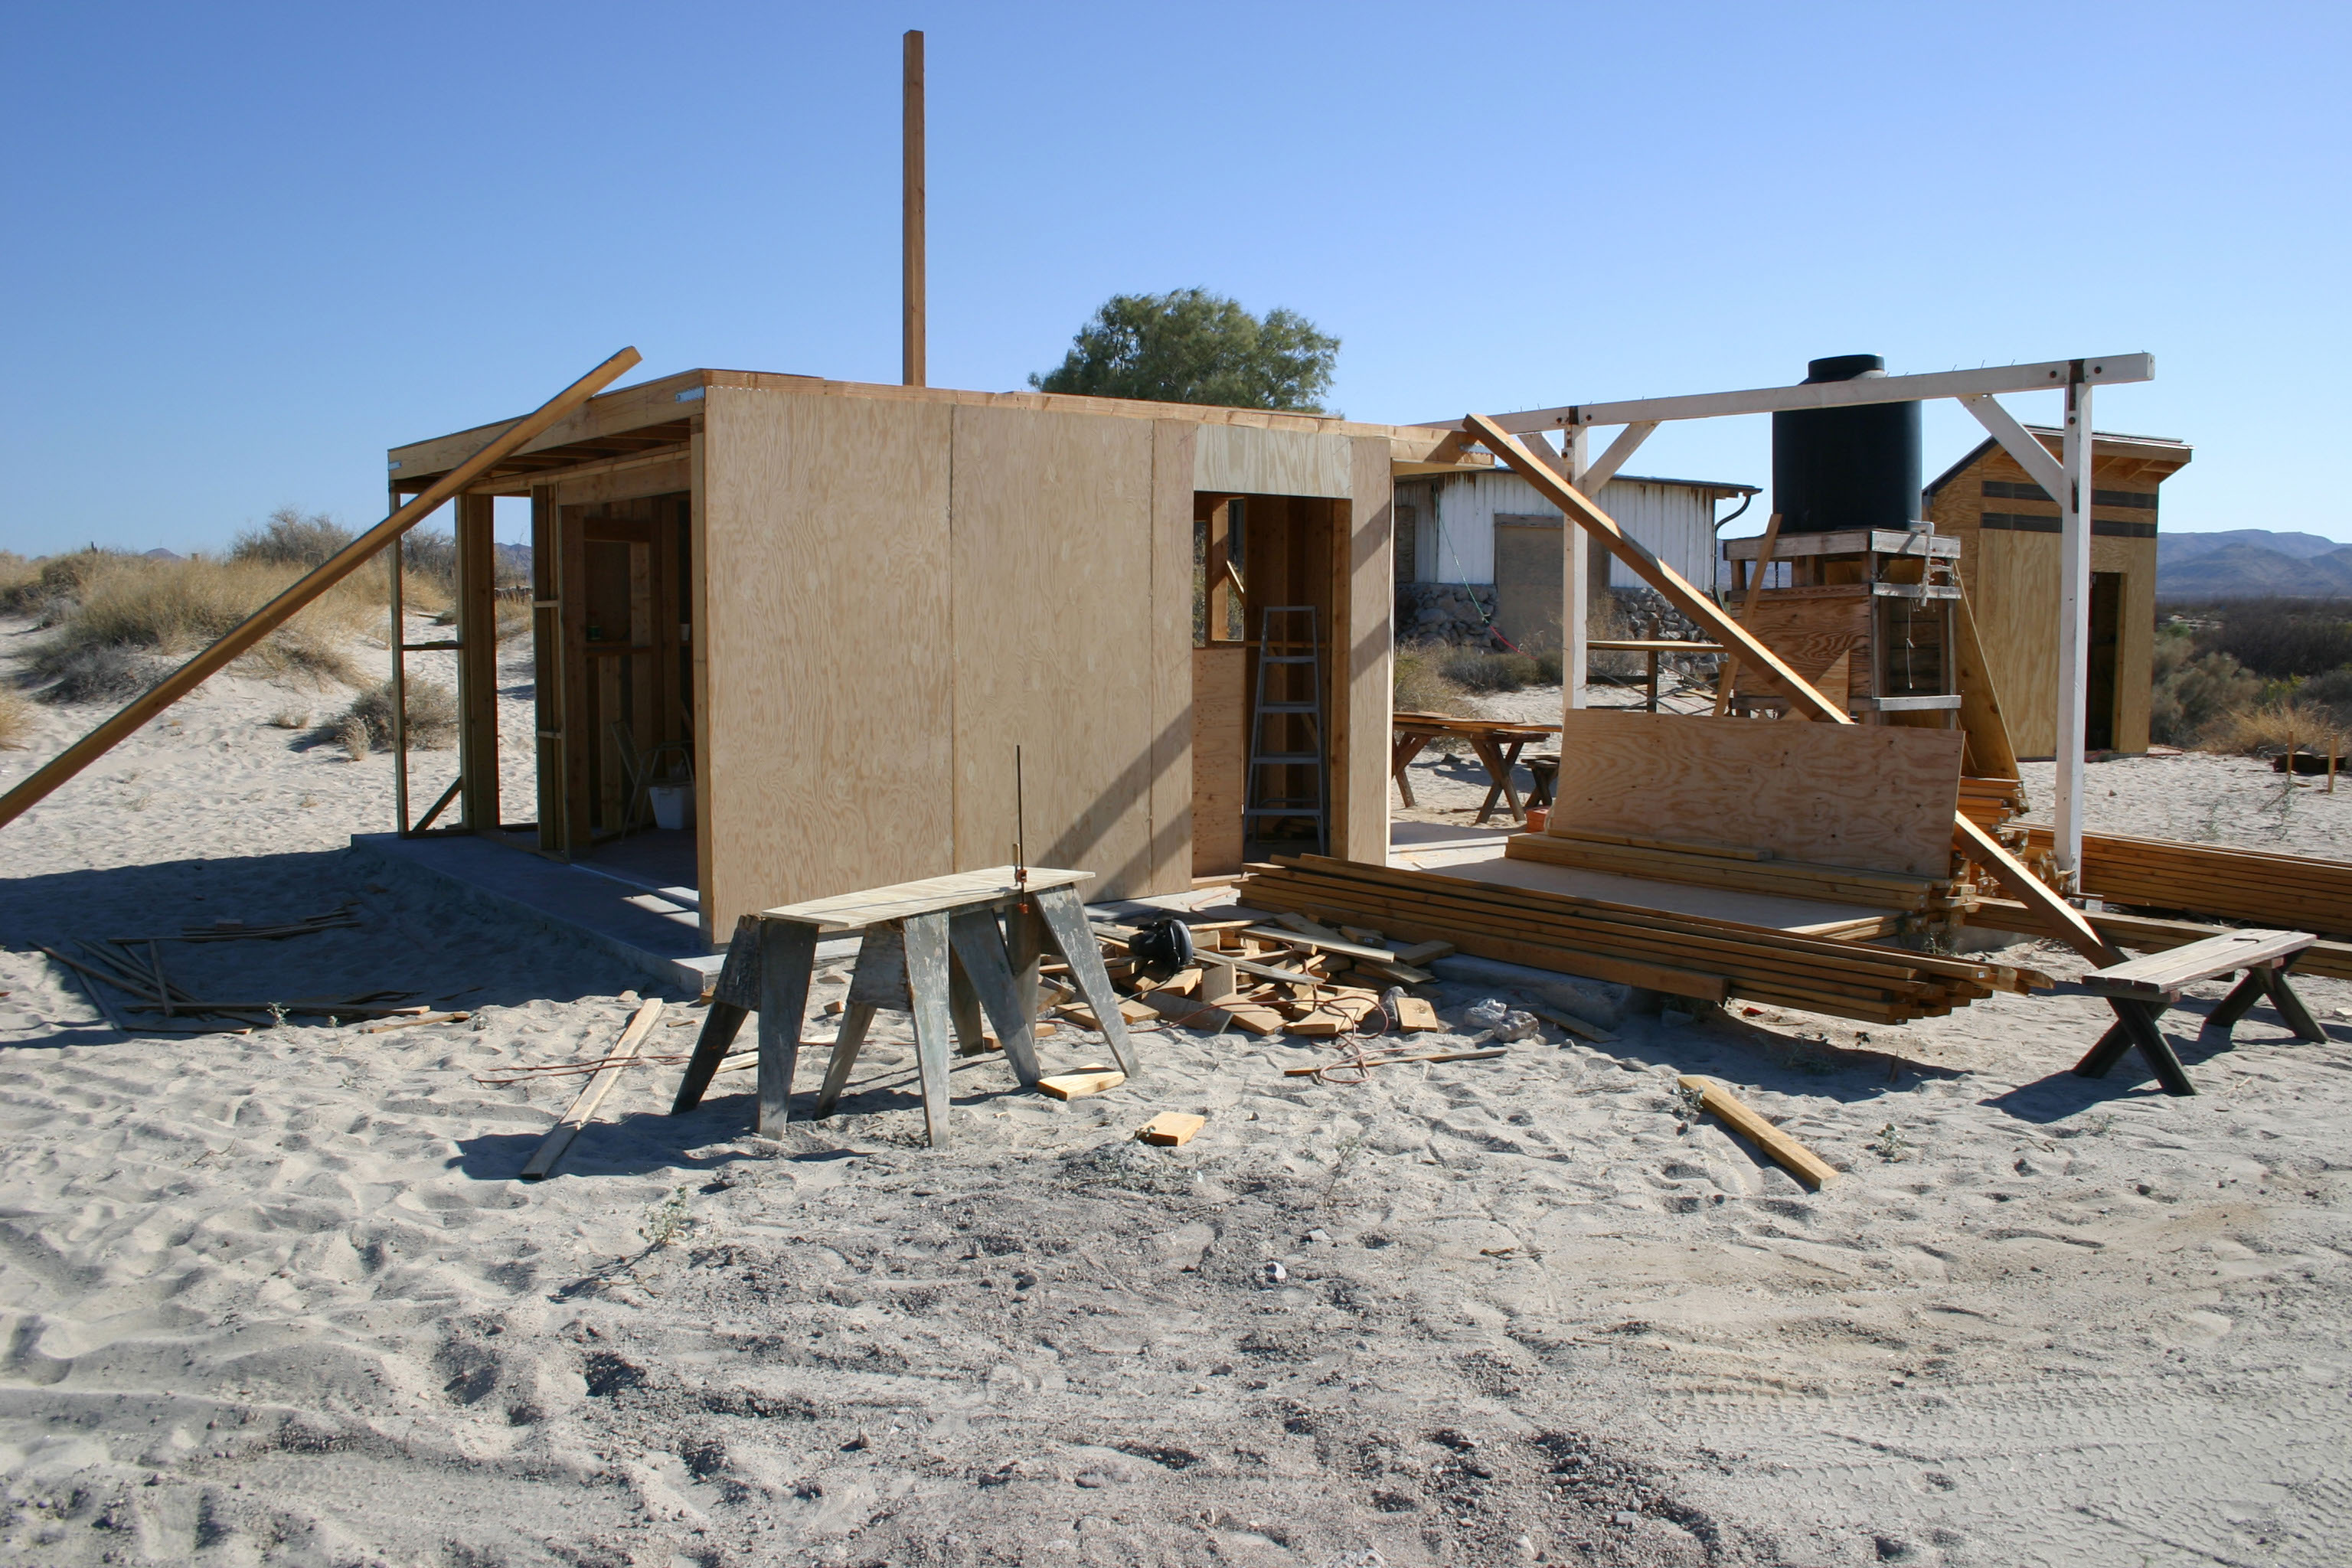
The bottom plates are now bolted to the slab and the West wall partially framed as the shed East wall is fitted in place. The West wall of the shed is laid out on the palapa slab.
At this point it became clear that newly poured slab was not level
Shims under the bottom plate to compensate for the non-level slab
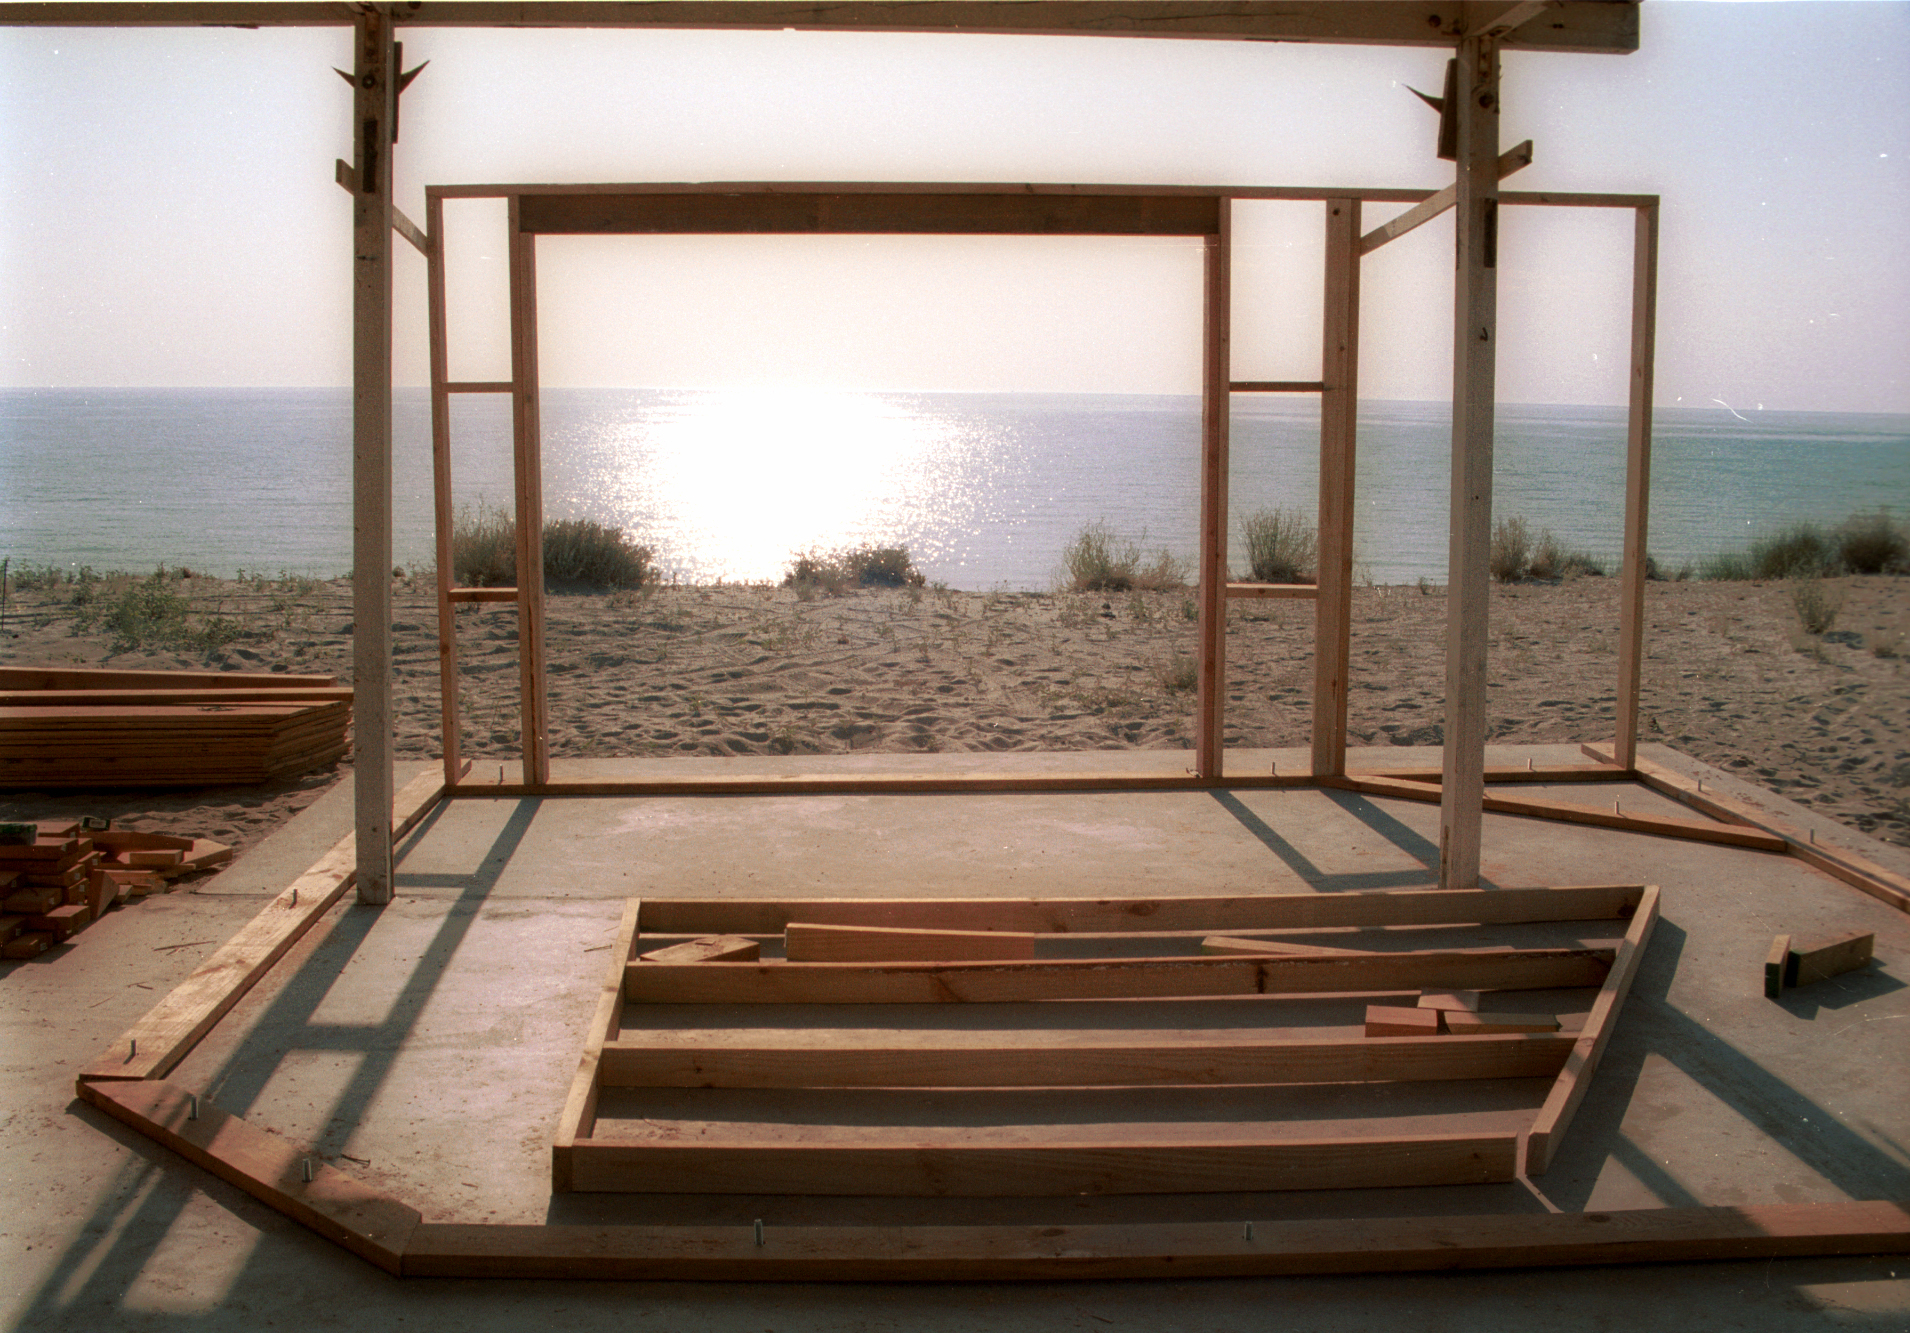
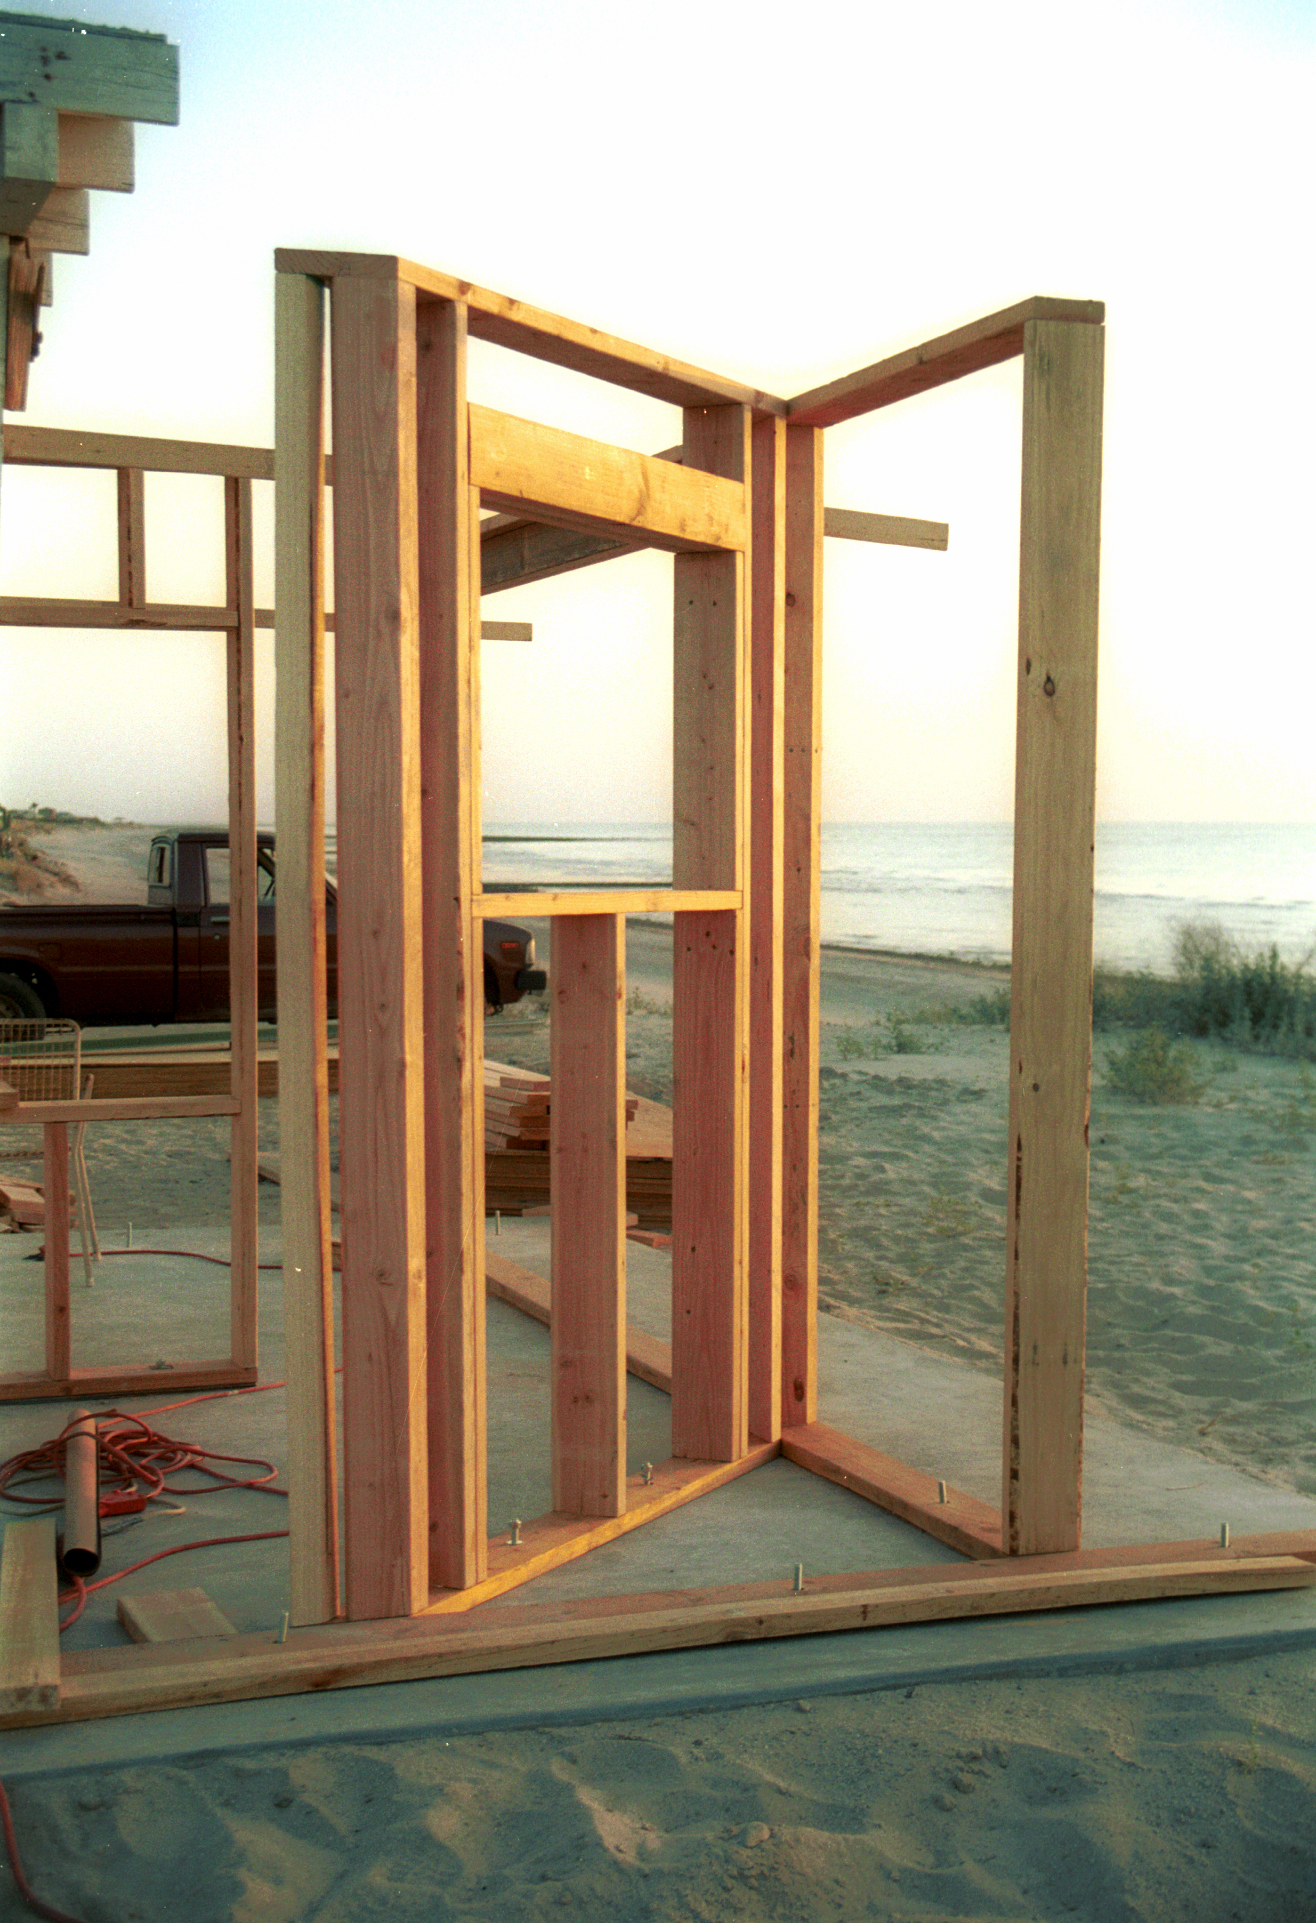
The angled wall for the kitchen window and the central room divider are framed
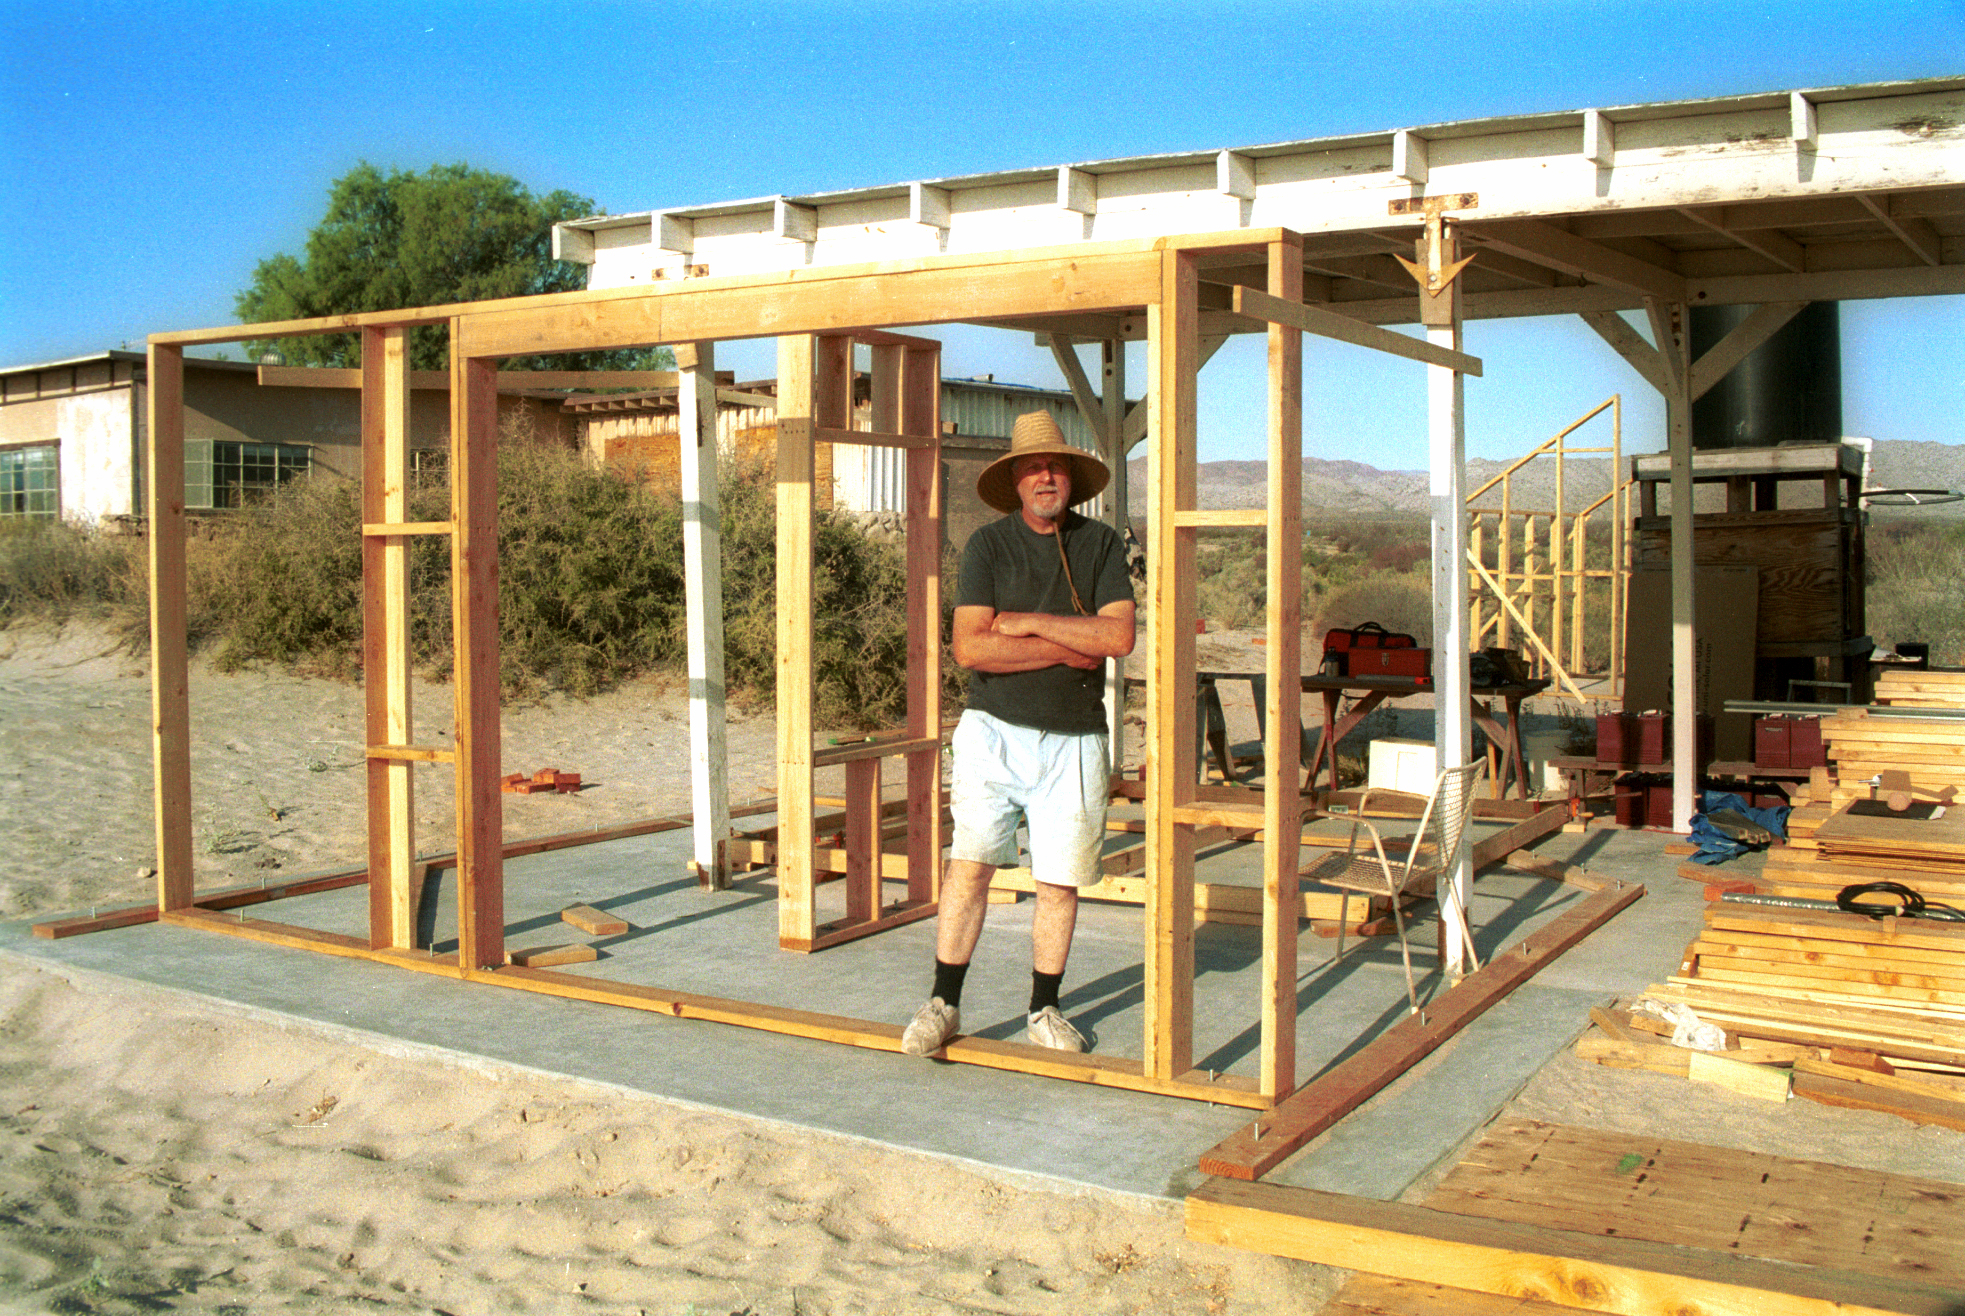
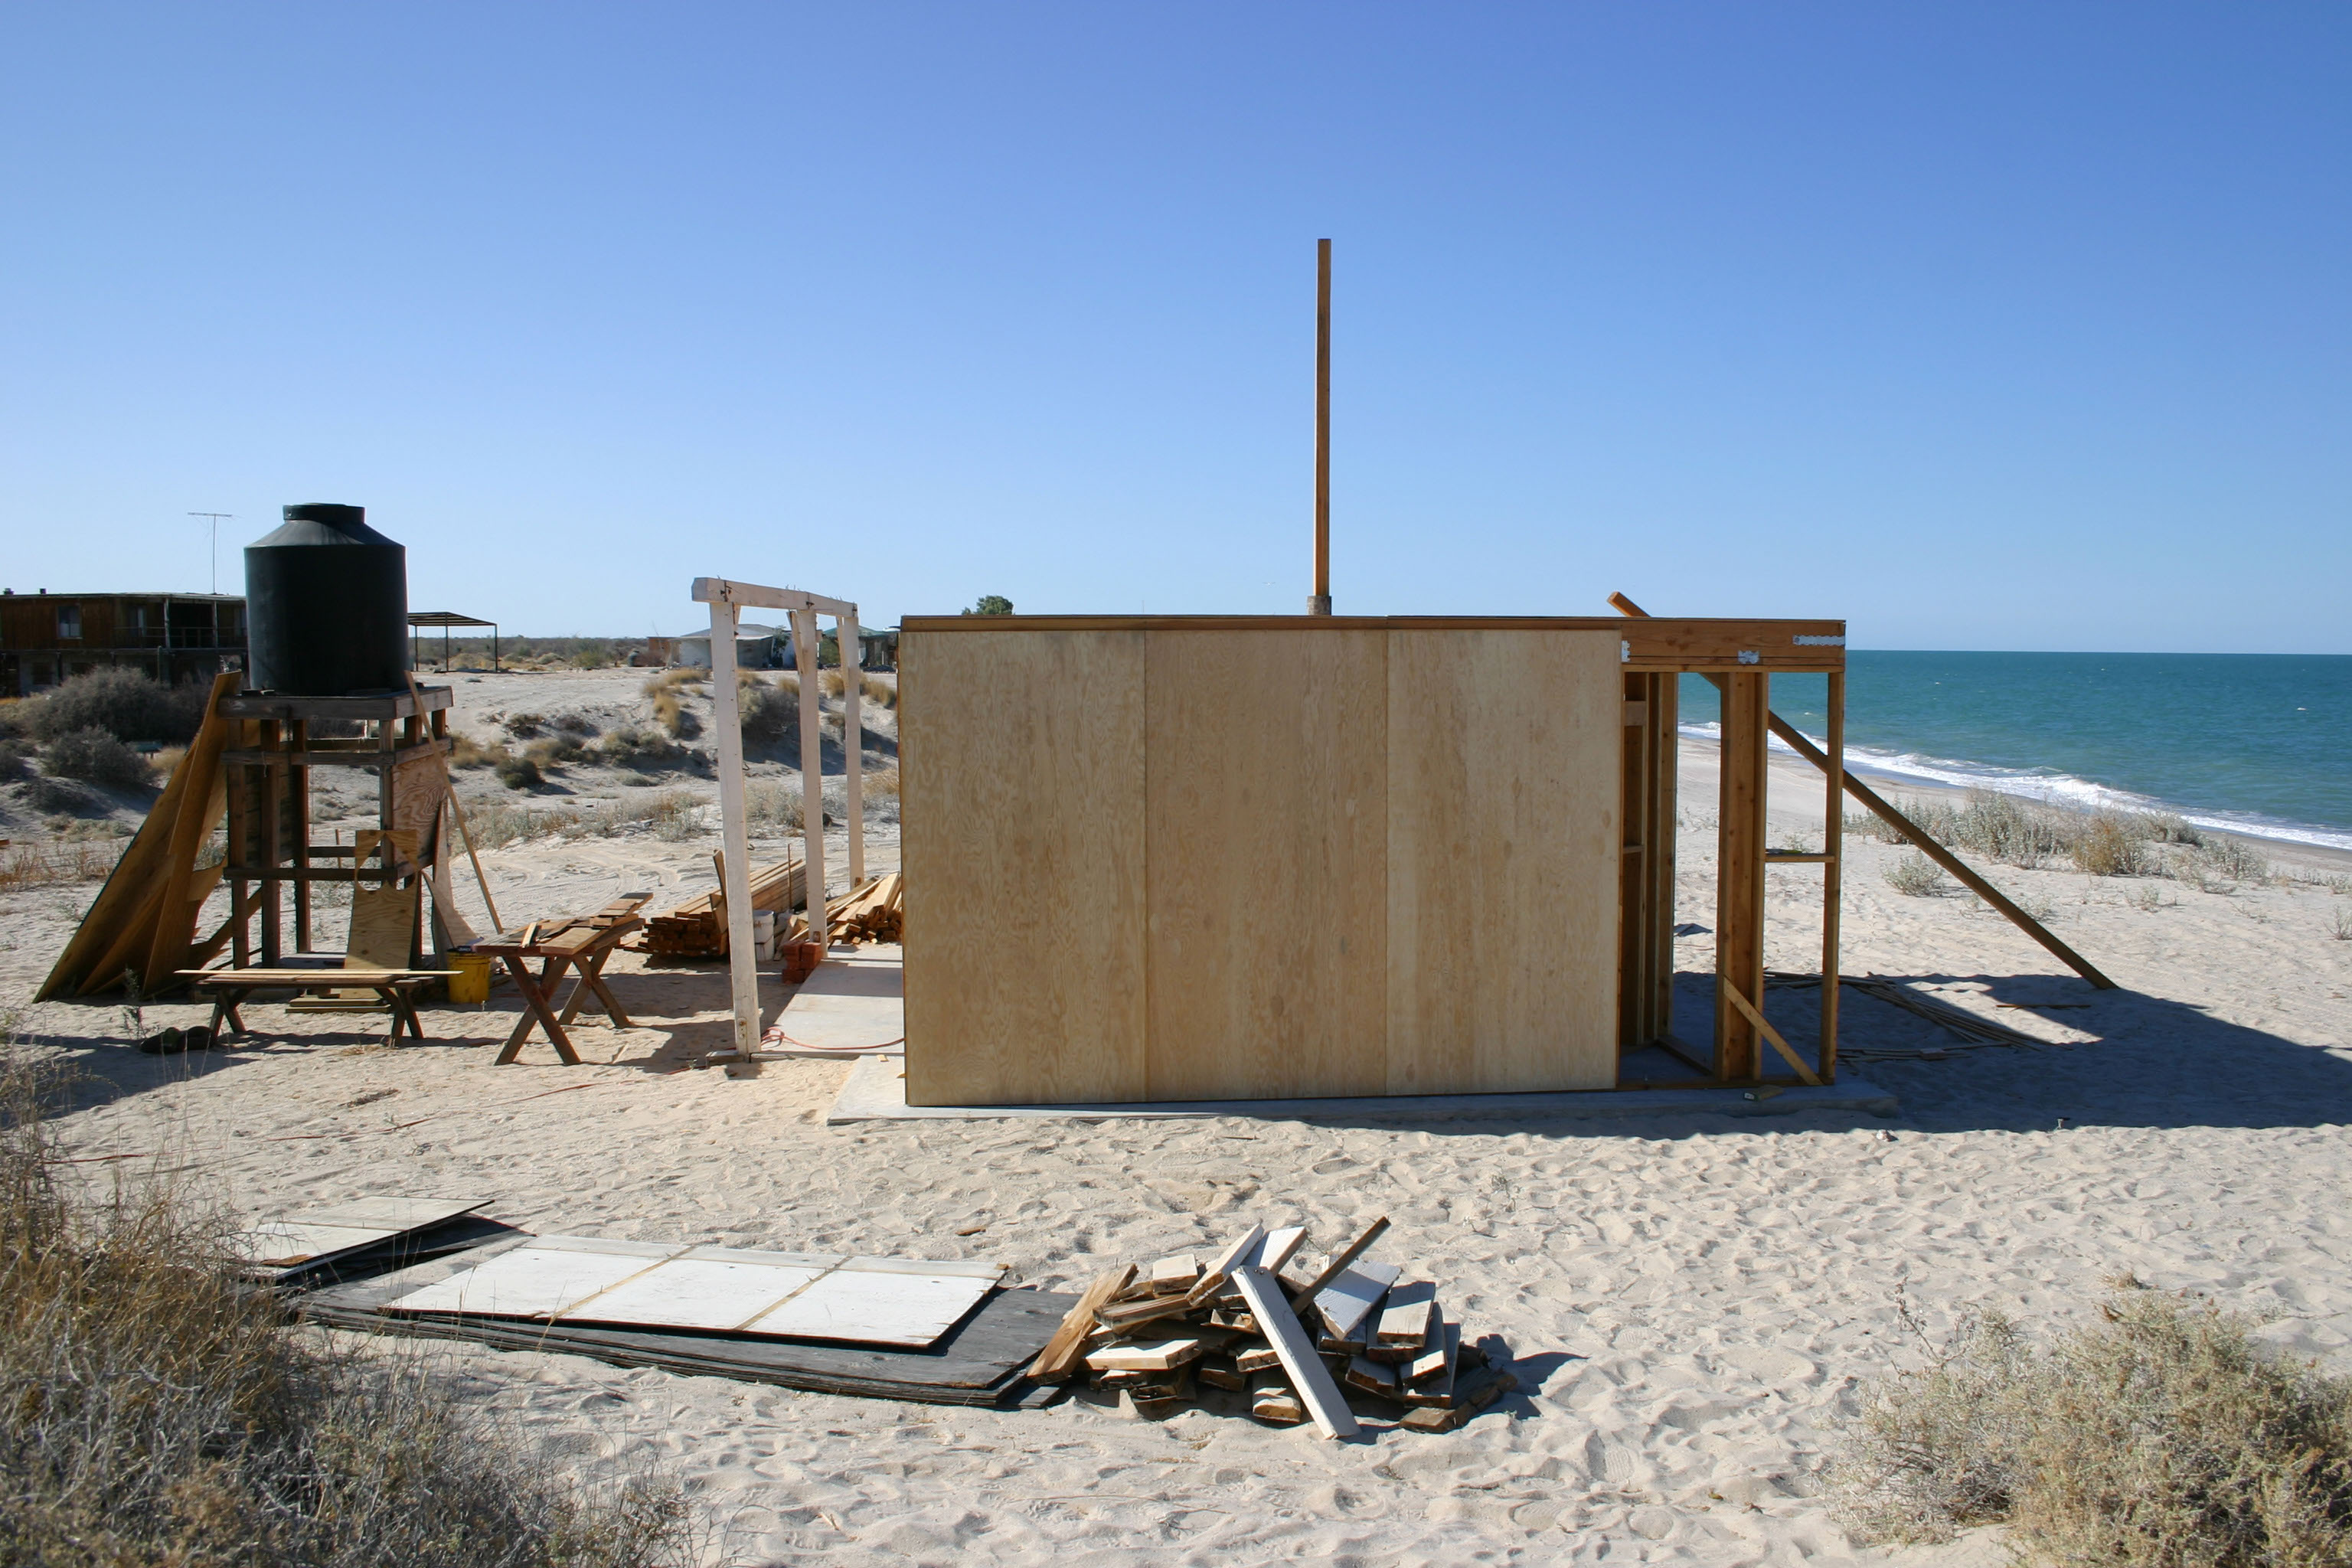
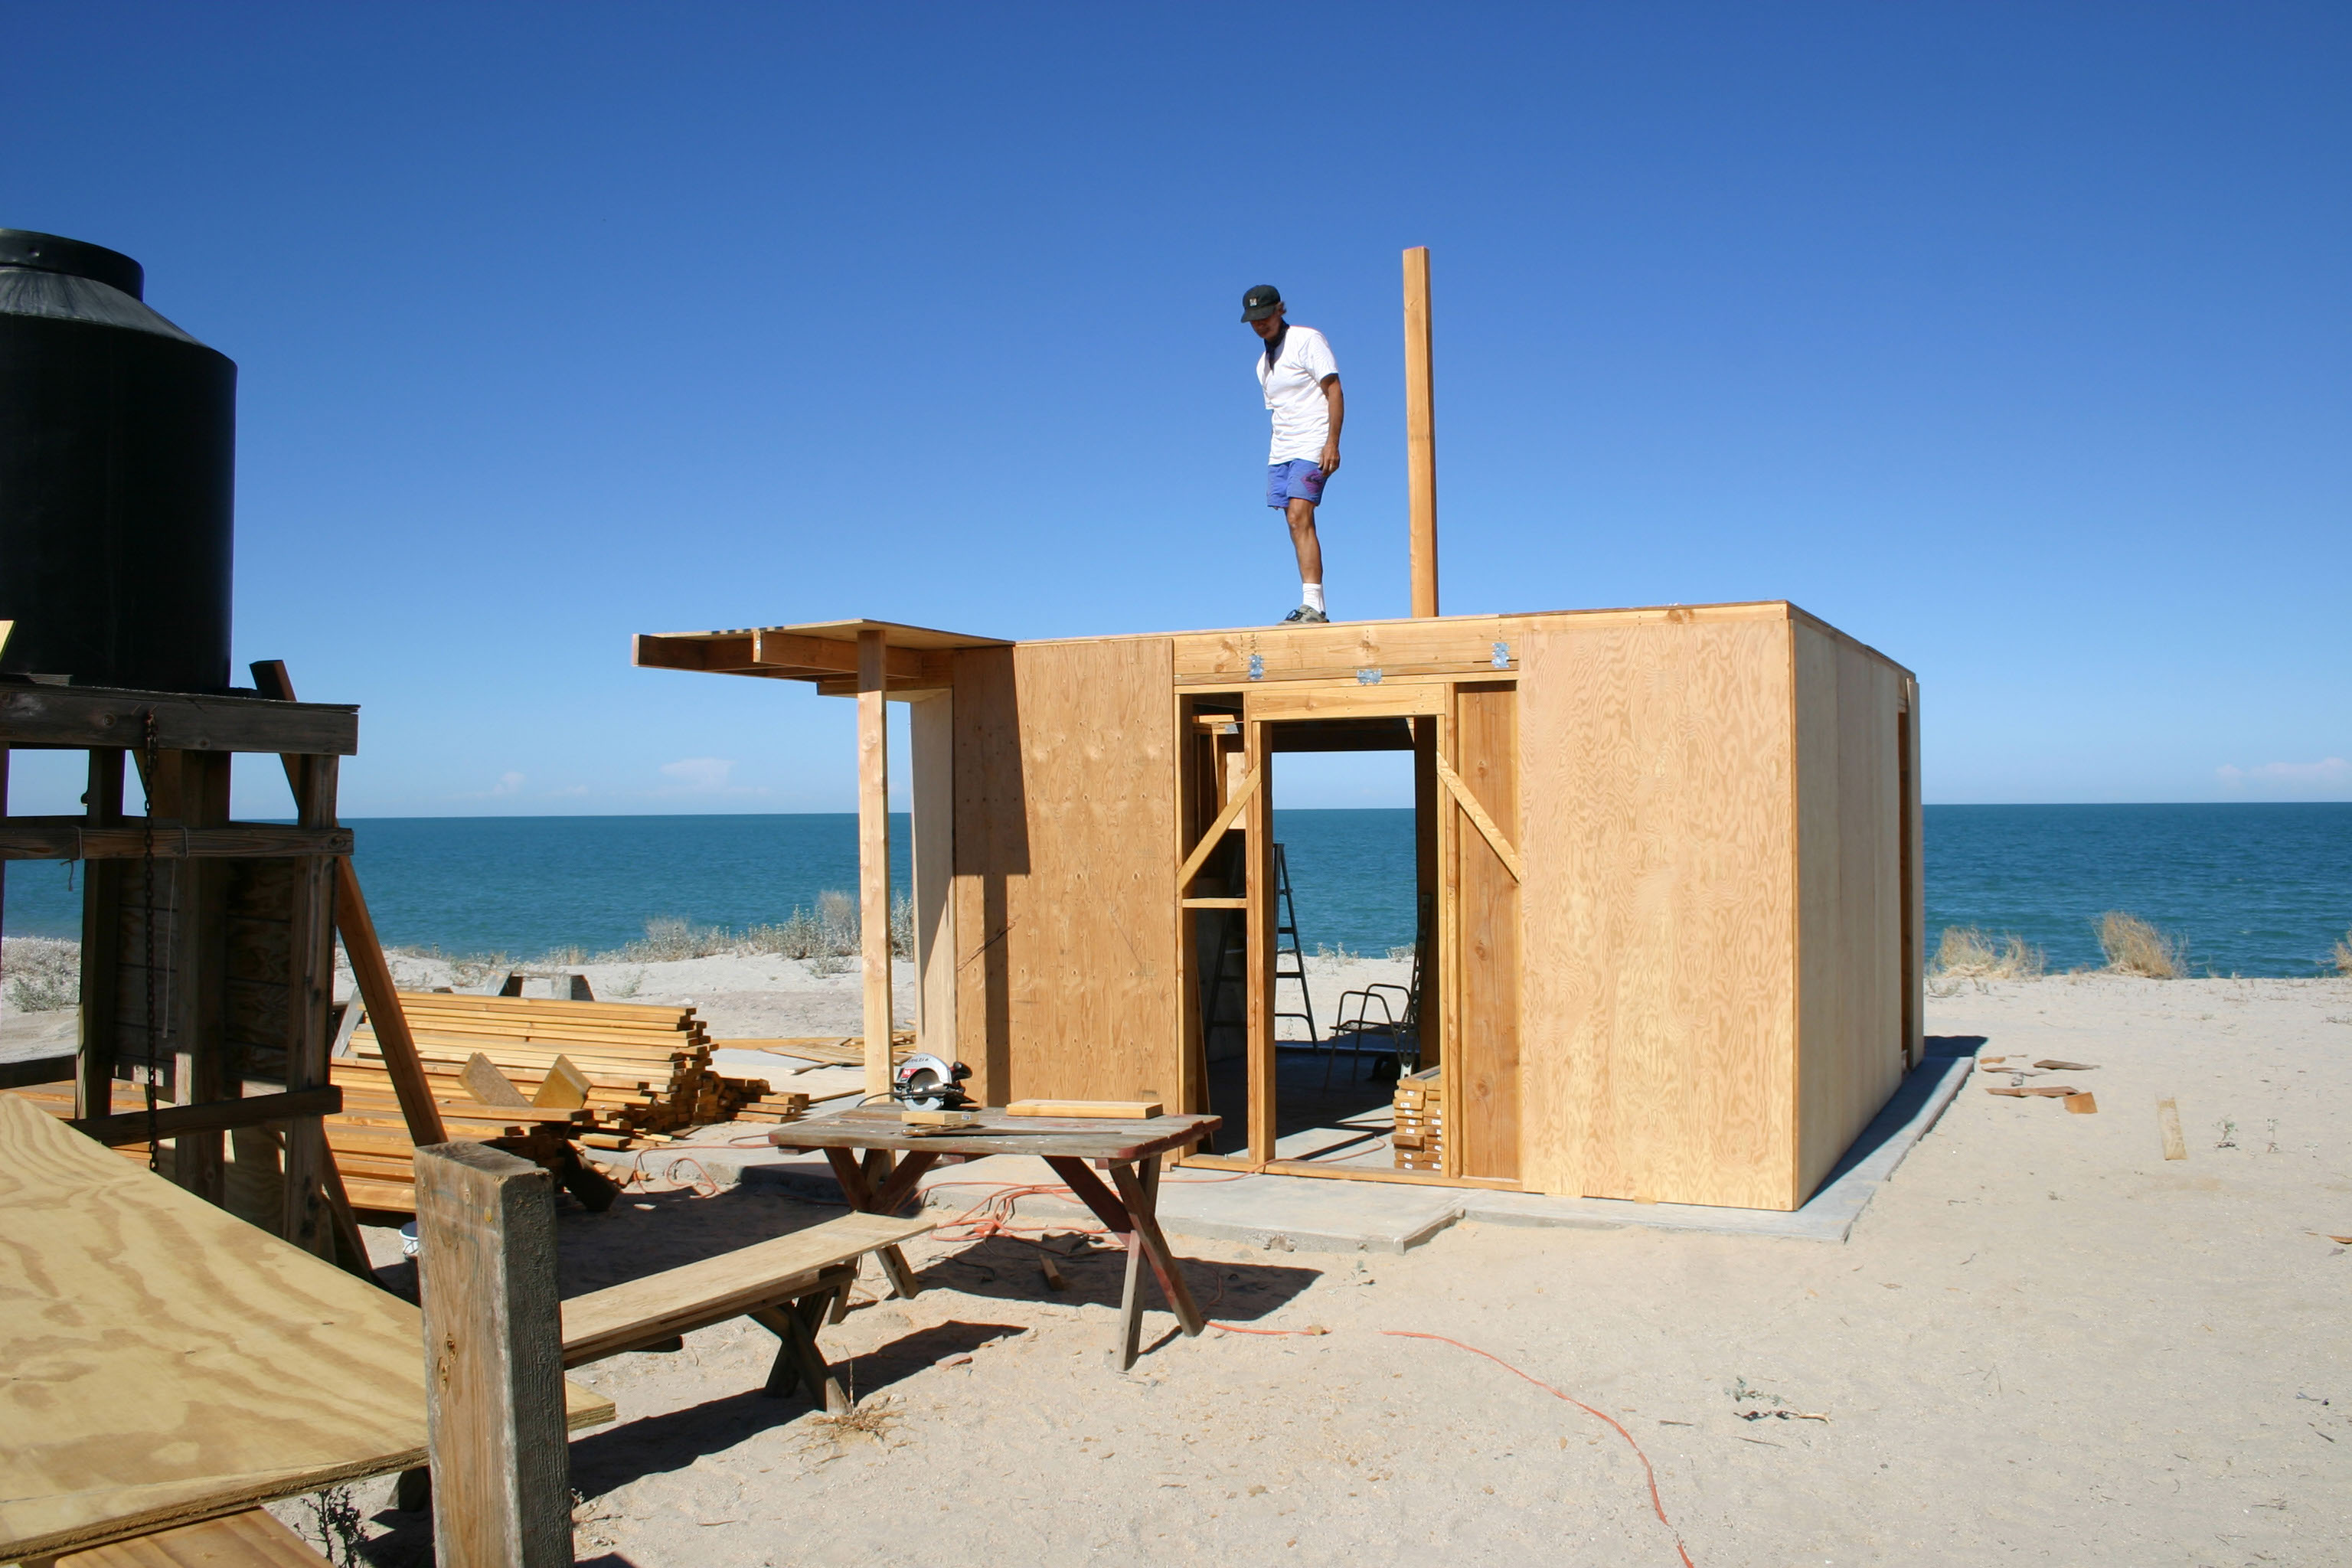
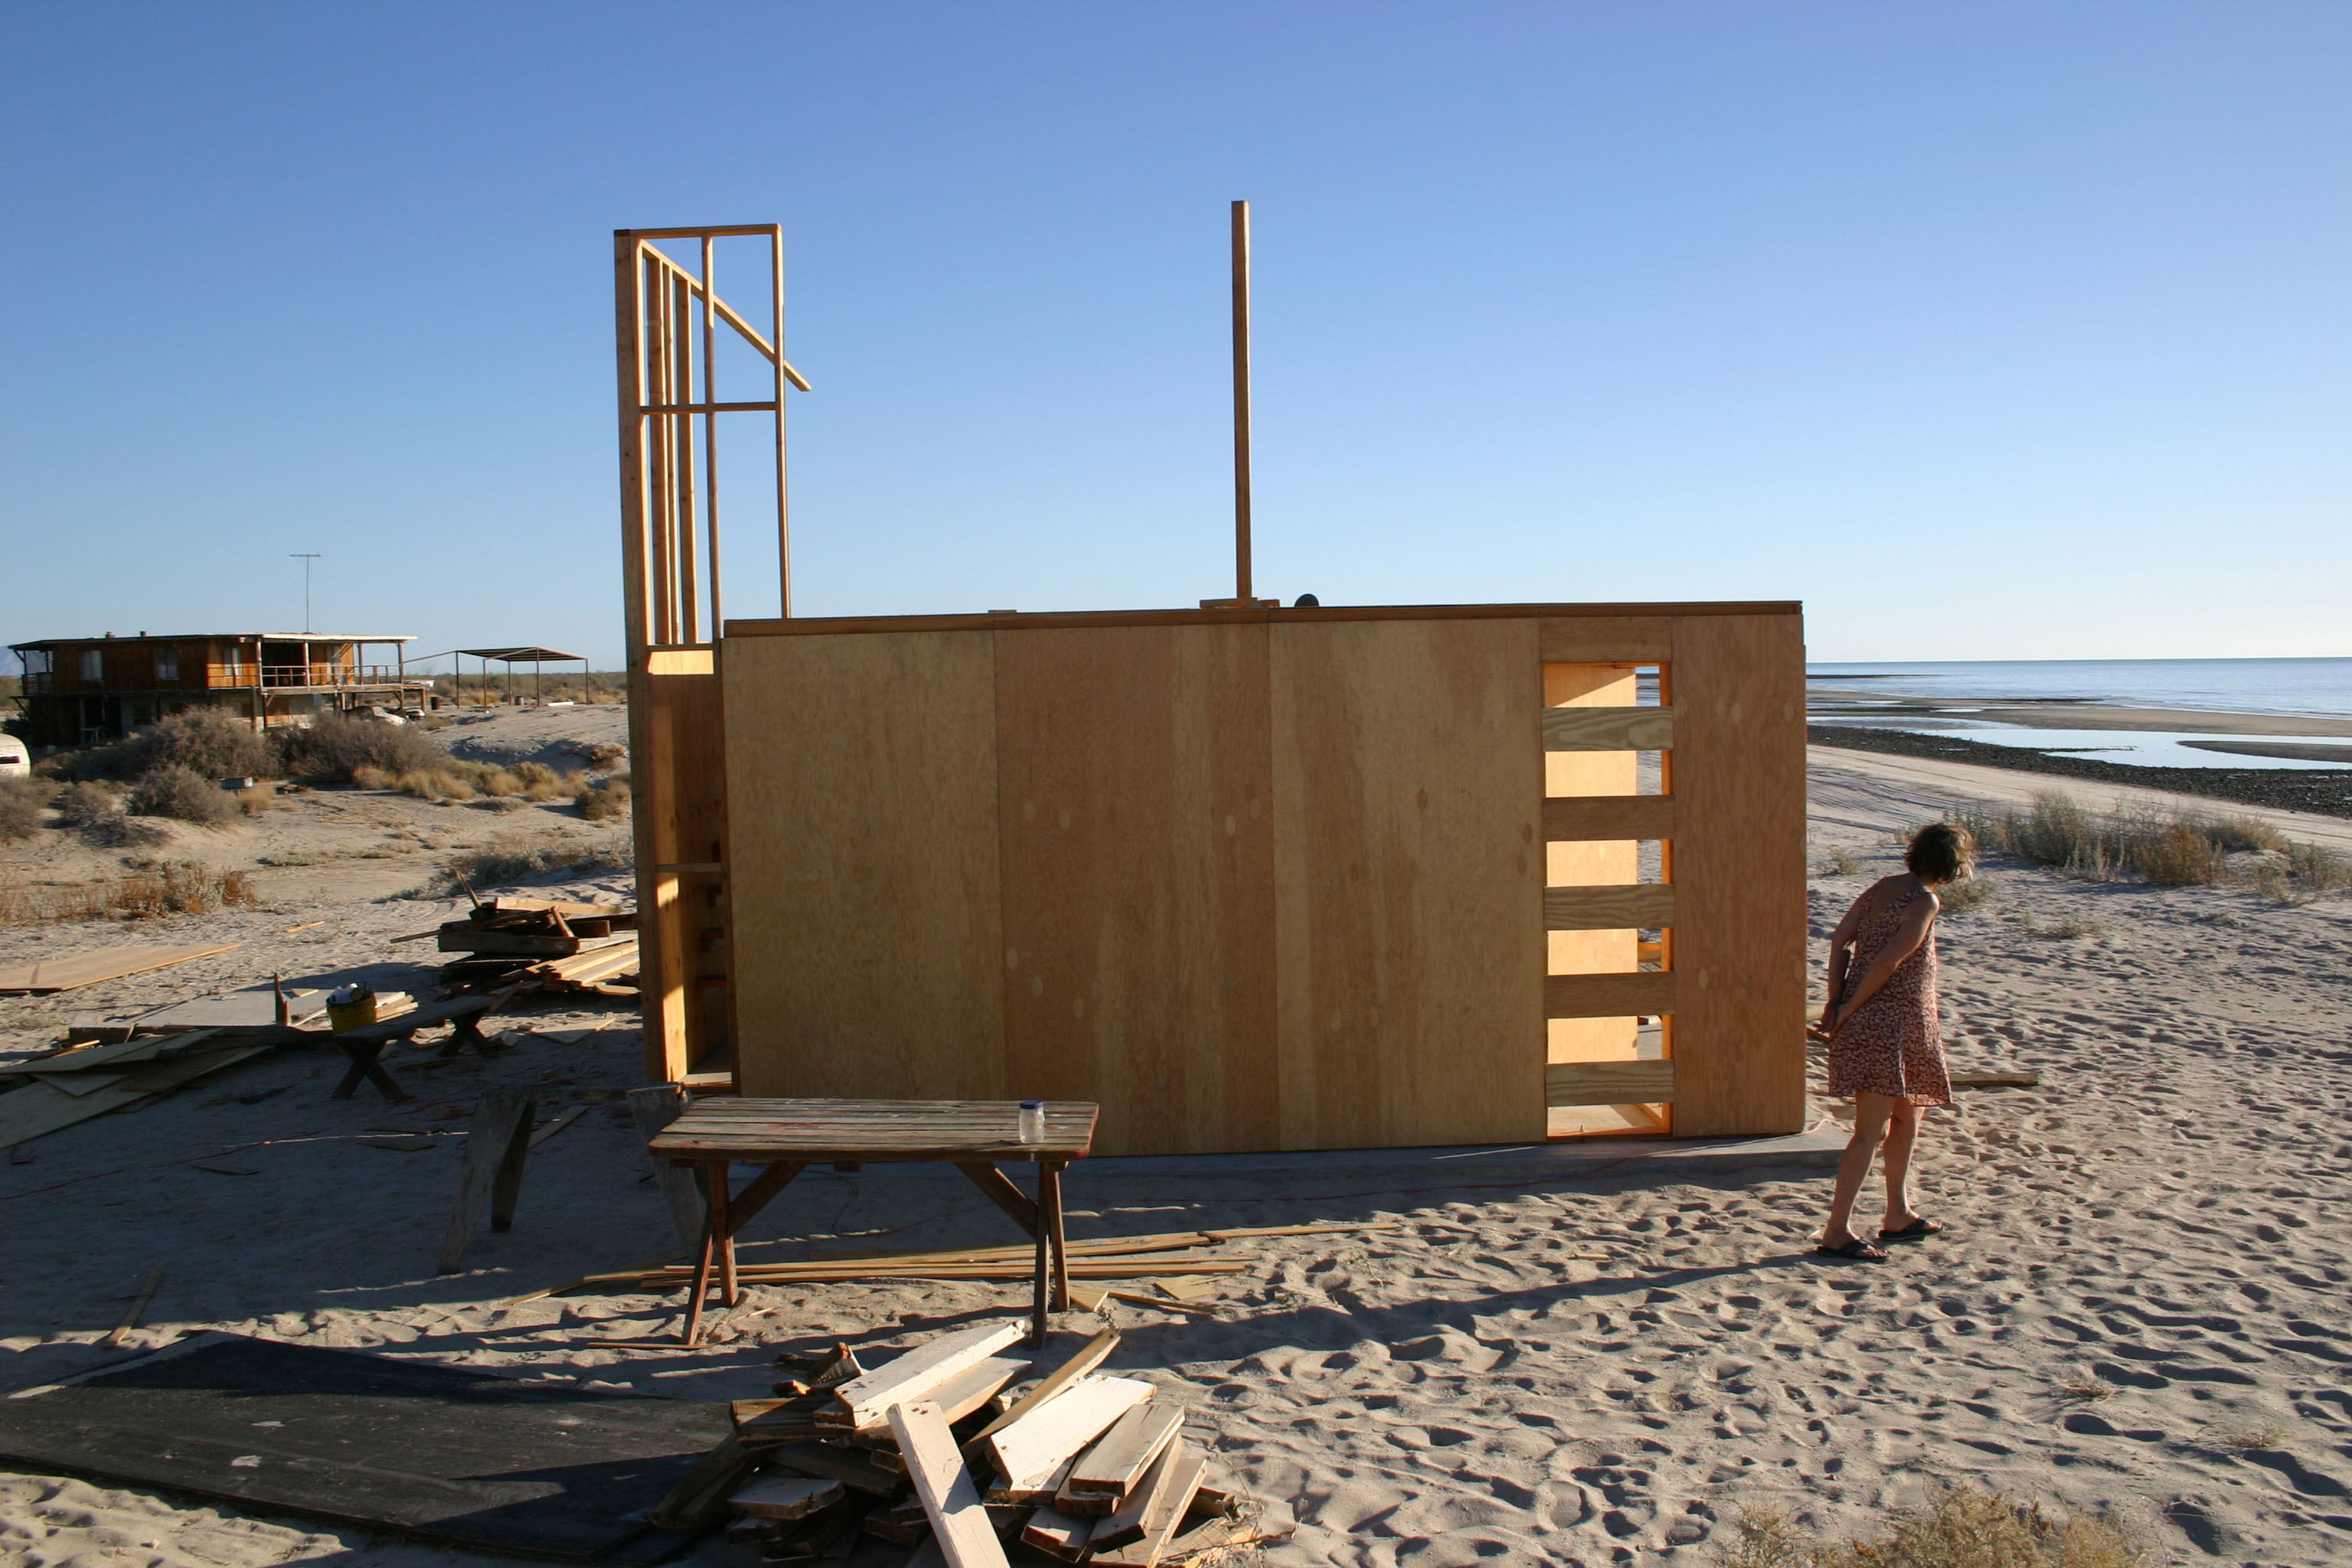
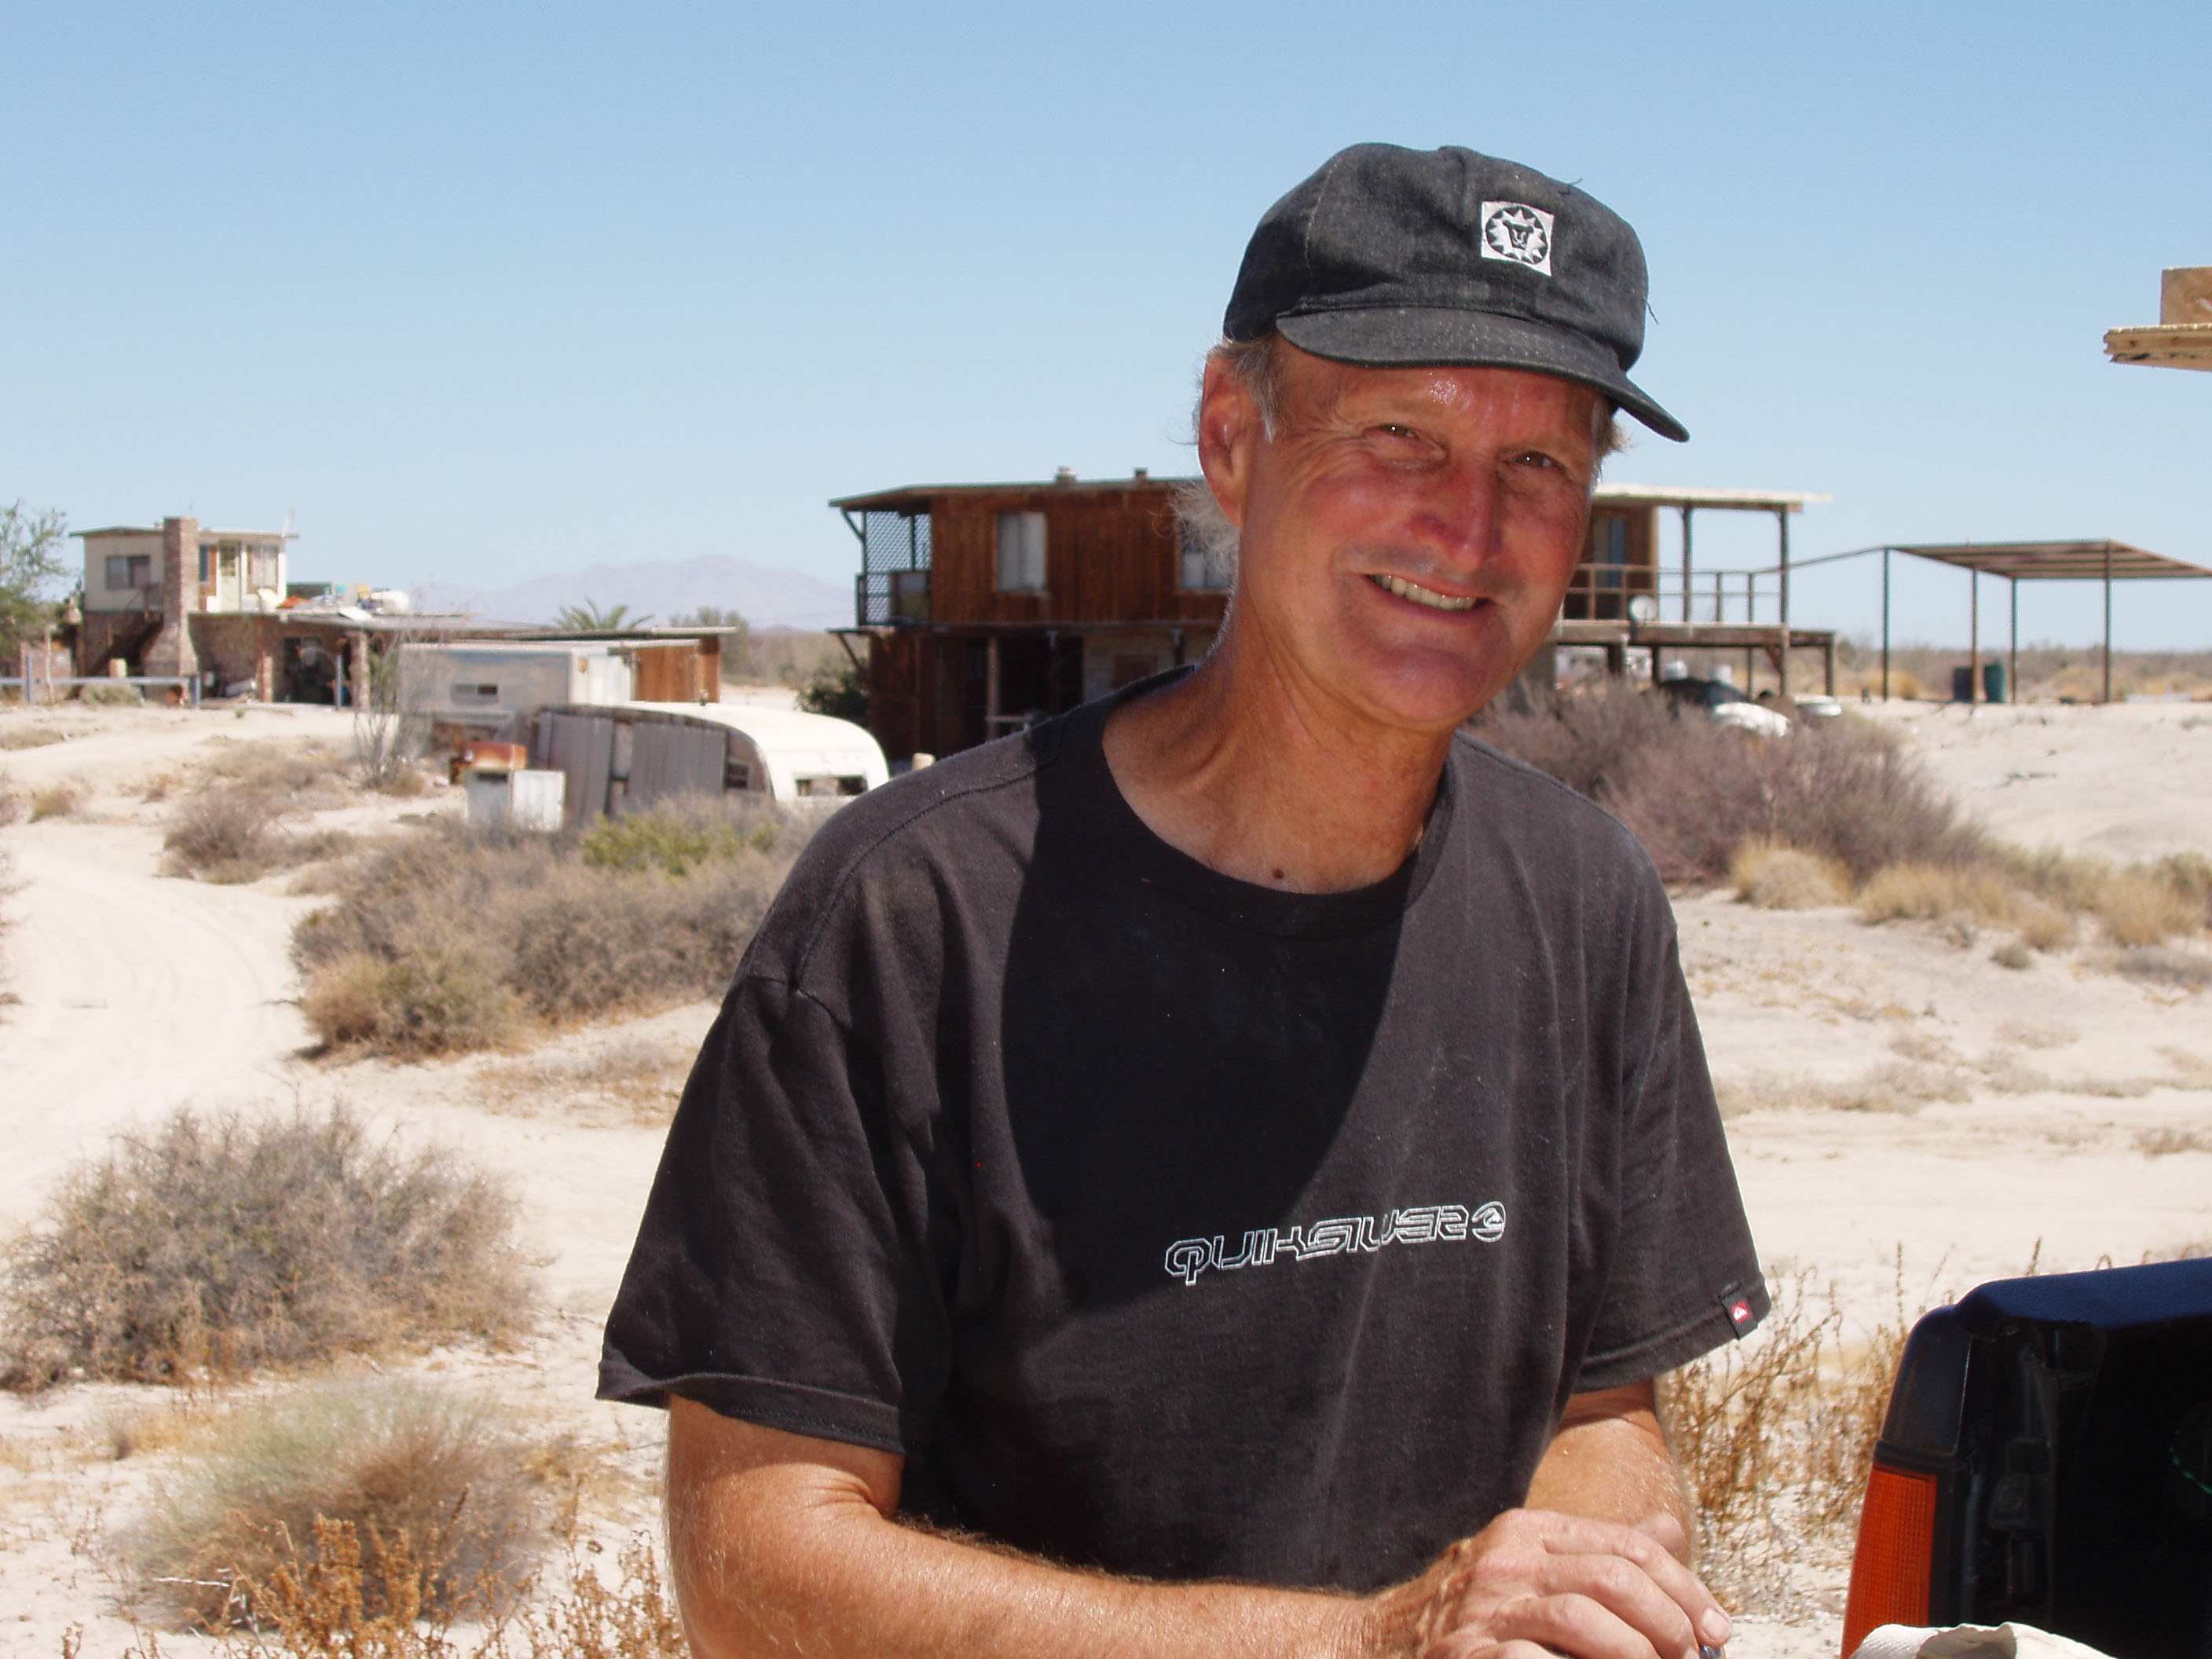
John wears a straw hat to ward off the sun’s powerful rays. The shed now has three walls
Framing the kitchen window
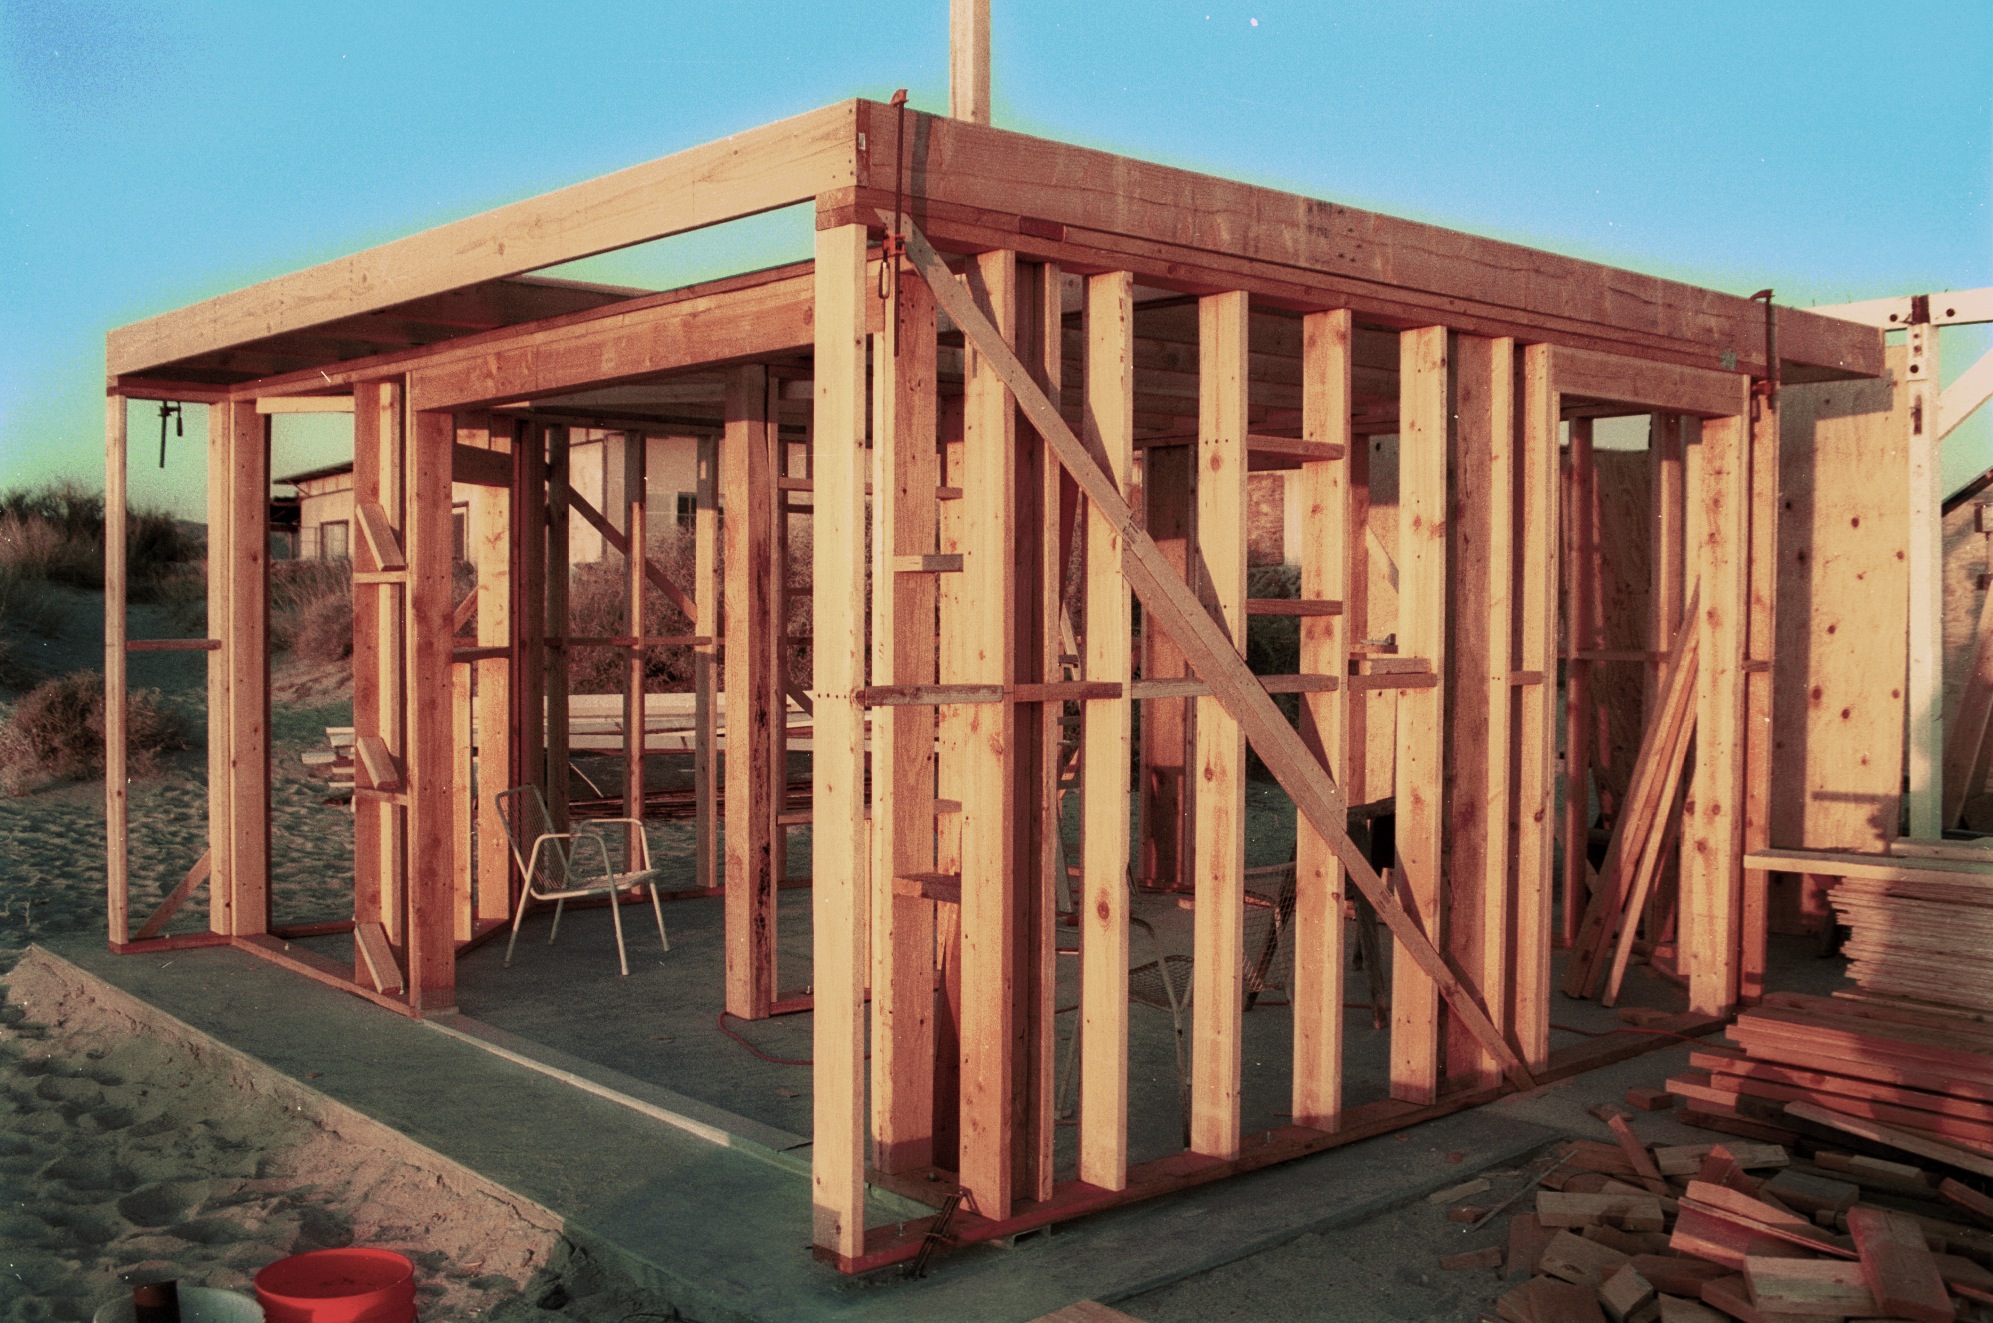
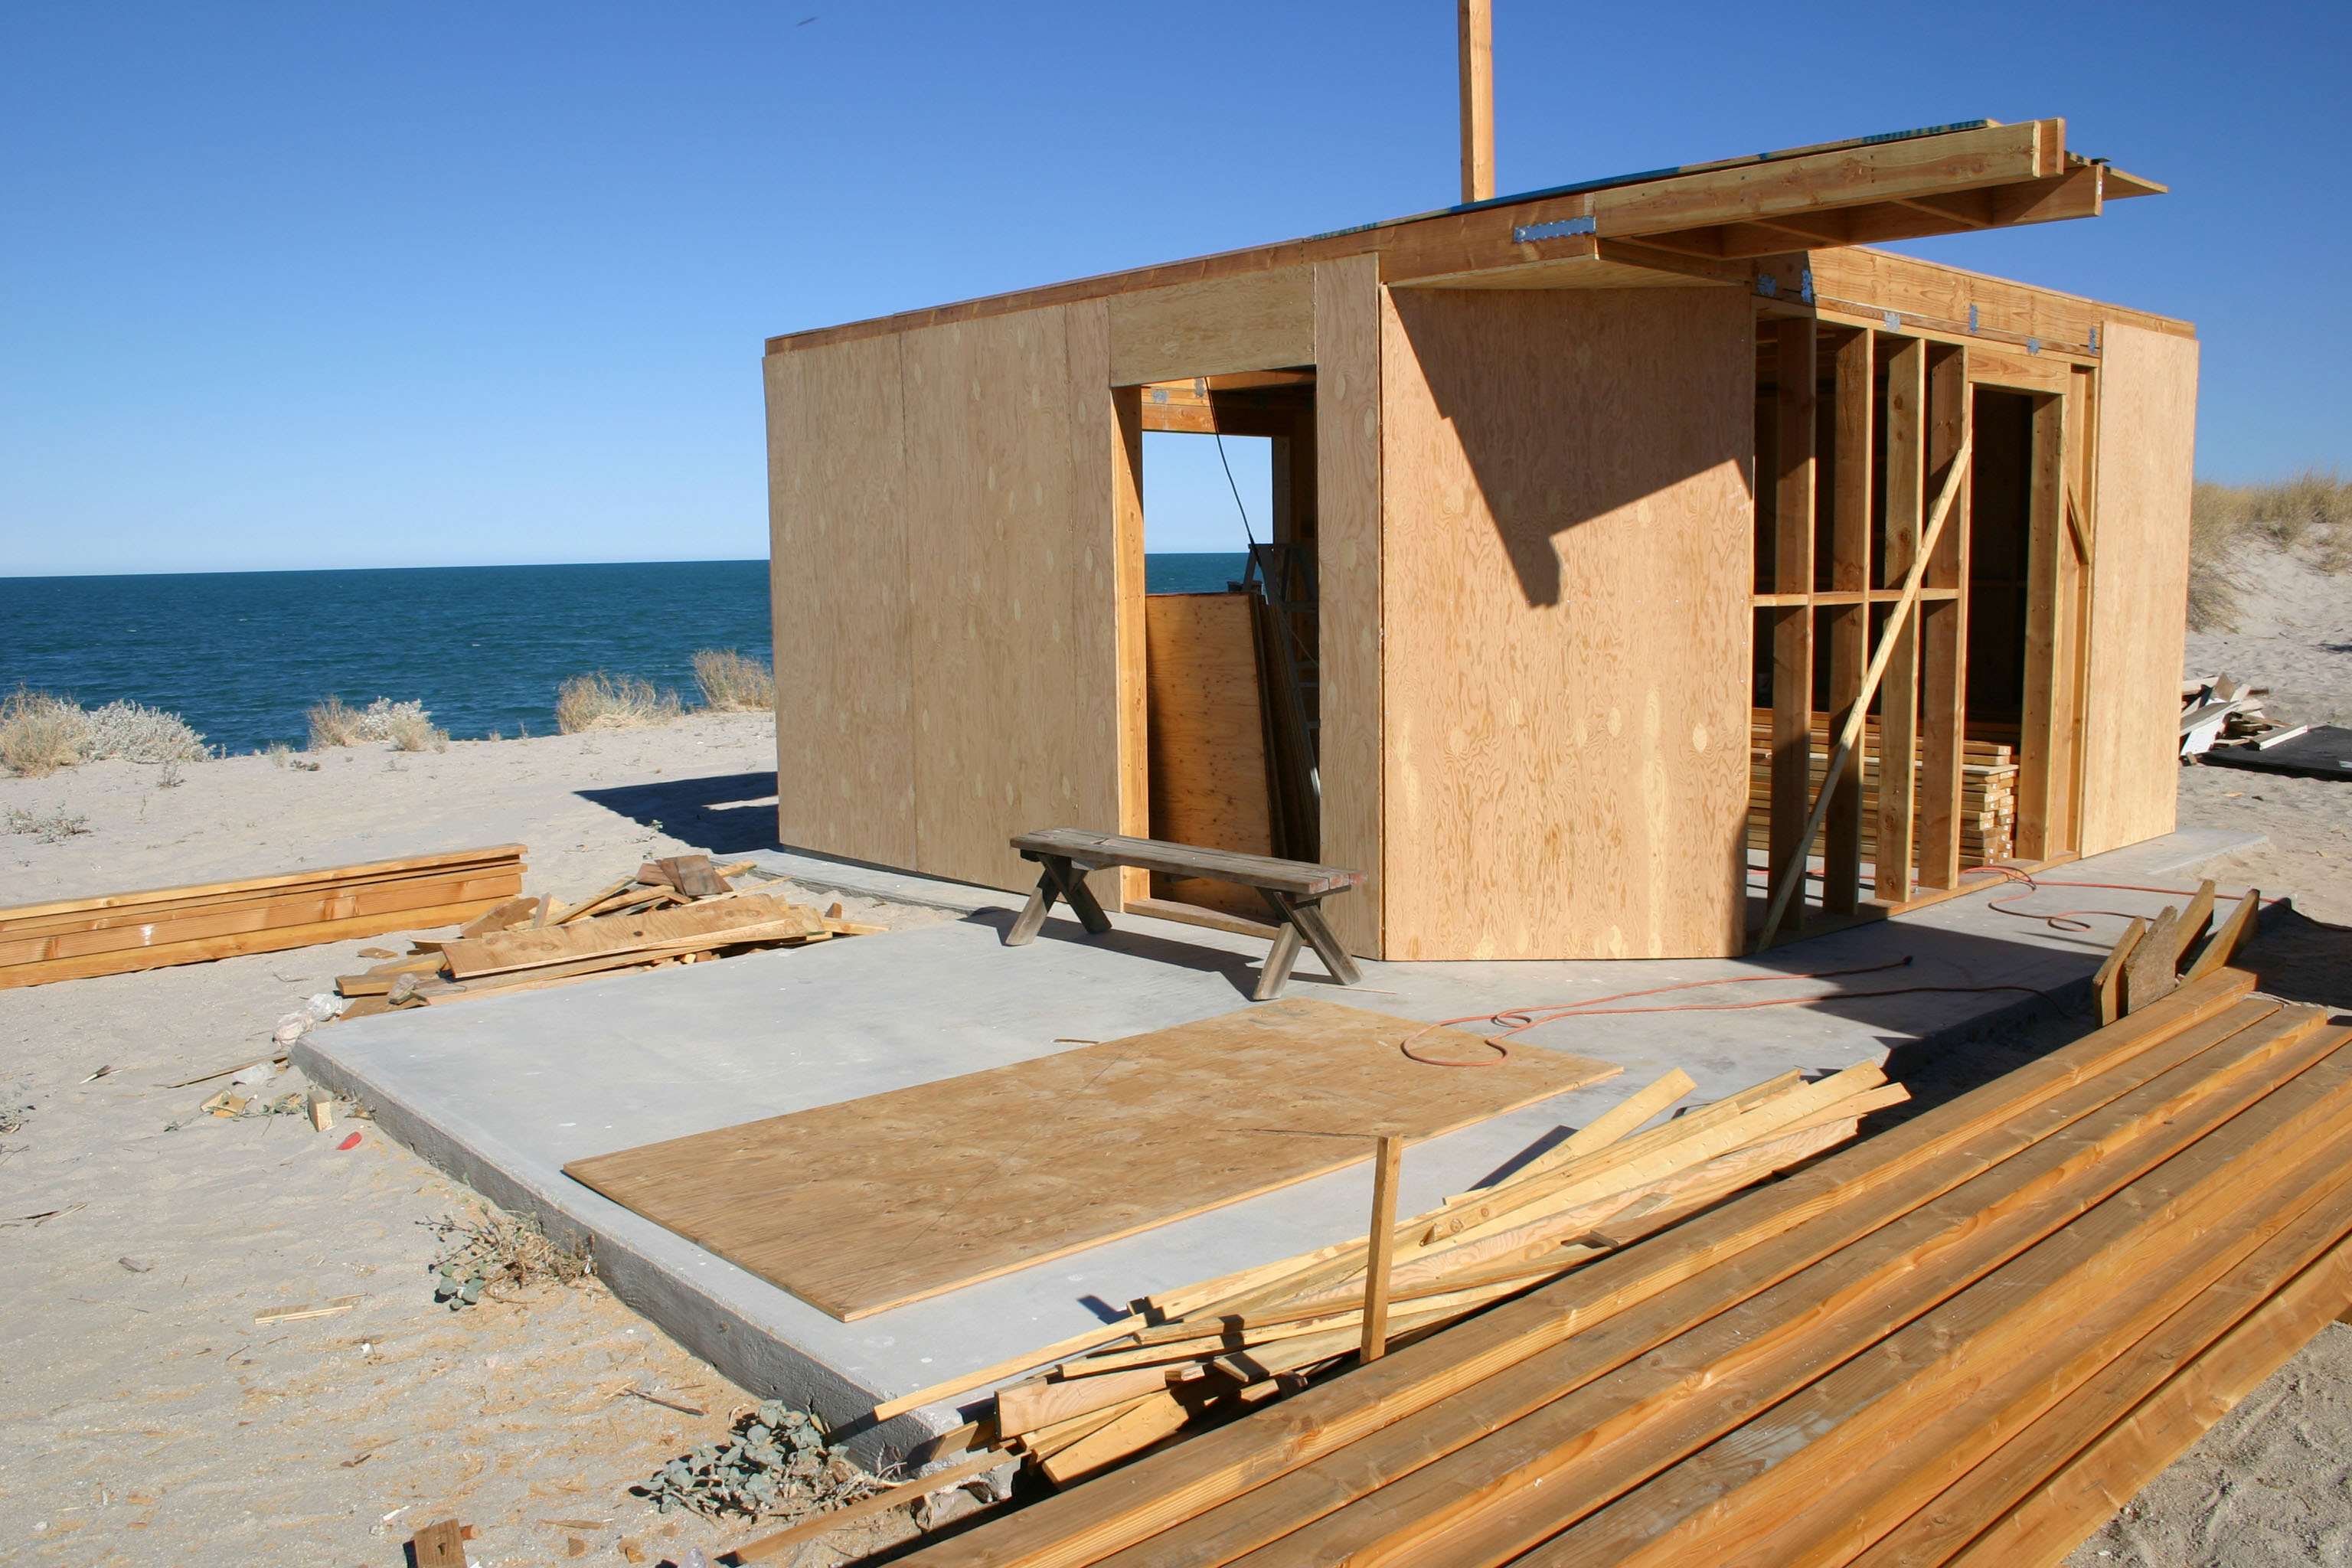
The shed now gets its fourth wall as framing continues on the Cube. The old palapa still provides shade during construction
The South wall of the Cube is framed
Floor joists are beginning to be placed in position. The palapa is now partially dismantled to allow construction to continue for the upper floor
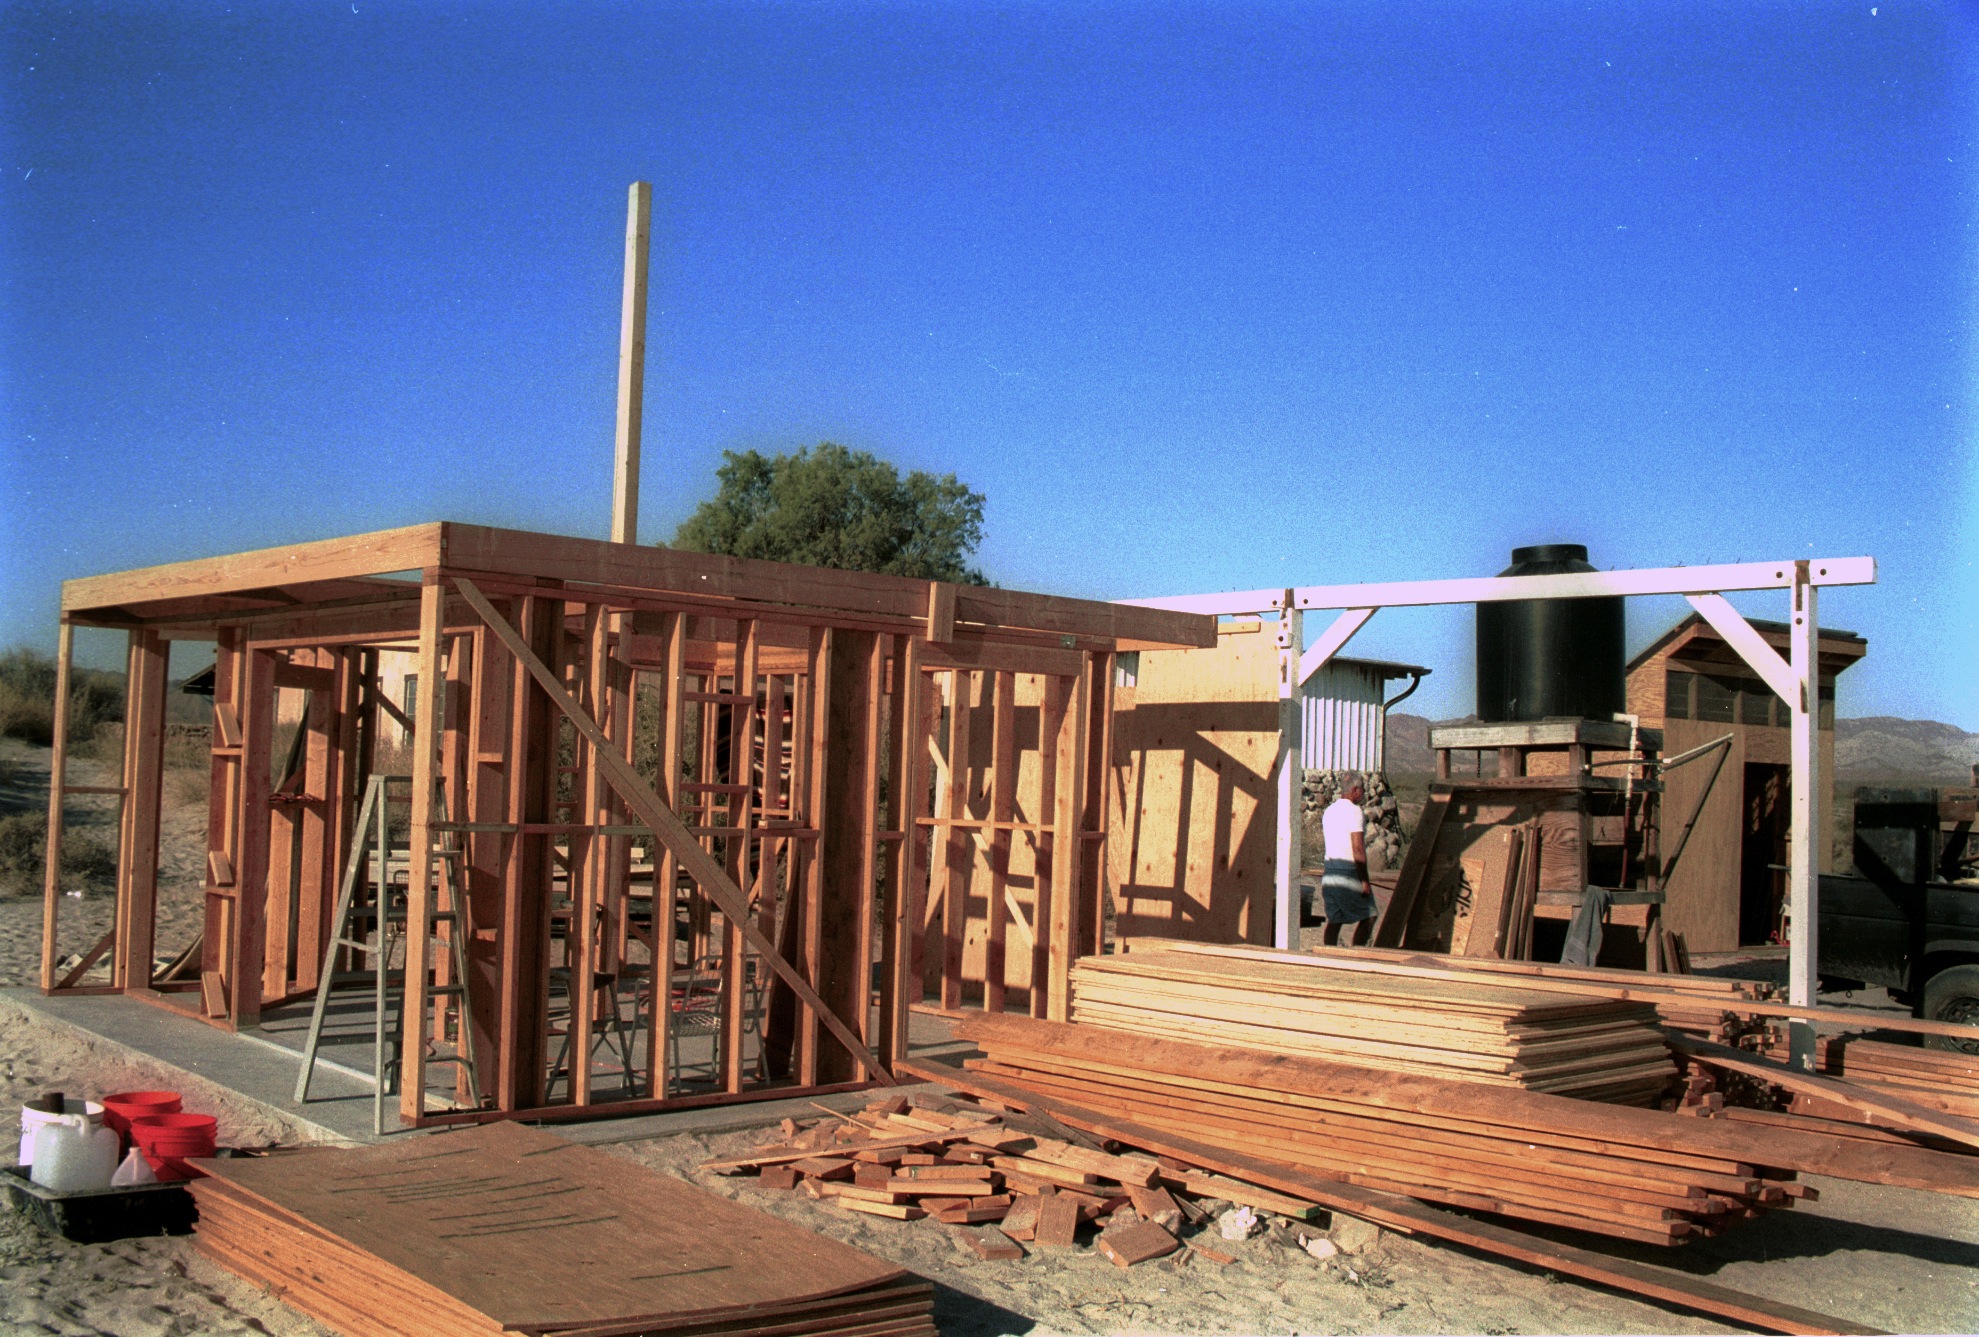
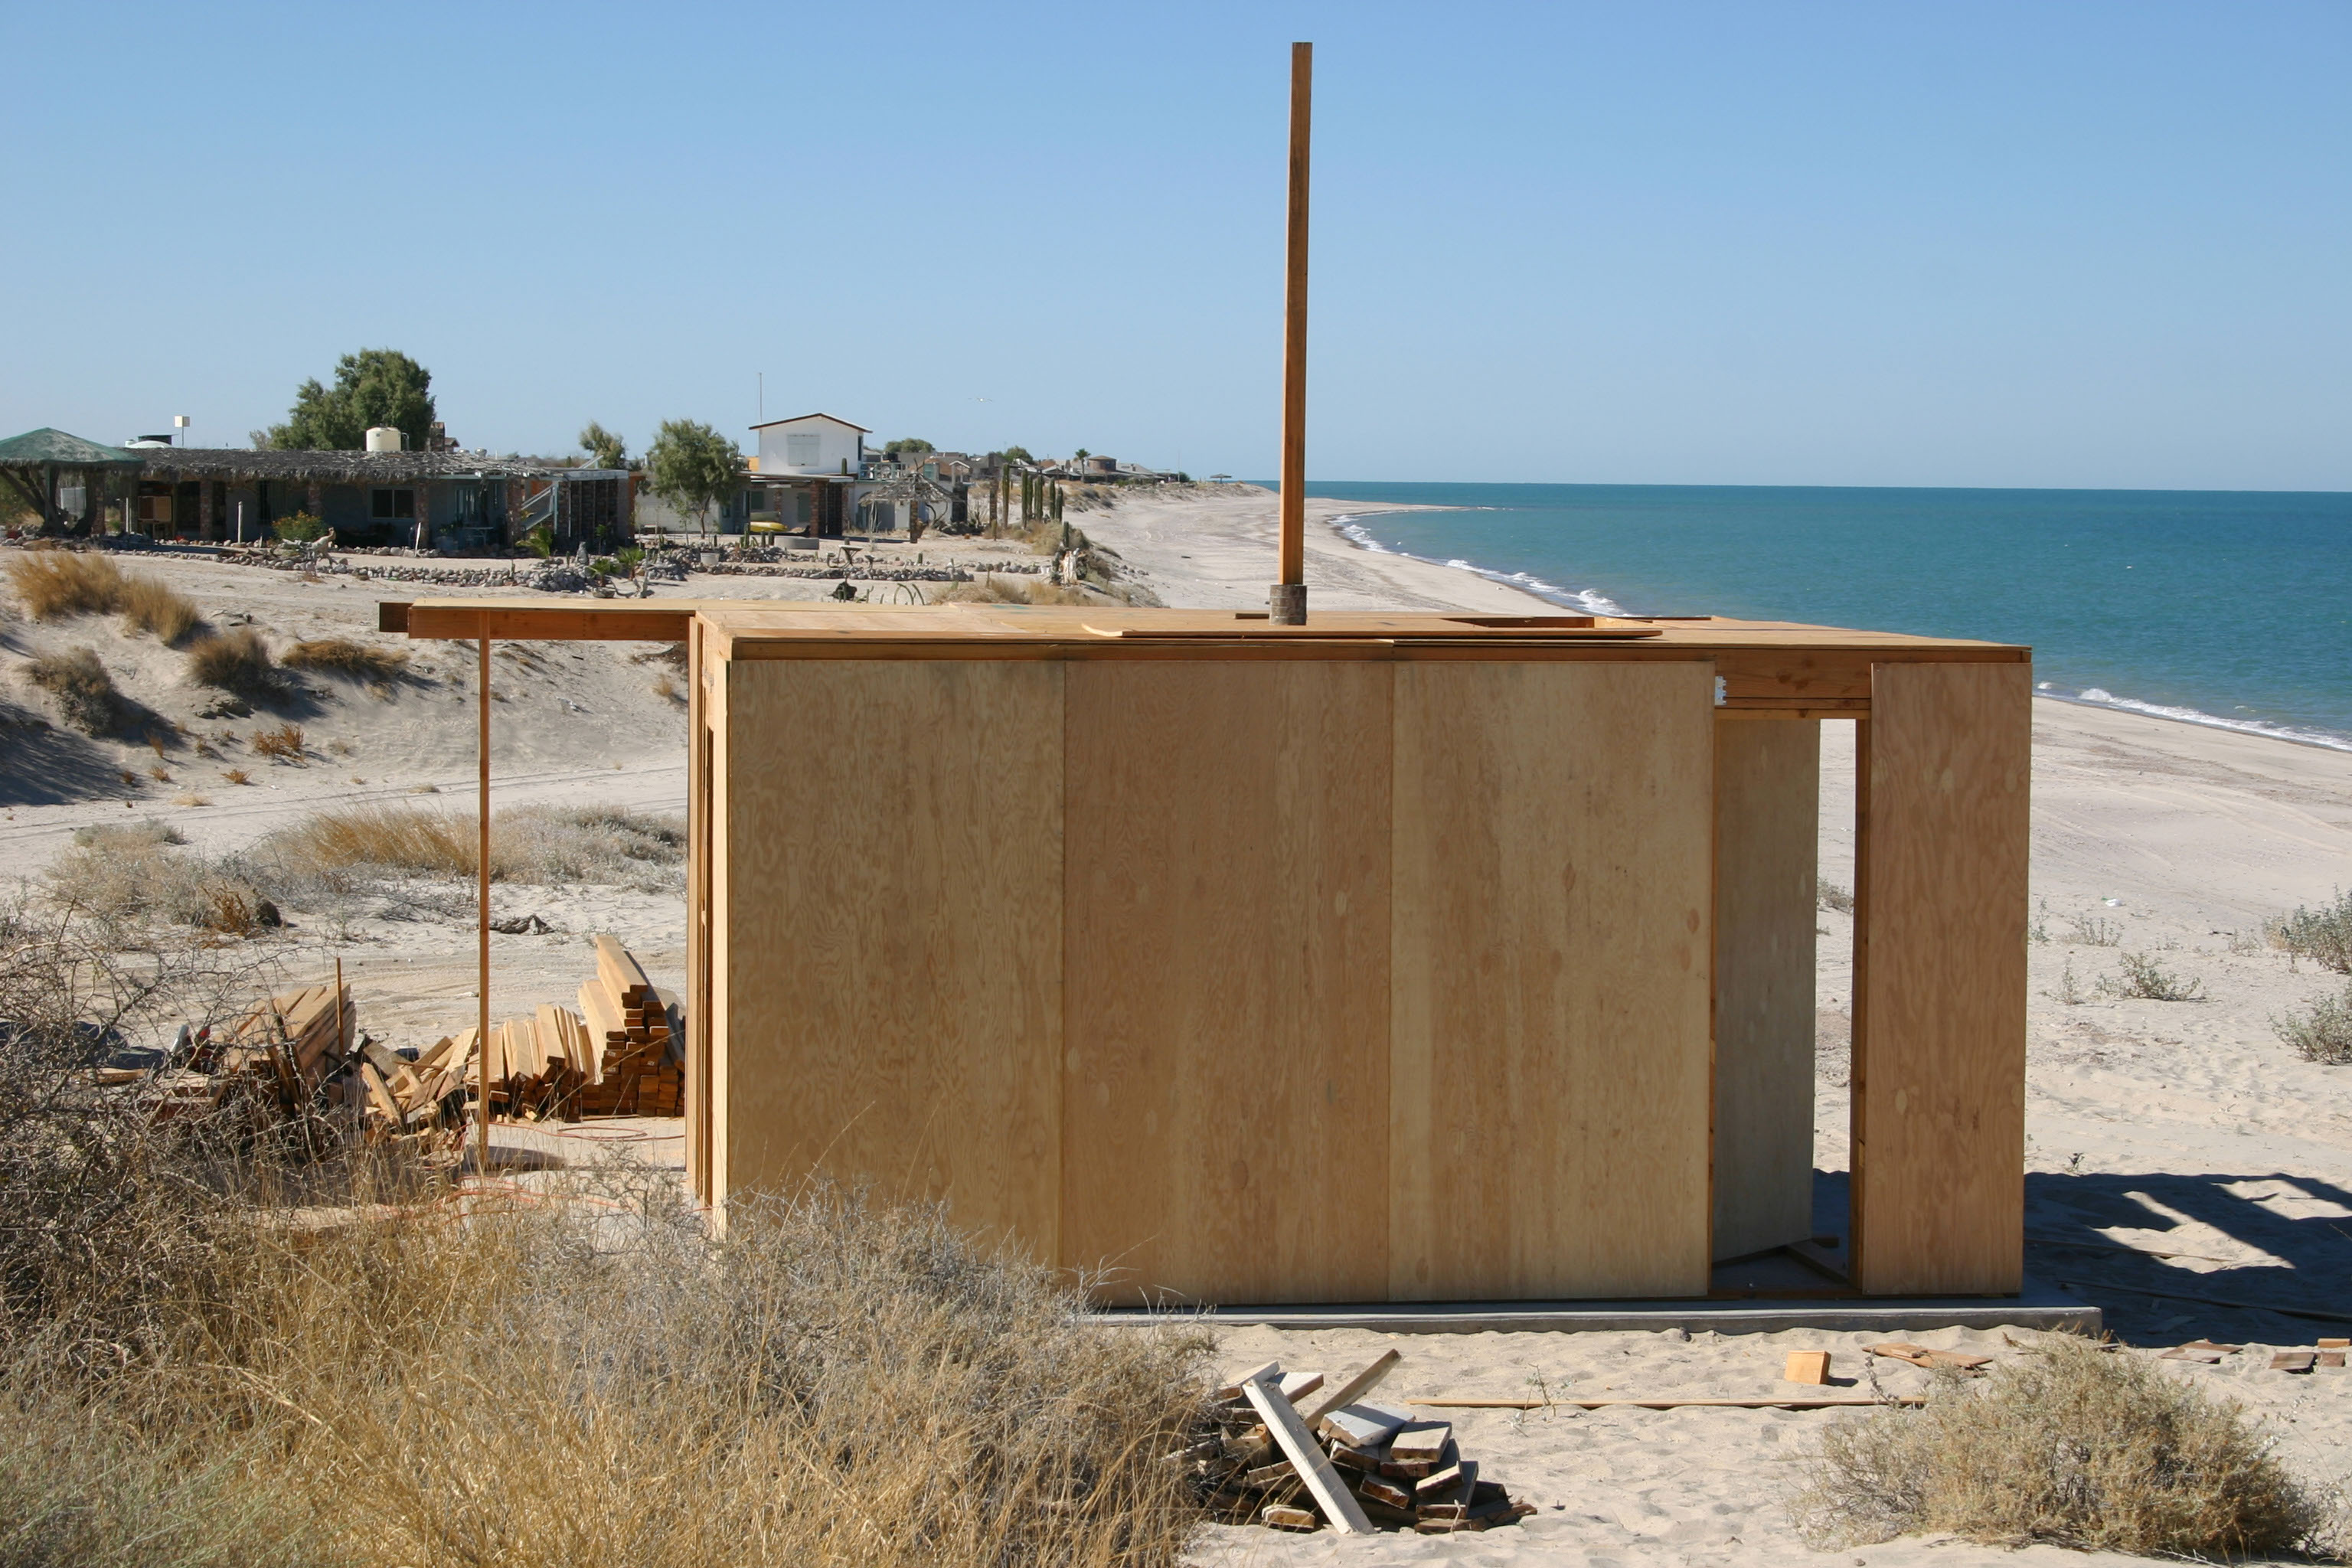
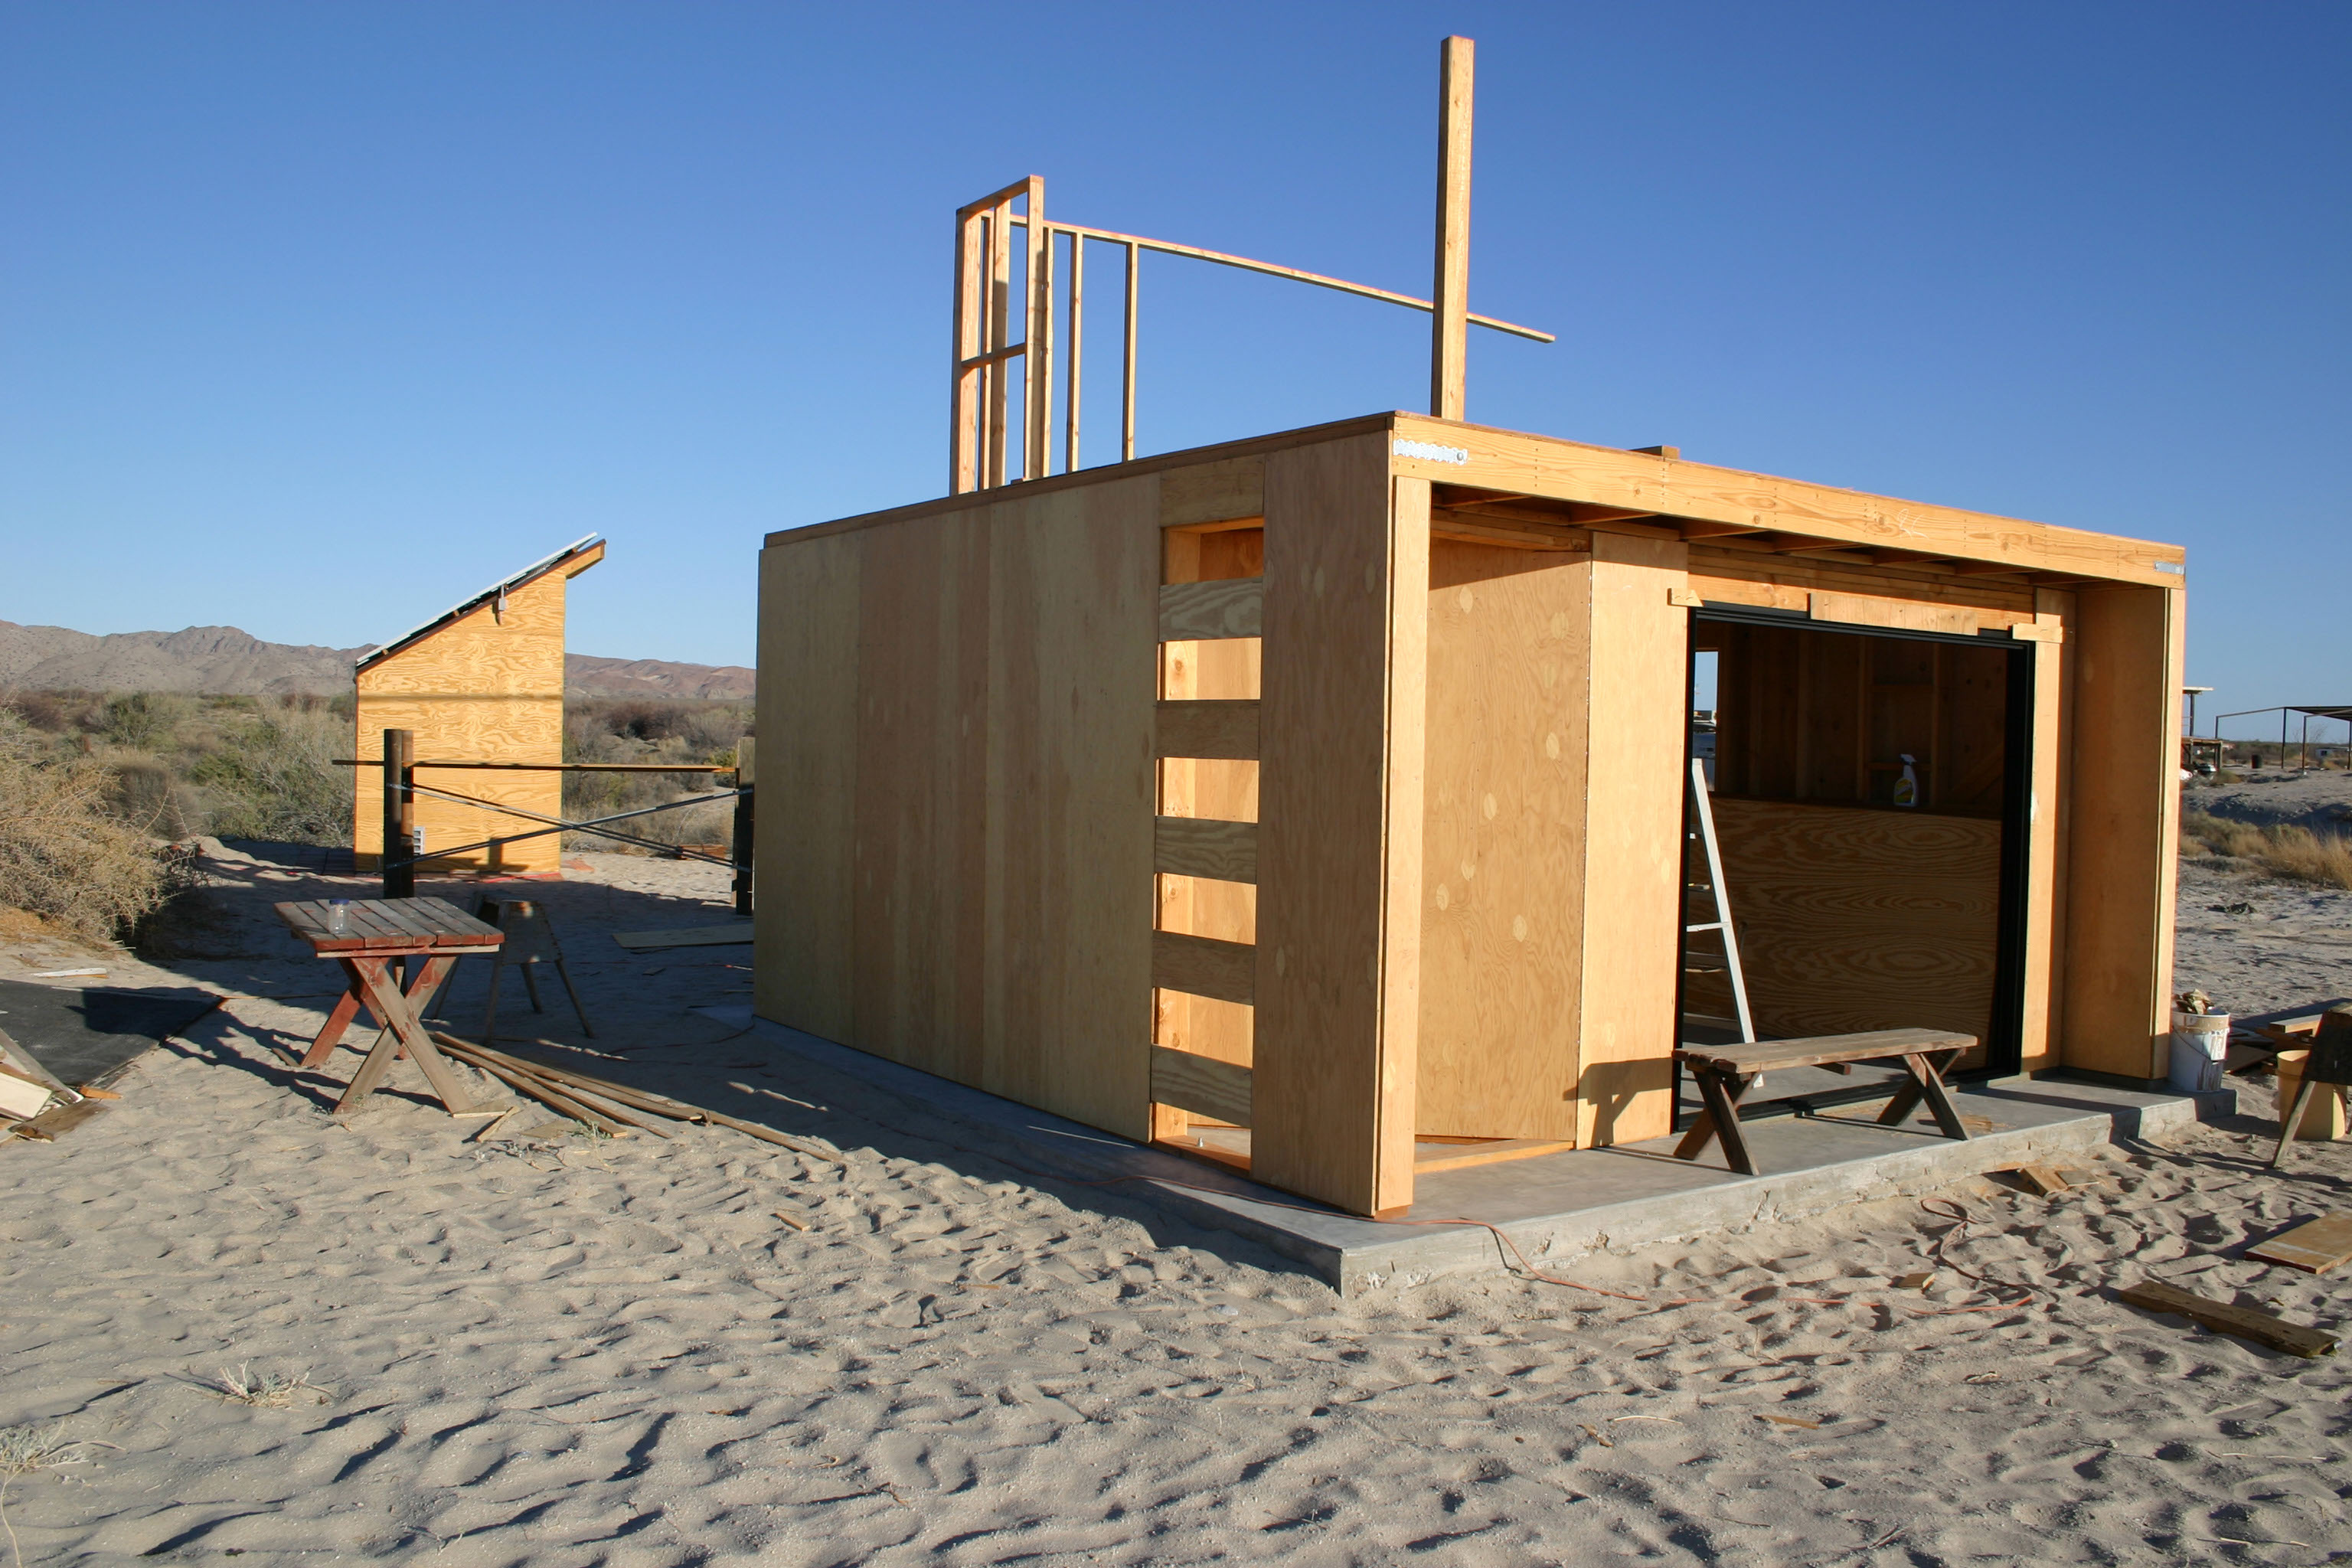
All the first floor walls of the Cube are now framed and the shed is quickly completed so that solar power may be used
A closer view of the complete lower floor frame. Note the horizontal blocking and the diagonal bracing
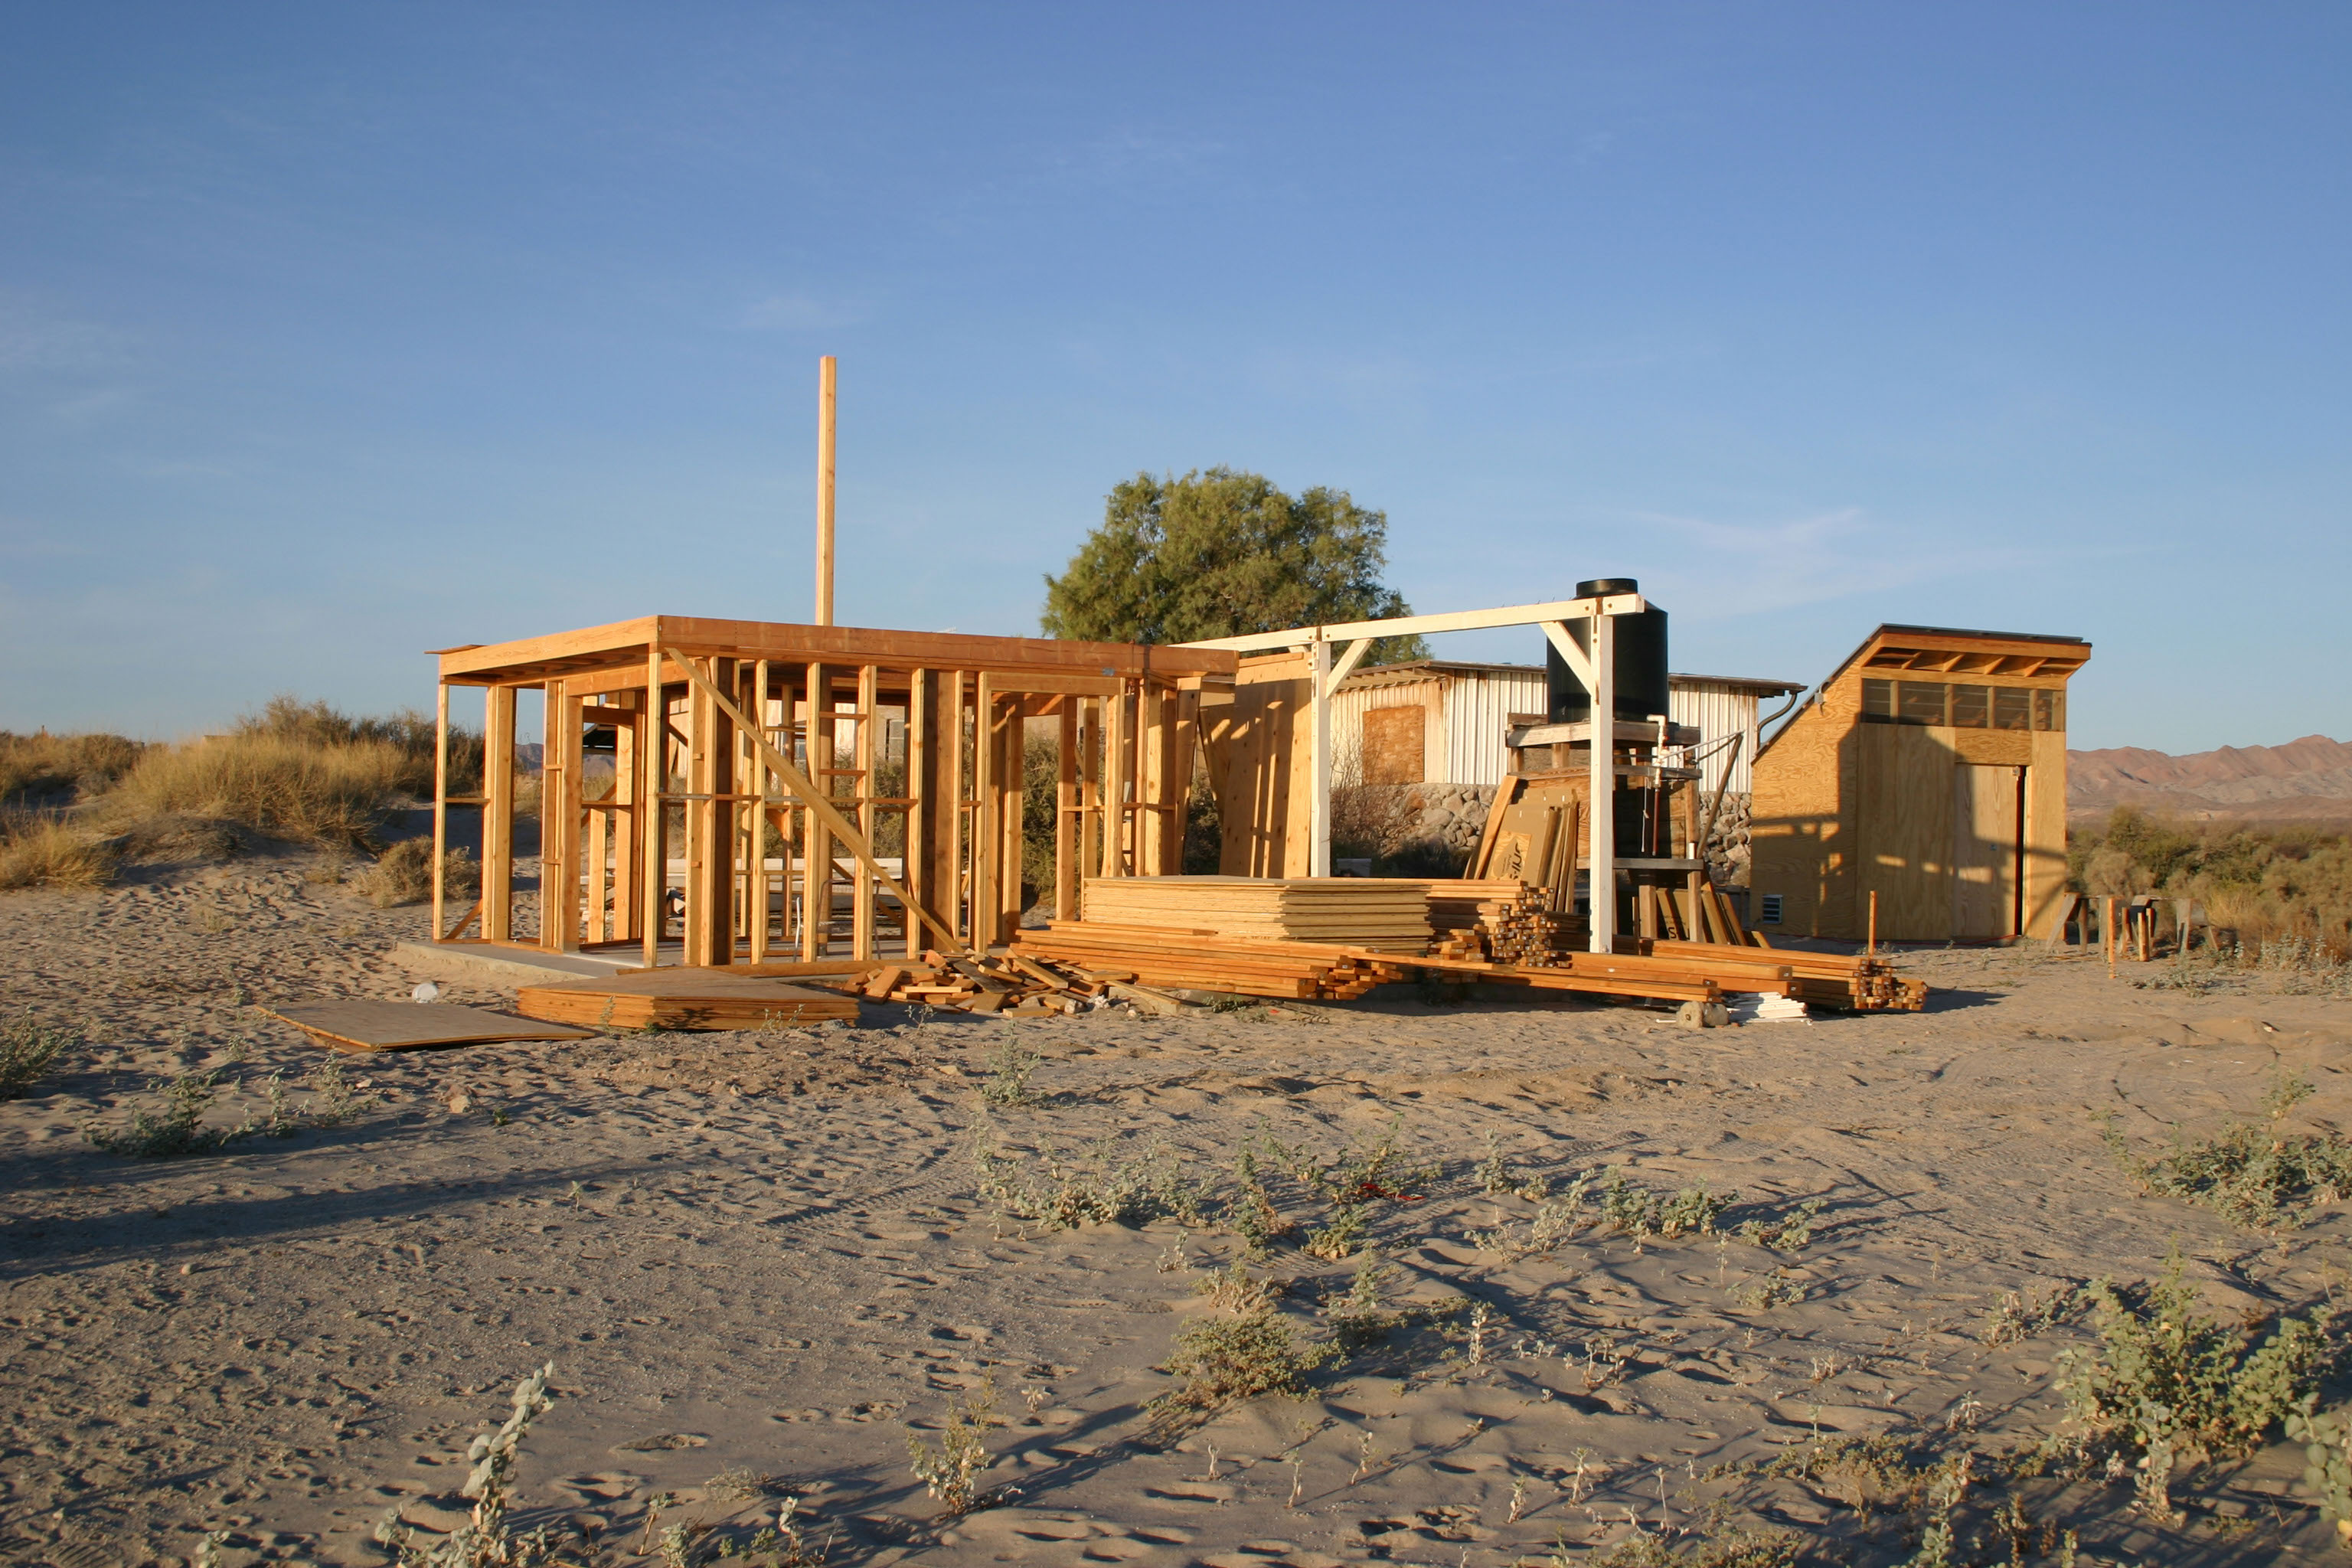
John returns to finish the shed as the lower floor framing of the Cube nears completion
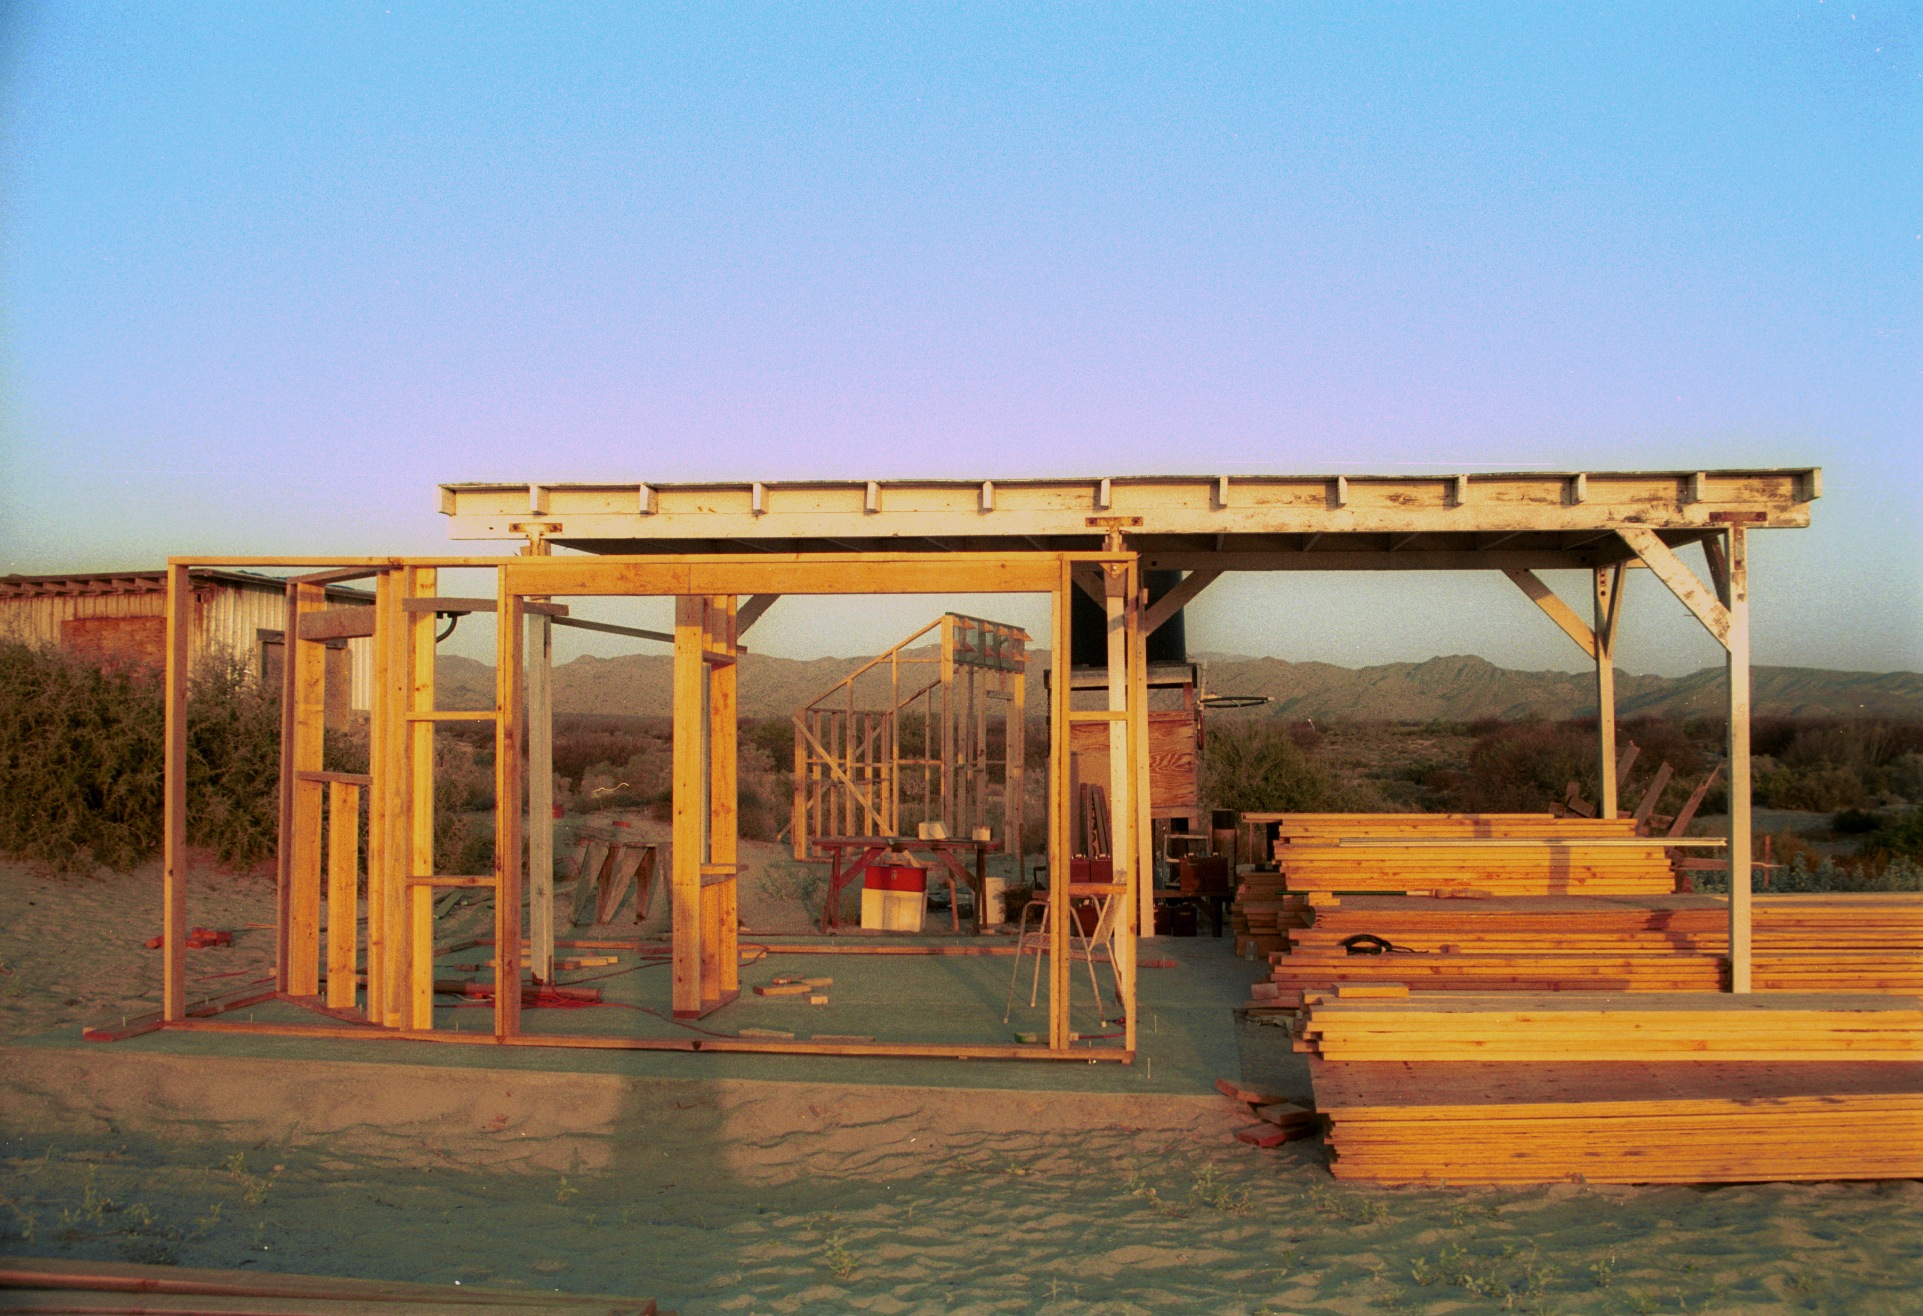
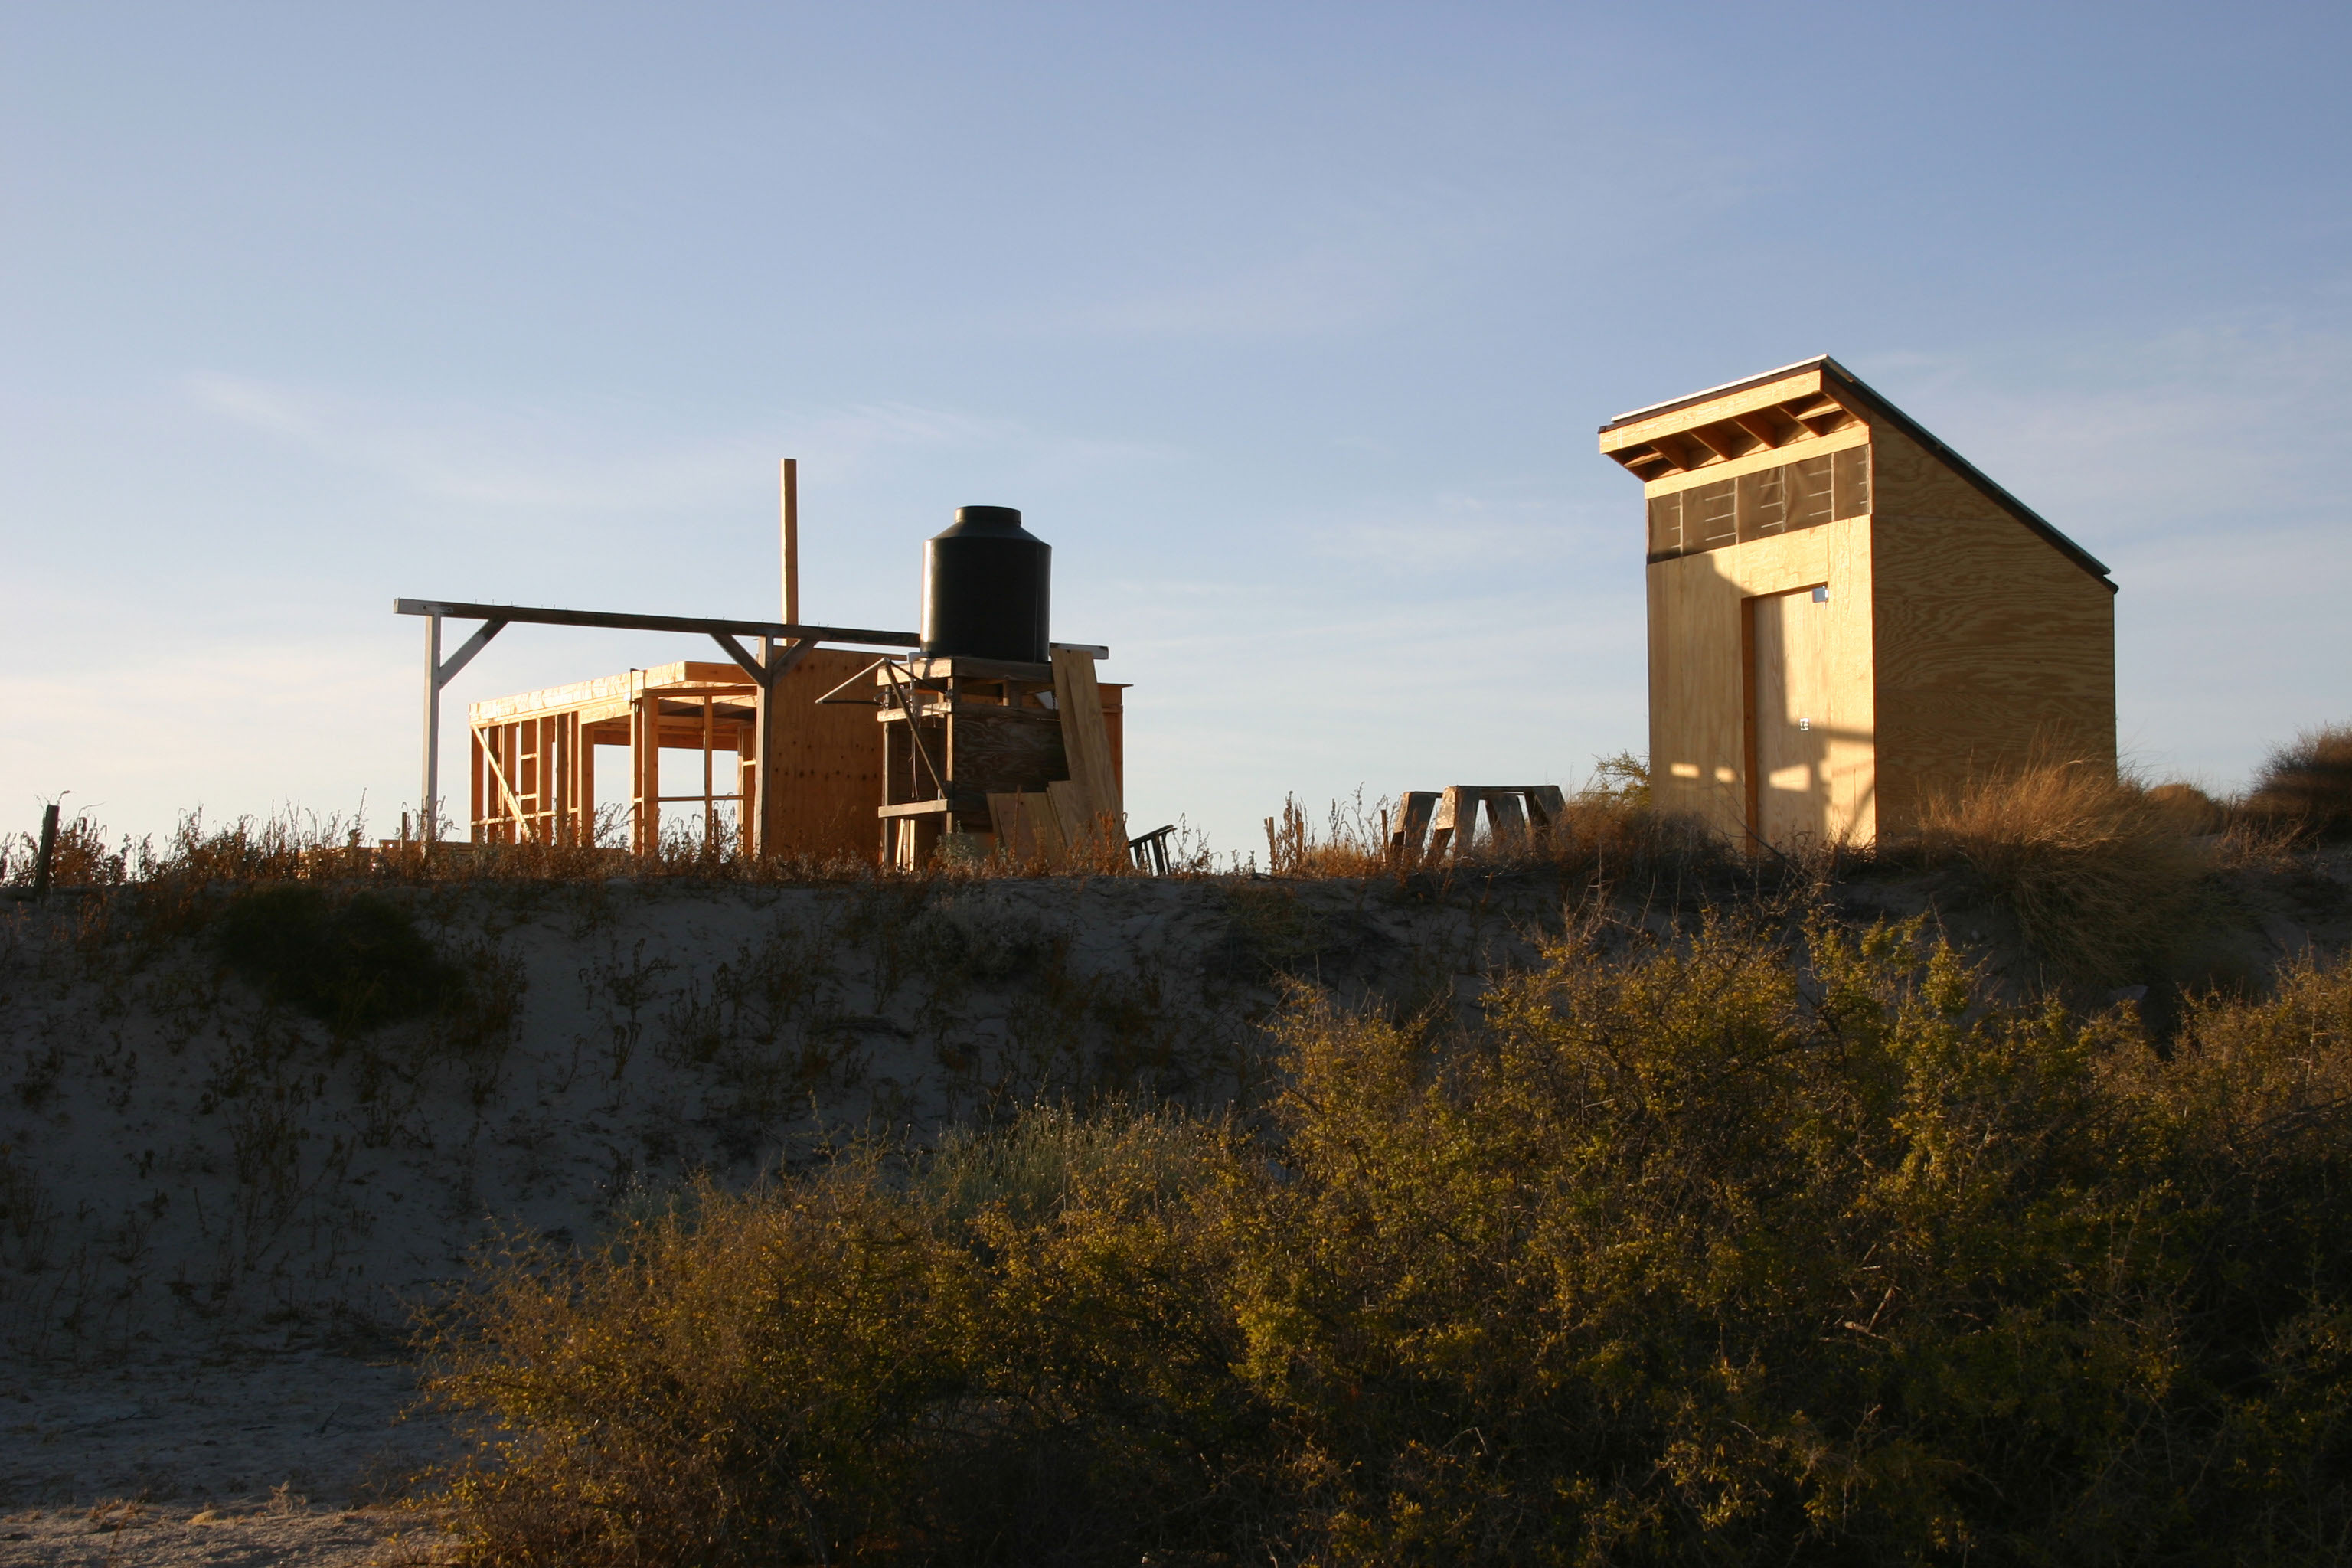
The original water tank structure provides a water source during building. The tank will ultimately be mounted on the Cube roof. The shed, now providing electricity, awaits horizontal slats on its North facade
The 4 x 4 post that will support the roof under the water tank
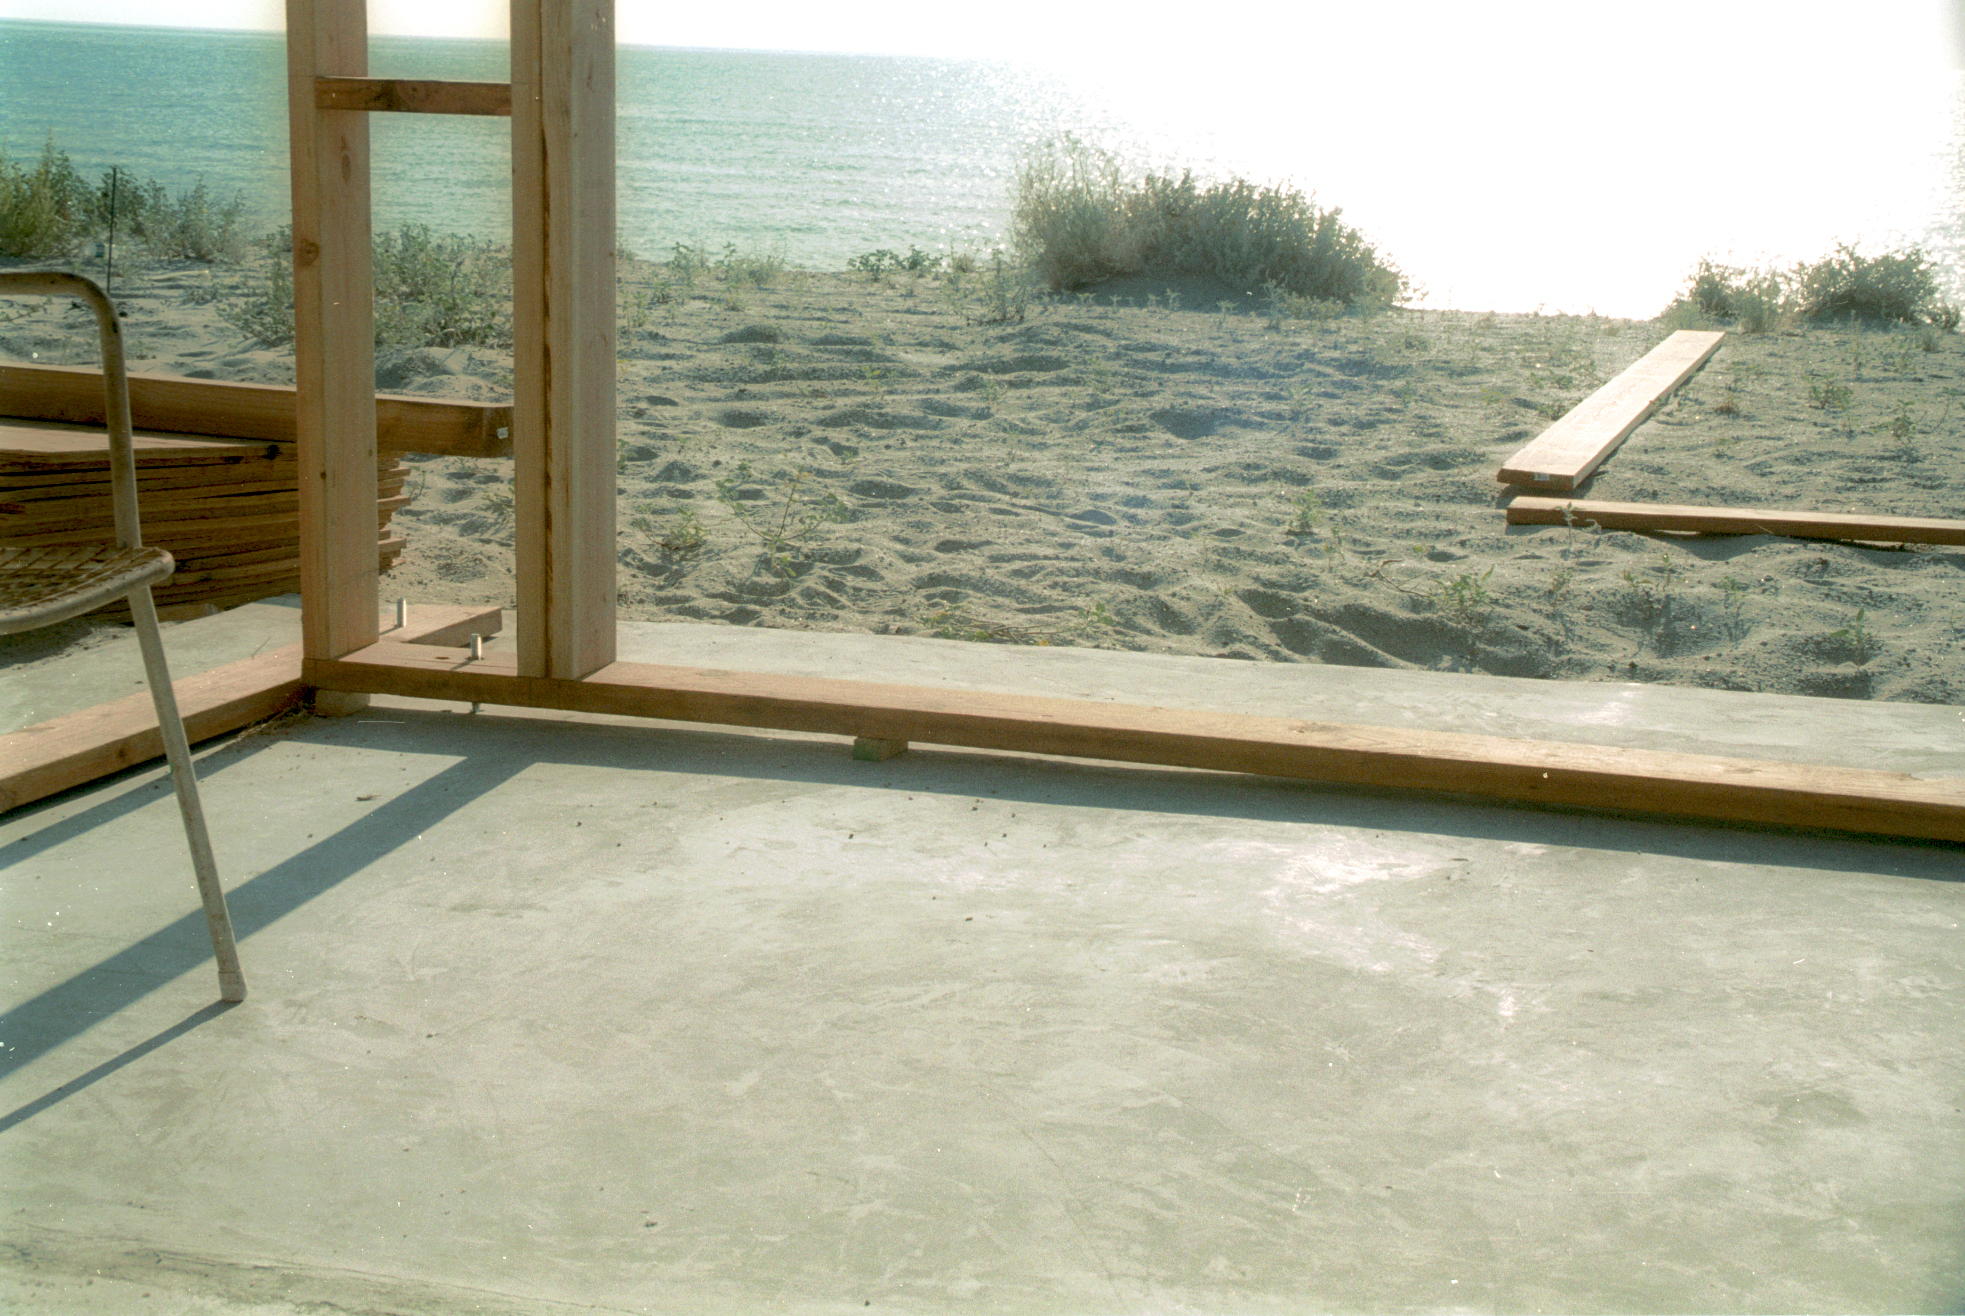
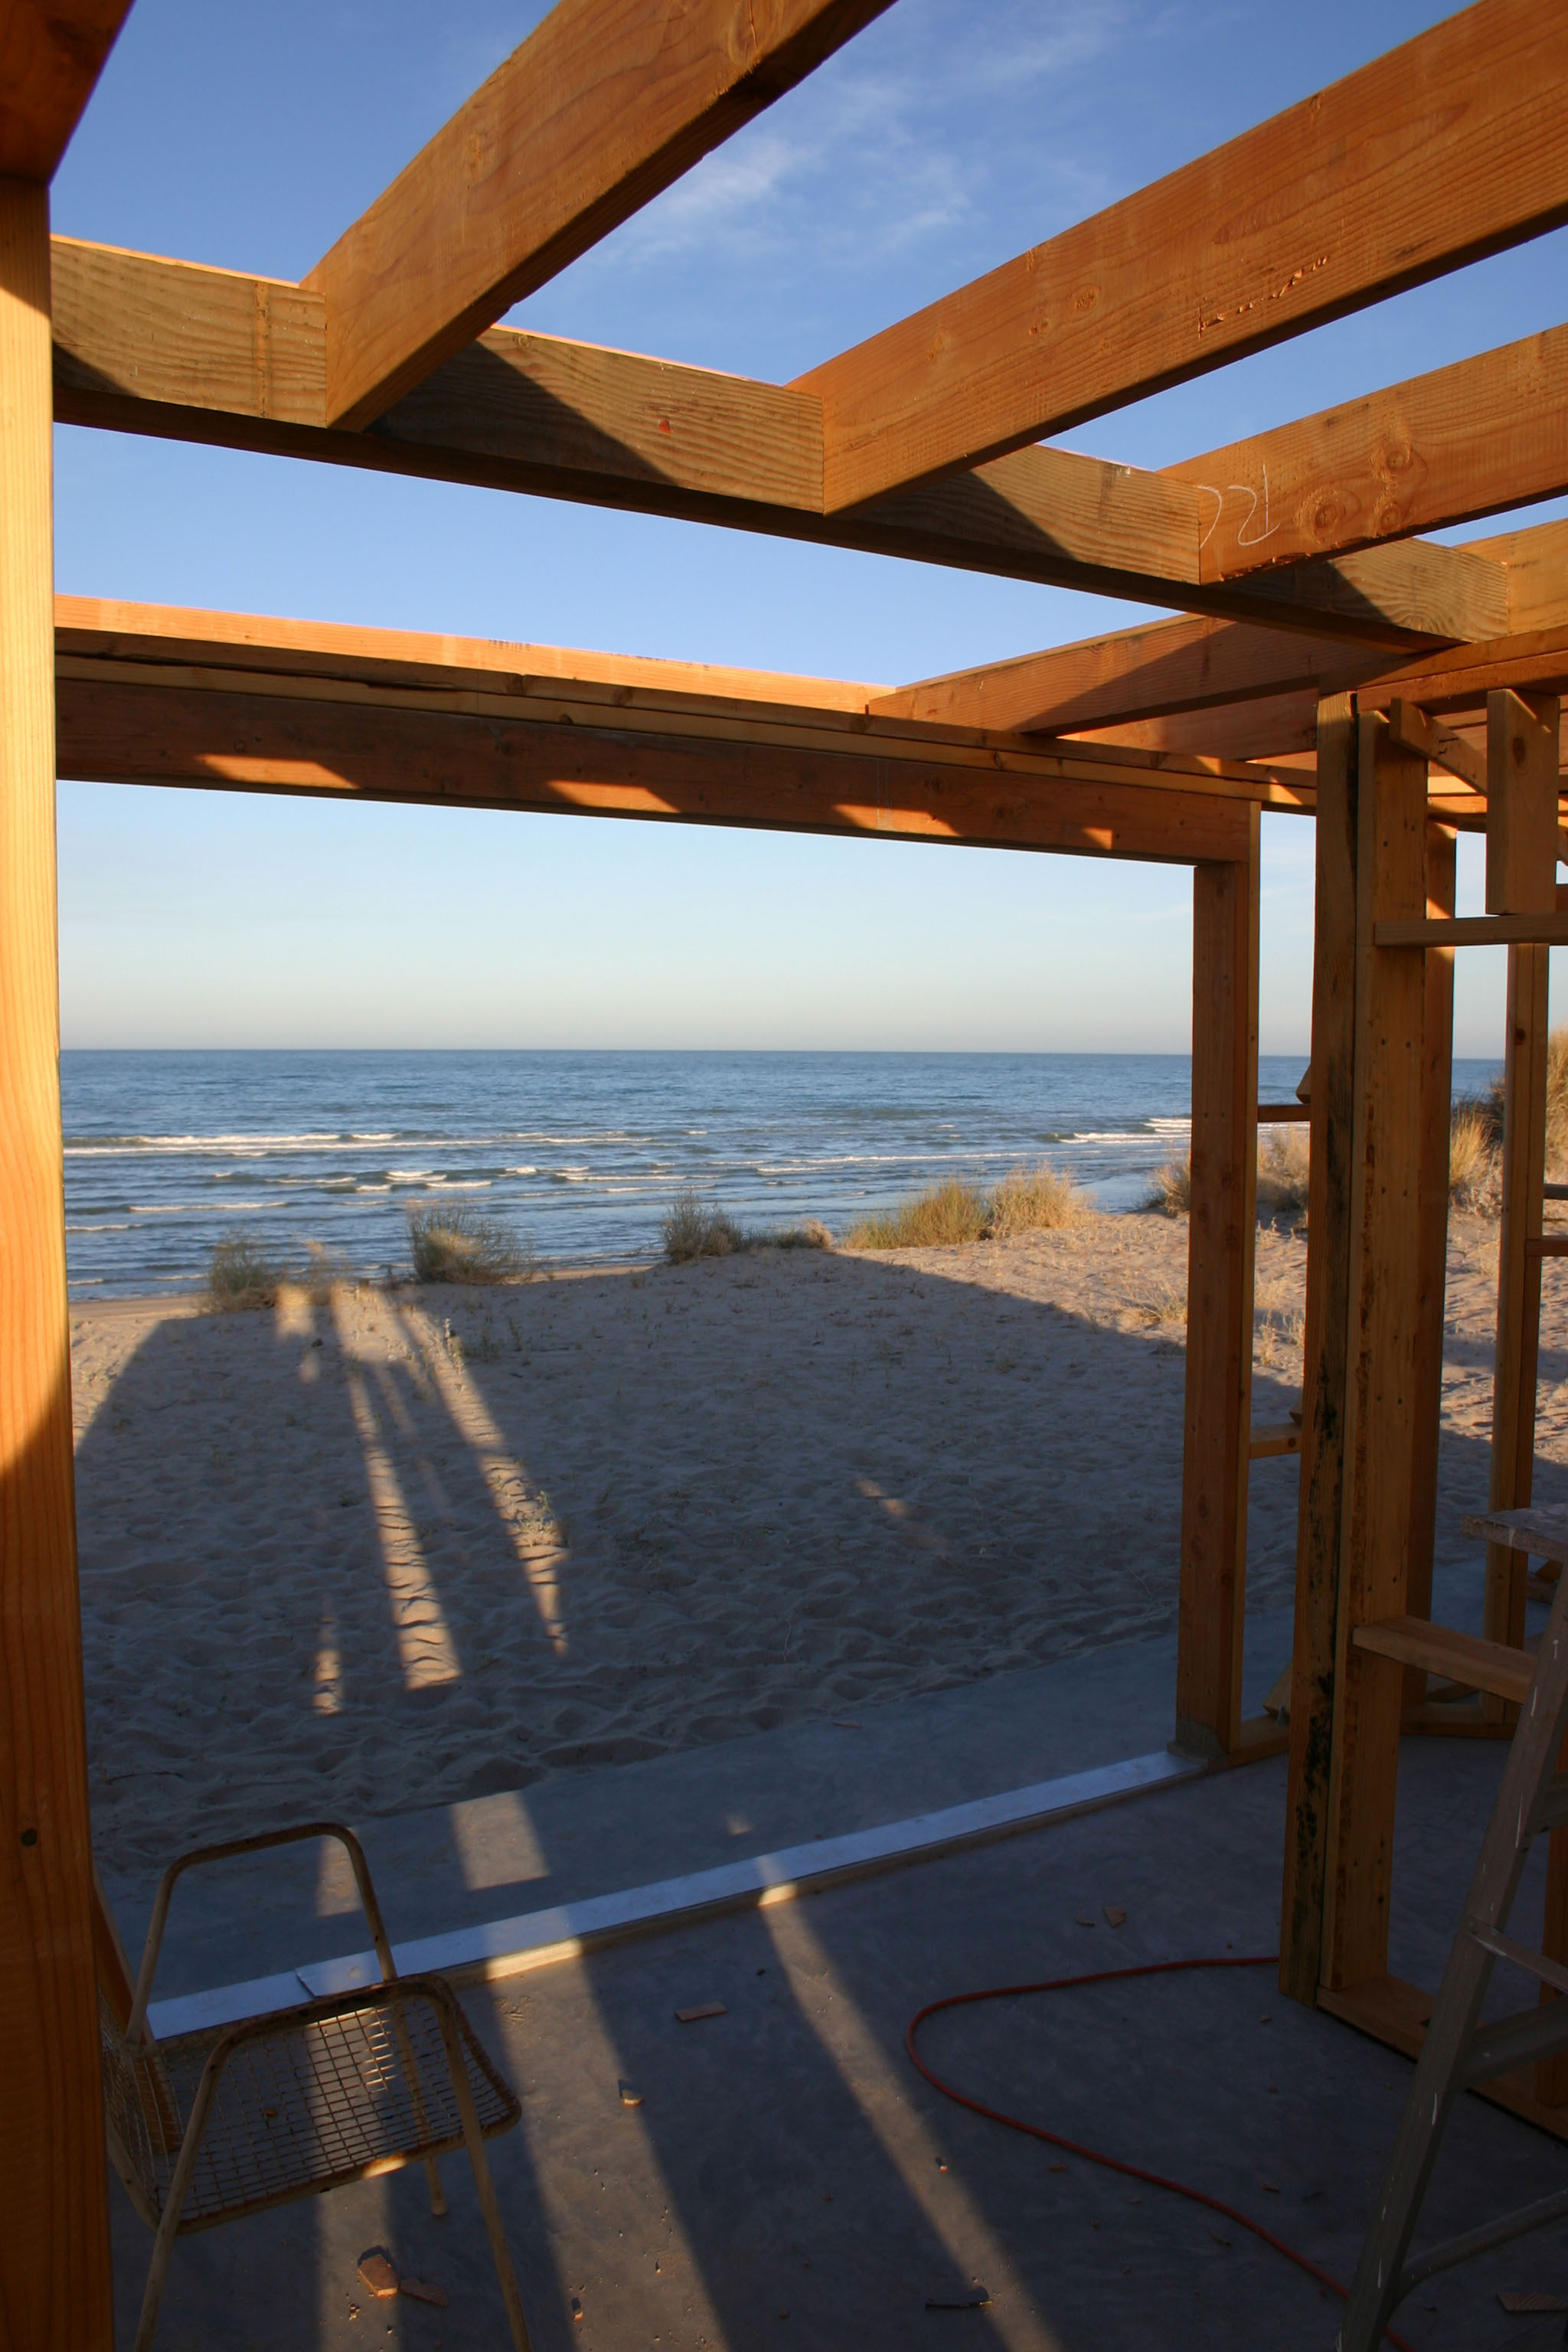
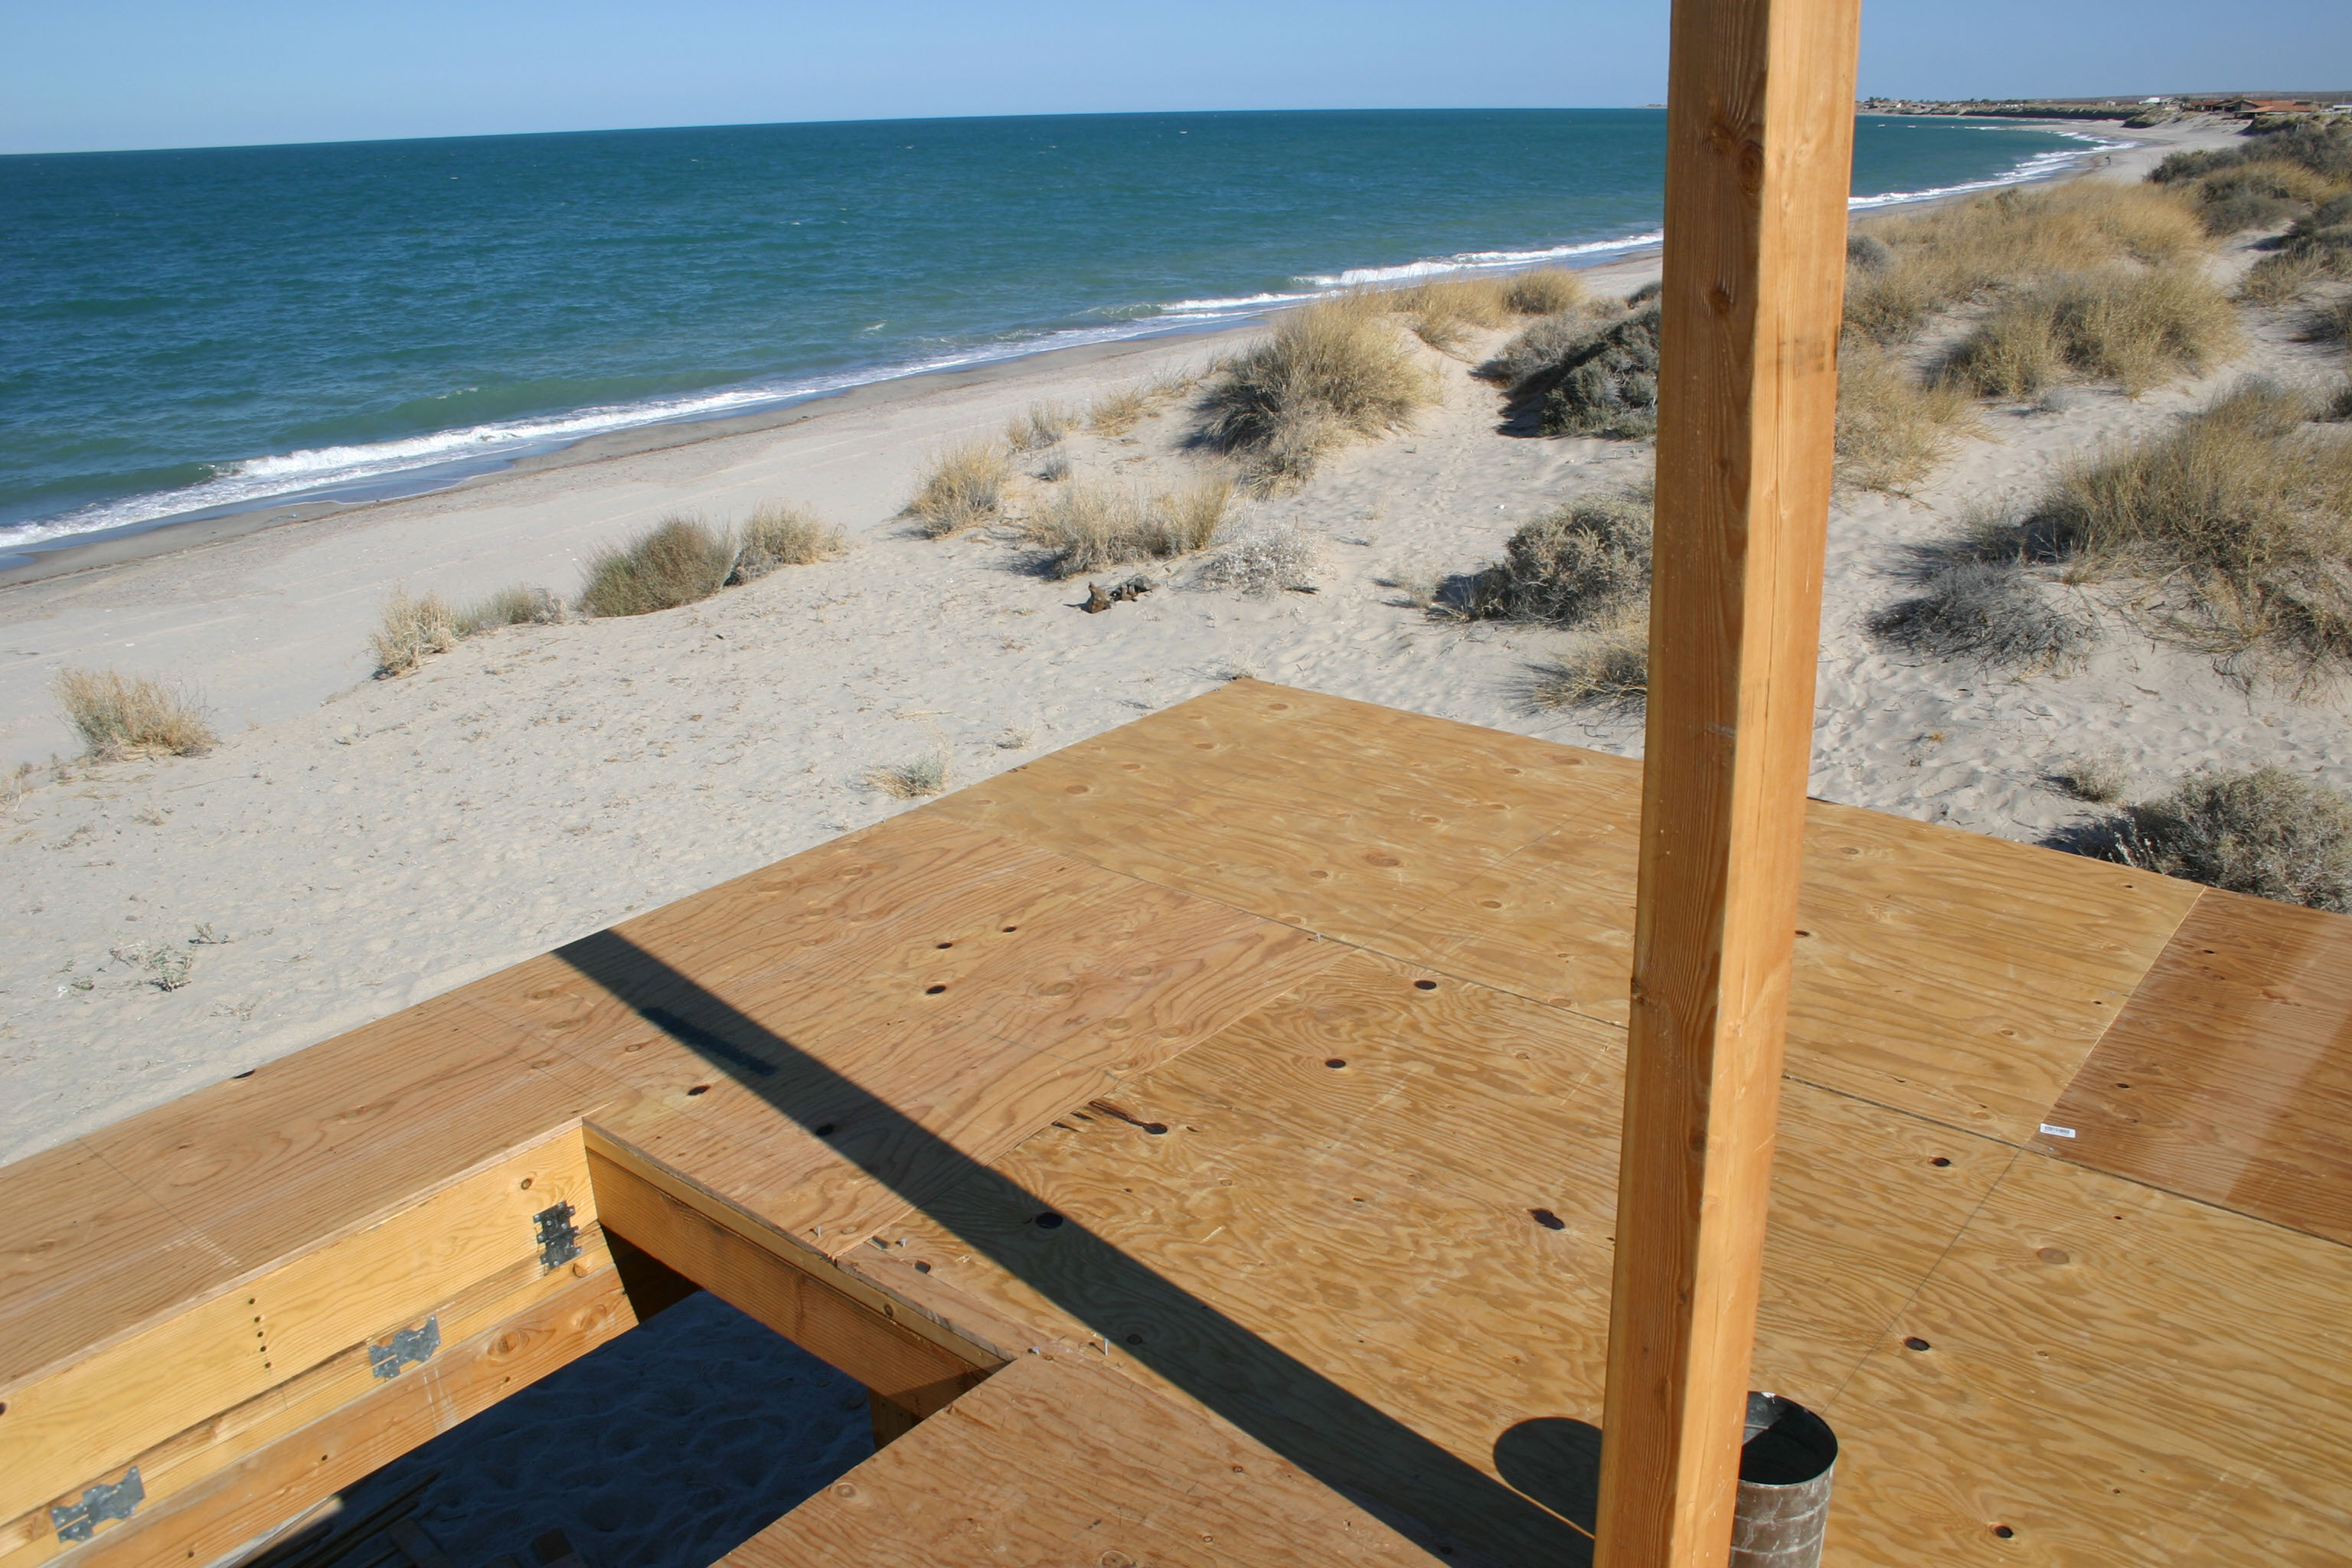
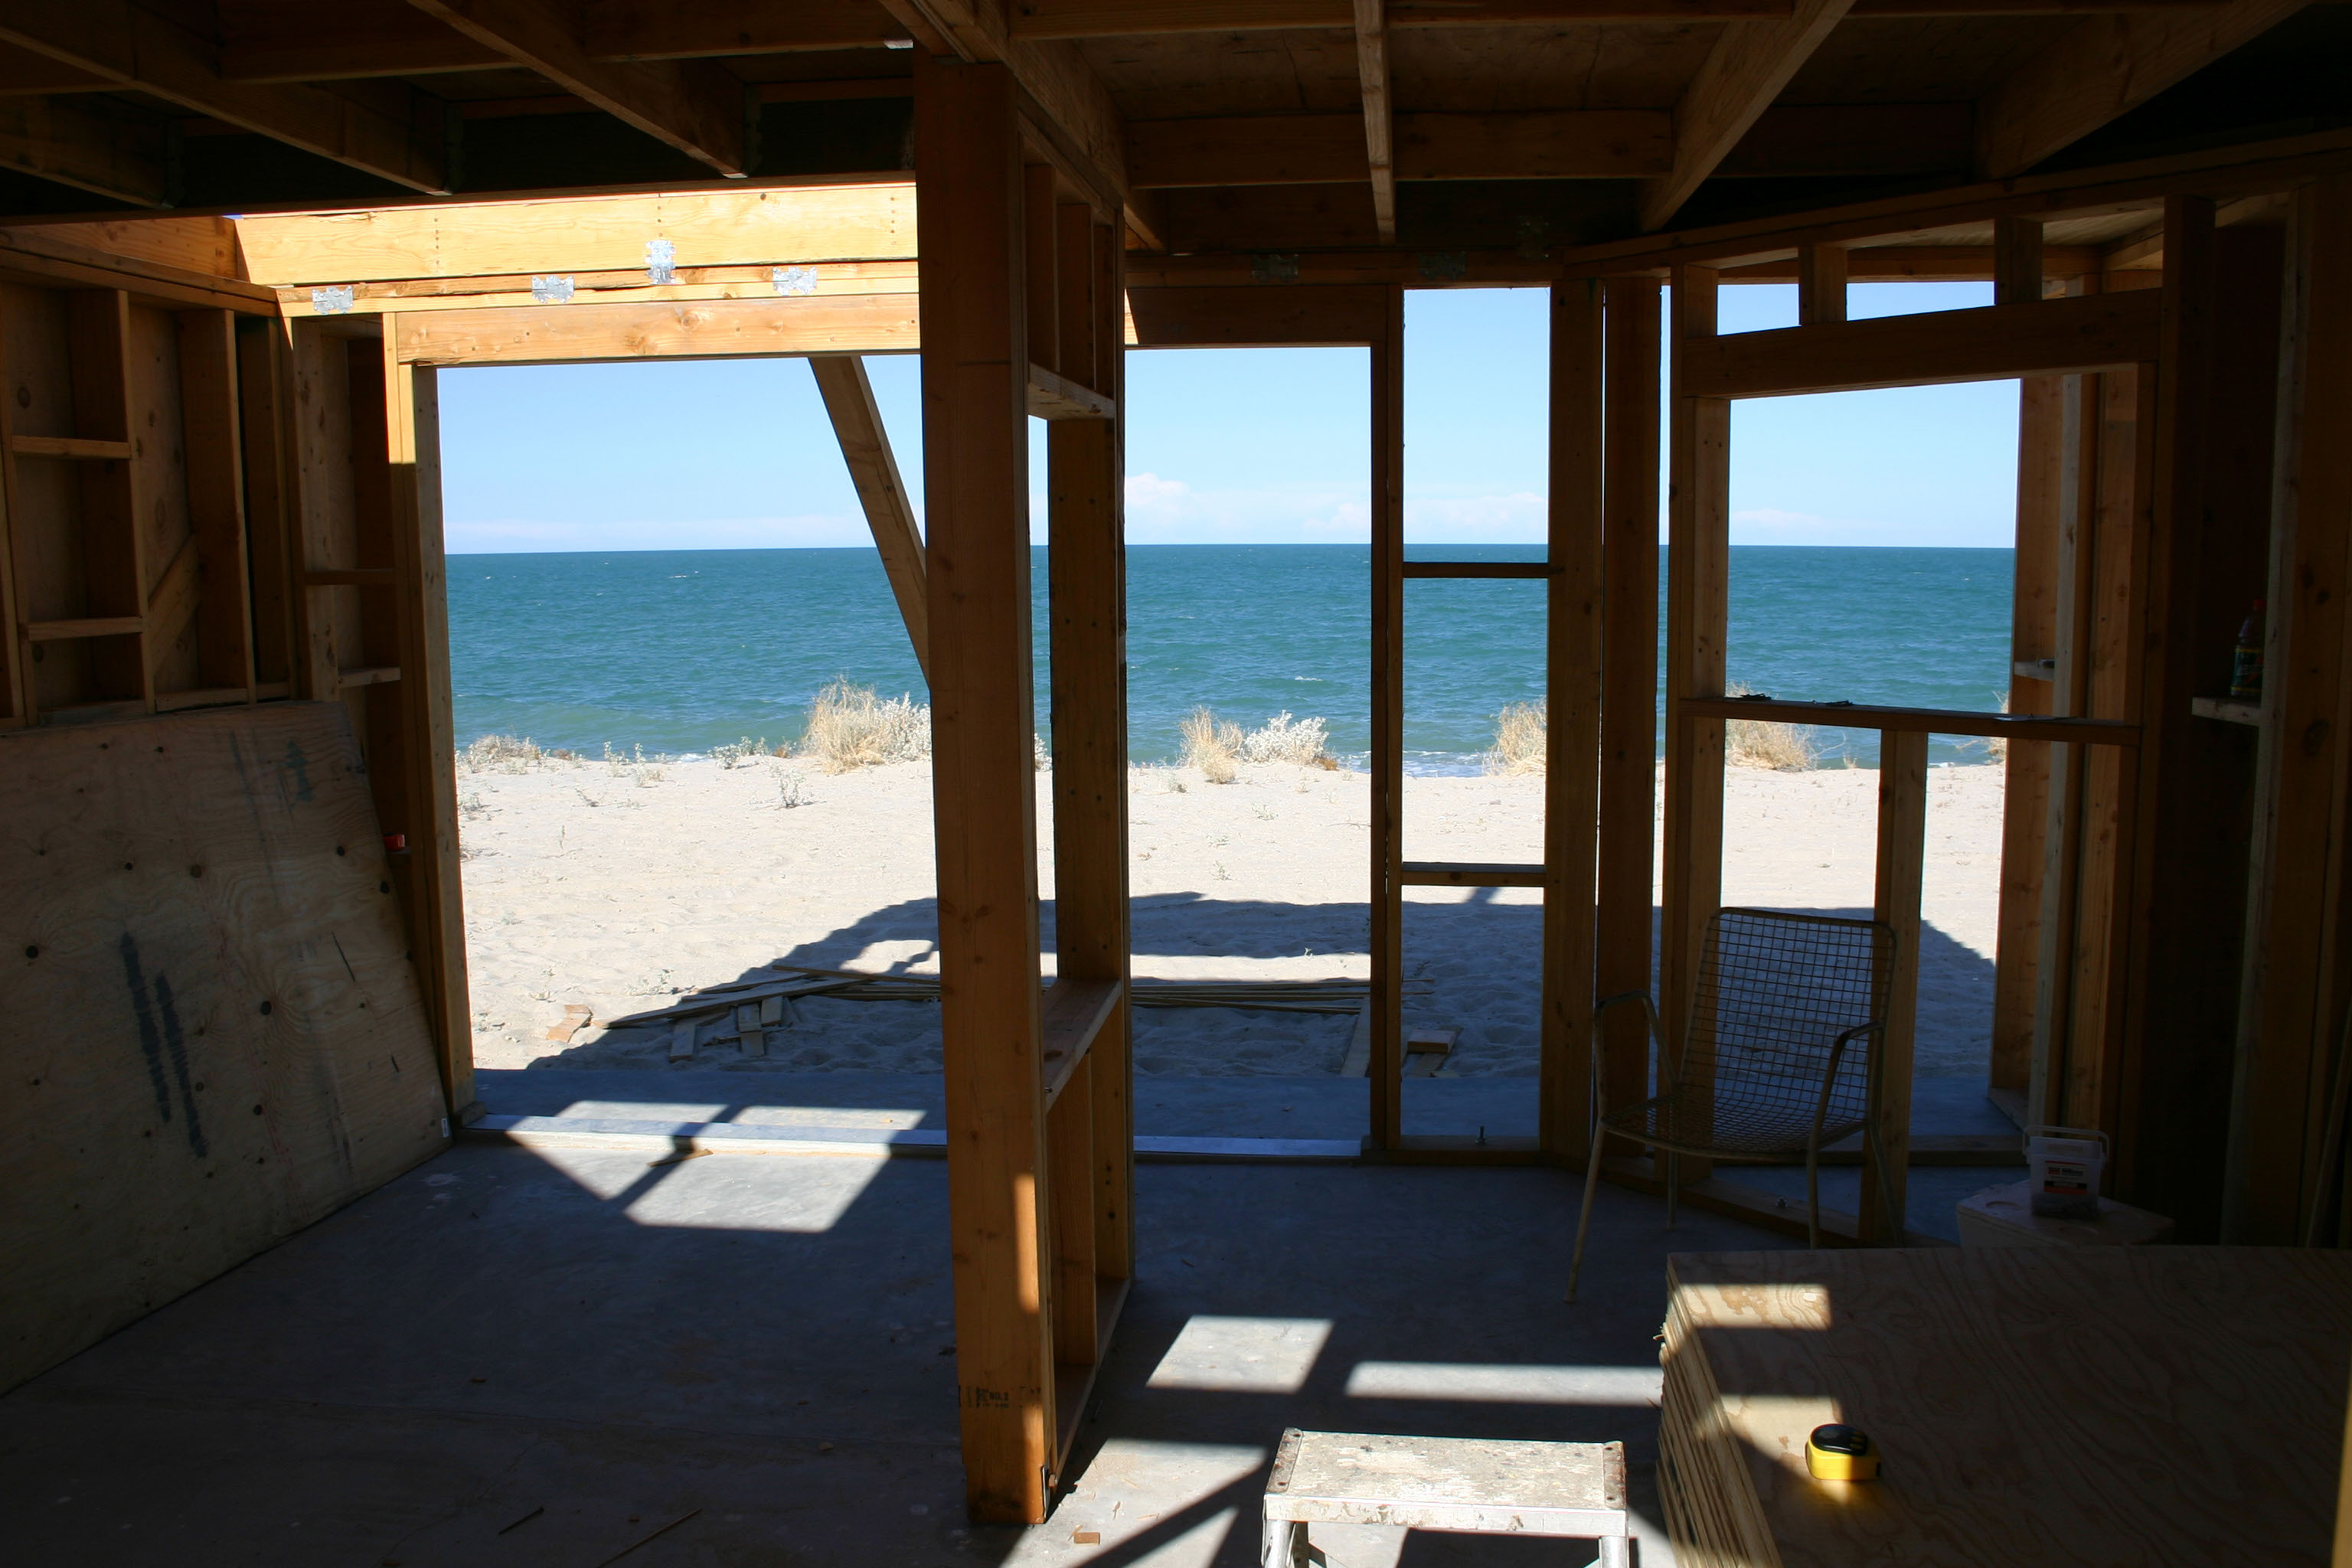
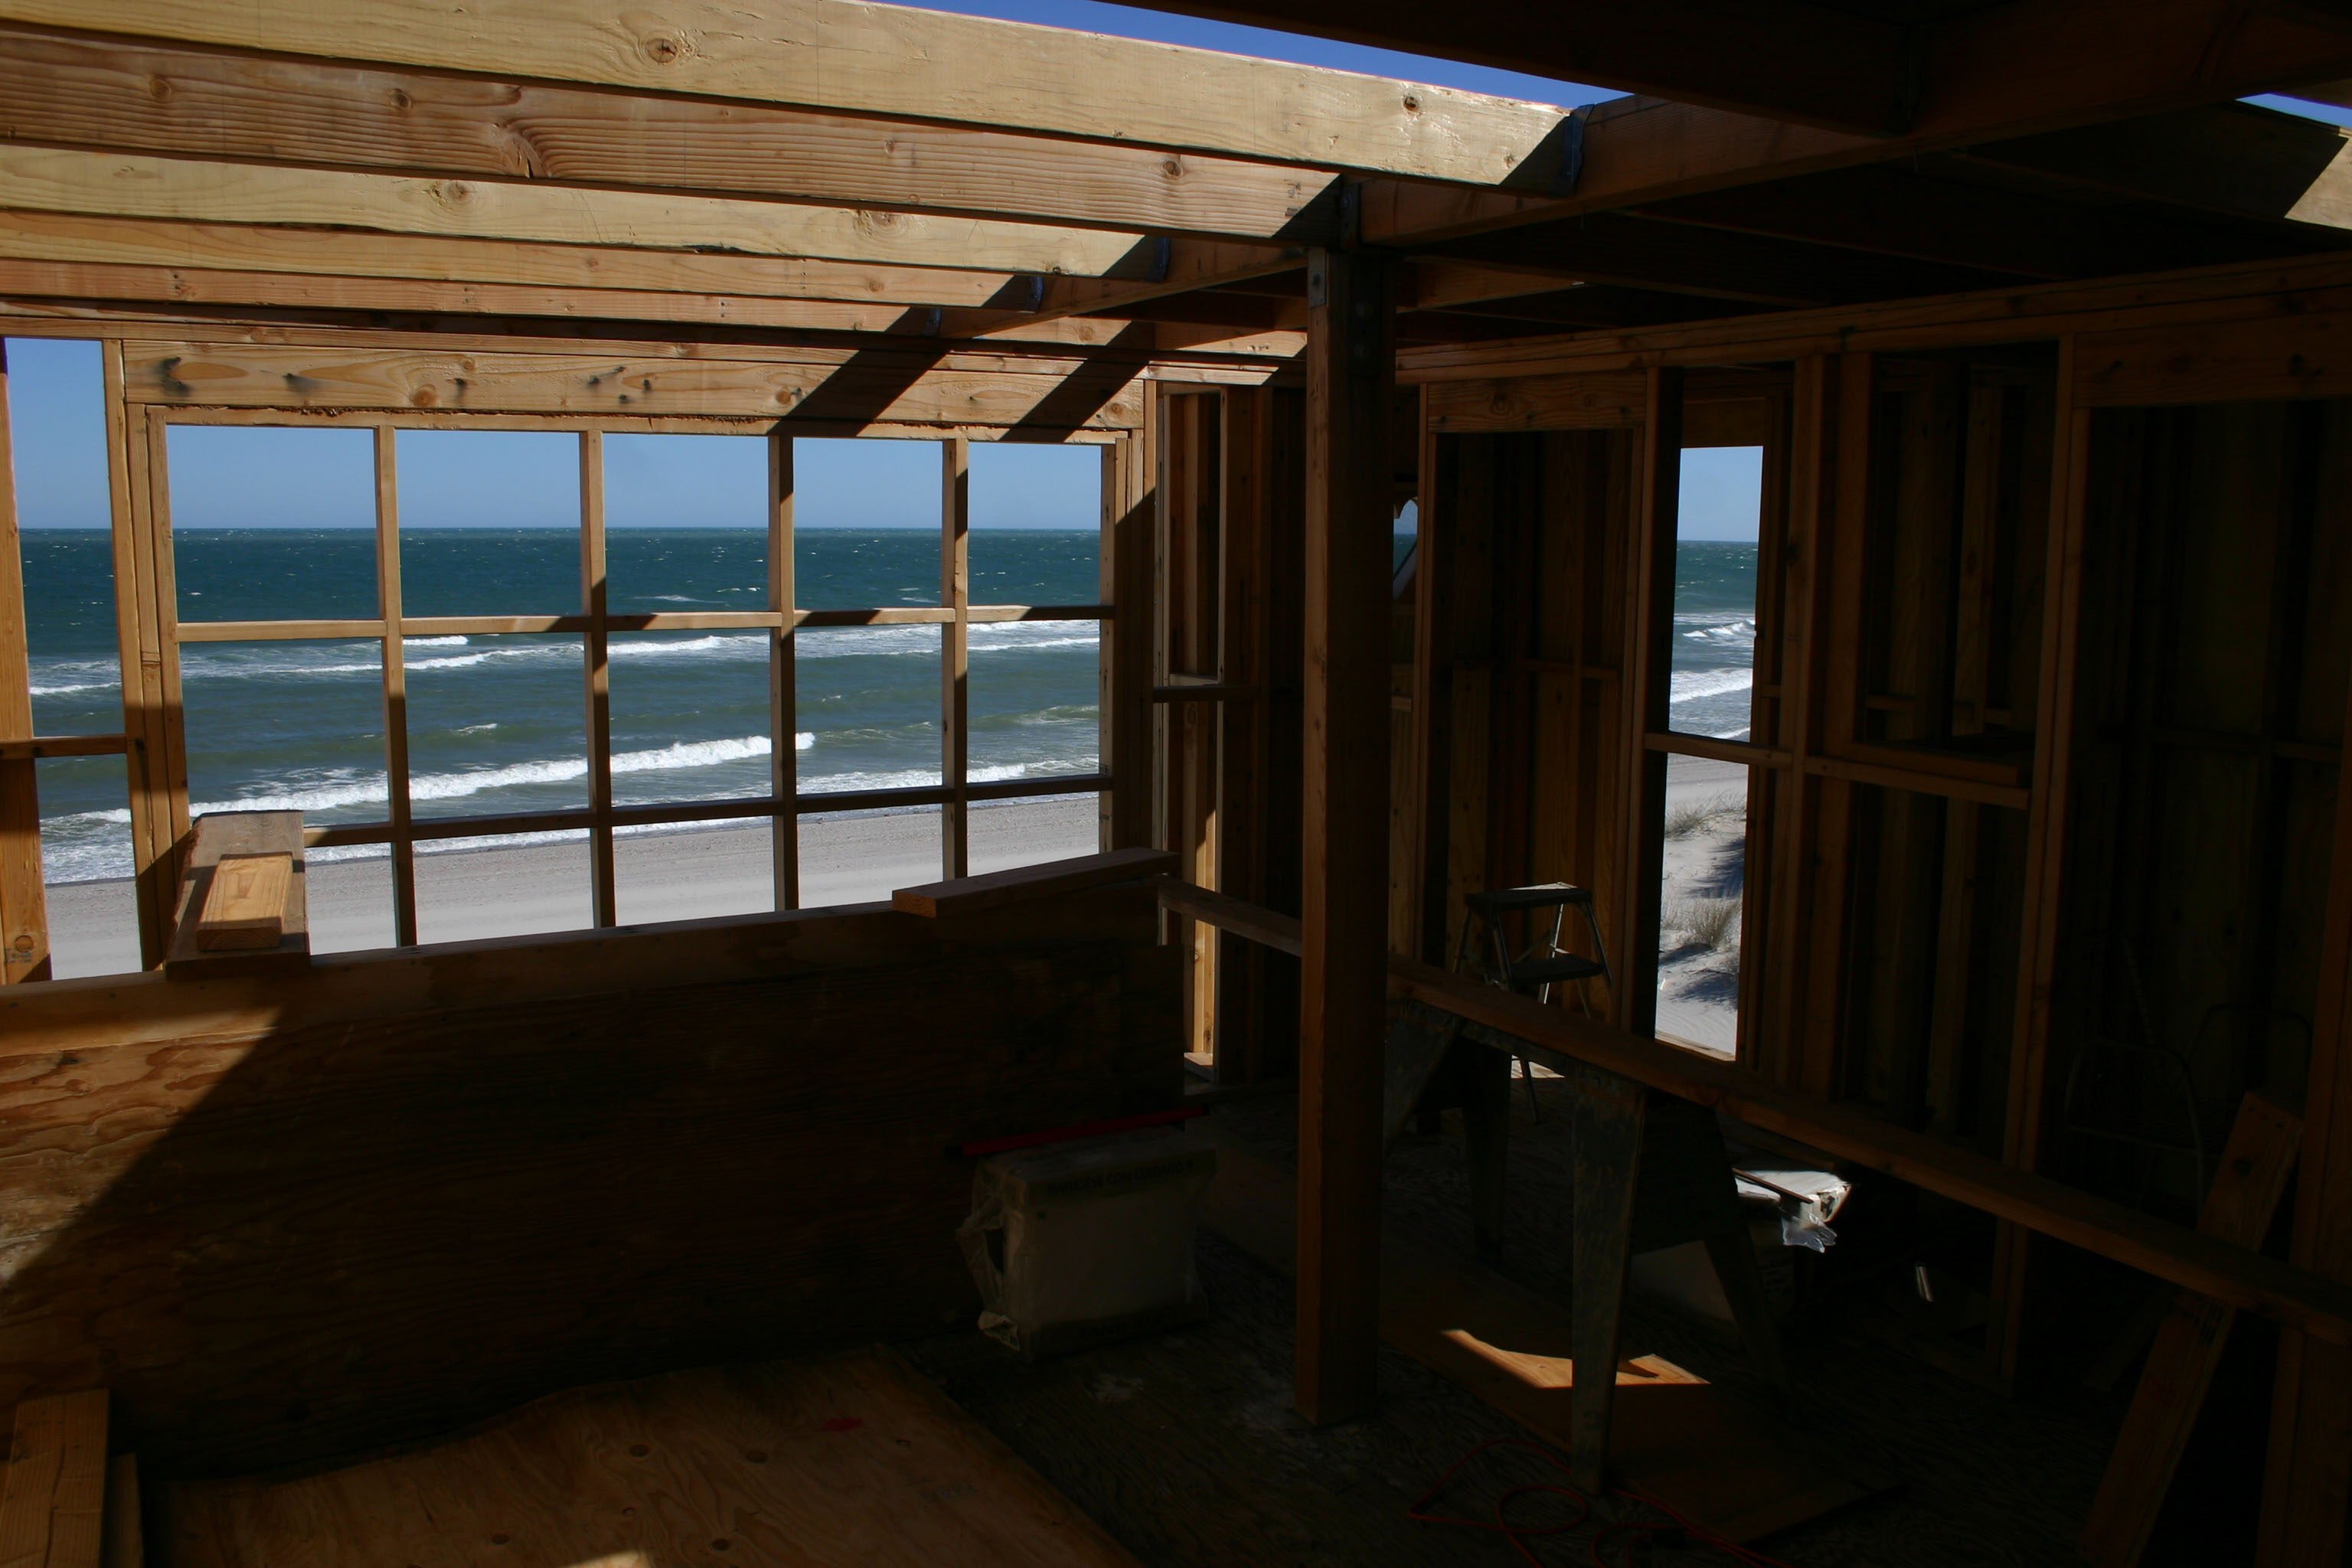
The Sea of Cortez framed by the opening for the sliding glass doors
Richard backfills the shimmed bottom plate with concrete
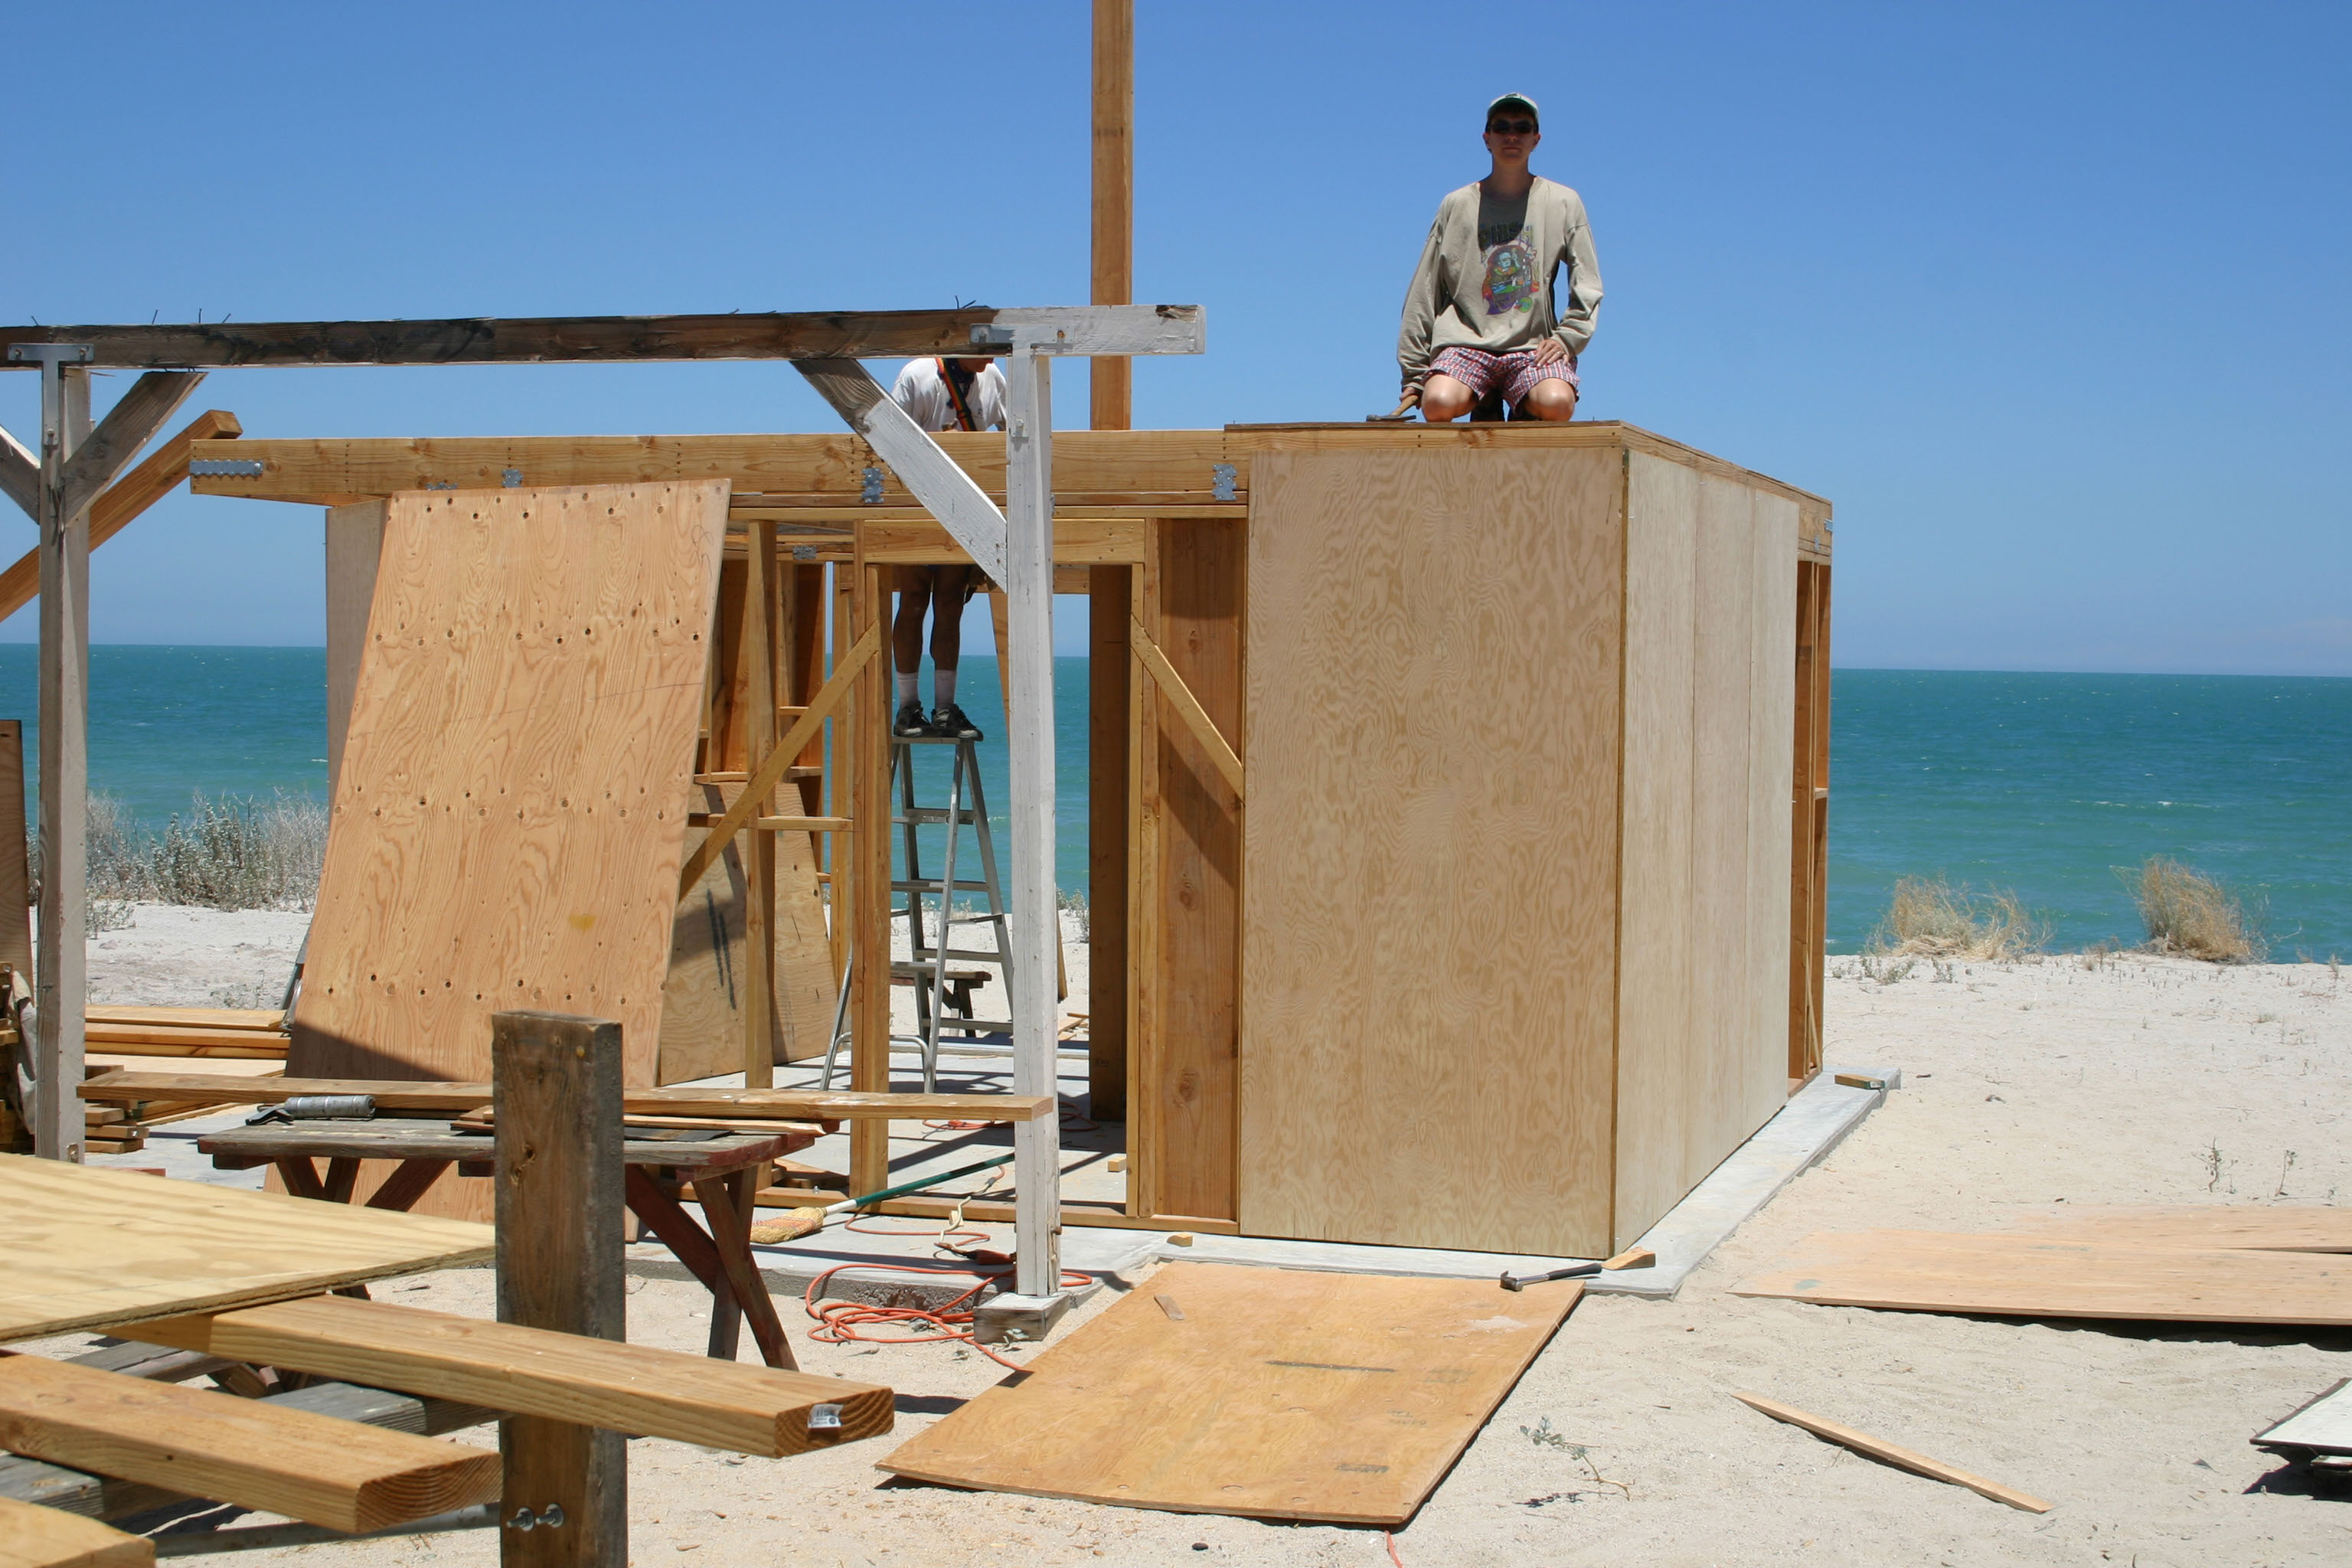
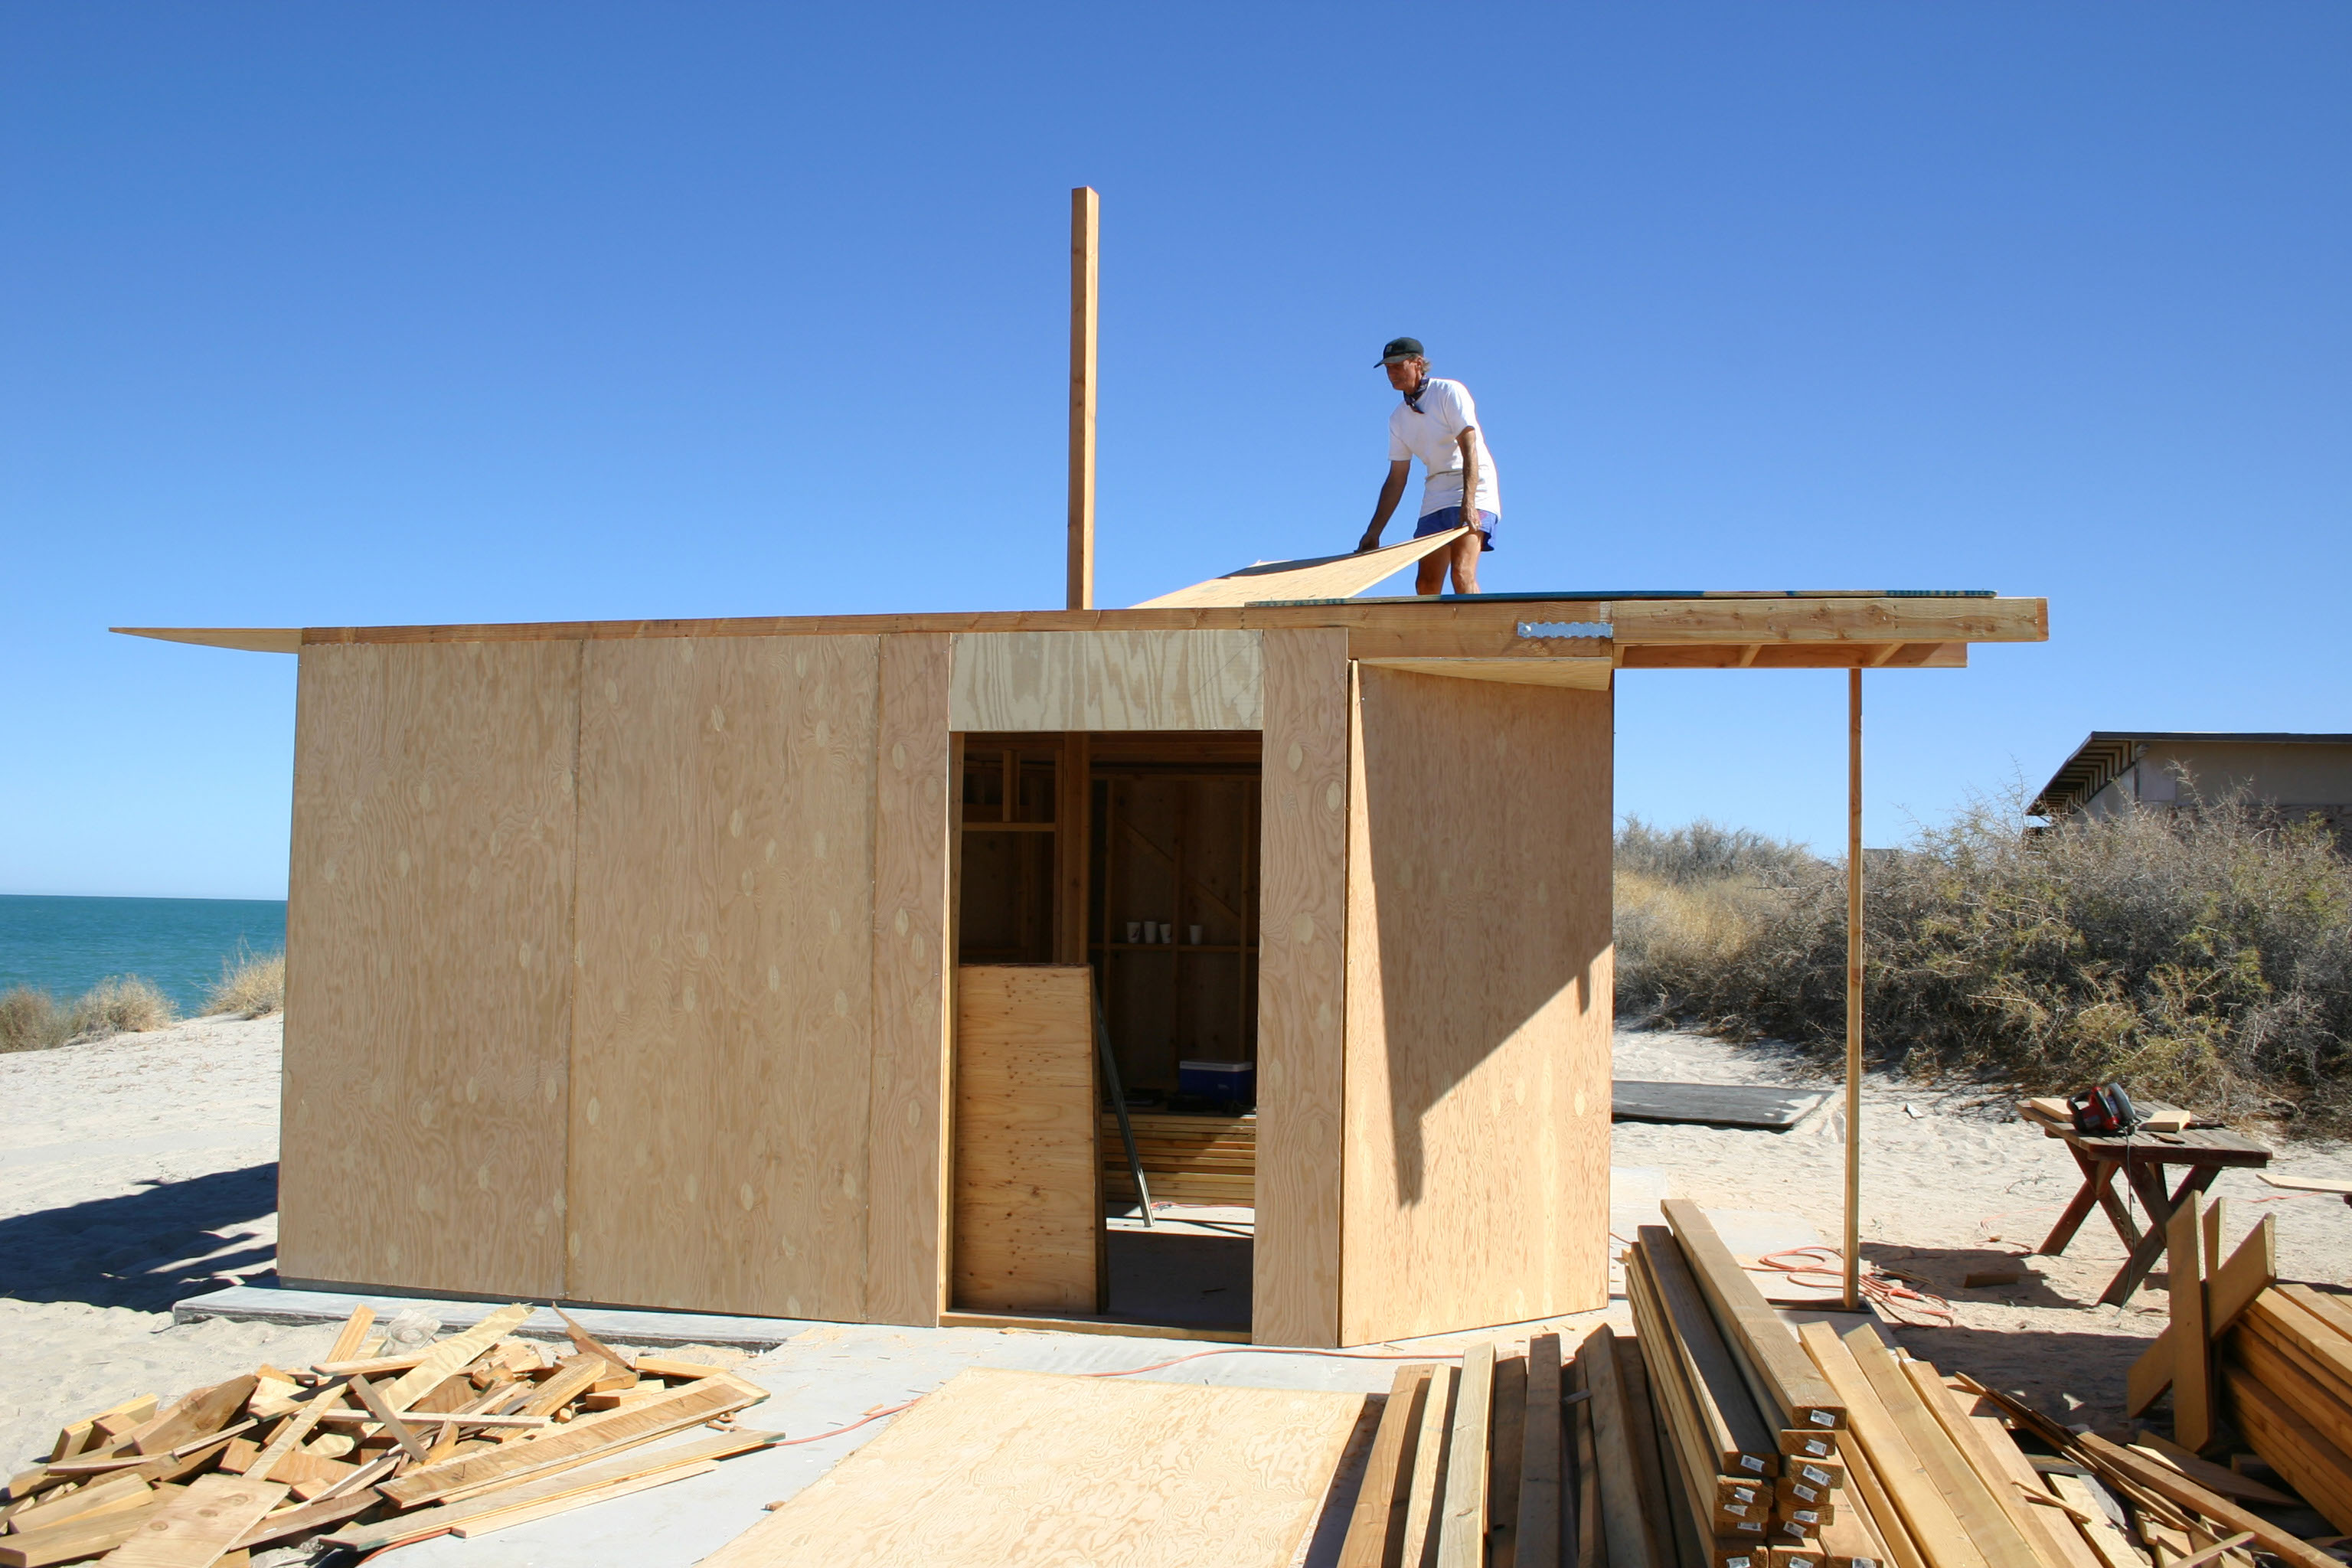
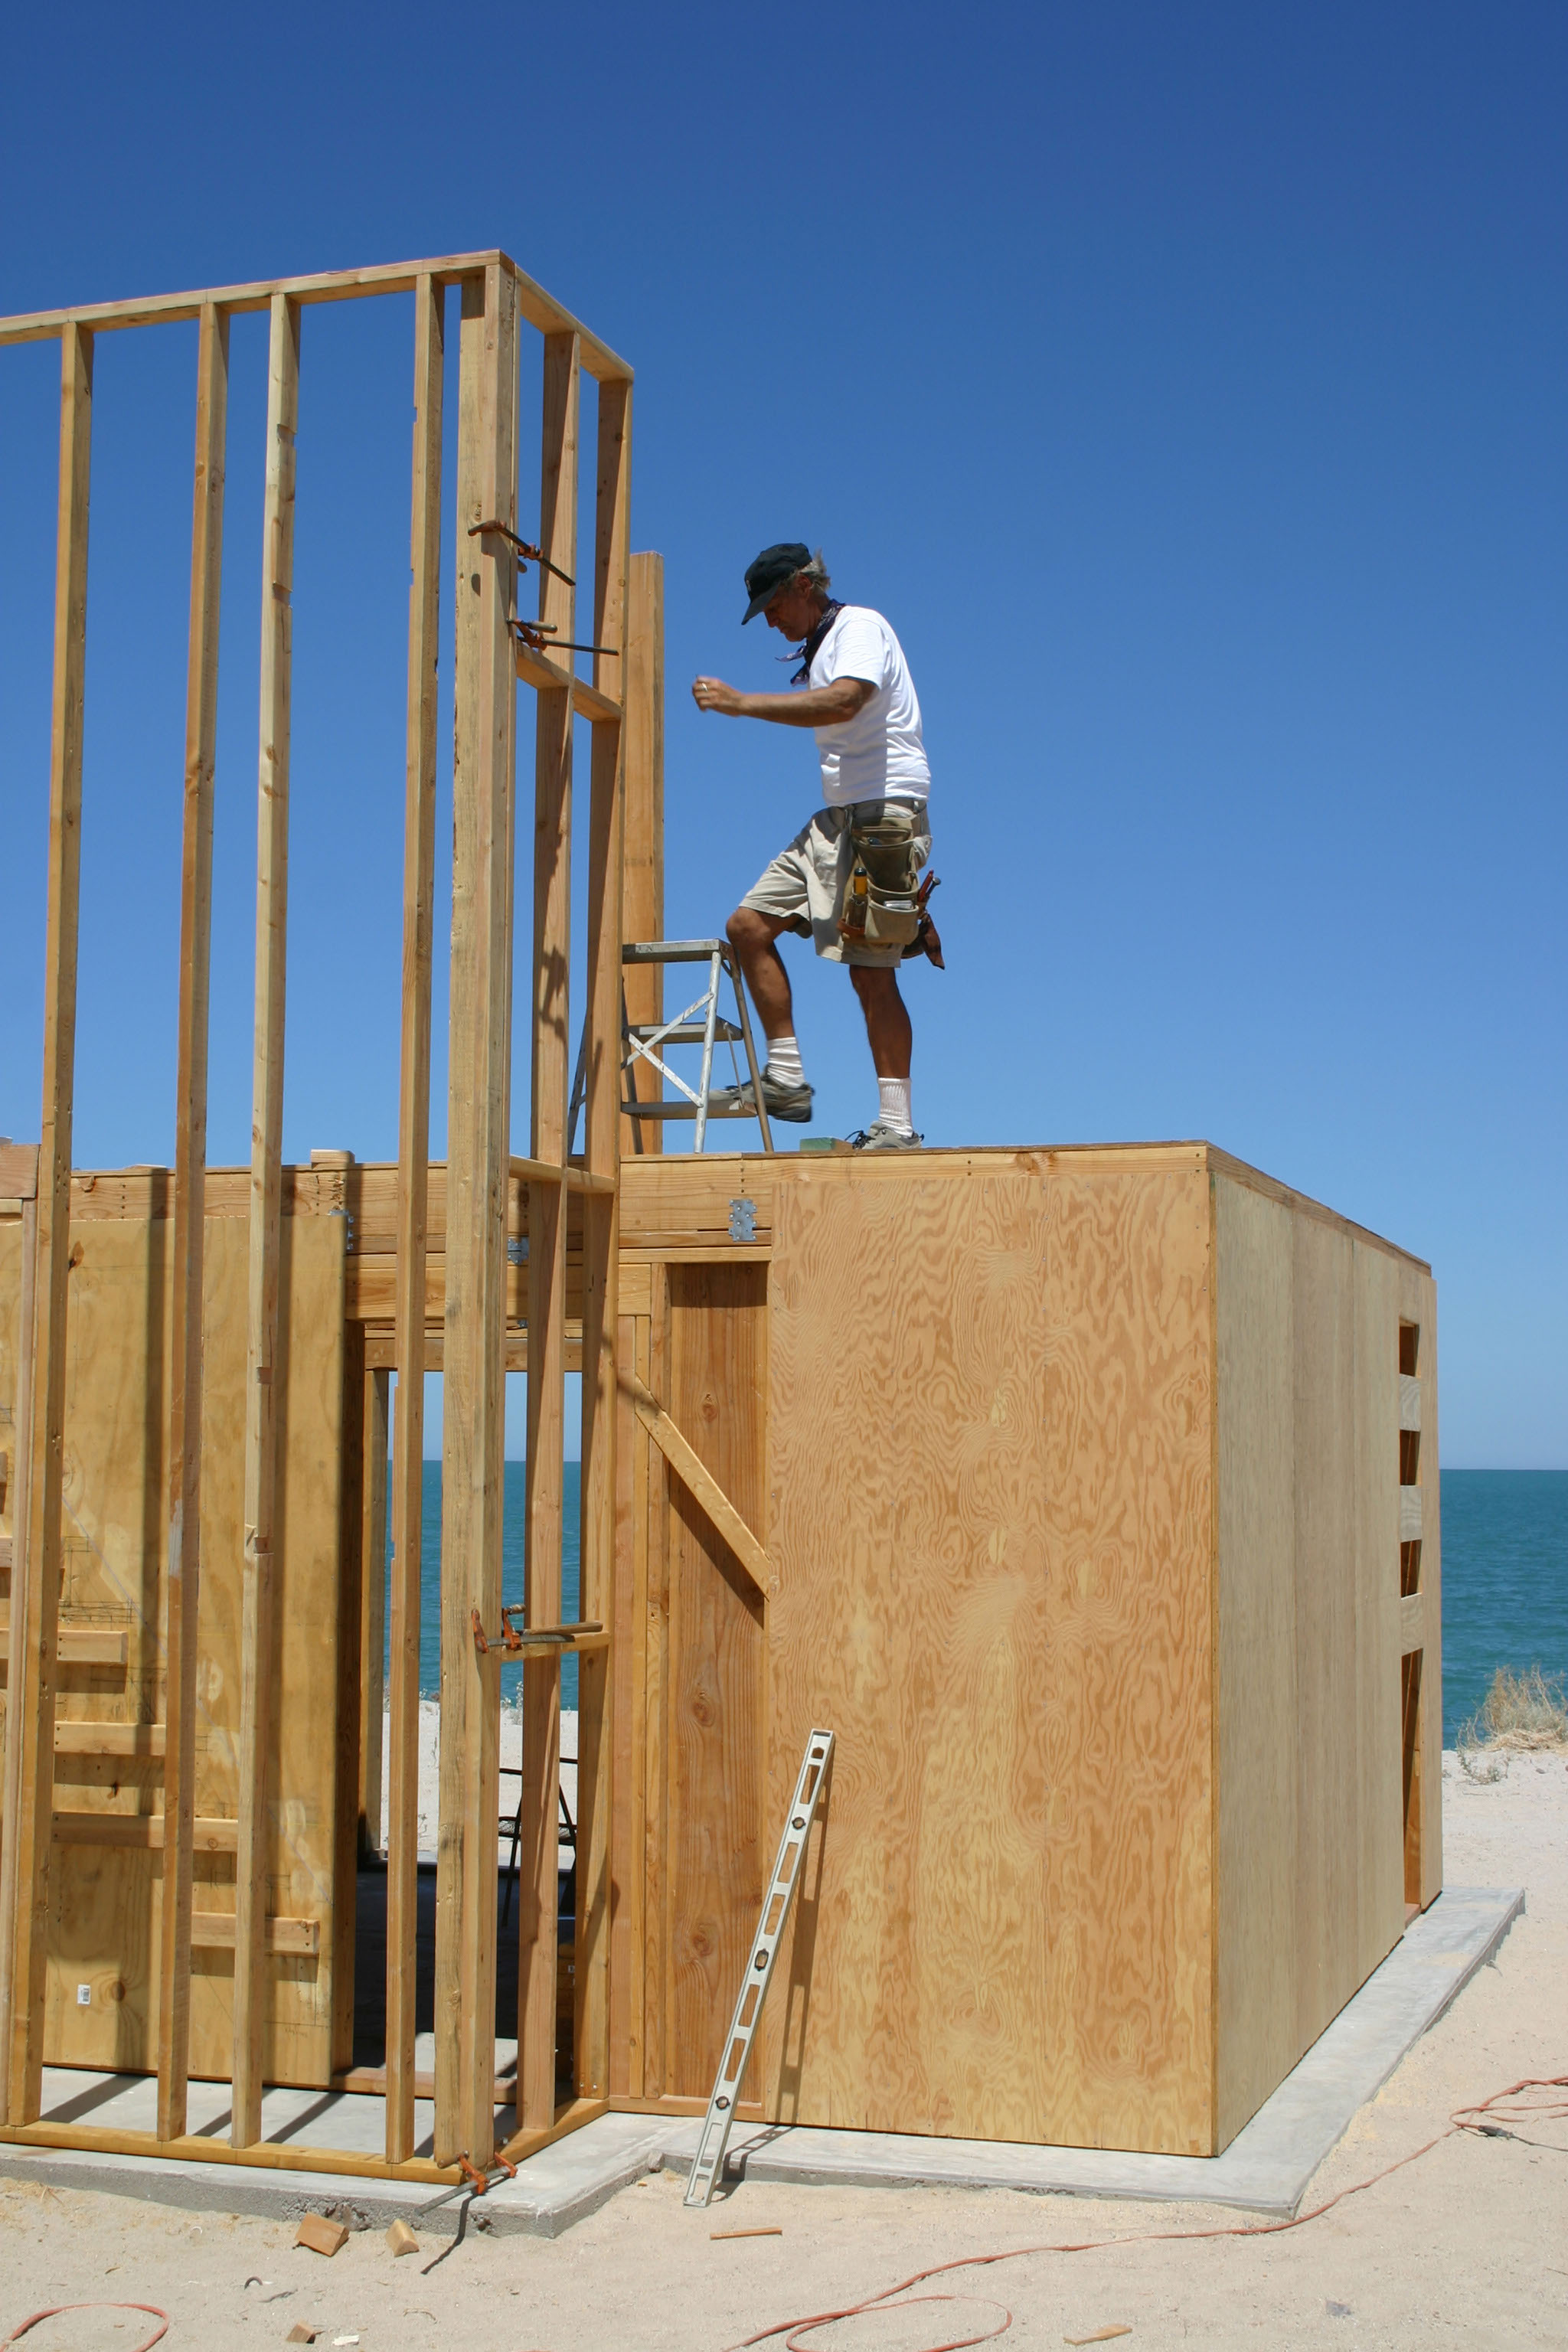
Ben aloft the Cube first floor as the first plywood panels are nailed in place
With power from the shed, progress continues on the Cube
Armed with a level, John prepares to add more panels with Ben’s help. The design allows the 4 x 8 feet panels to be added to the structure without cutting
Floor joists leaning, ready to be lifted in place as paneling continues around the North side
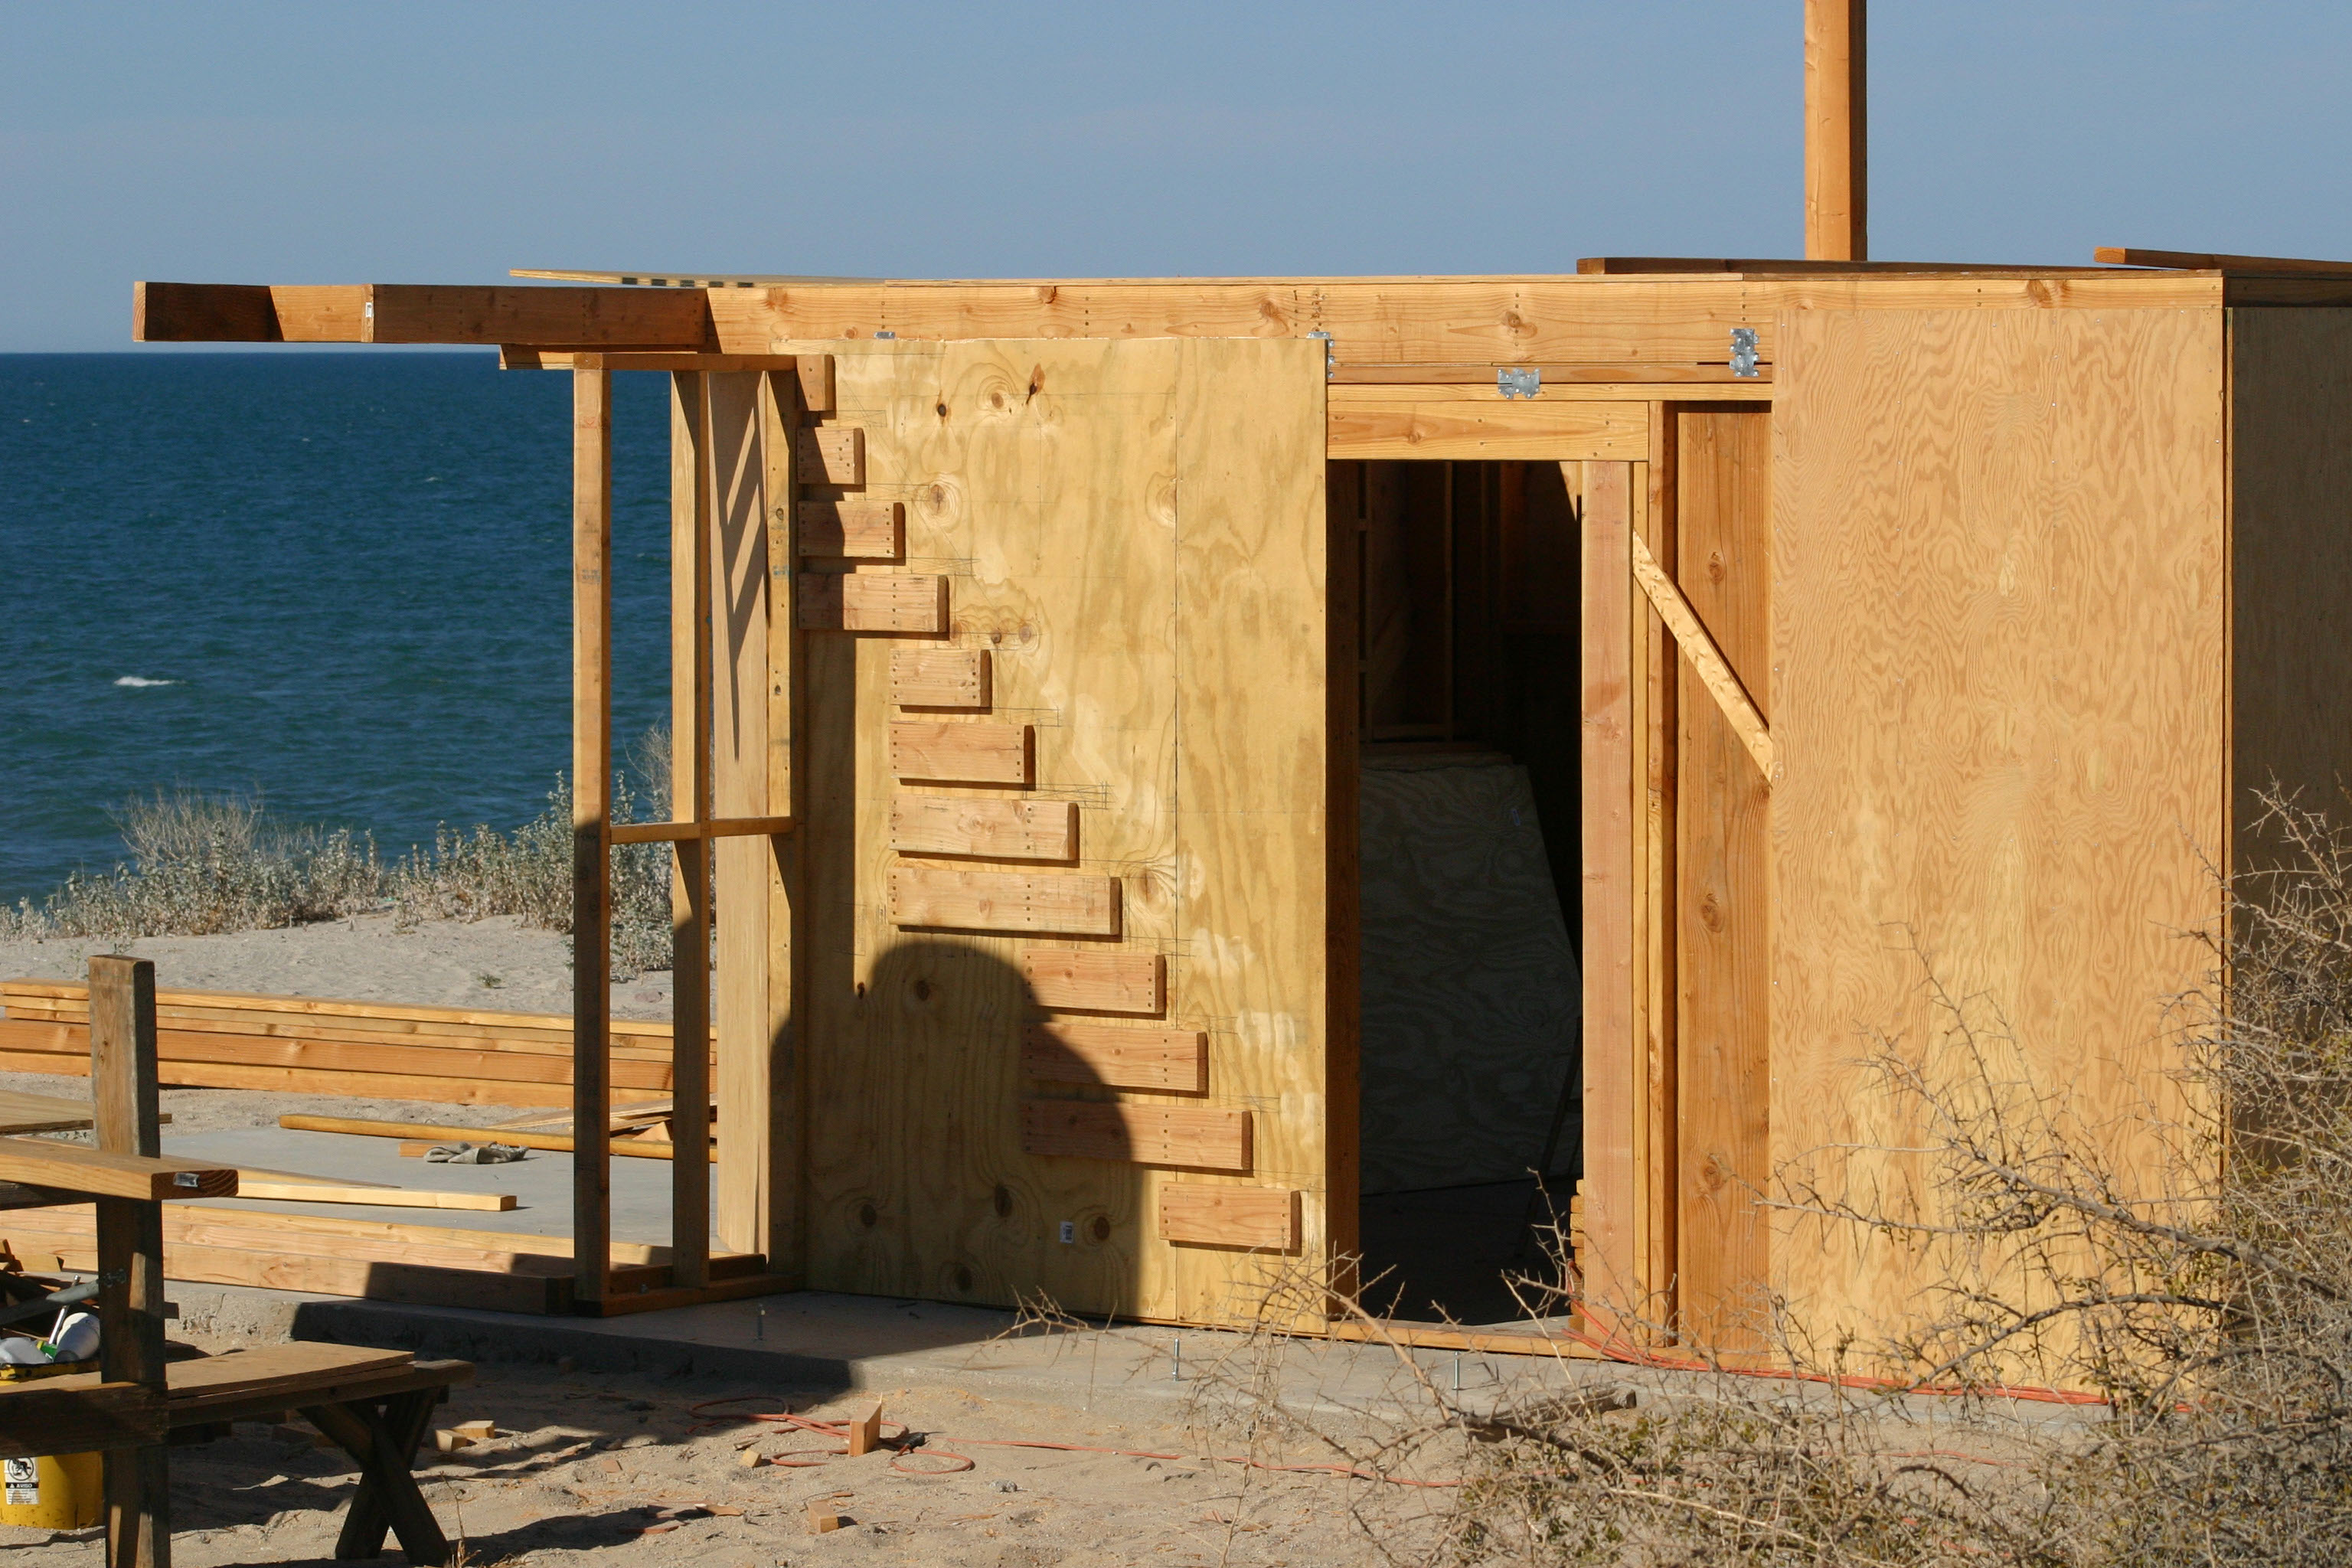
The panels are tacked in place. to save time Proper nailing will take place later. The shed now has its horizontal slats which is a motif that will be applied to the Cube
Paneling the North wall. A window will be cut later
The remnants of the palapa are demolished as Richard begins to add a cantilevered platform to form a landing for the stairway
A closer view of the stairwell landing in progress
Richard moves a panel for the first floor into position for nailing
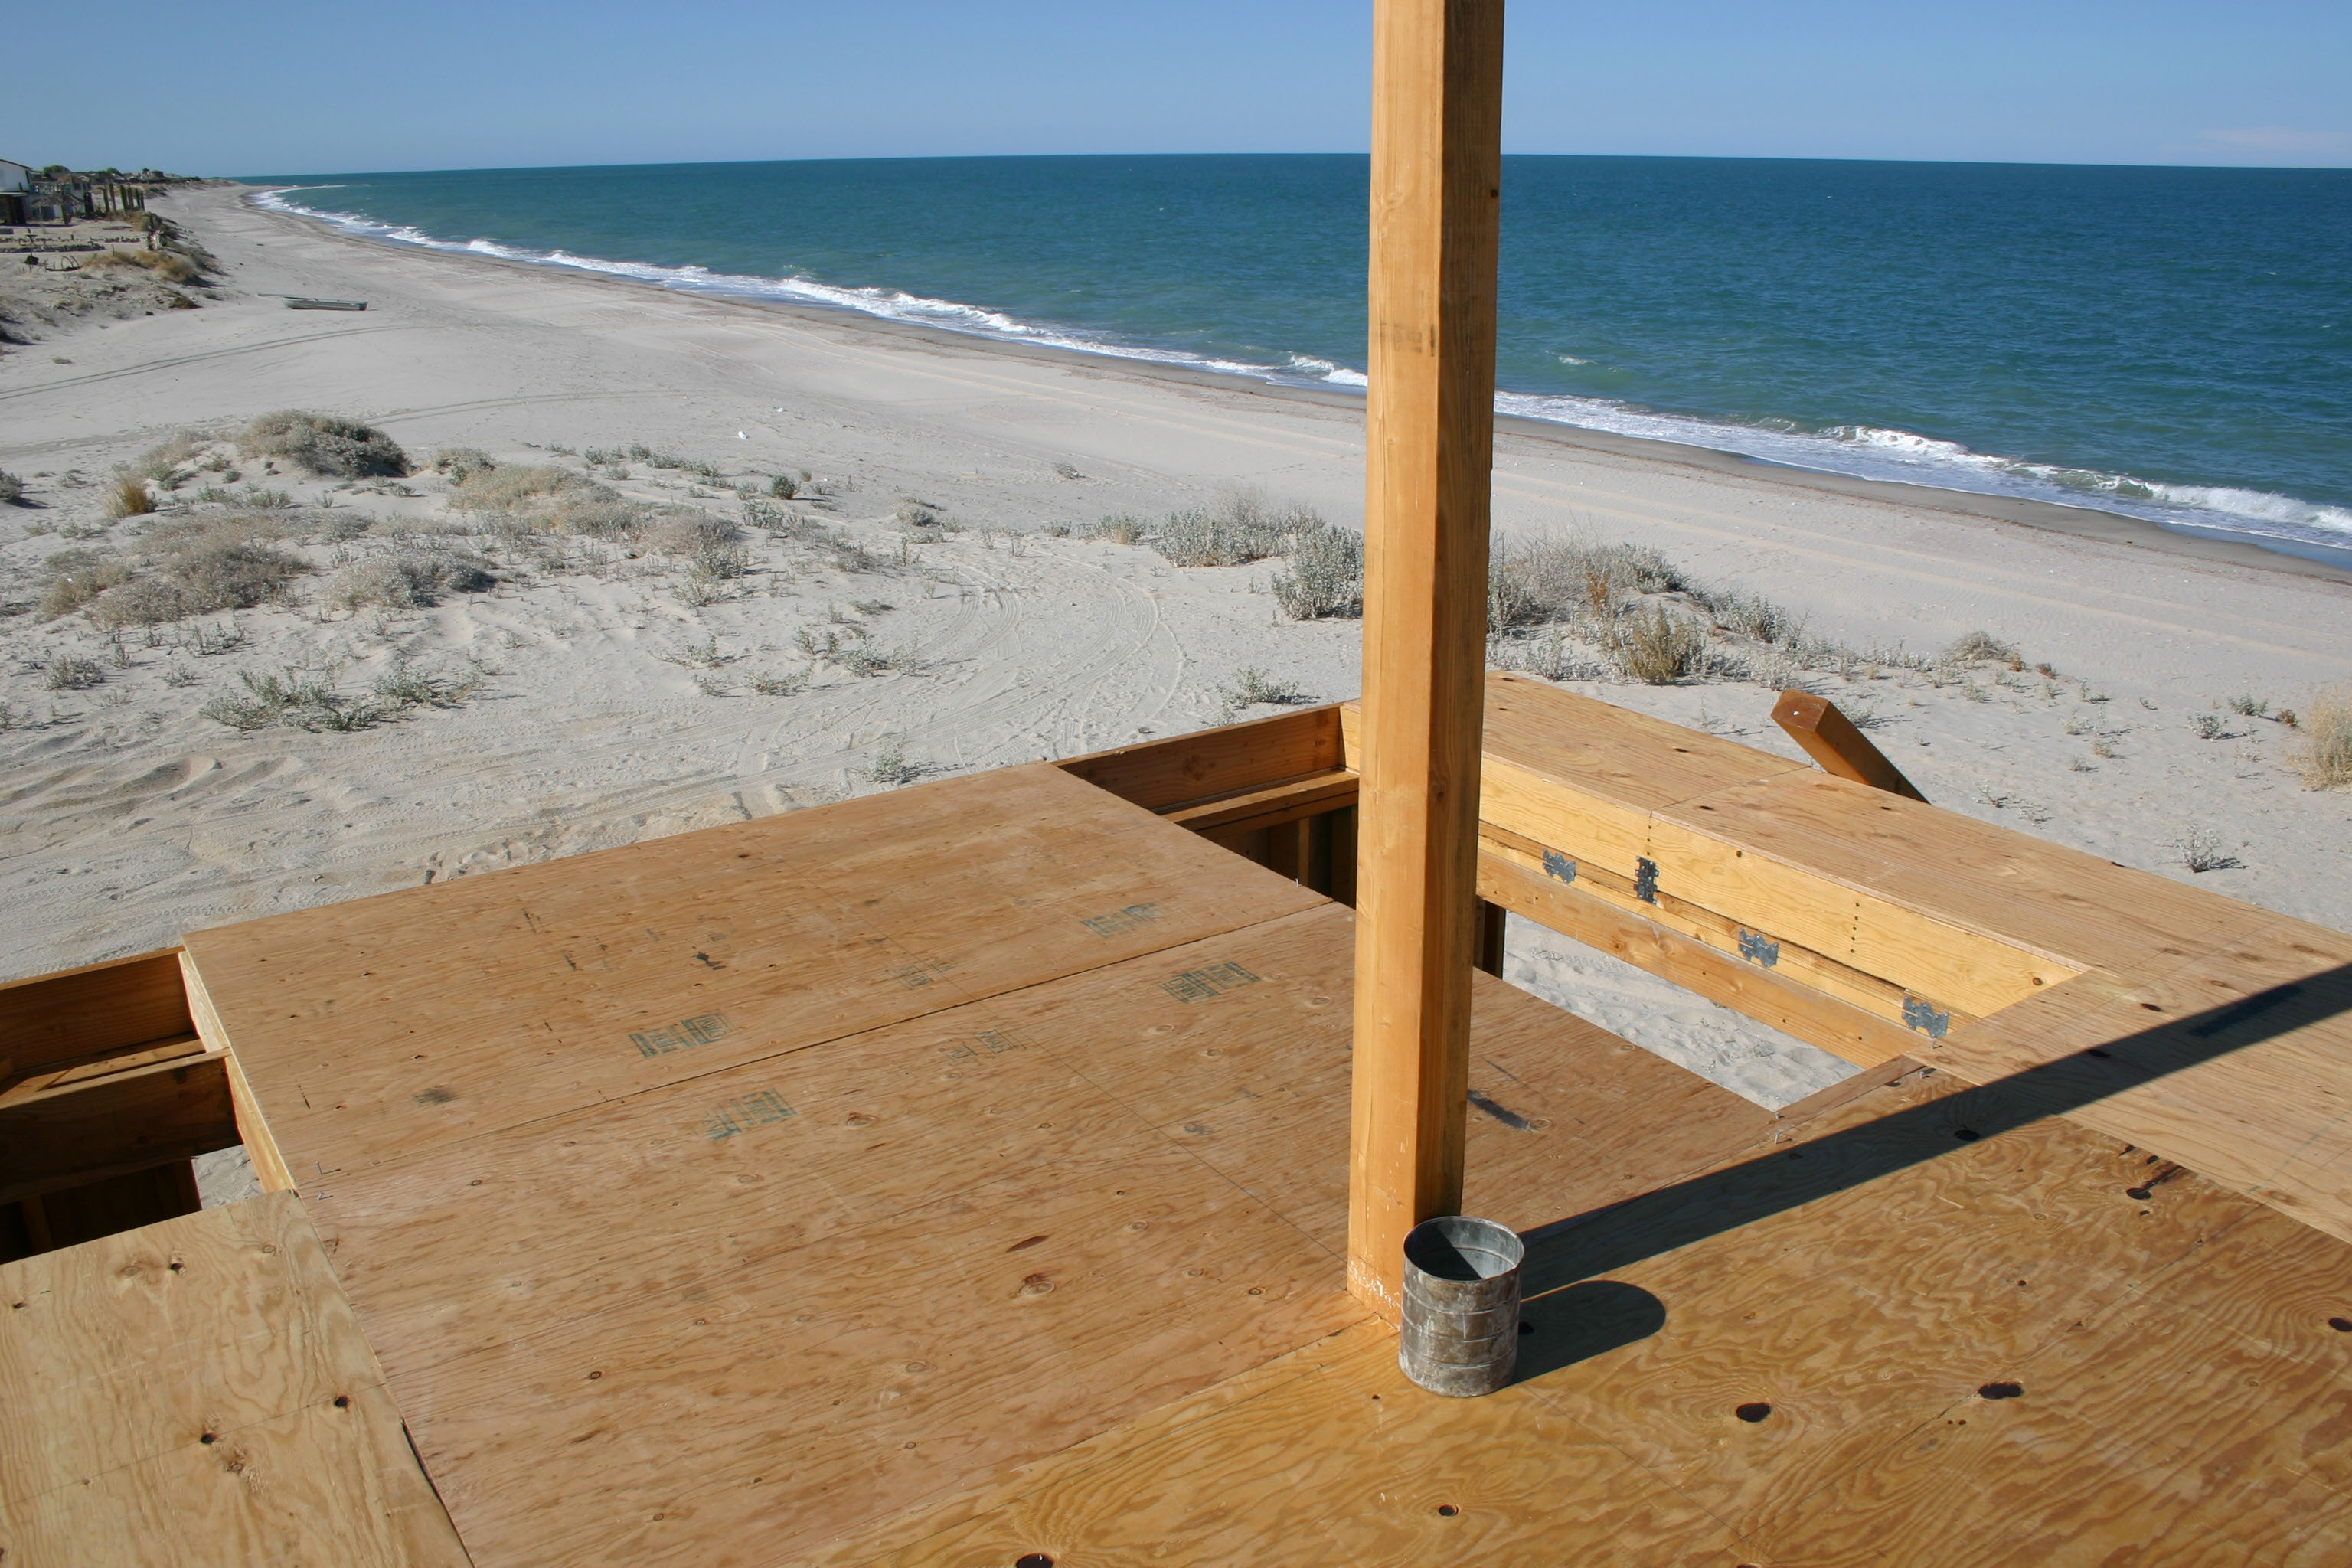
The central post that will support the roof. A view from the first floor
Flooring panels for the first floor. Note the opening in the floor over at the East edge
Paneling continues on the North wall
Interior view with first floor ceiling. Plywood panels are moved inside for protection
After a lot of pencil marks and calculations, supports for the stairs are nailed to the frame through plywood panels that will add strength to the stairwell
With the stair supports in place, framing for the stairwell can begin
Richard begins framing the outer stairwell
Horizontal slats added to the North wall
Abby inspects work in progress
Richard tweaks the stairwell framing. Note the 16 foot studs
Man of the moment, Richard pauses during building the Cube
Part of the West wall of the upper floor framed in
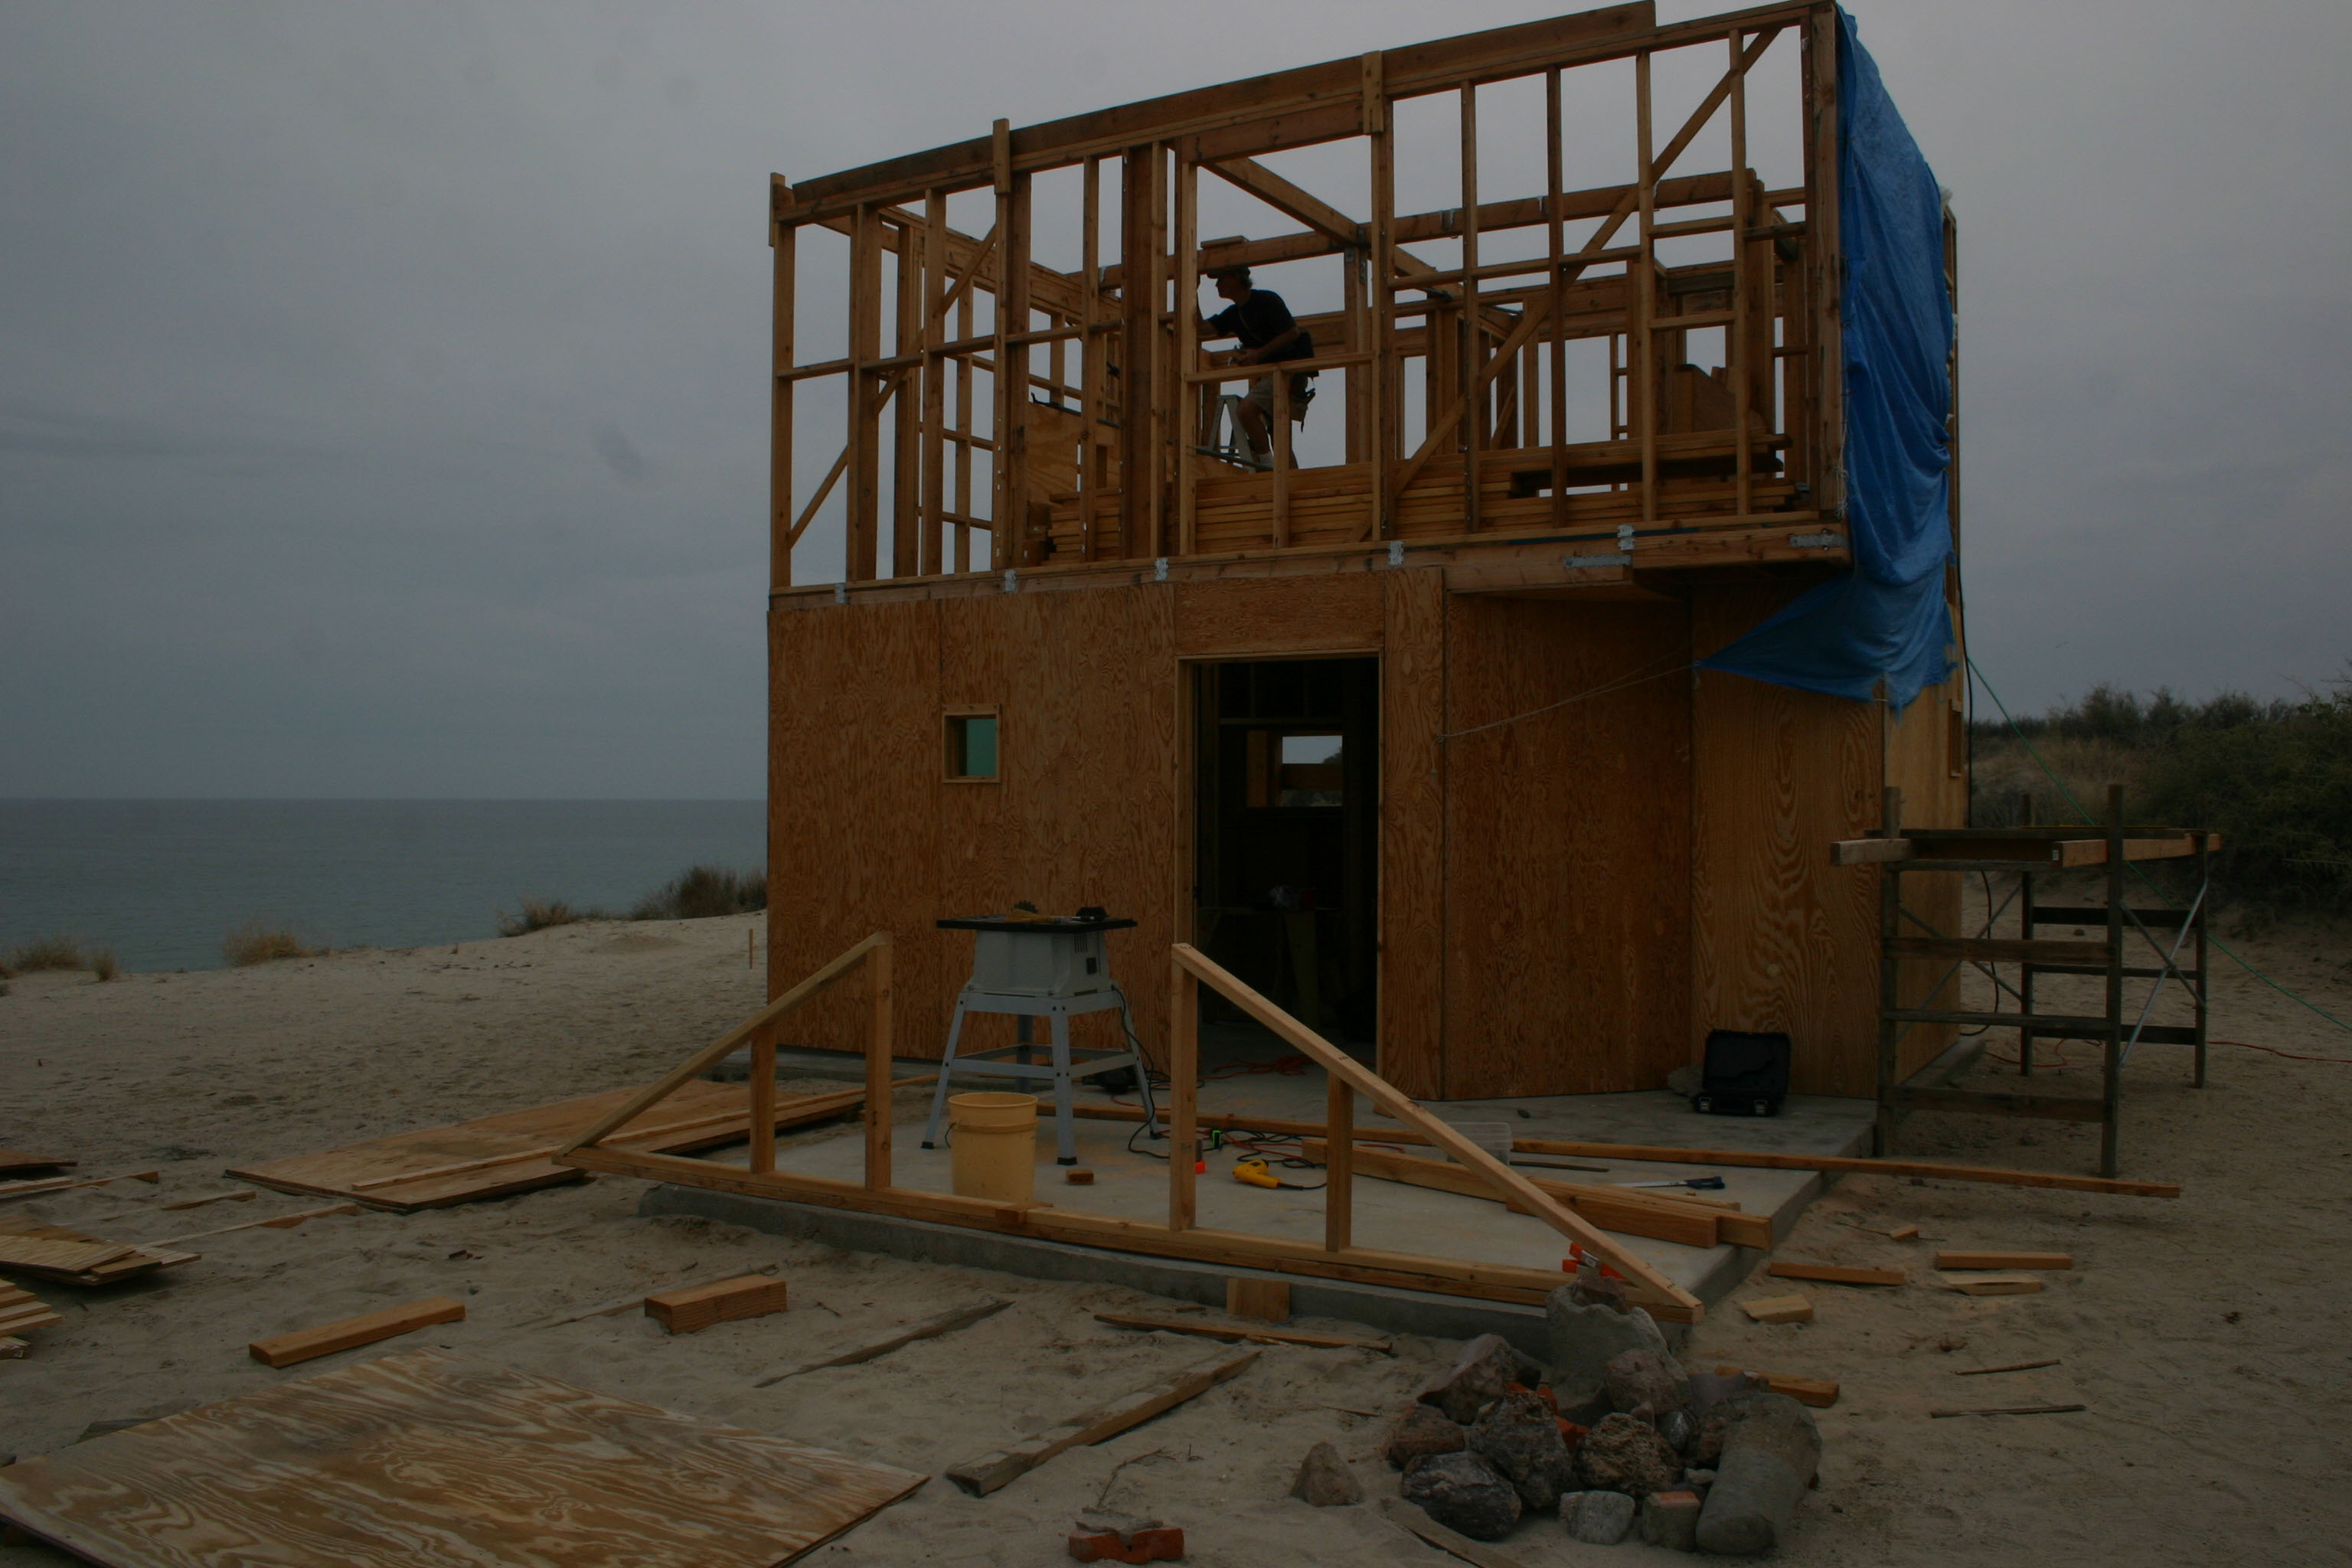
Framing the upper floor continues under the watchful eye of the Mexican Army who were very camera-shy
Framing the upper floor during uncharacteristically damp weather
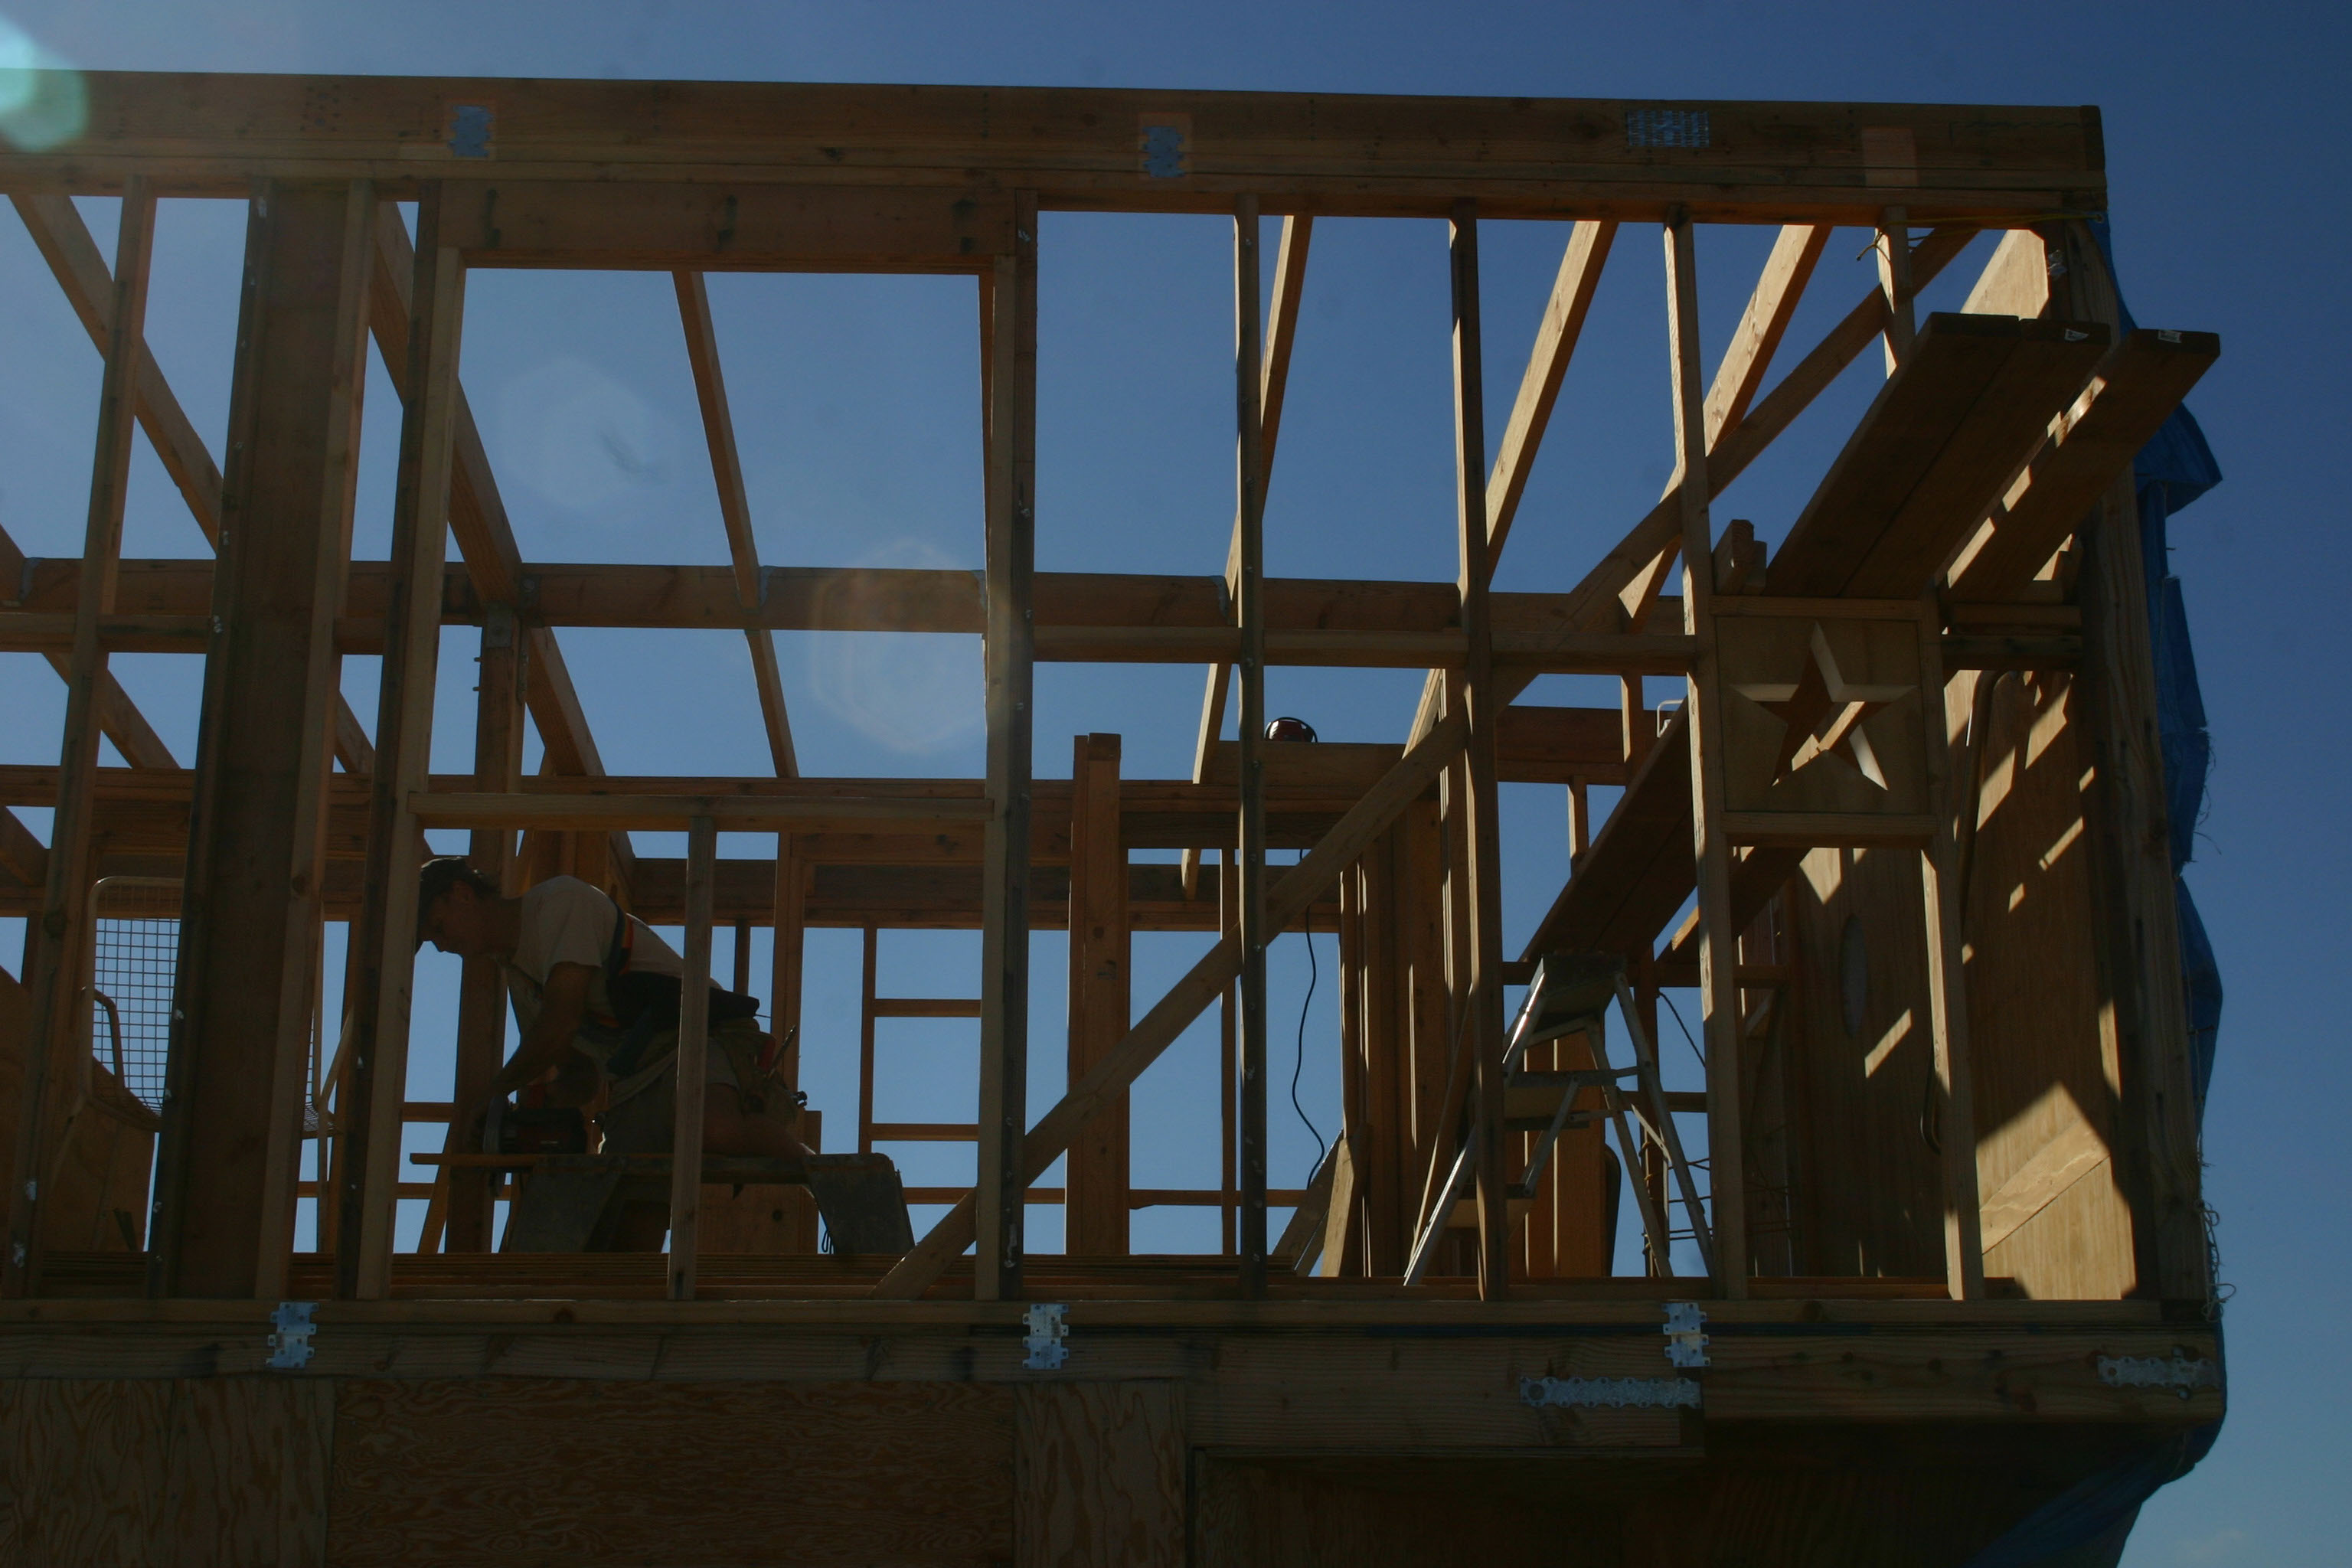
Richard in action on the upper floor
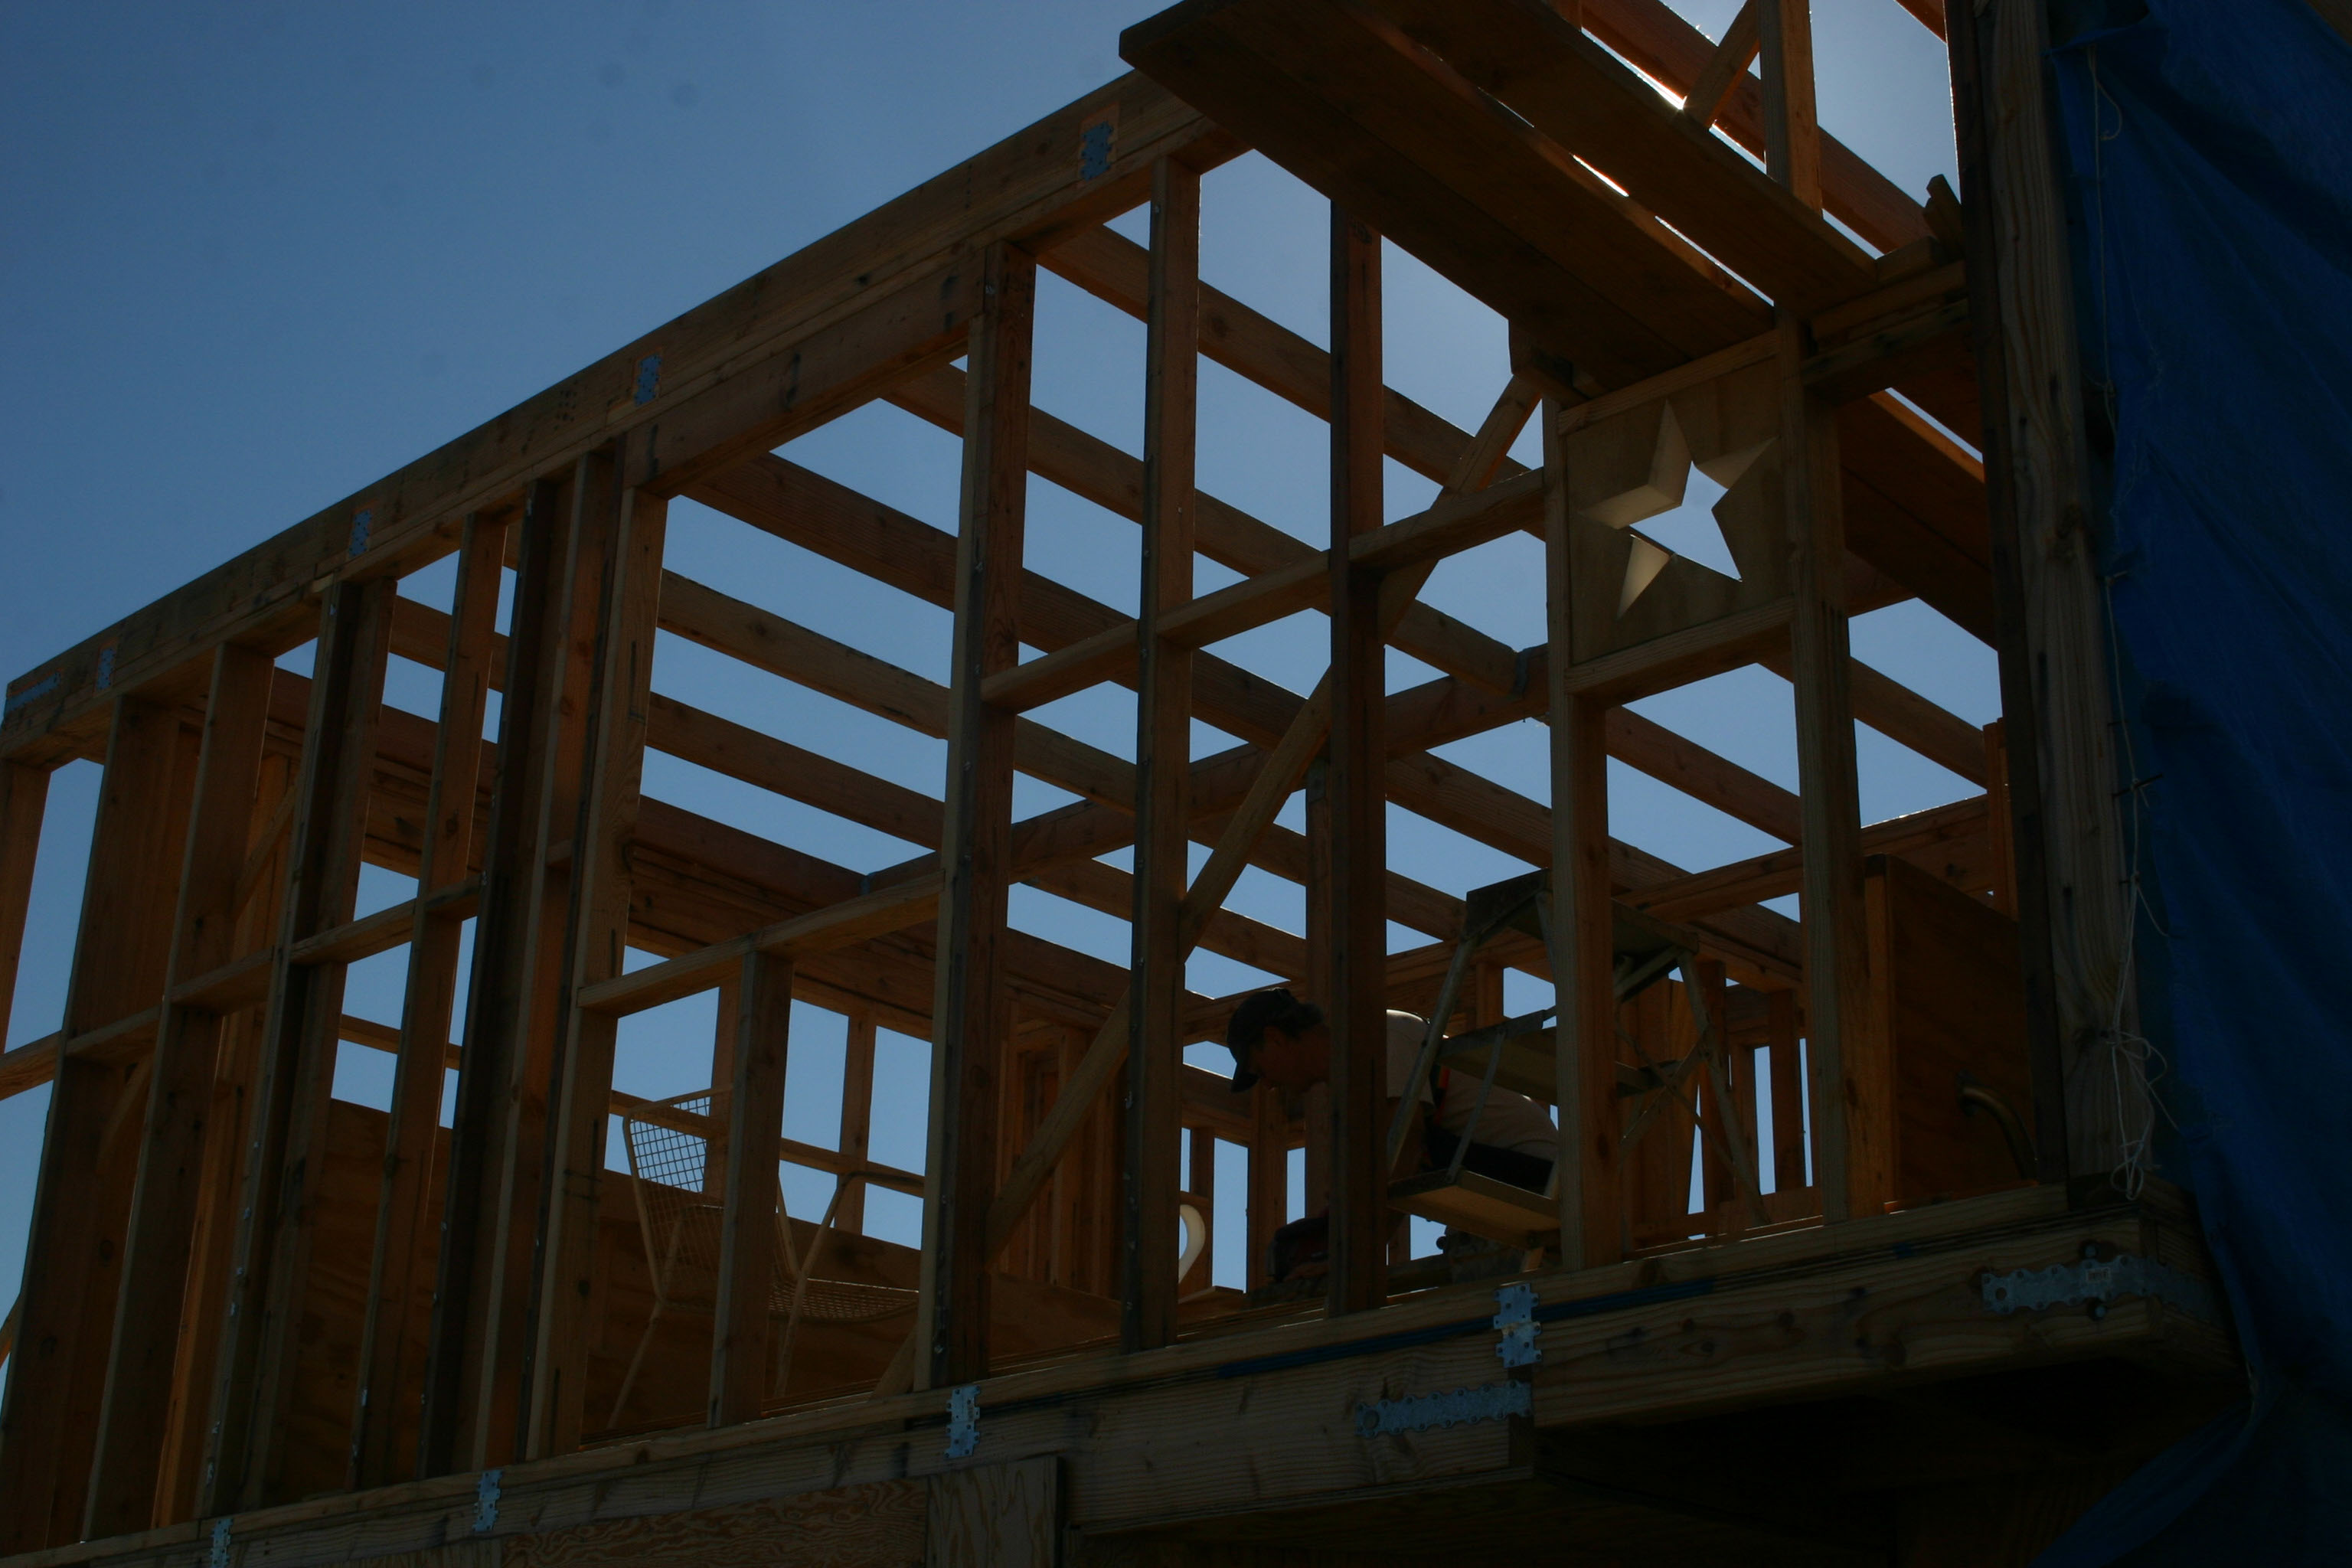
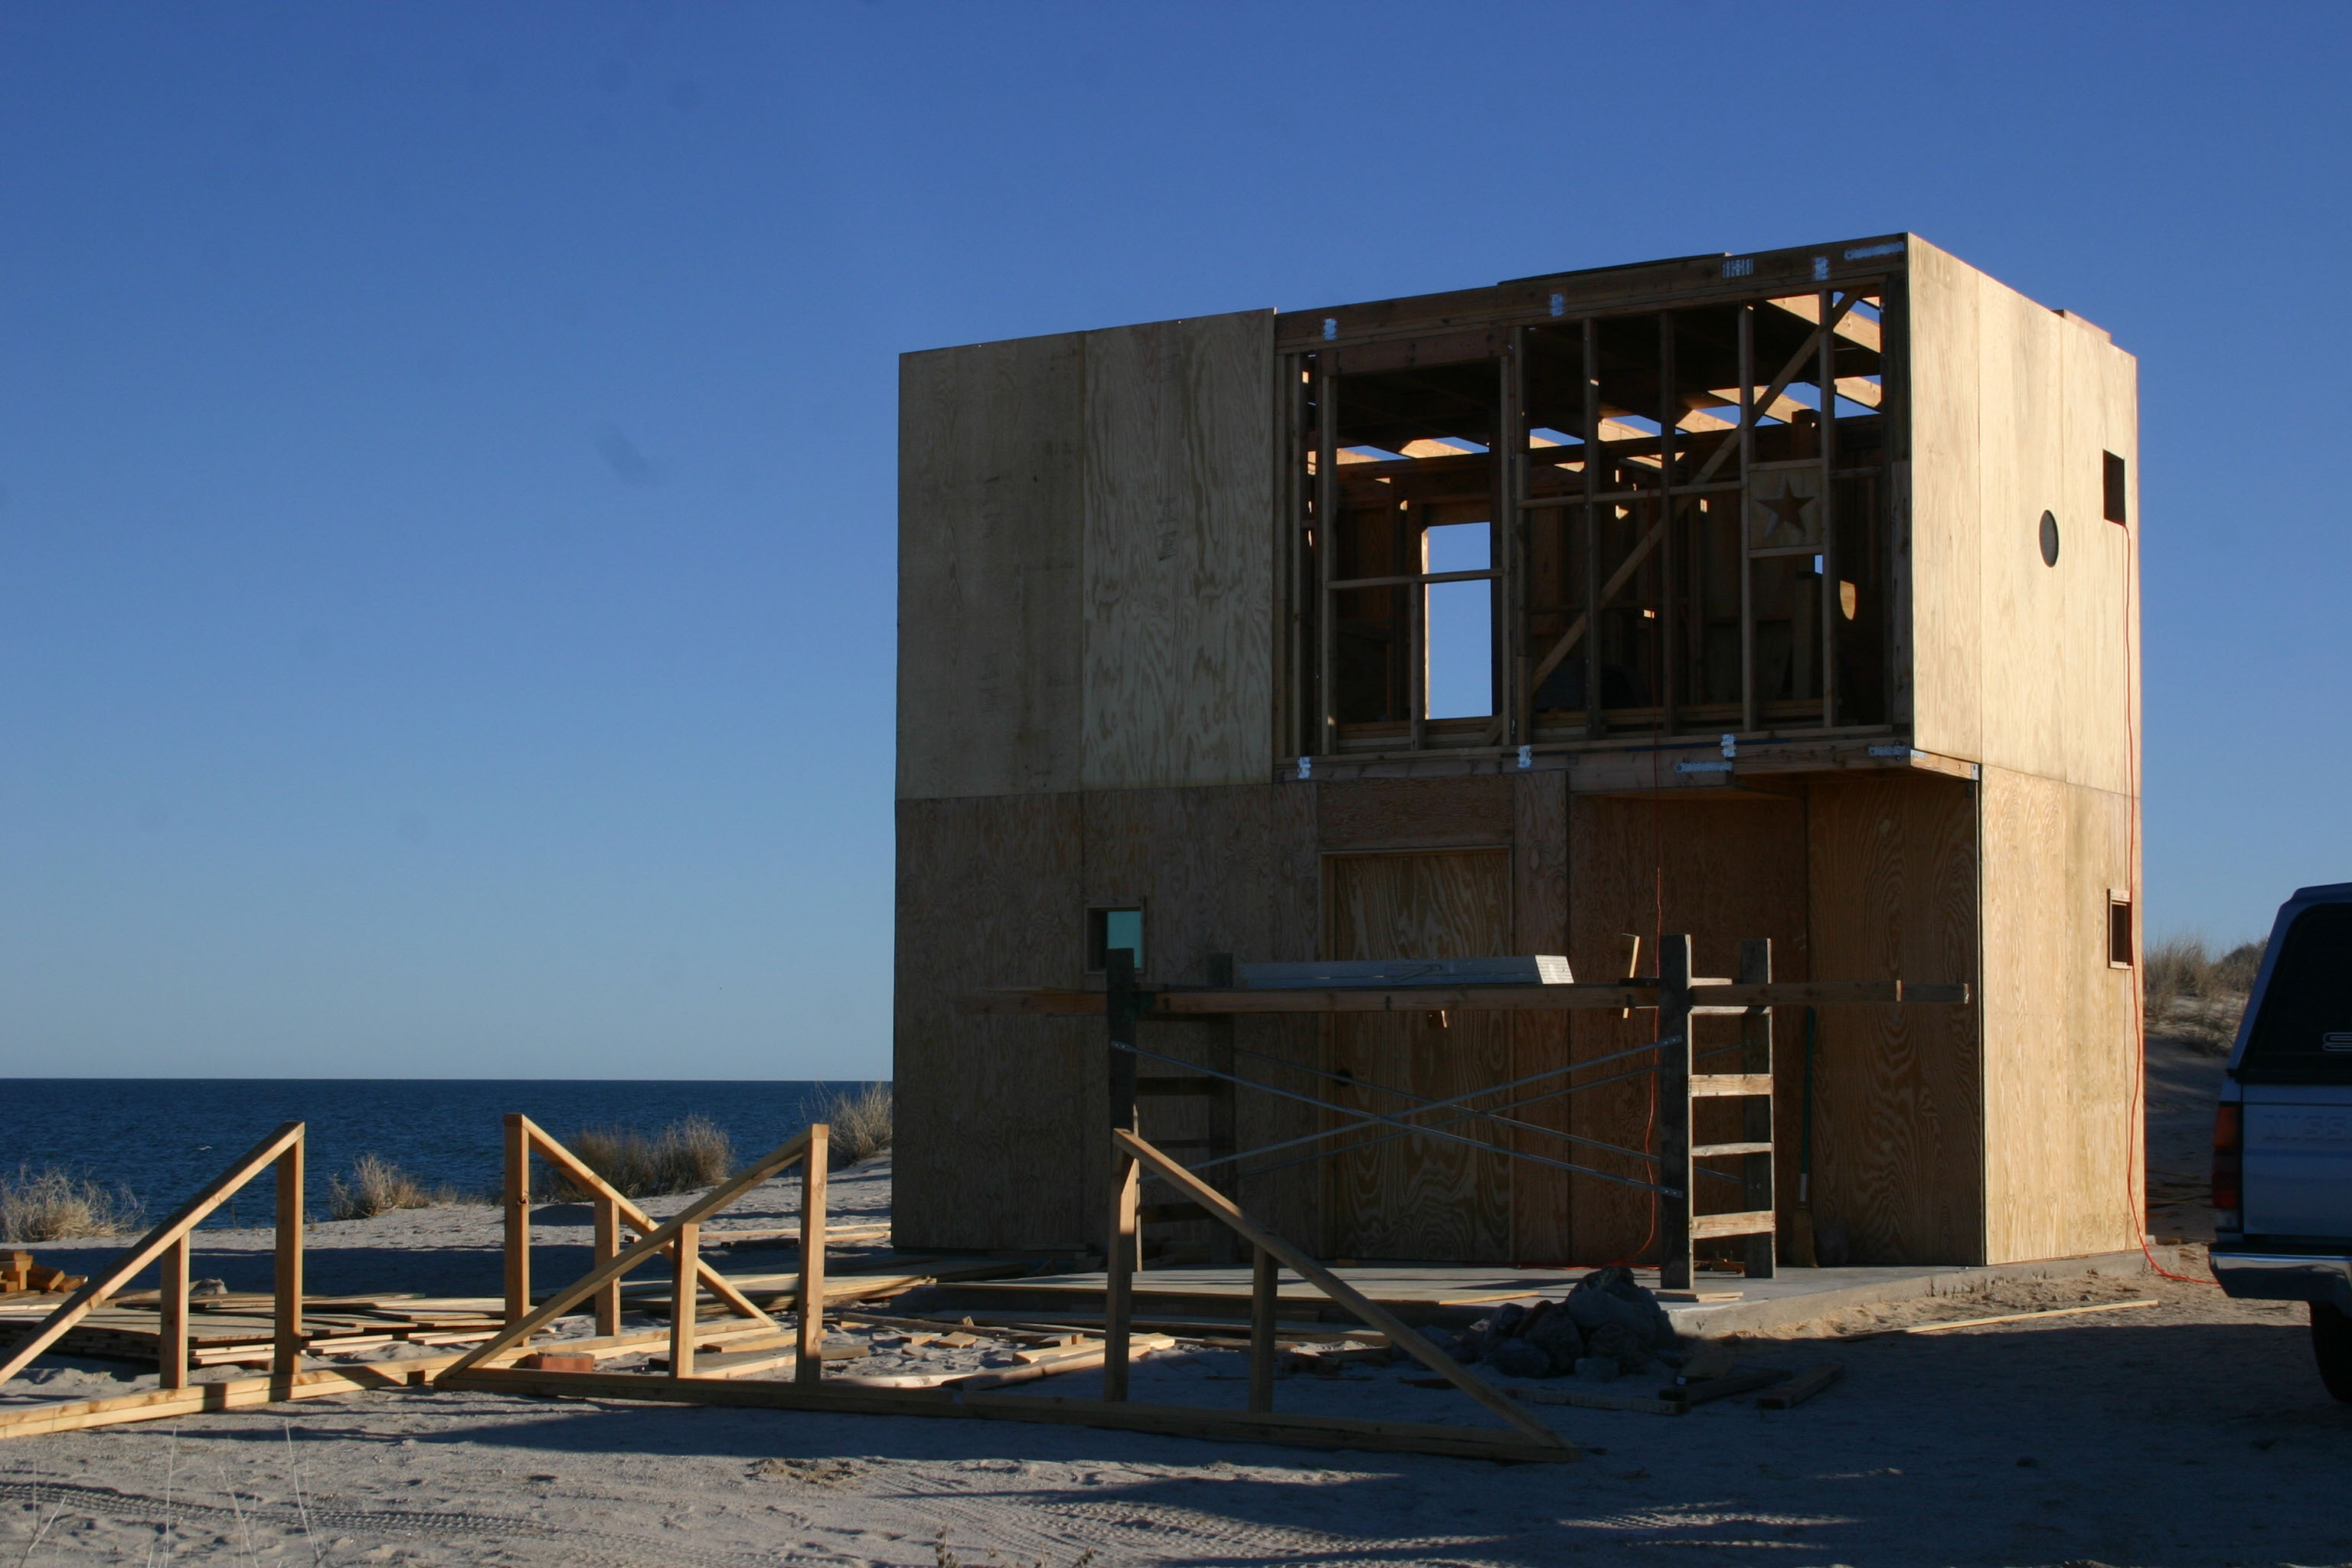
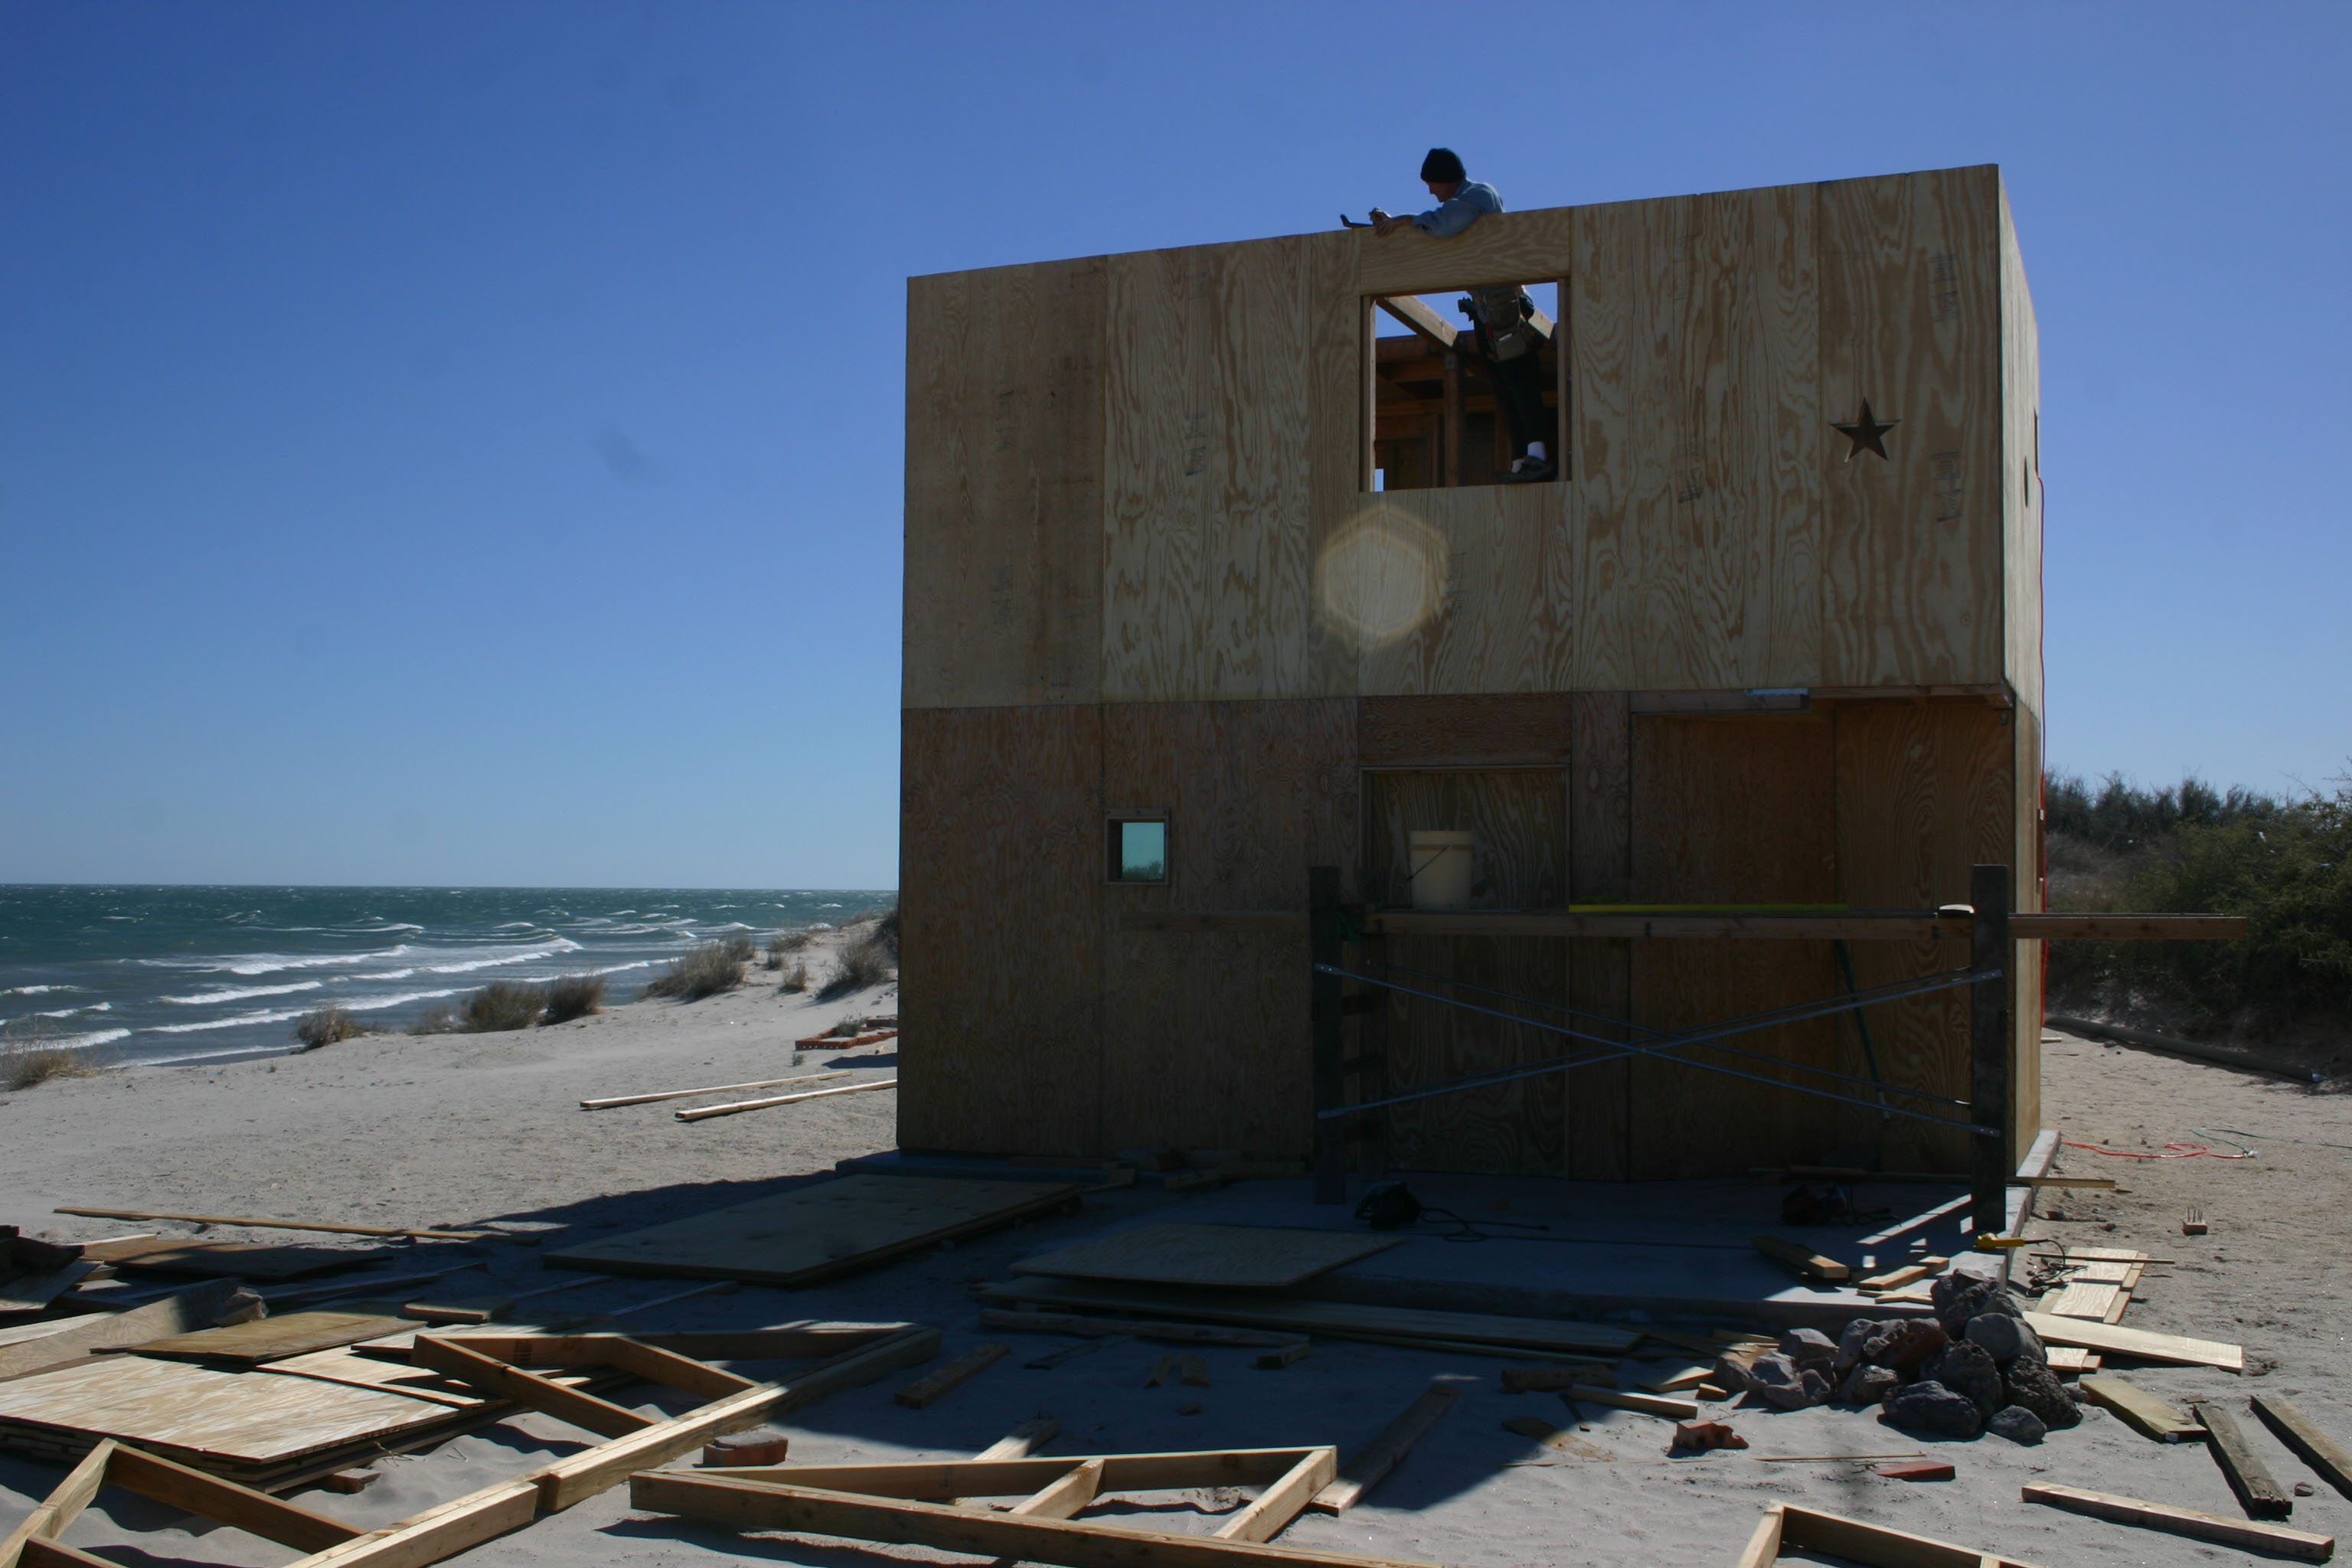
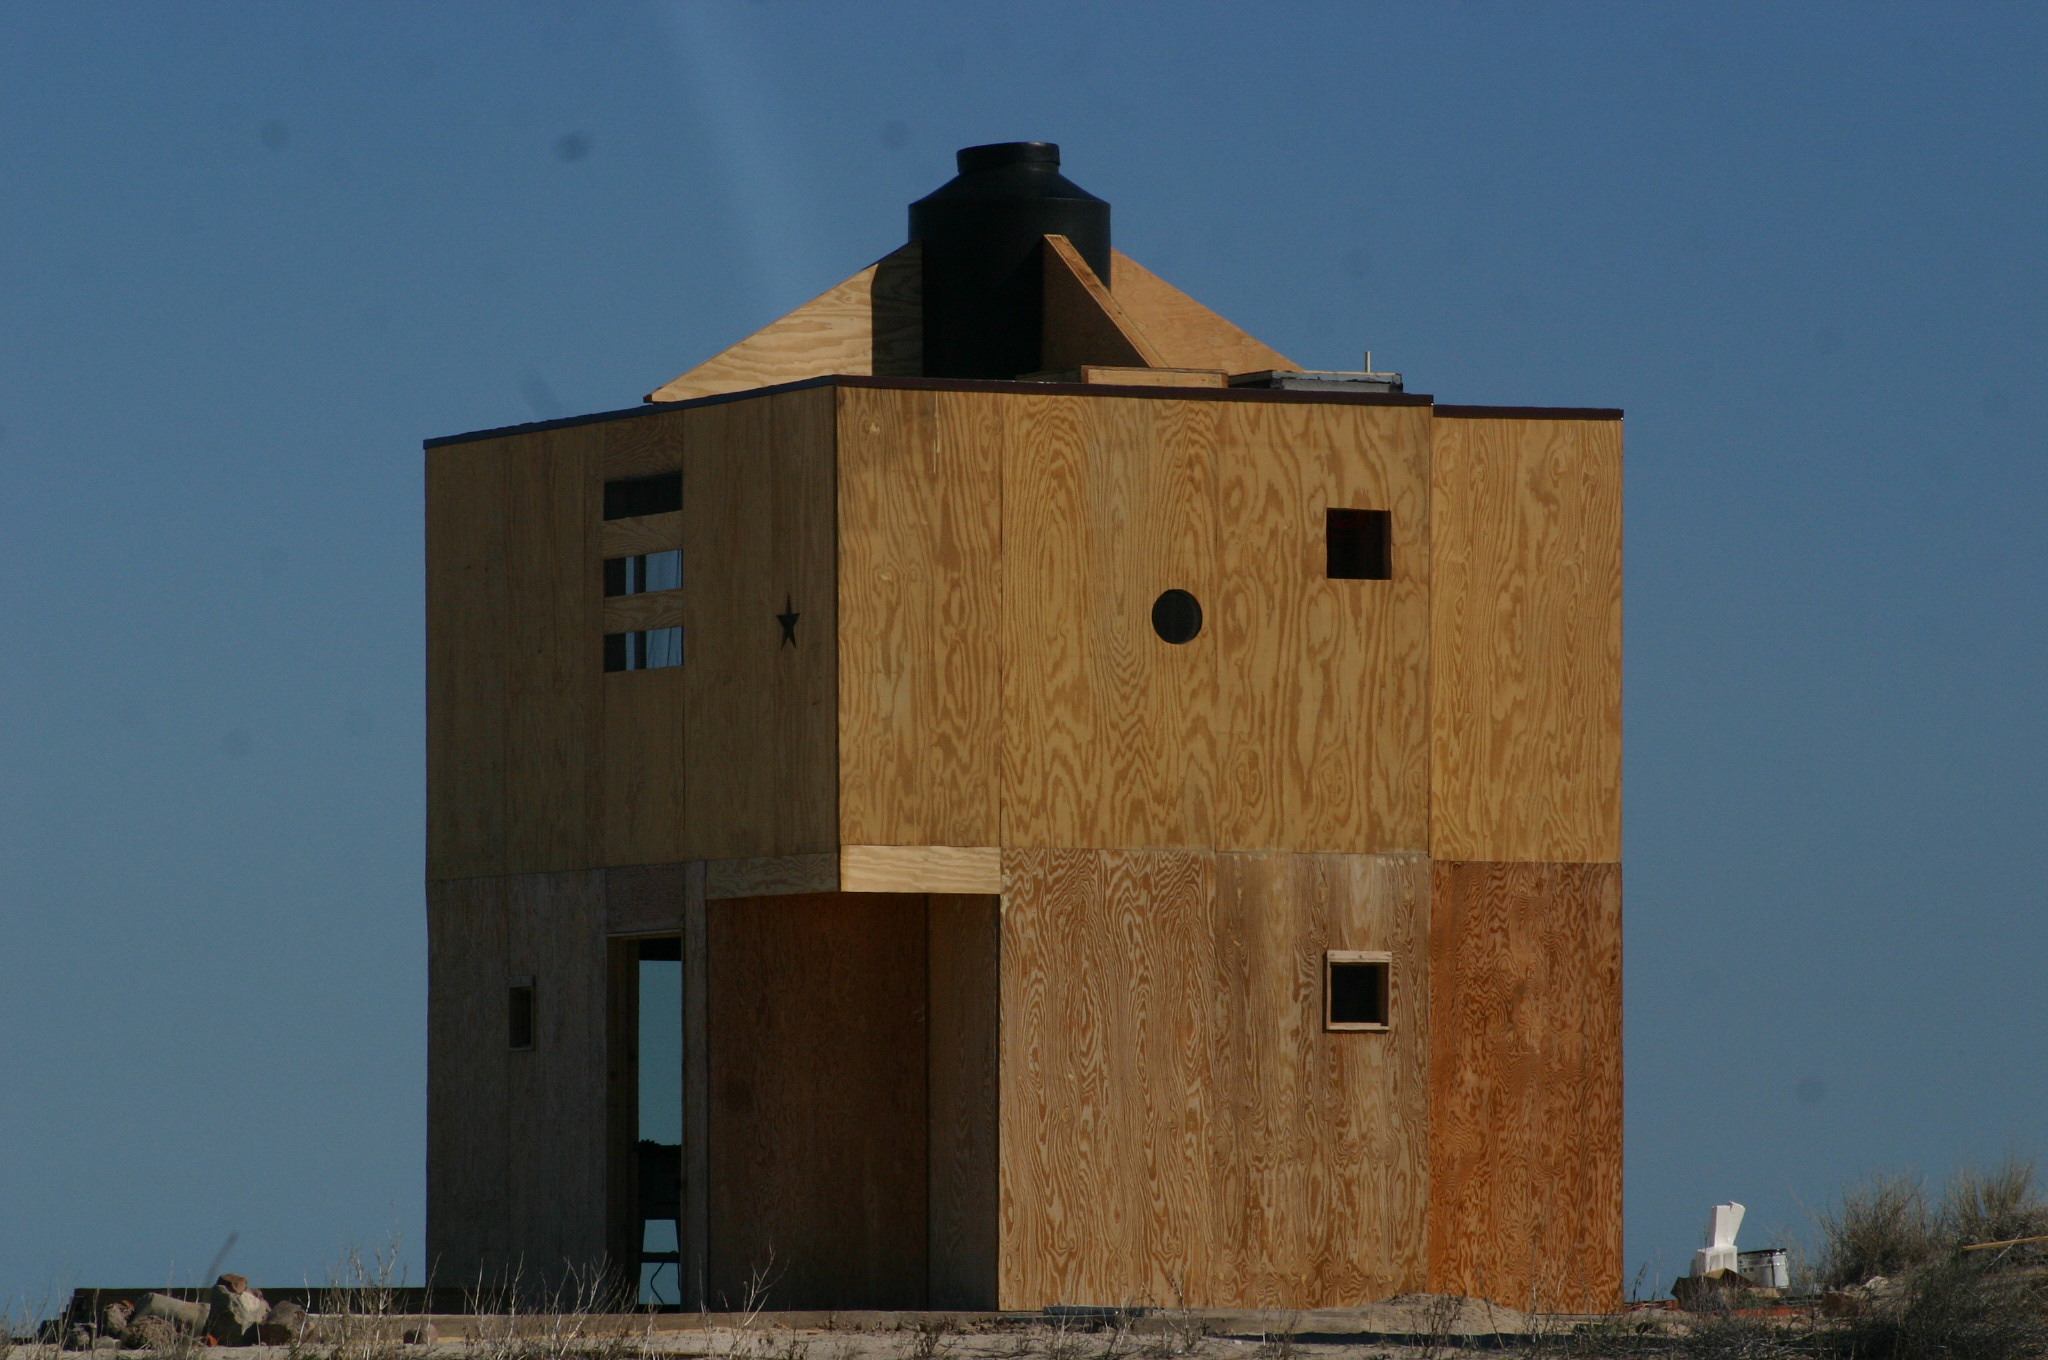
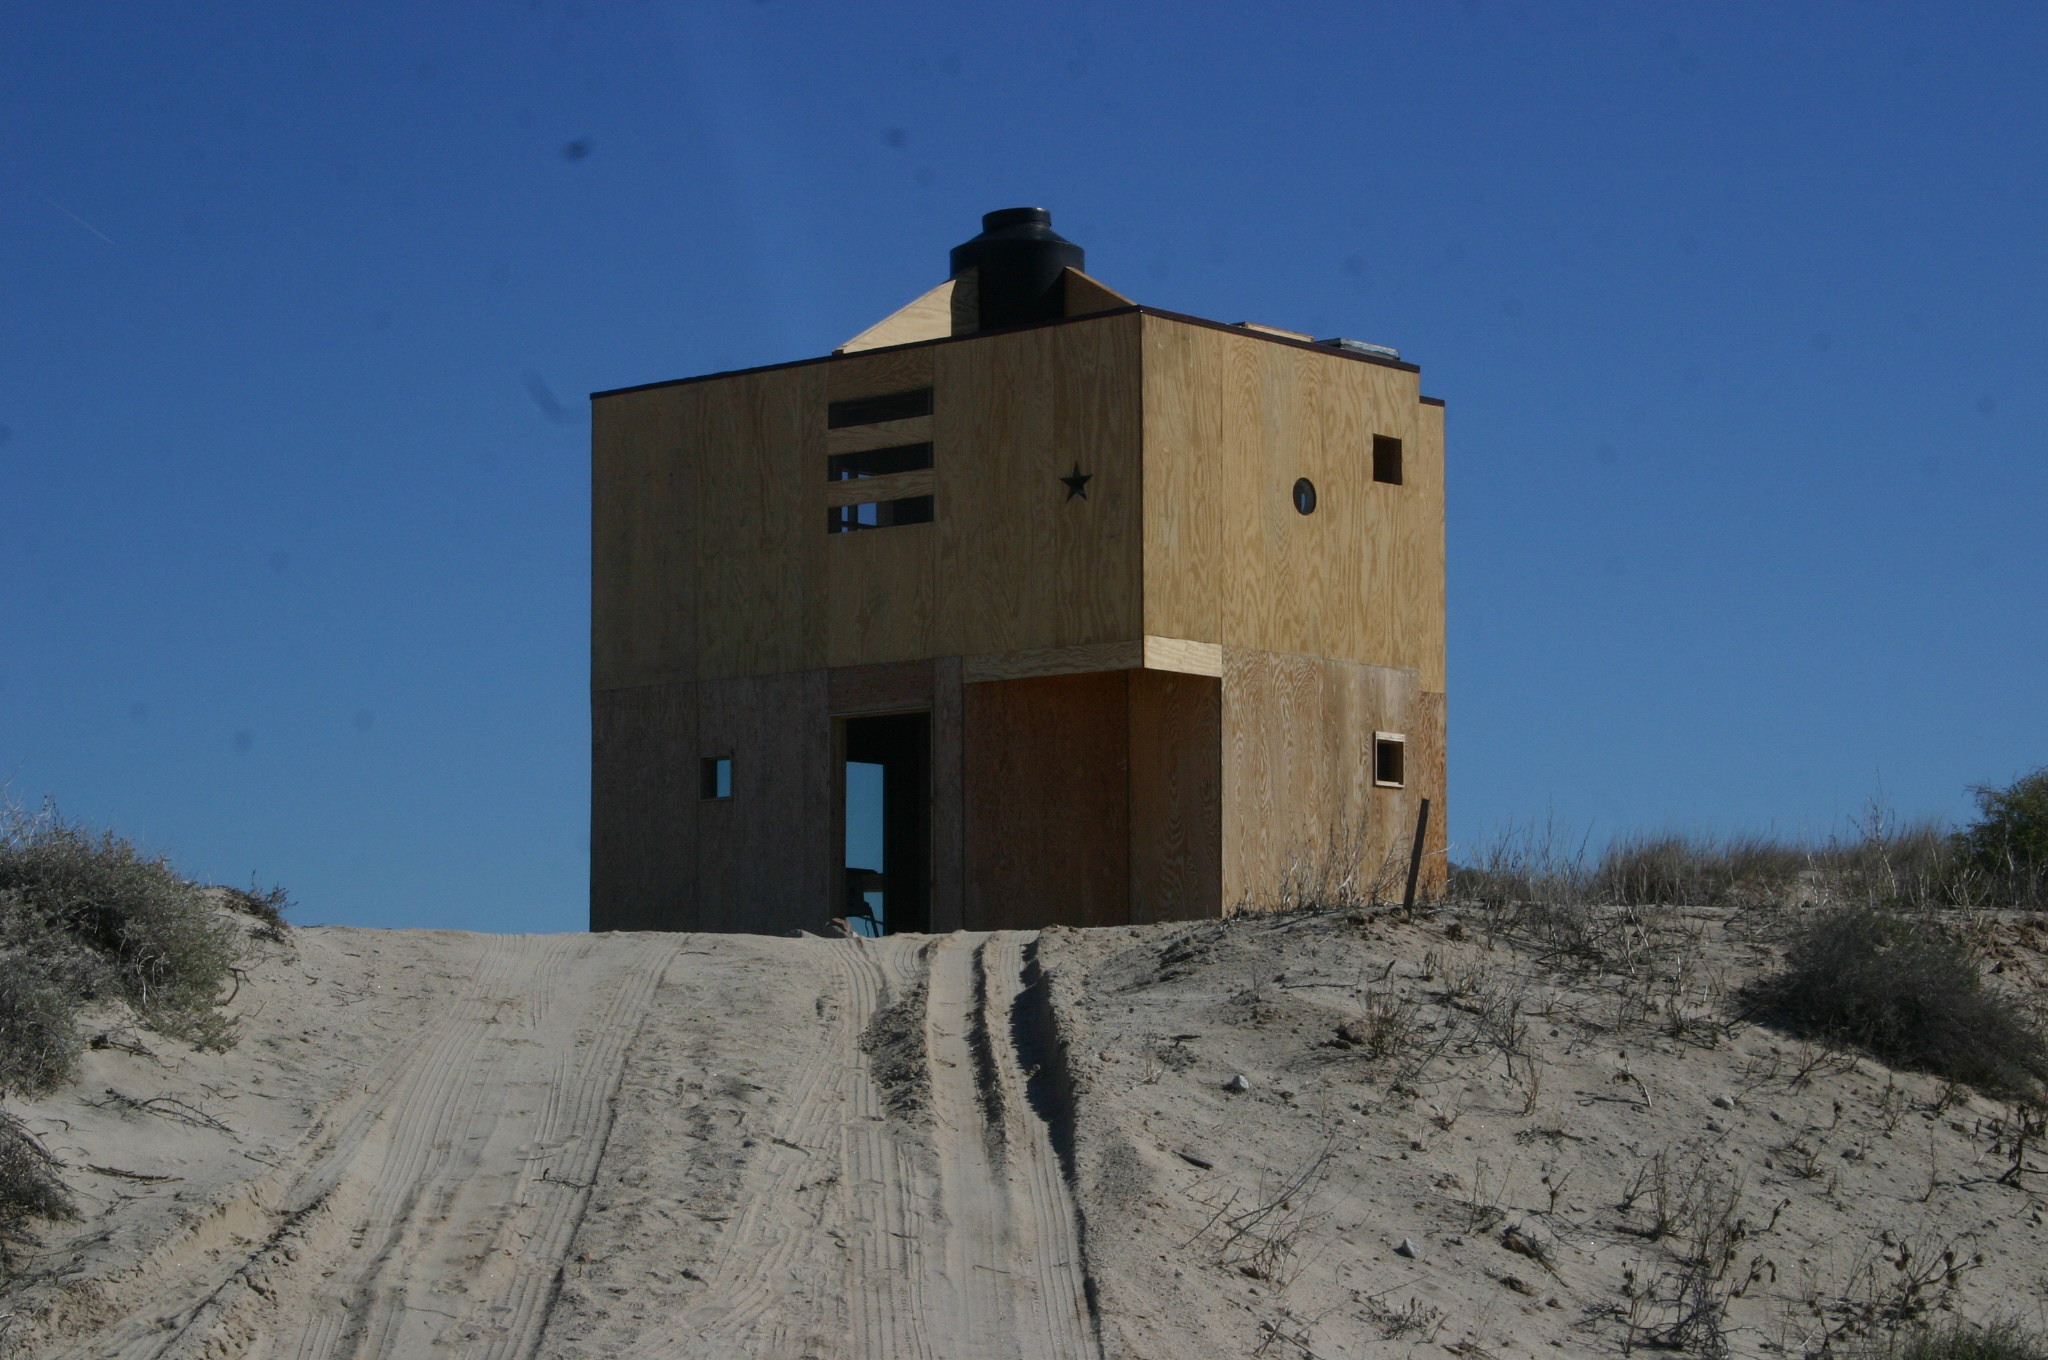
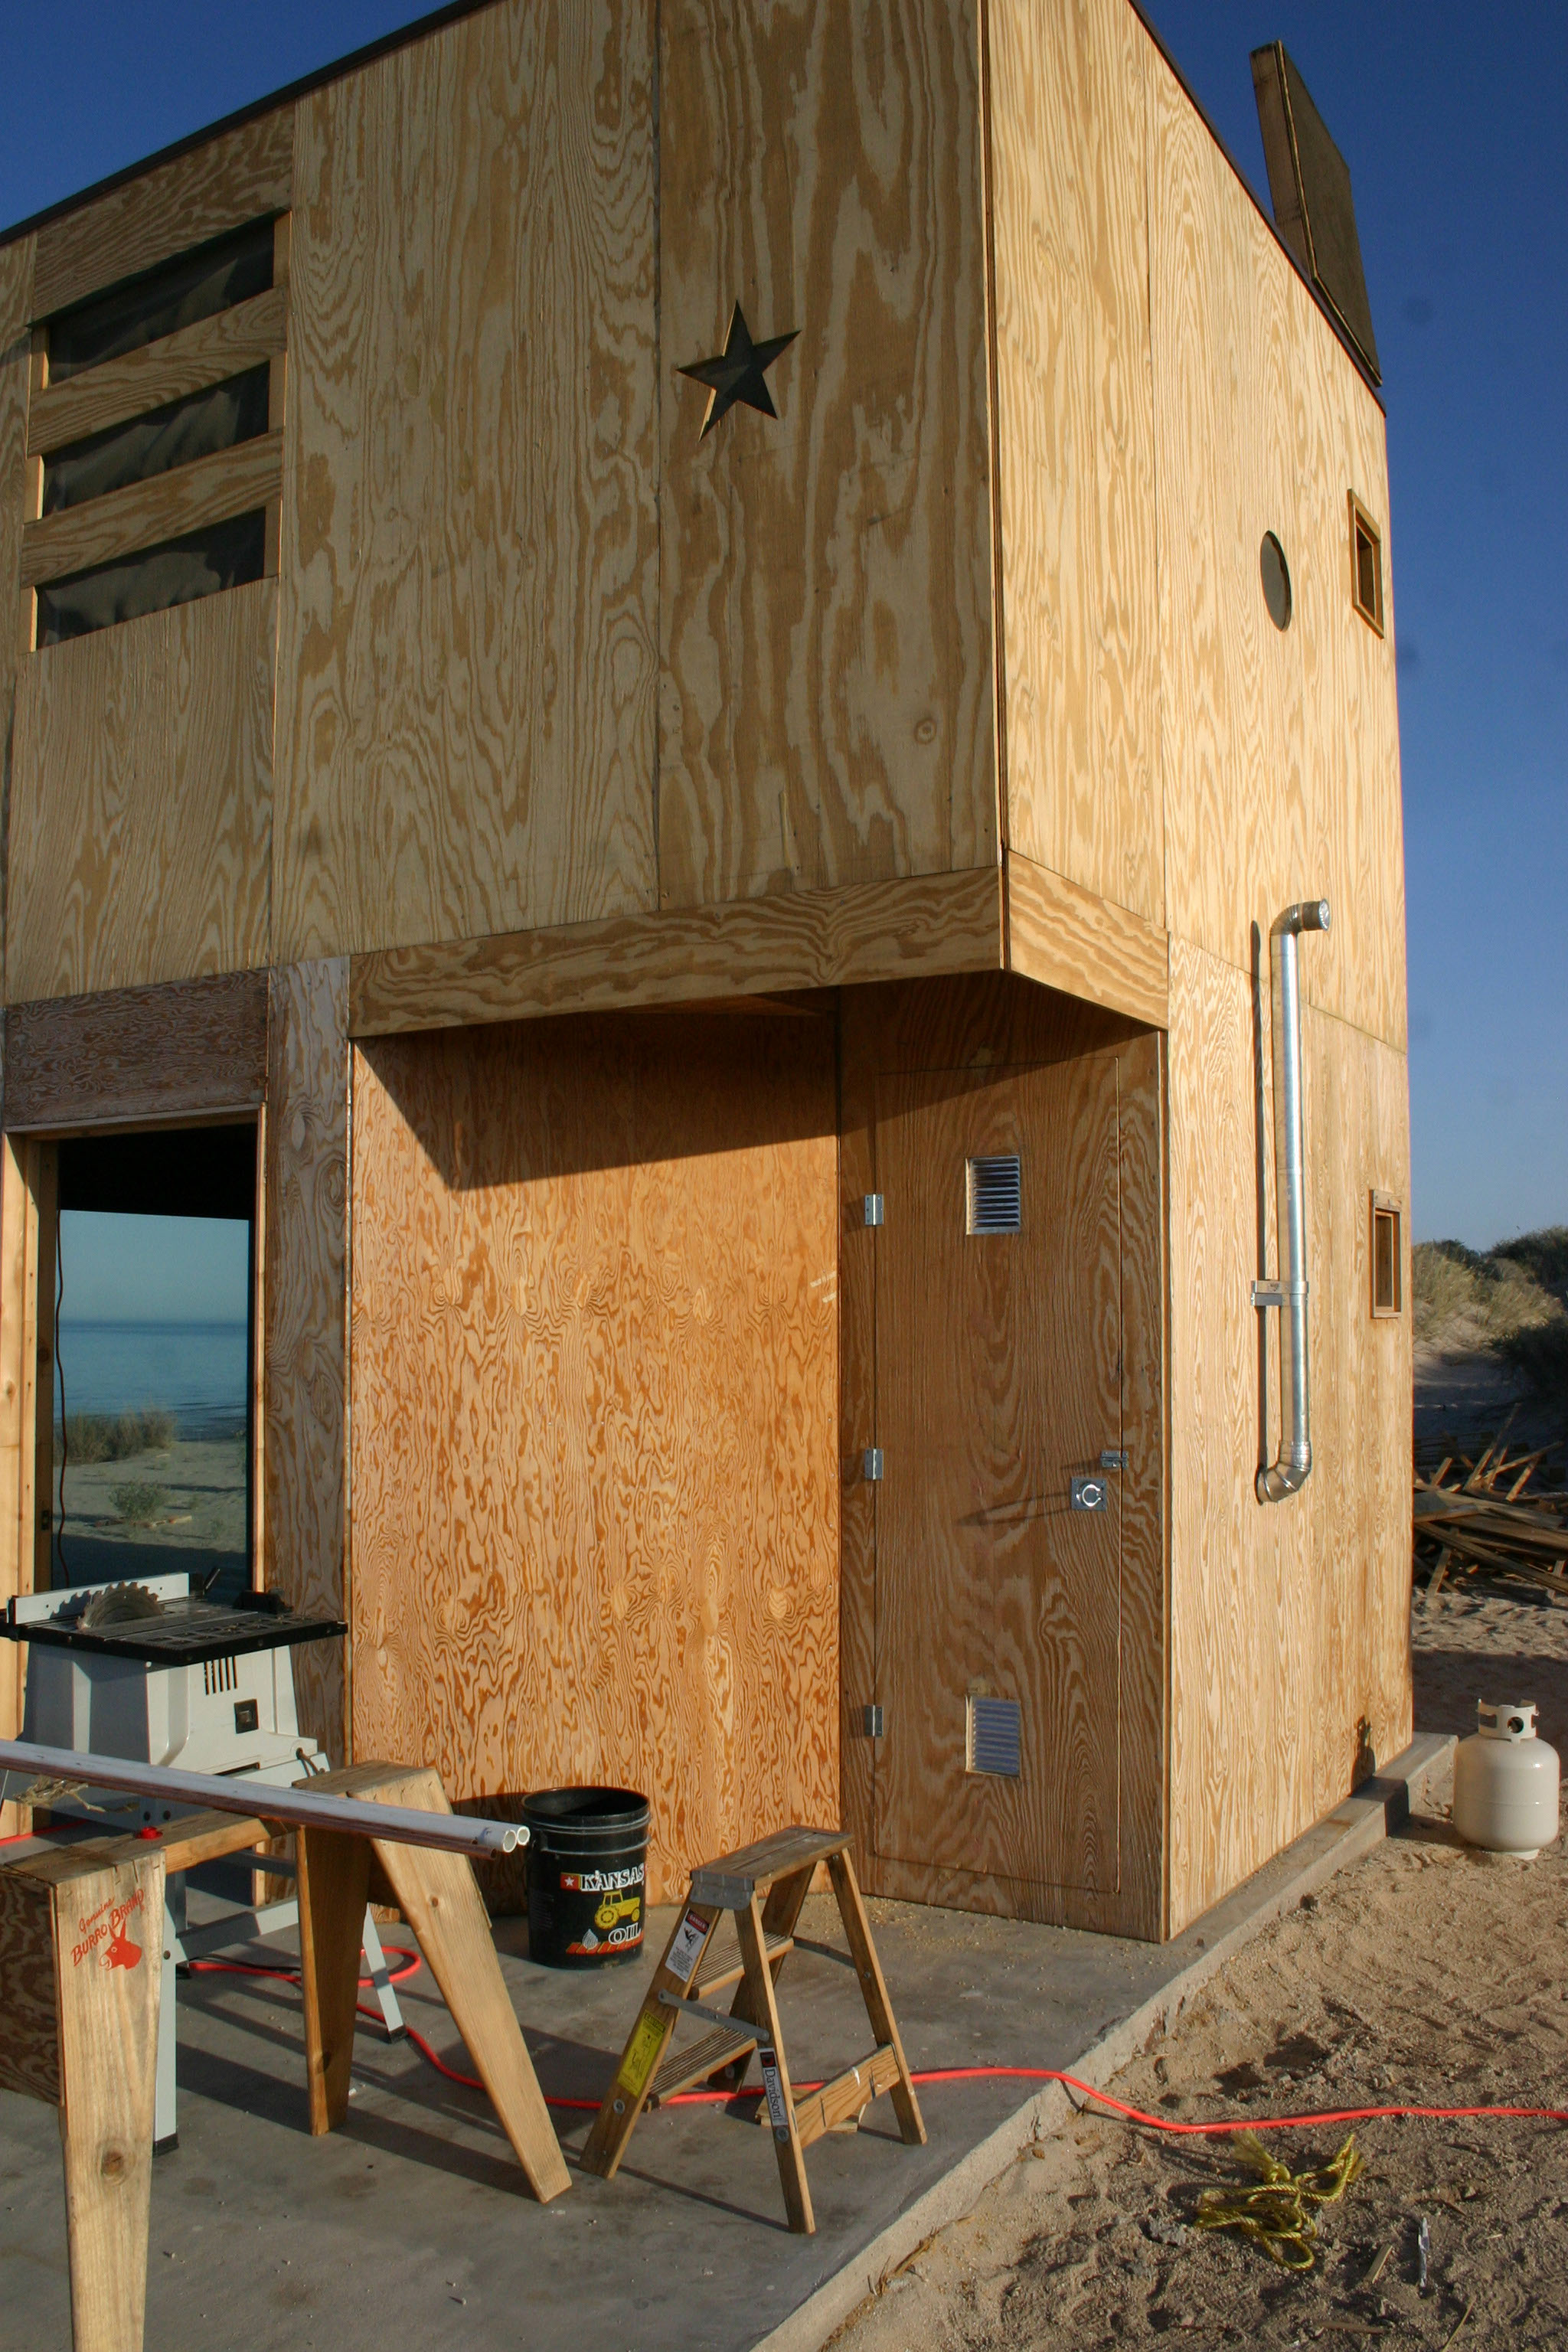
A star shaped opening for a small window on the North wall upper floor
With the upper floor framed, paneling begins on the West wall of the Cube
A closer view of progress on the upper floor
Fiberglass insulation ran a little short at the top of the stairwell. Note the lower half of the shower stall in place
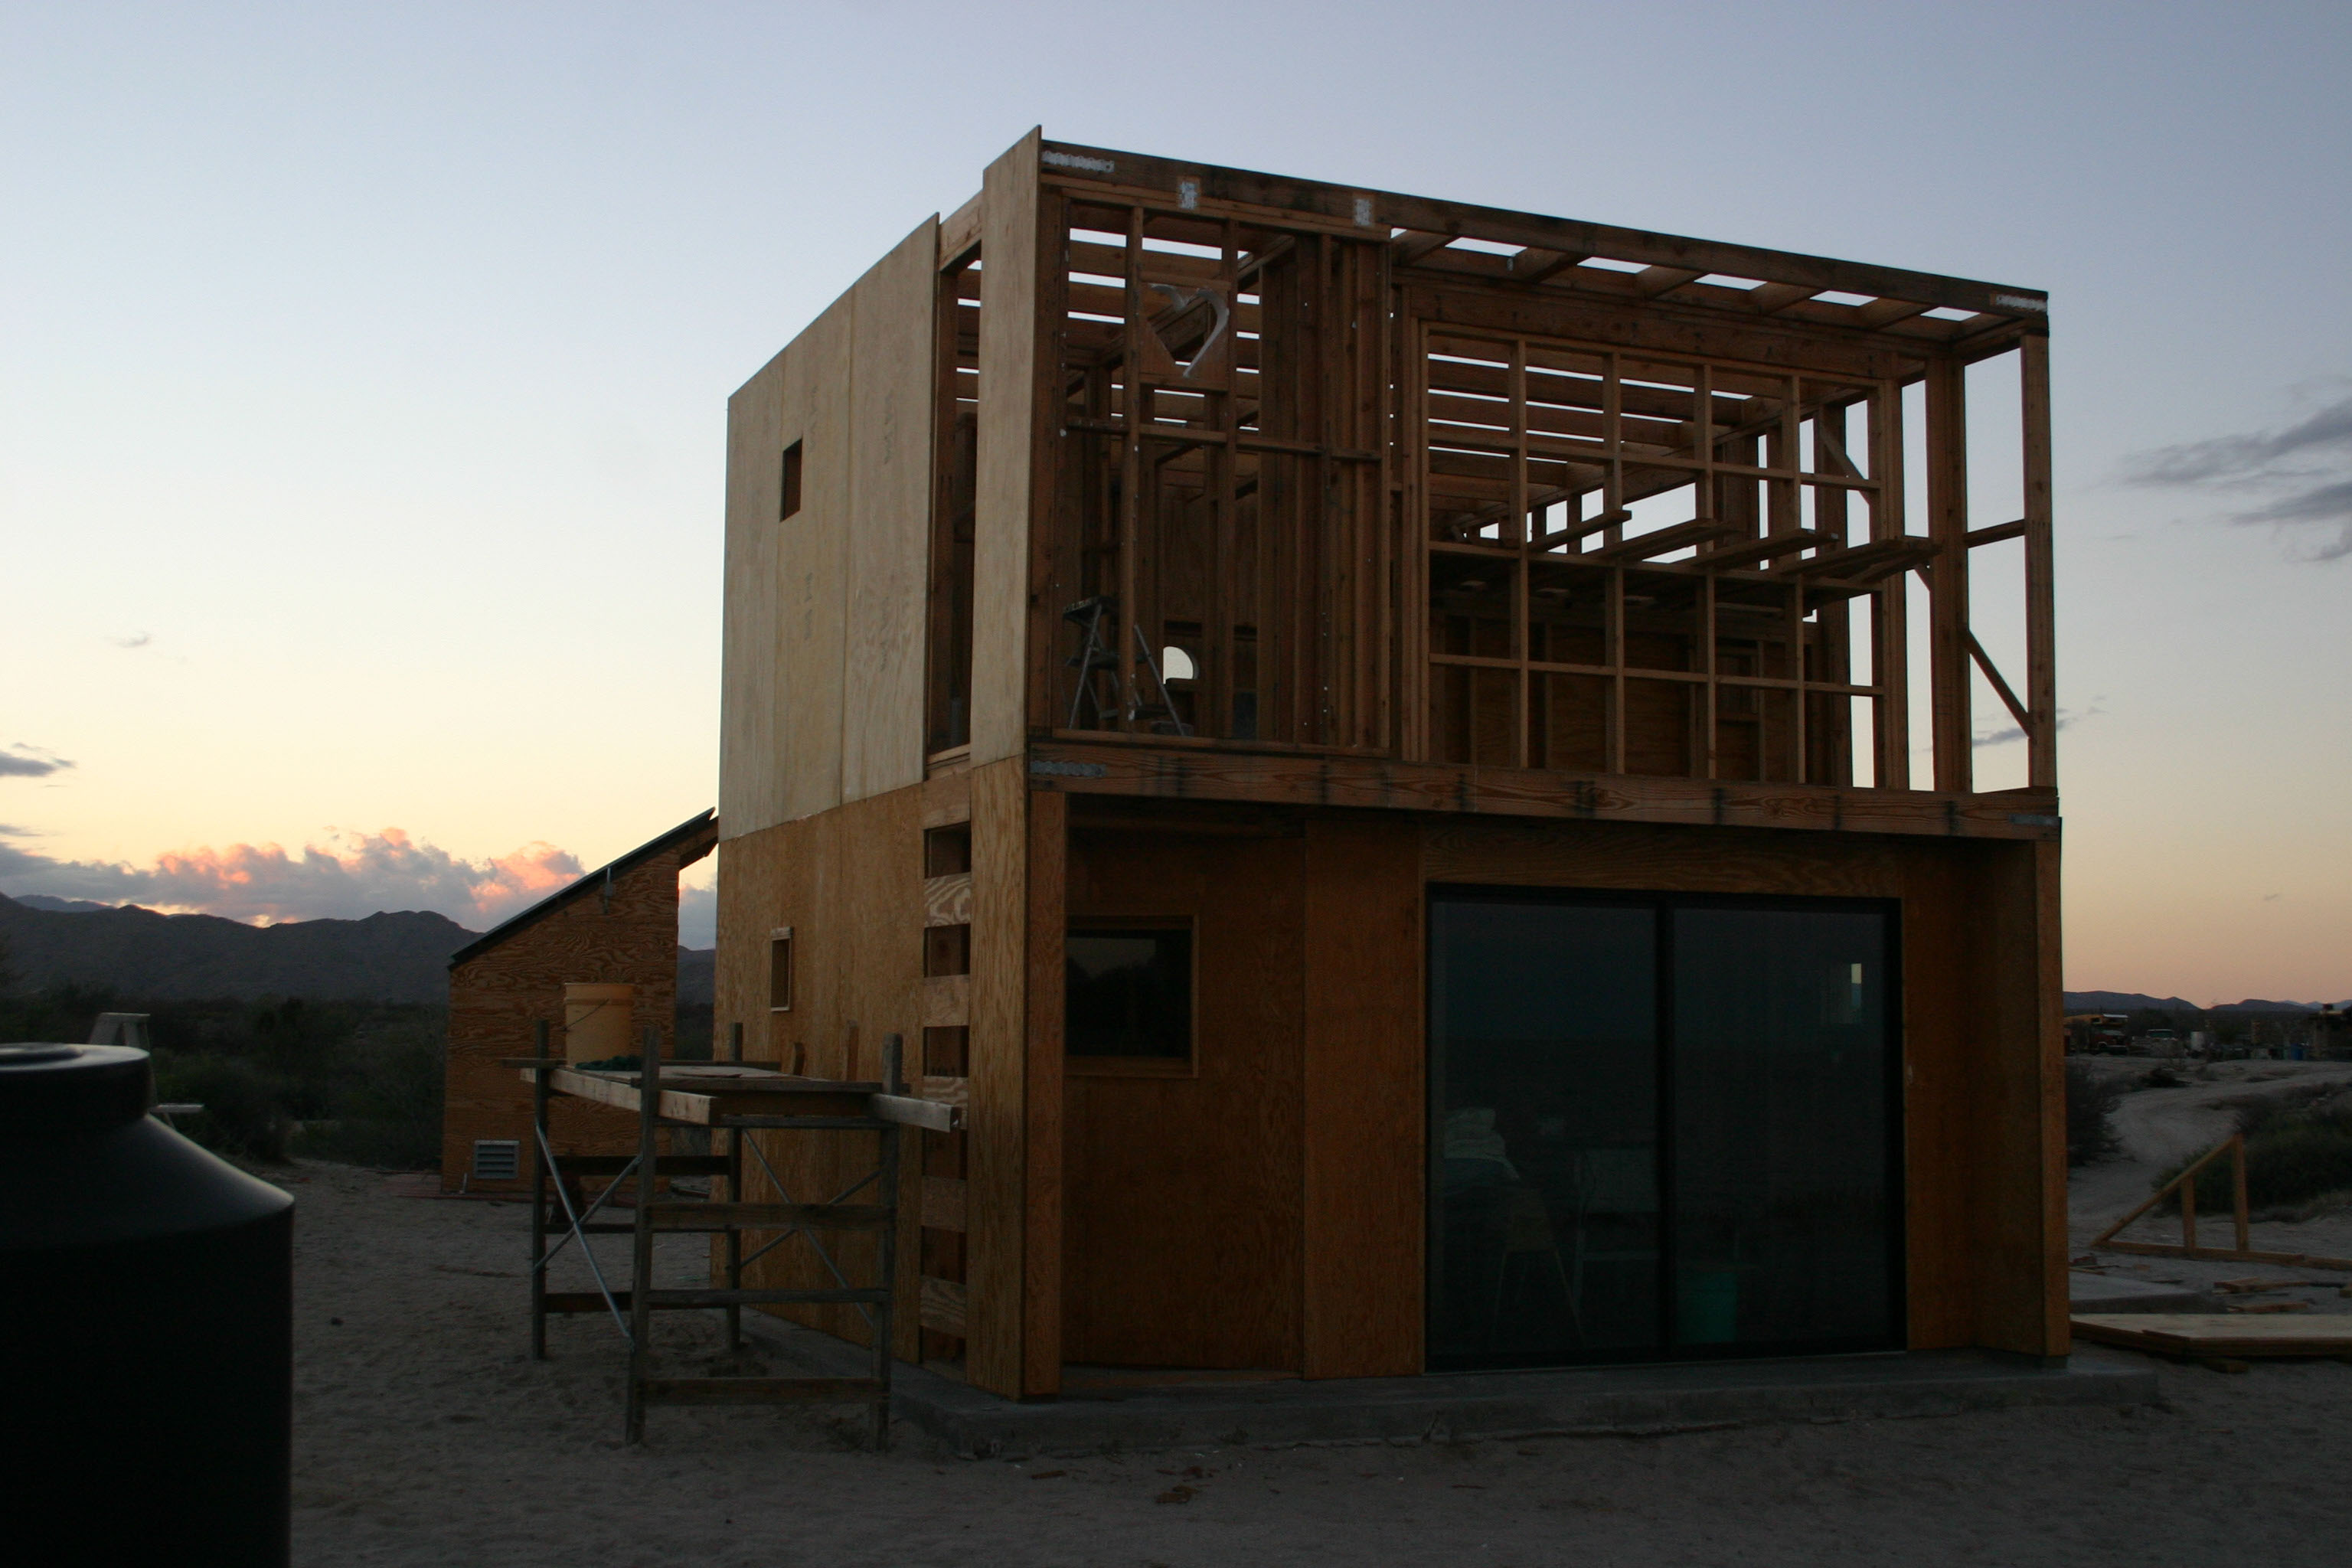
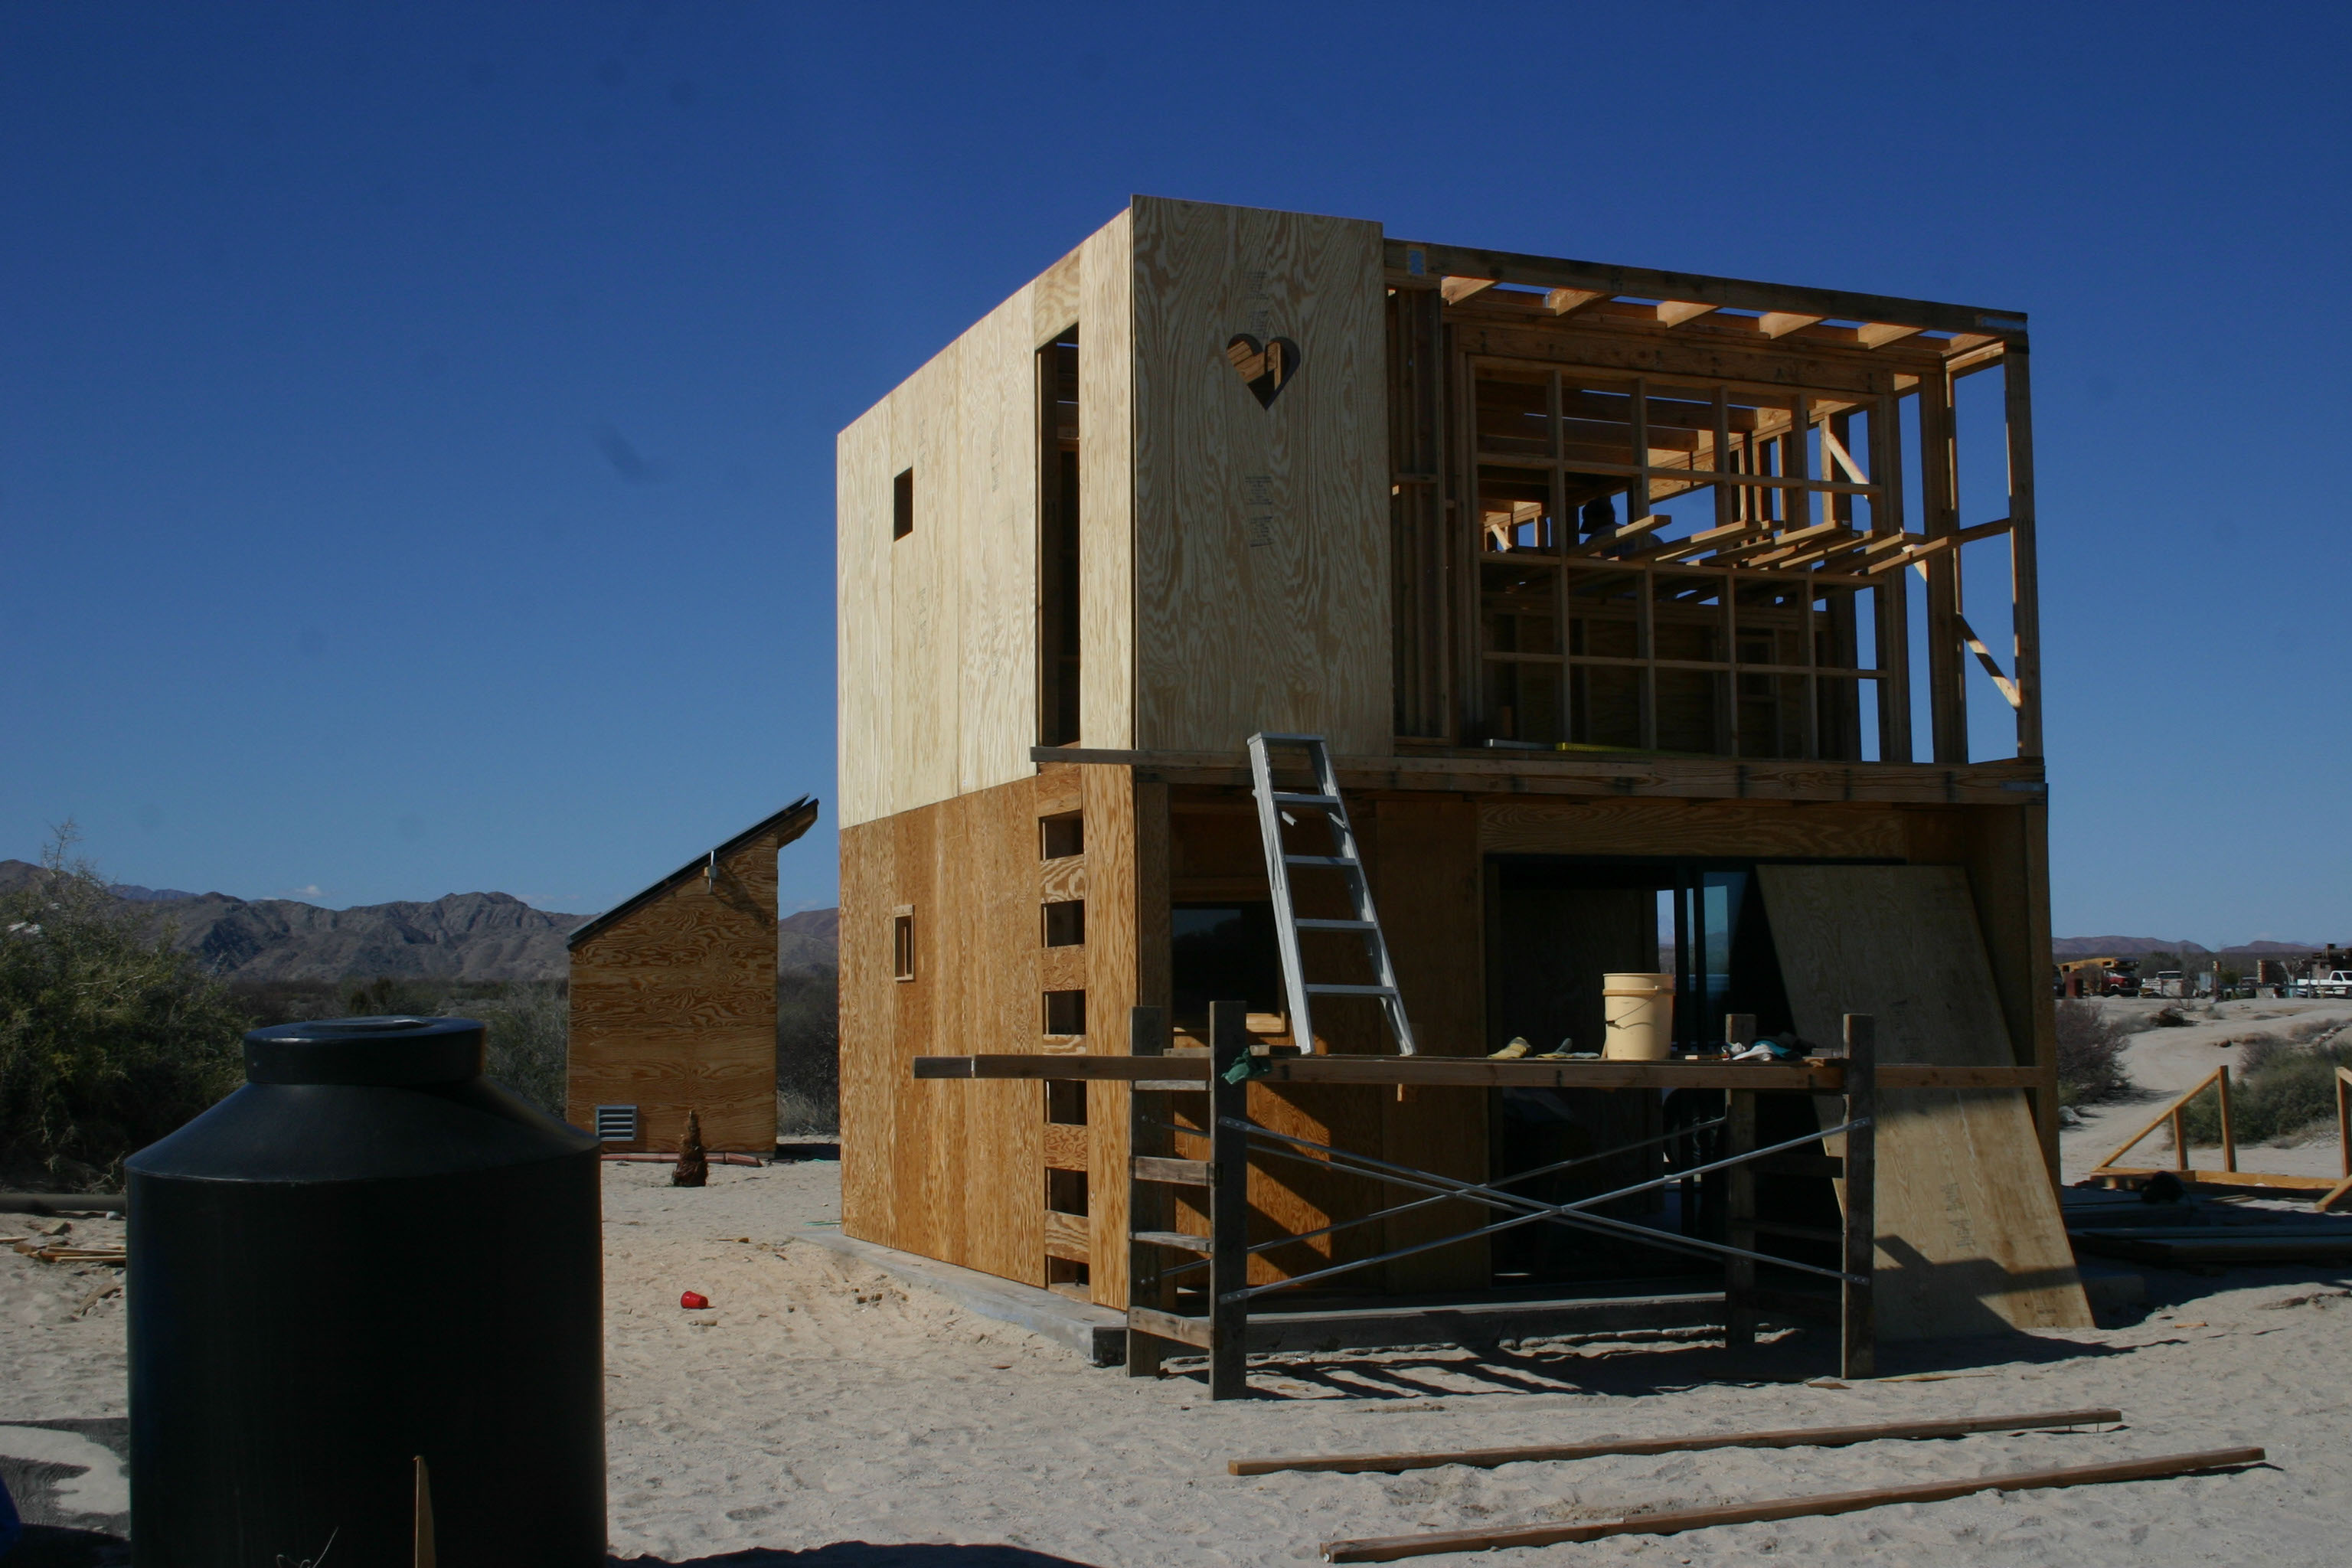
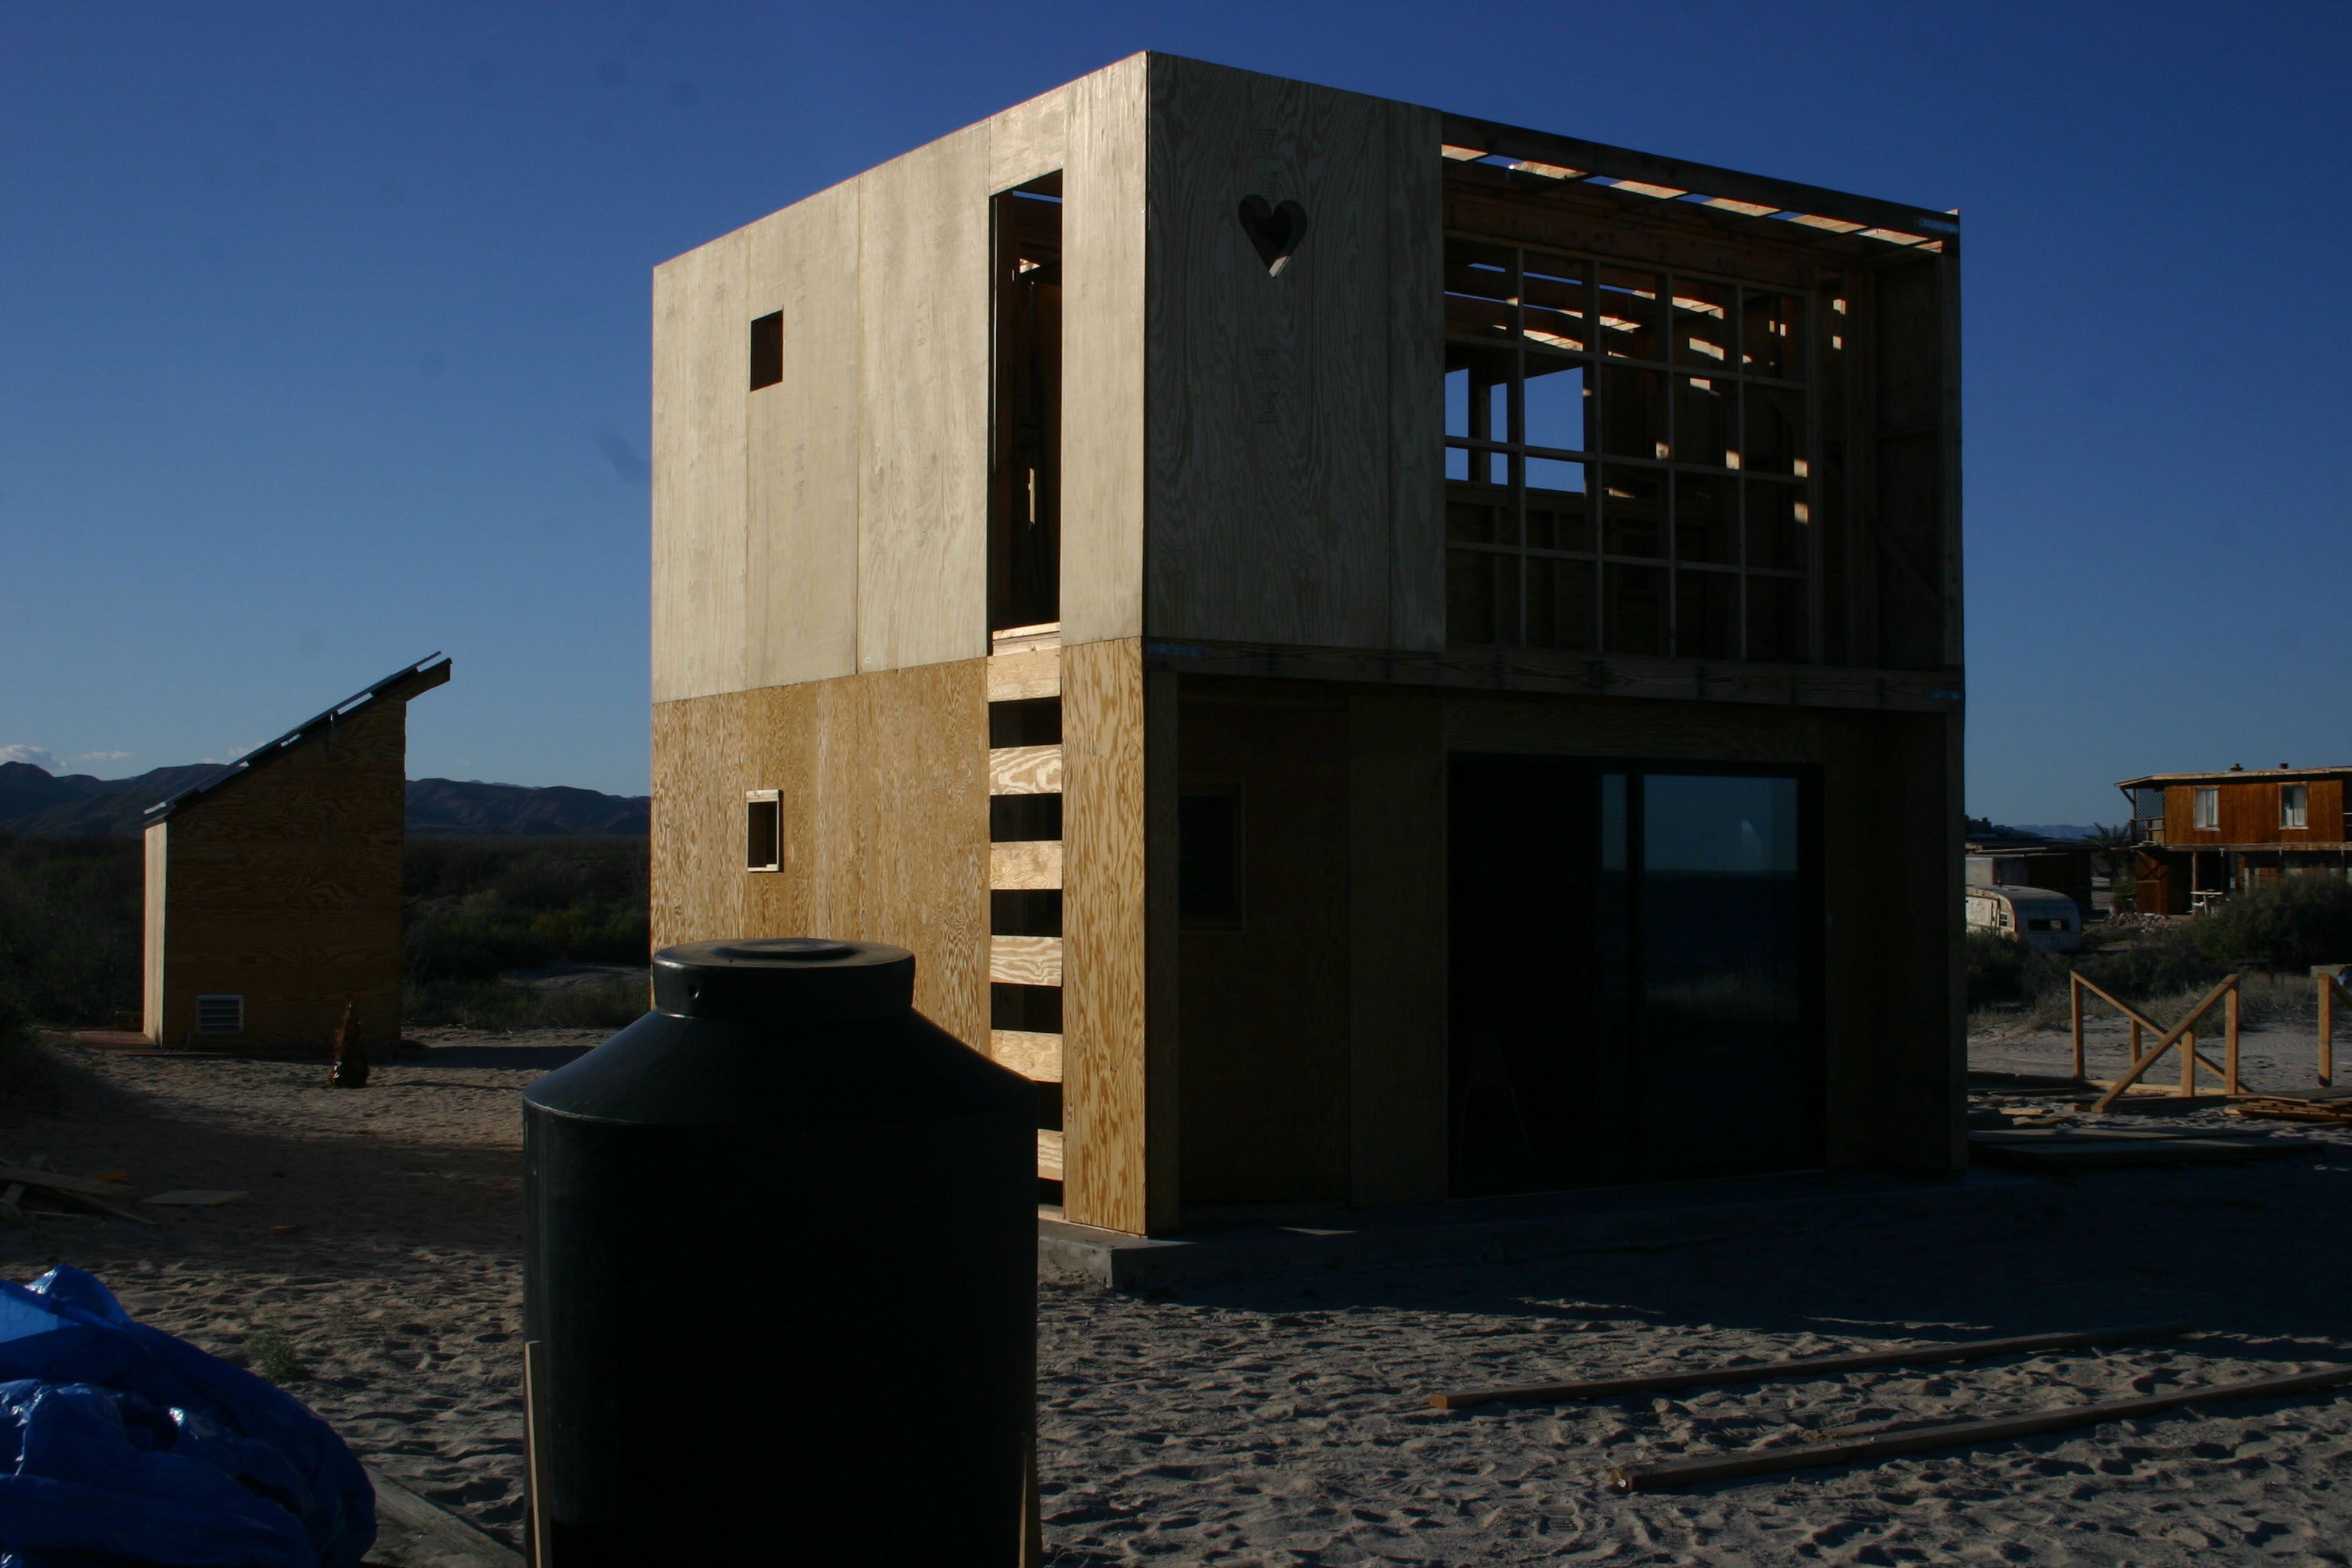
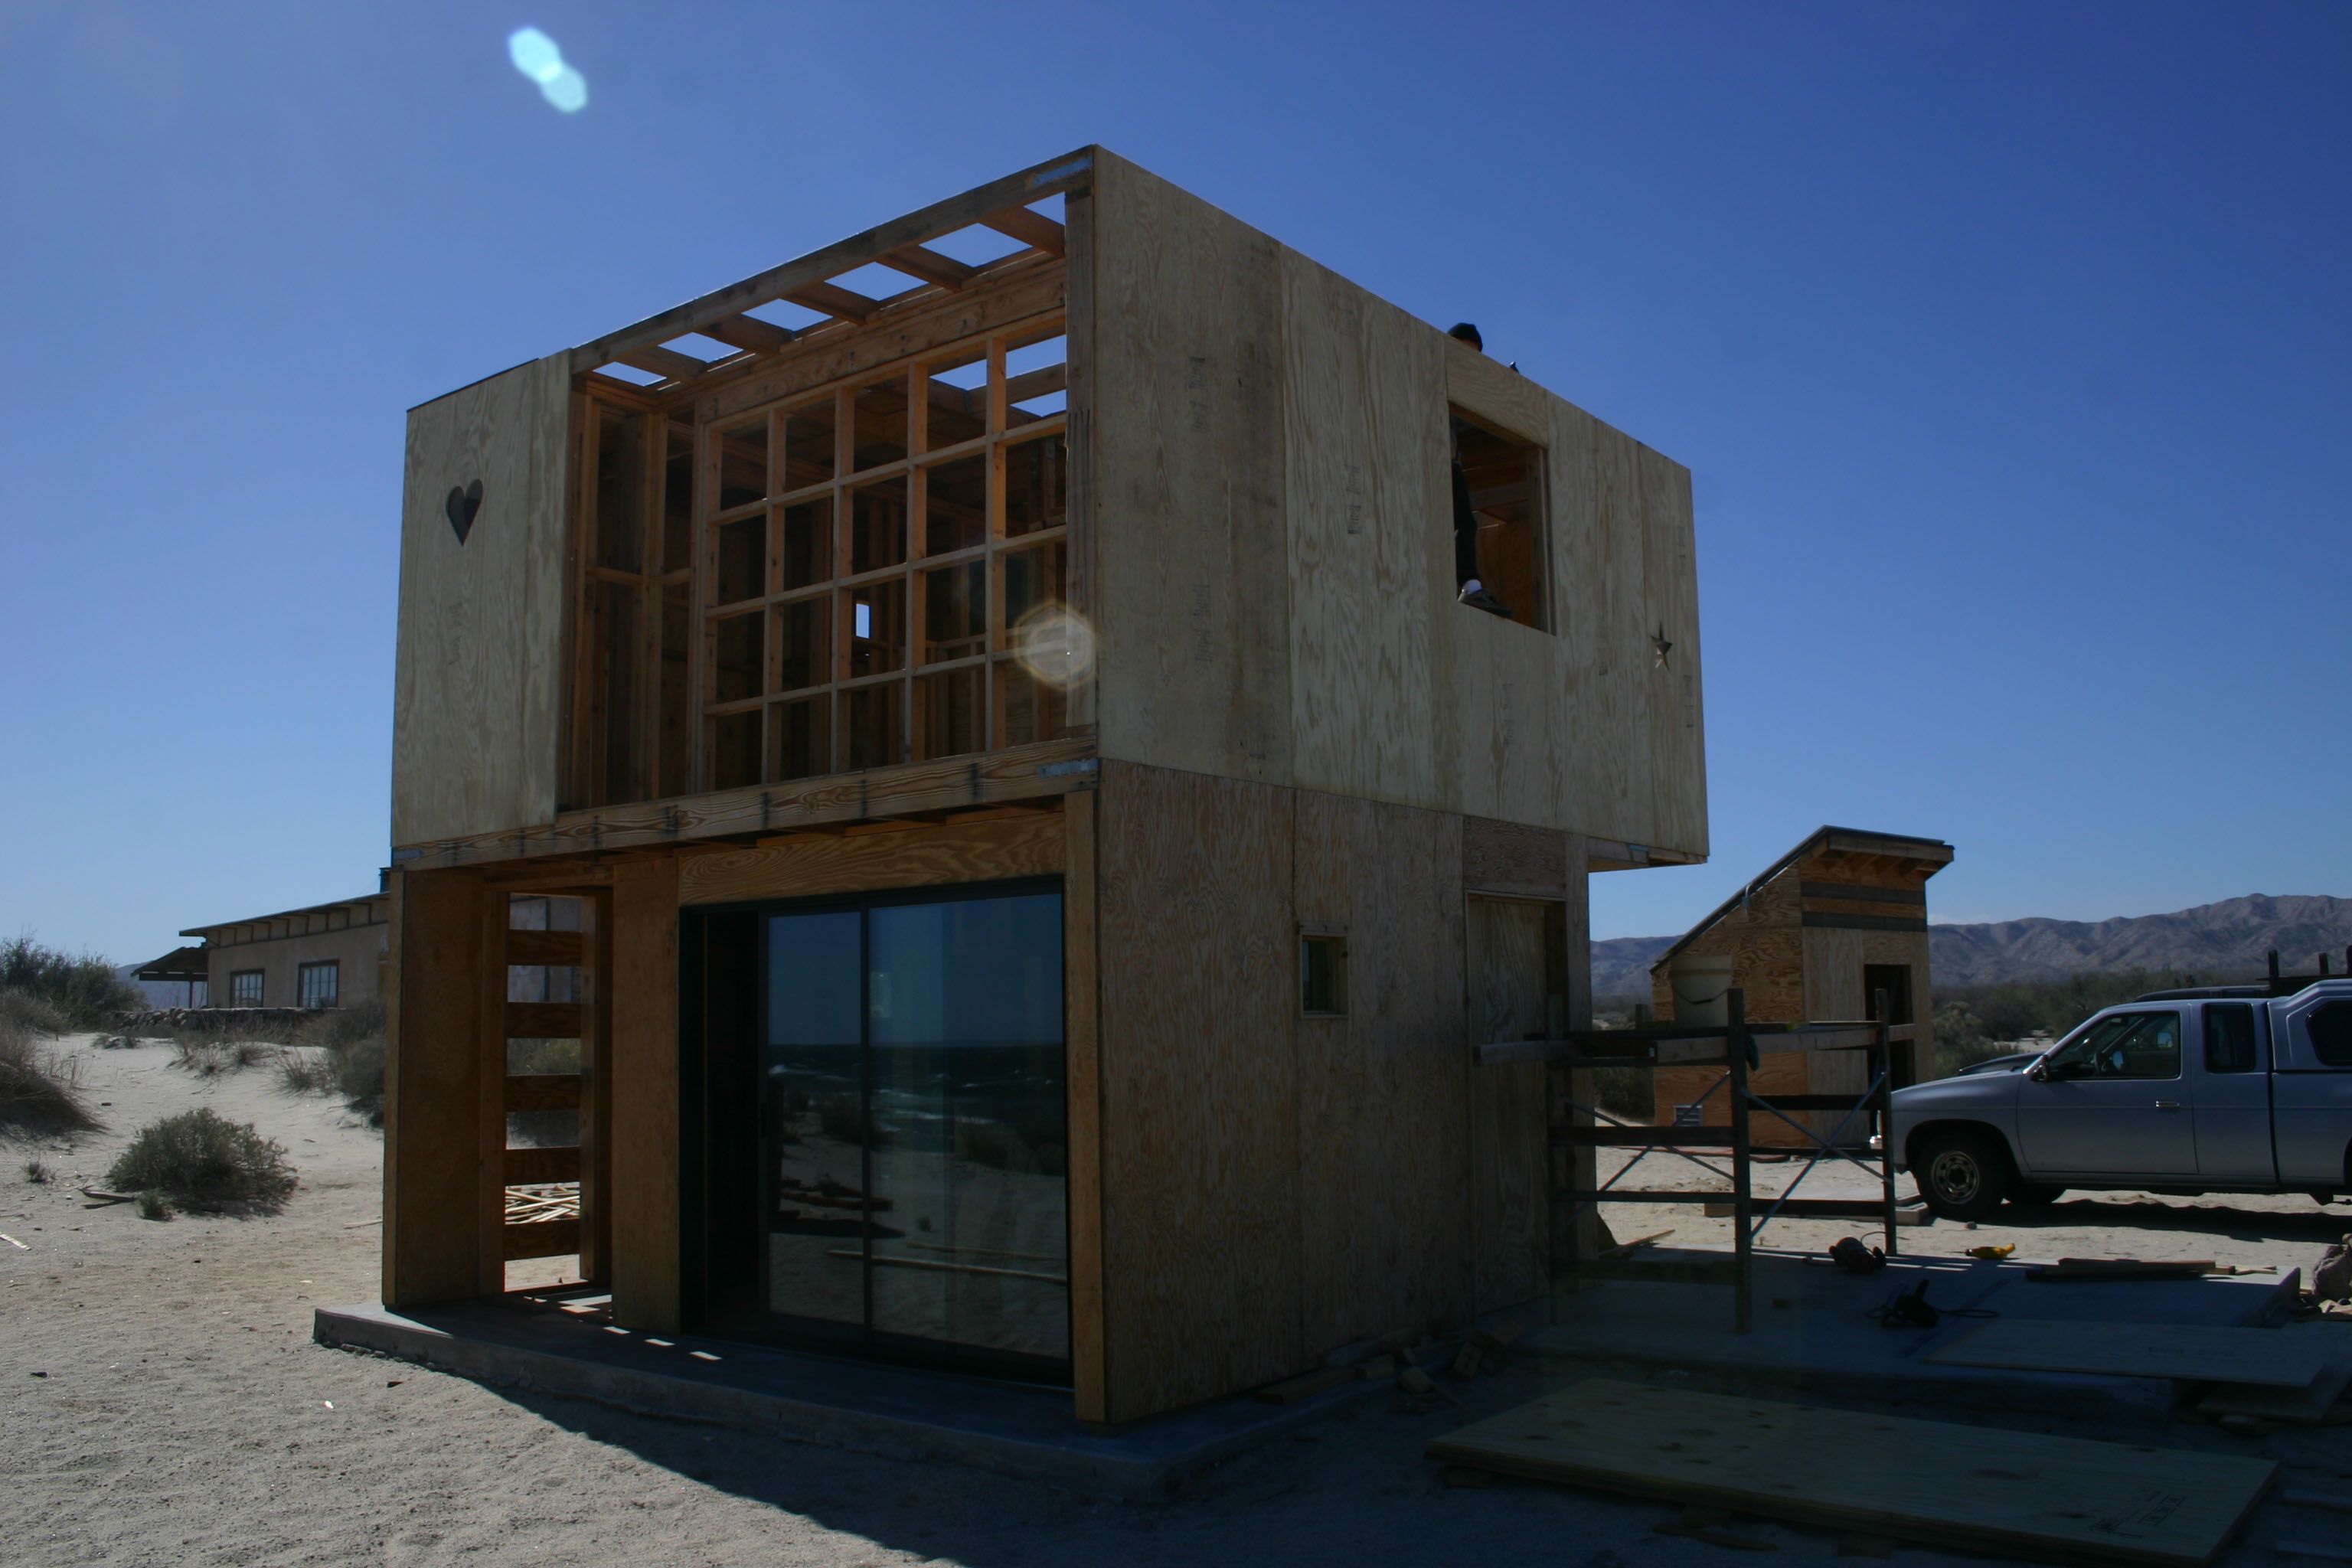
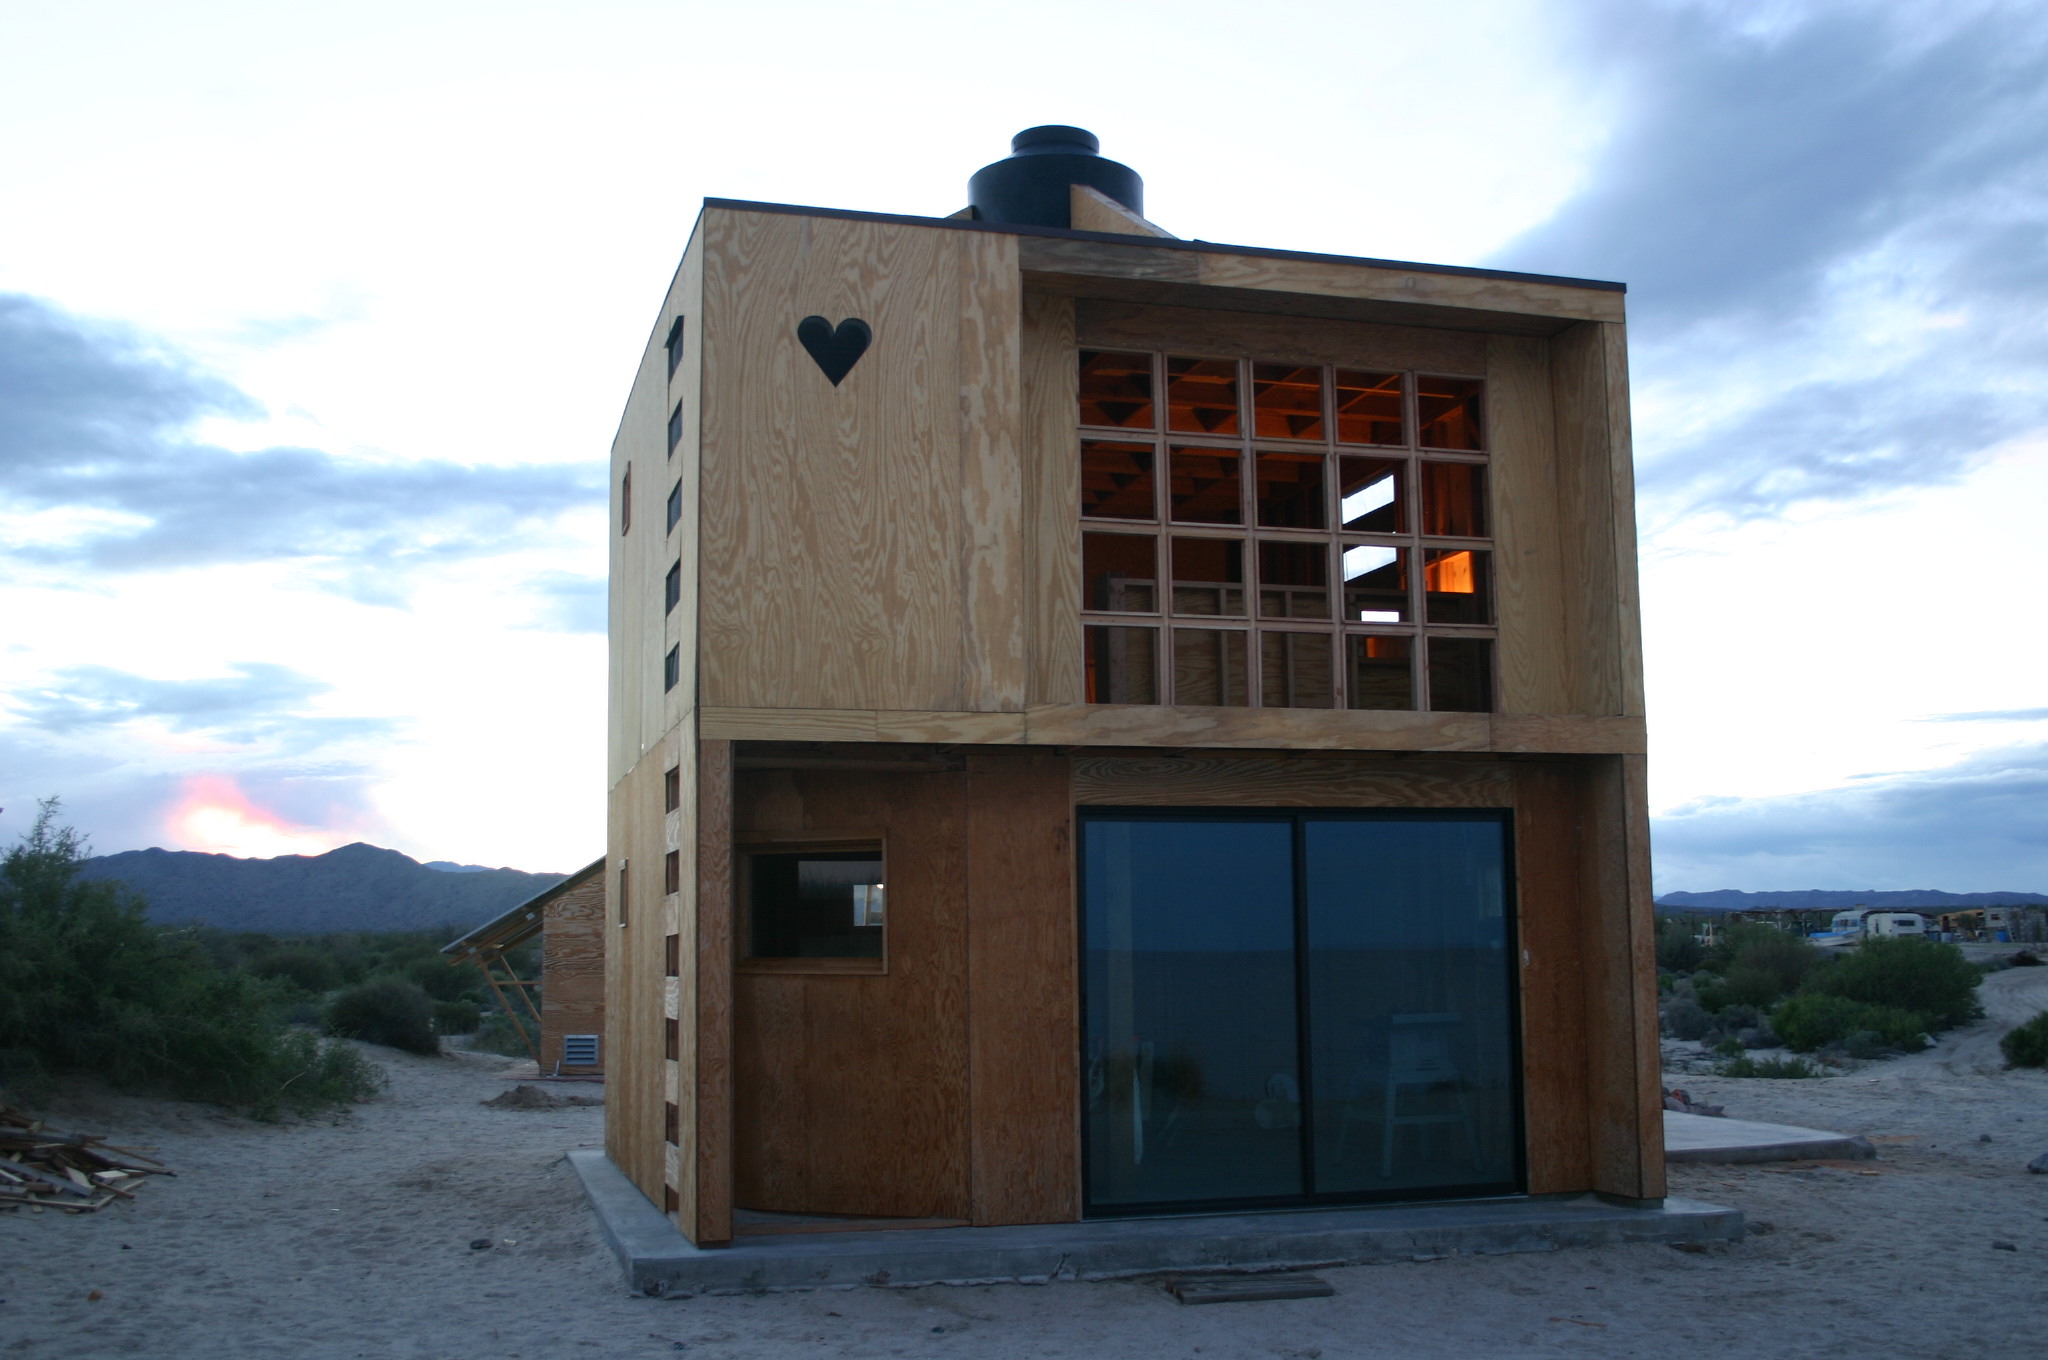
Two salient features of the Cube can be seen here: the heart shaped window rough opening and the framework for the 20 pane window
A plywood panel is now added with a heart shaped cutout. It was difficult to match the shape exactly of the rough opening and get the panel in position at the top of a wobbly ladder
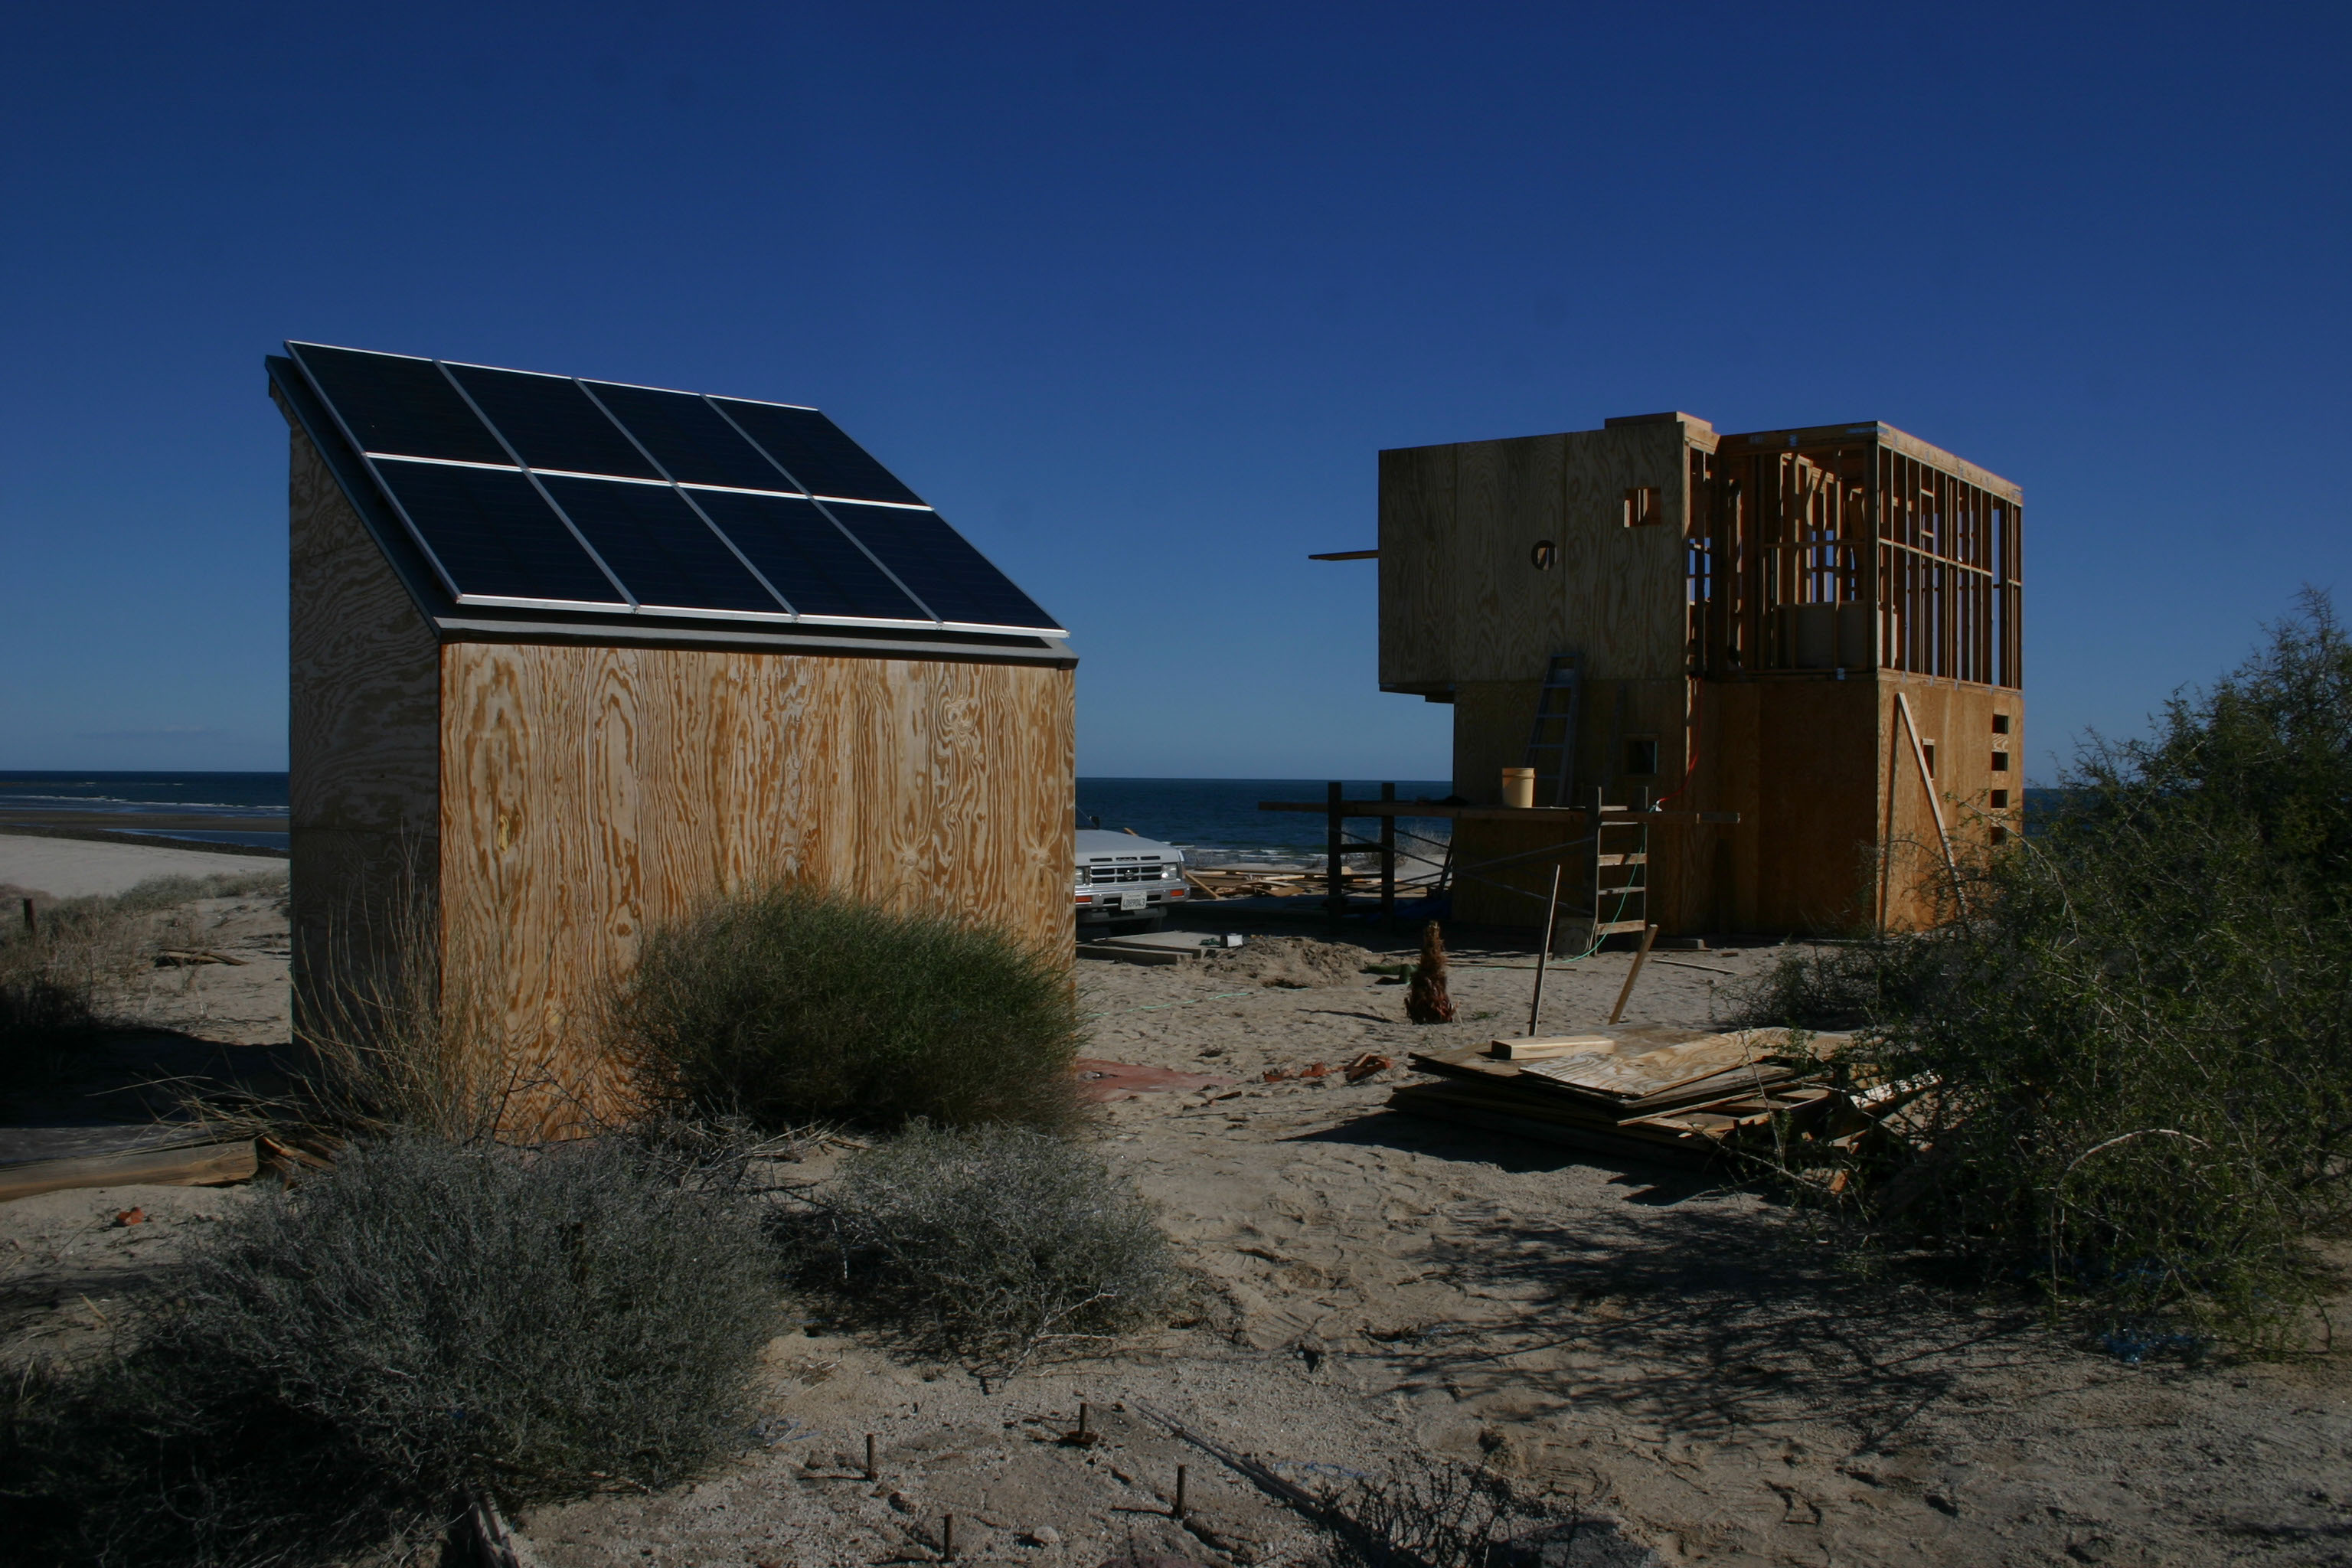
The angular forms of both buildings viewed from the wash
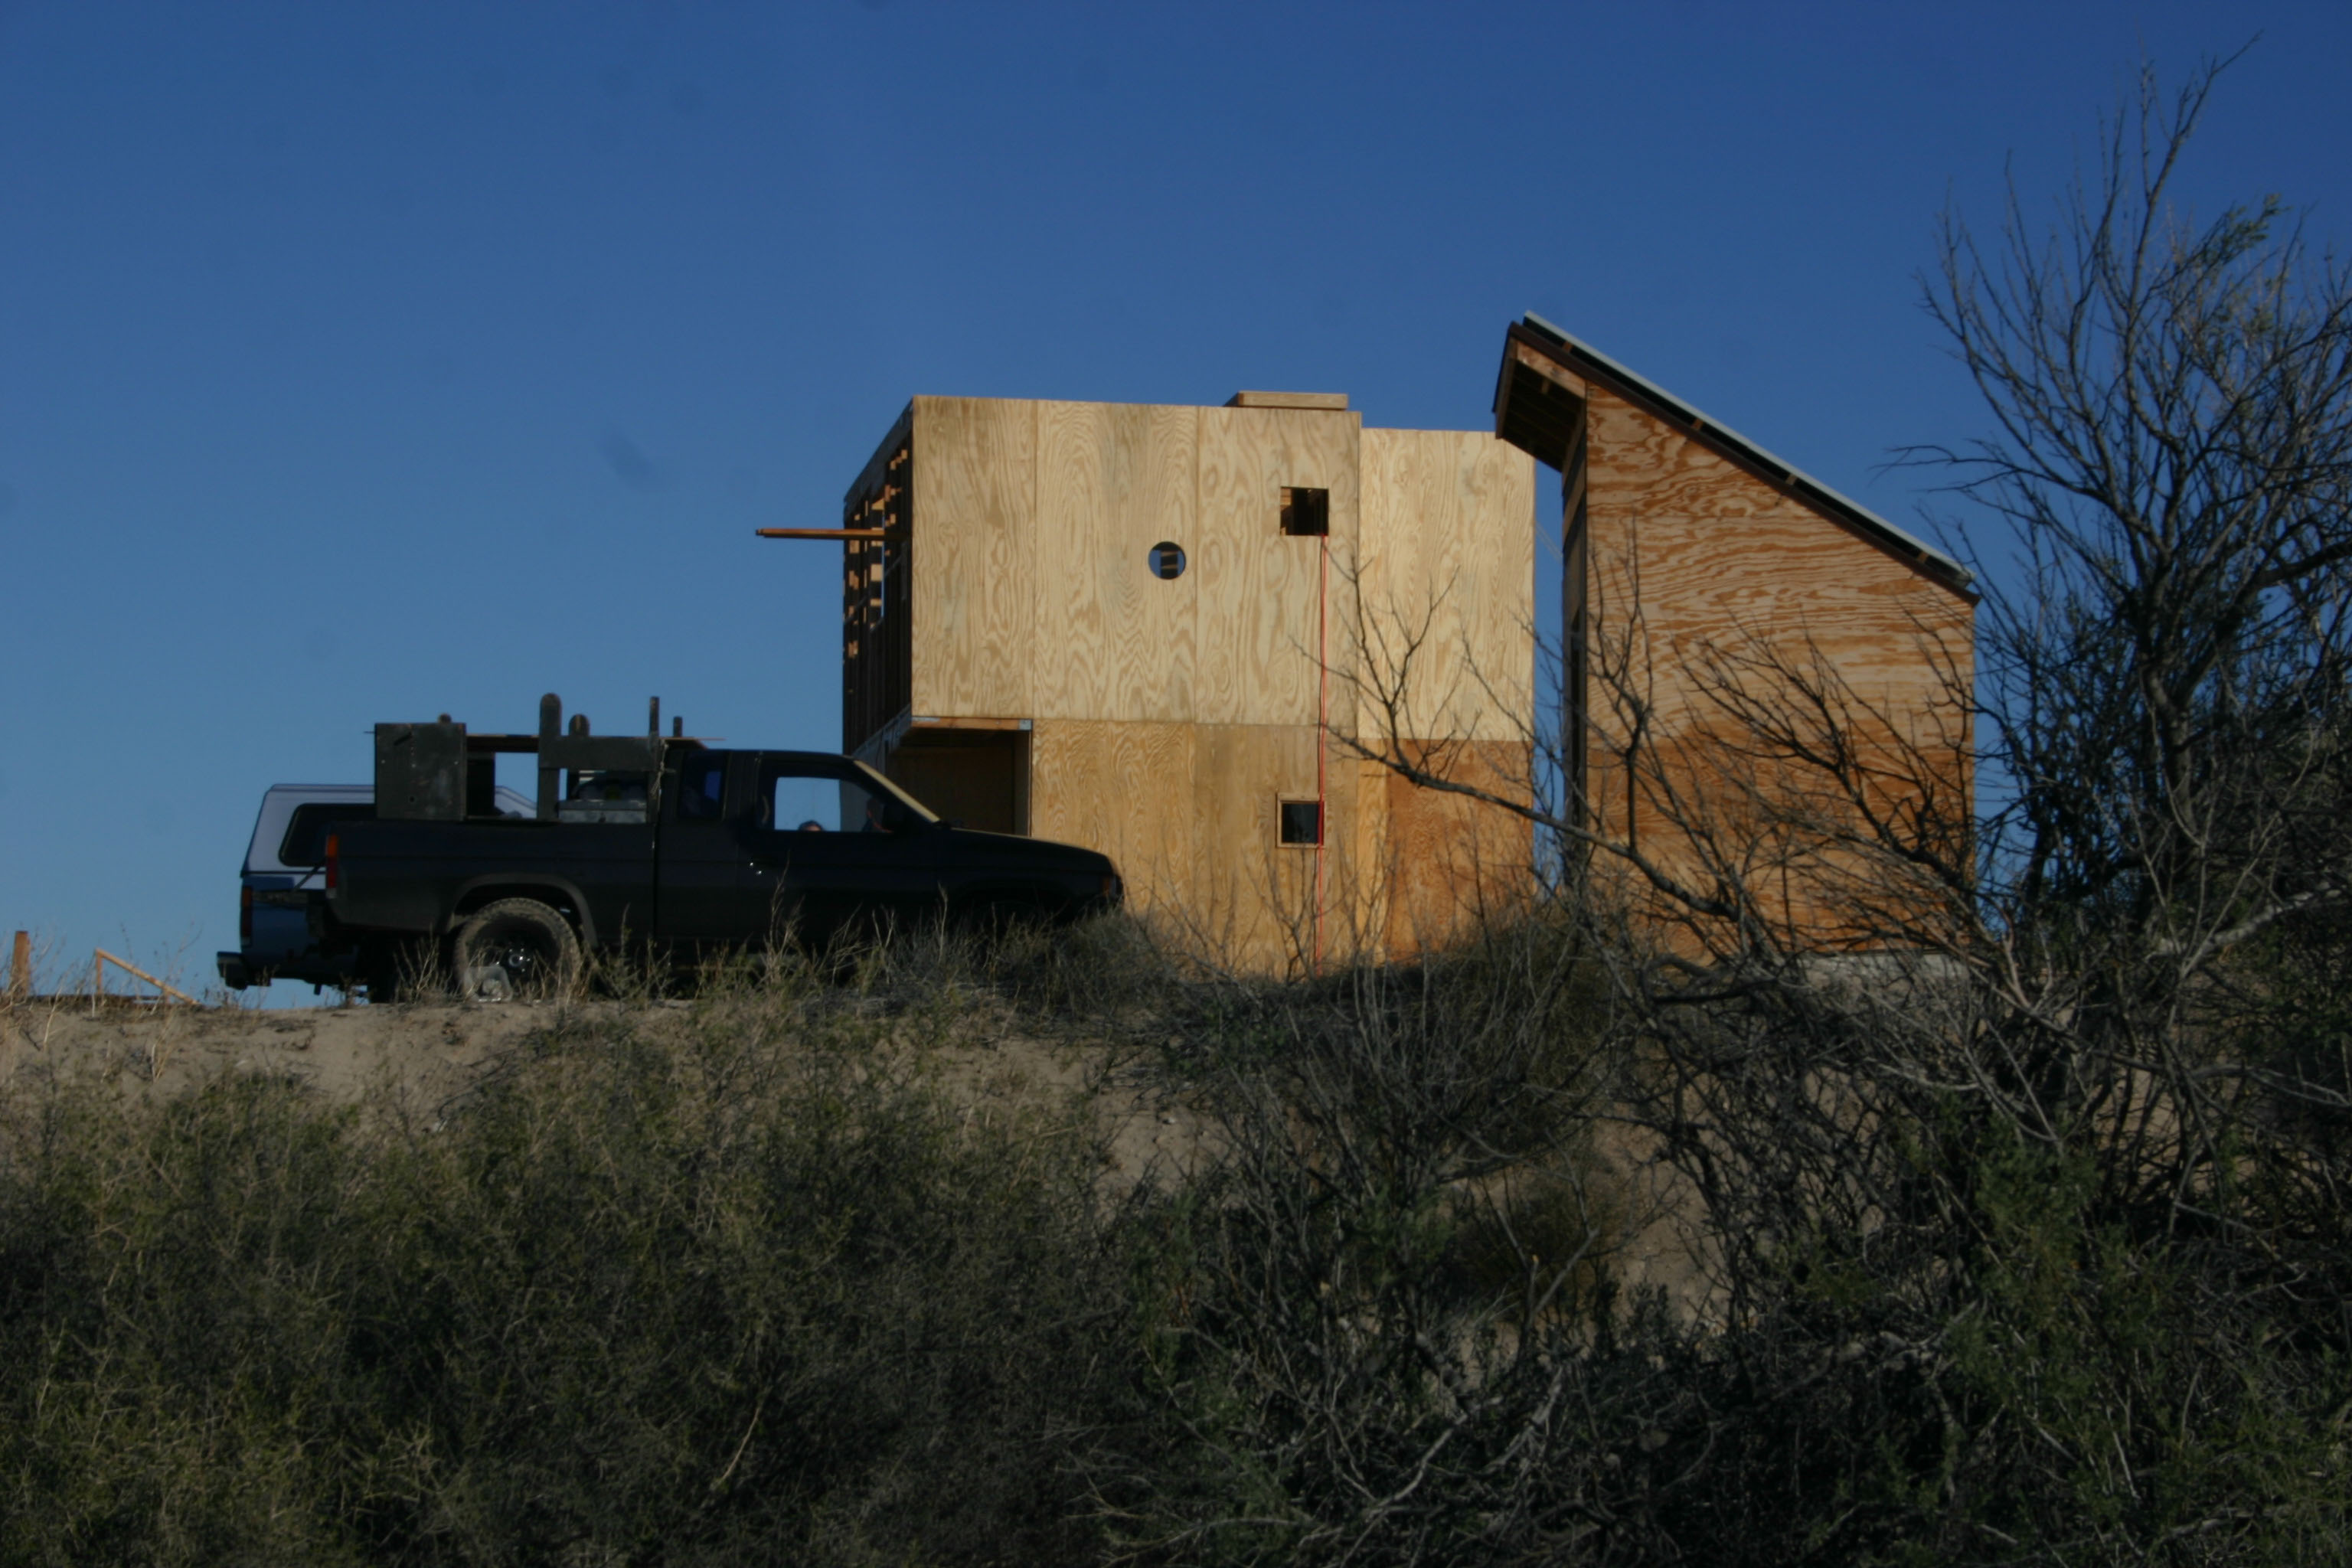
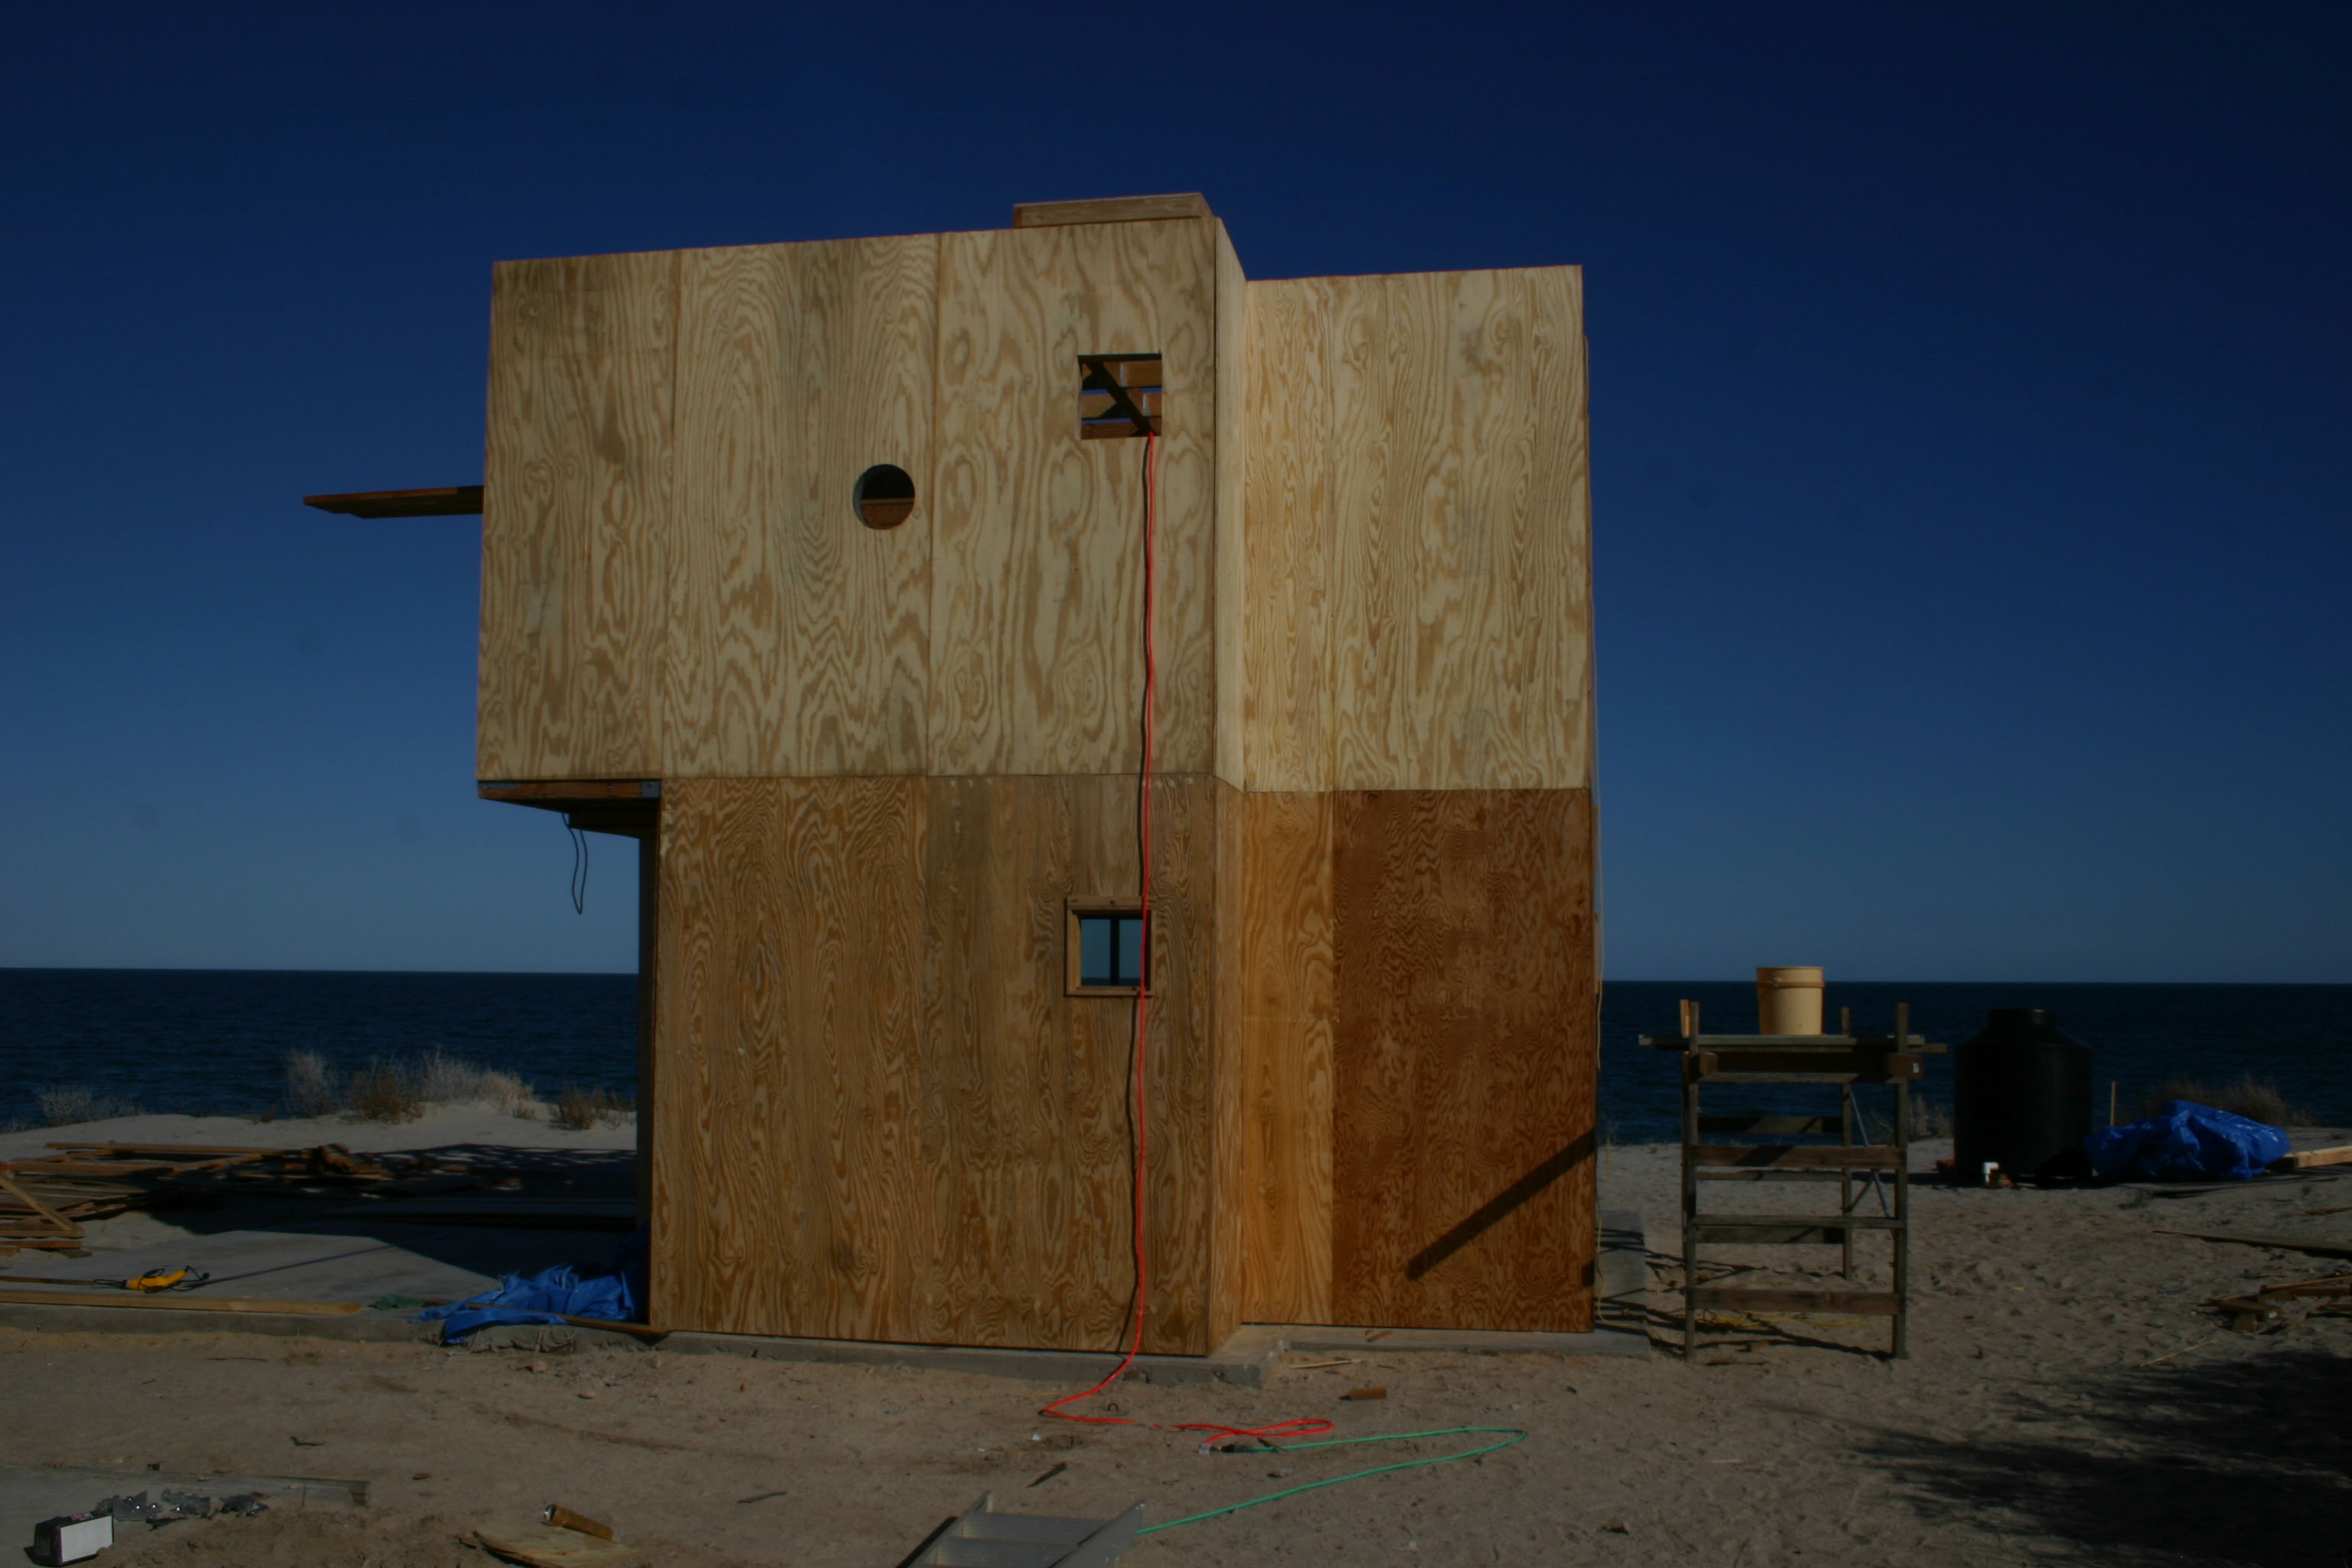
Glass has been added to the lower window on the West wall, but not yet to the upper one, as witnessed by the dangling extension cord feeding power from the shed.
The water tank, removed from its demolished support, now stands ready for duty on the Cube roof
Frames for the water tank lateral supports stand In the foreground
Paneling is now complete on the North wall as Richard secures the roof beams
A sliding glass door now encloses the lower floor
An interior view of the 20-panel window framework
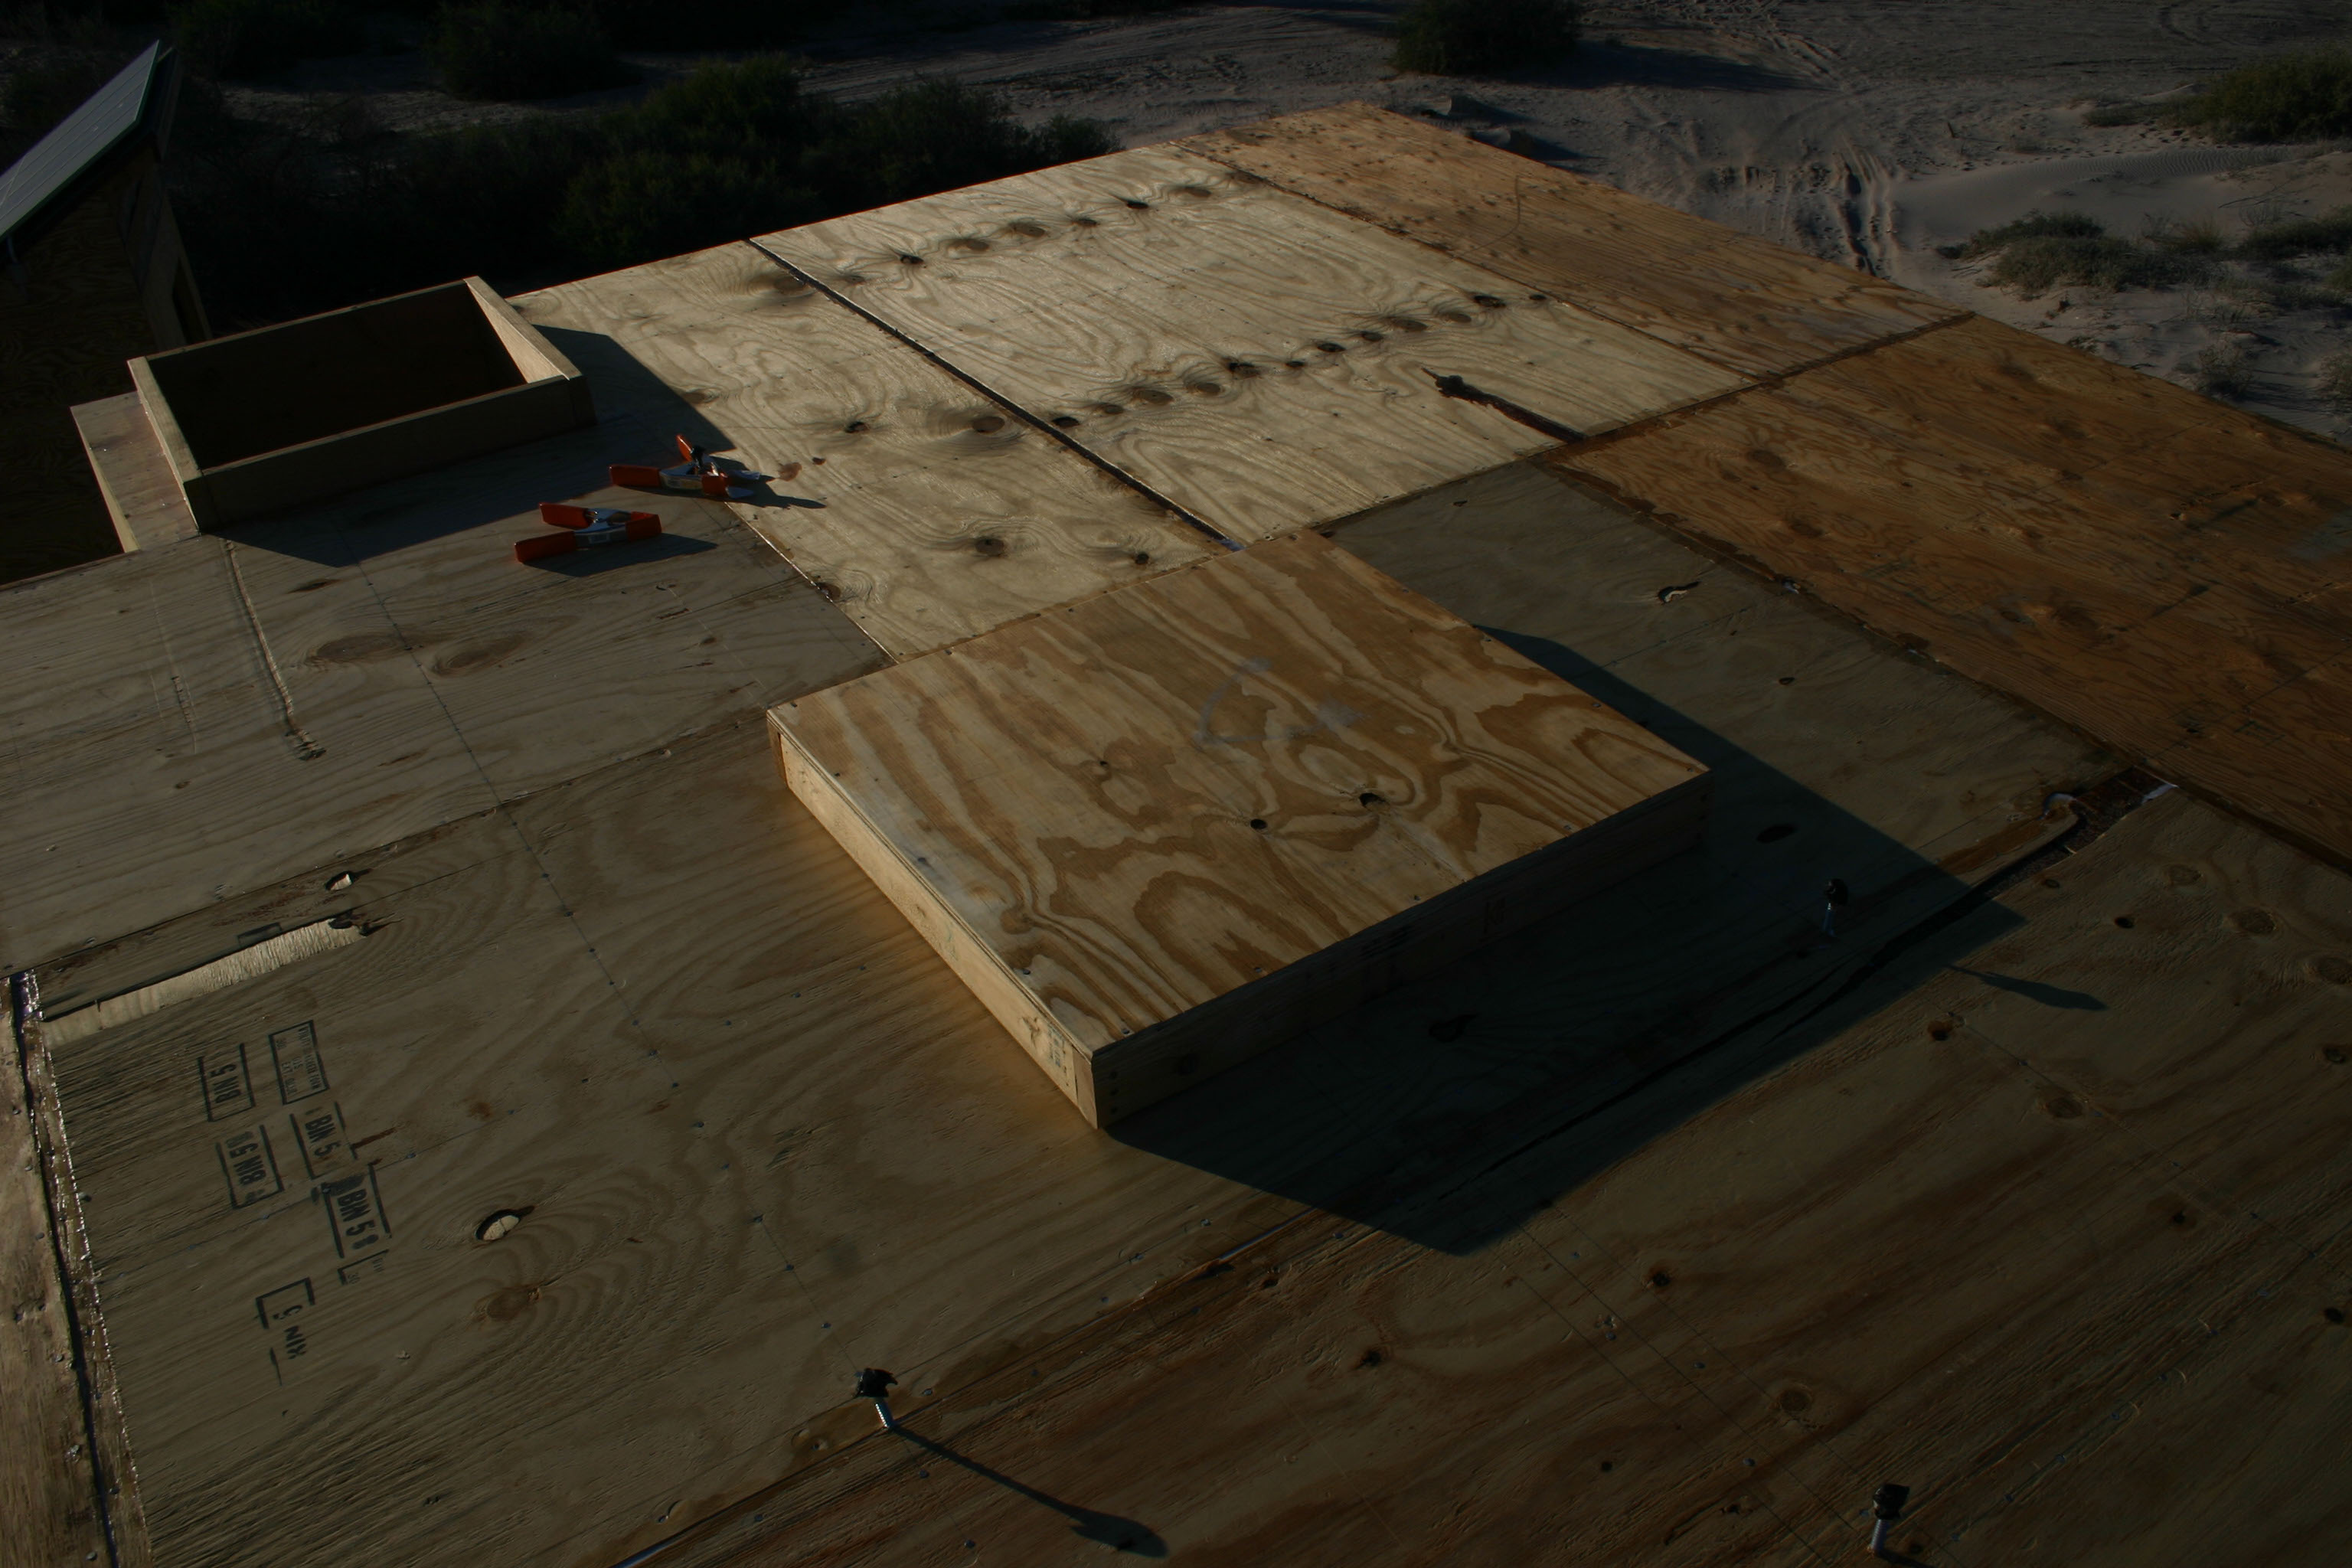
Plywood panels are now added to the roof. The roof hatch is in the foreground and the opening to the stairwell to the left beyond it
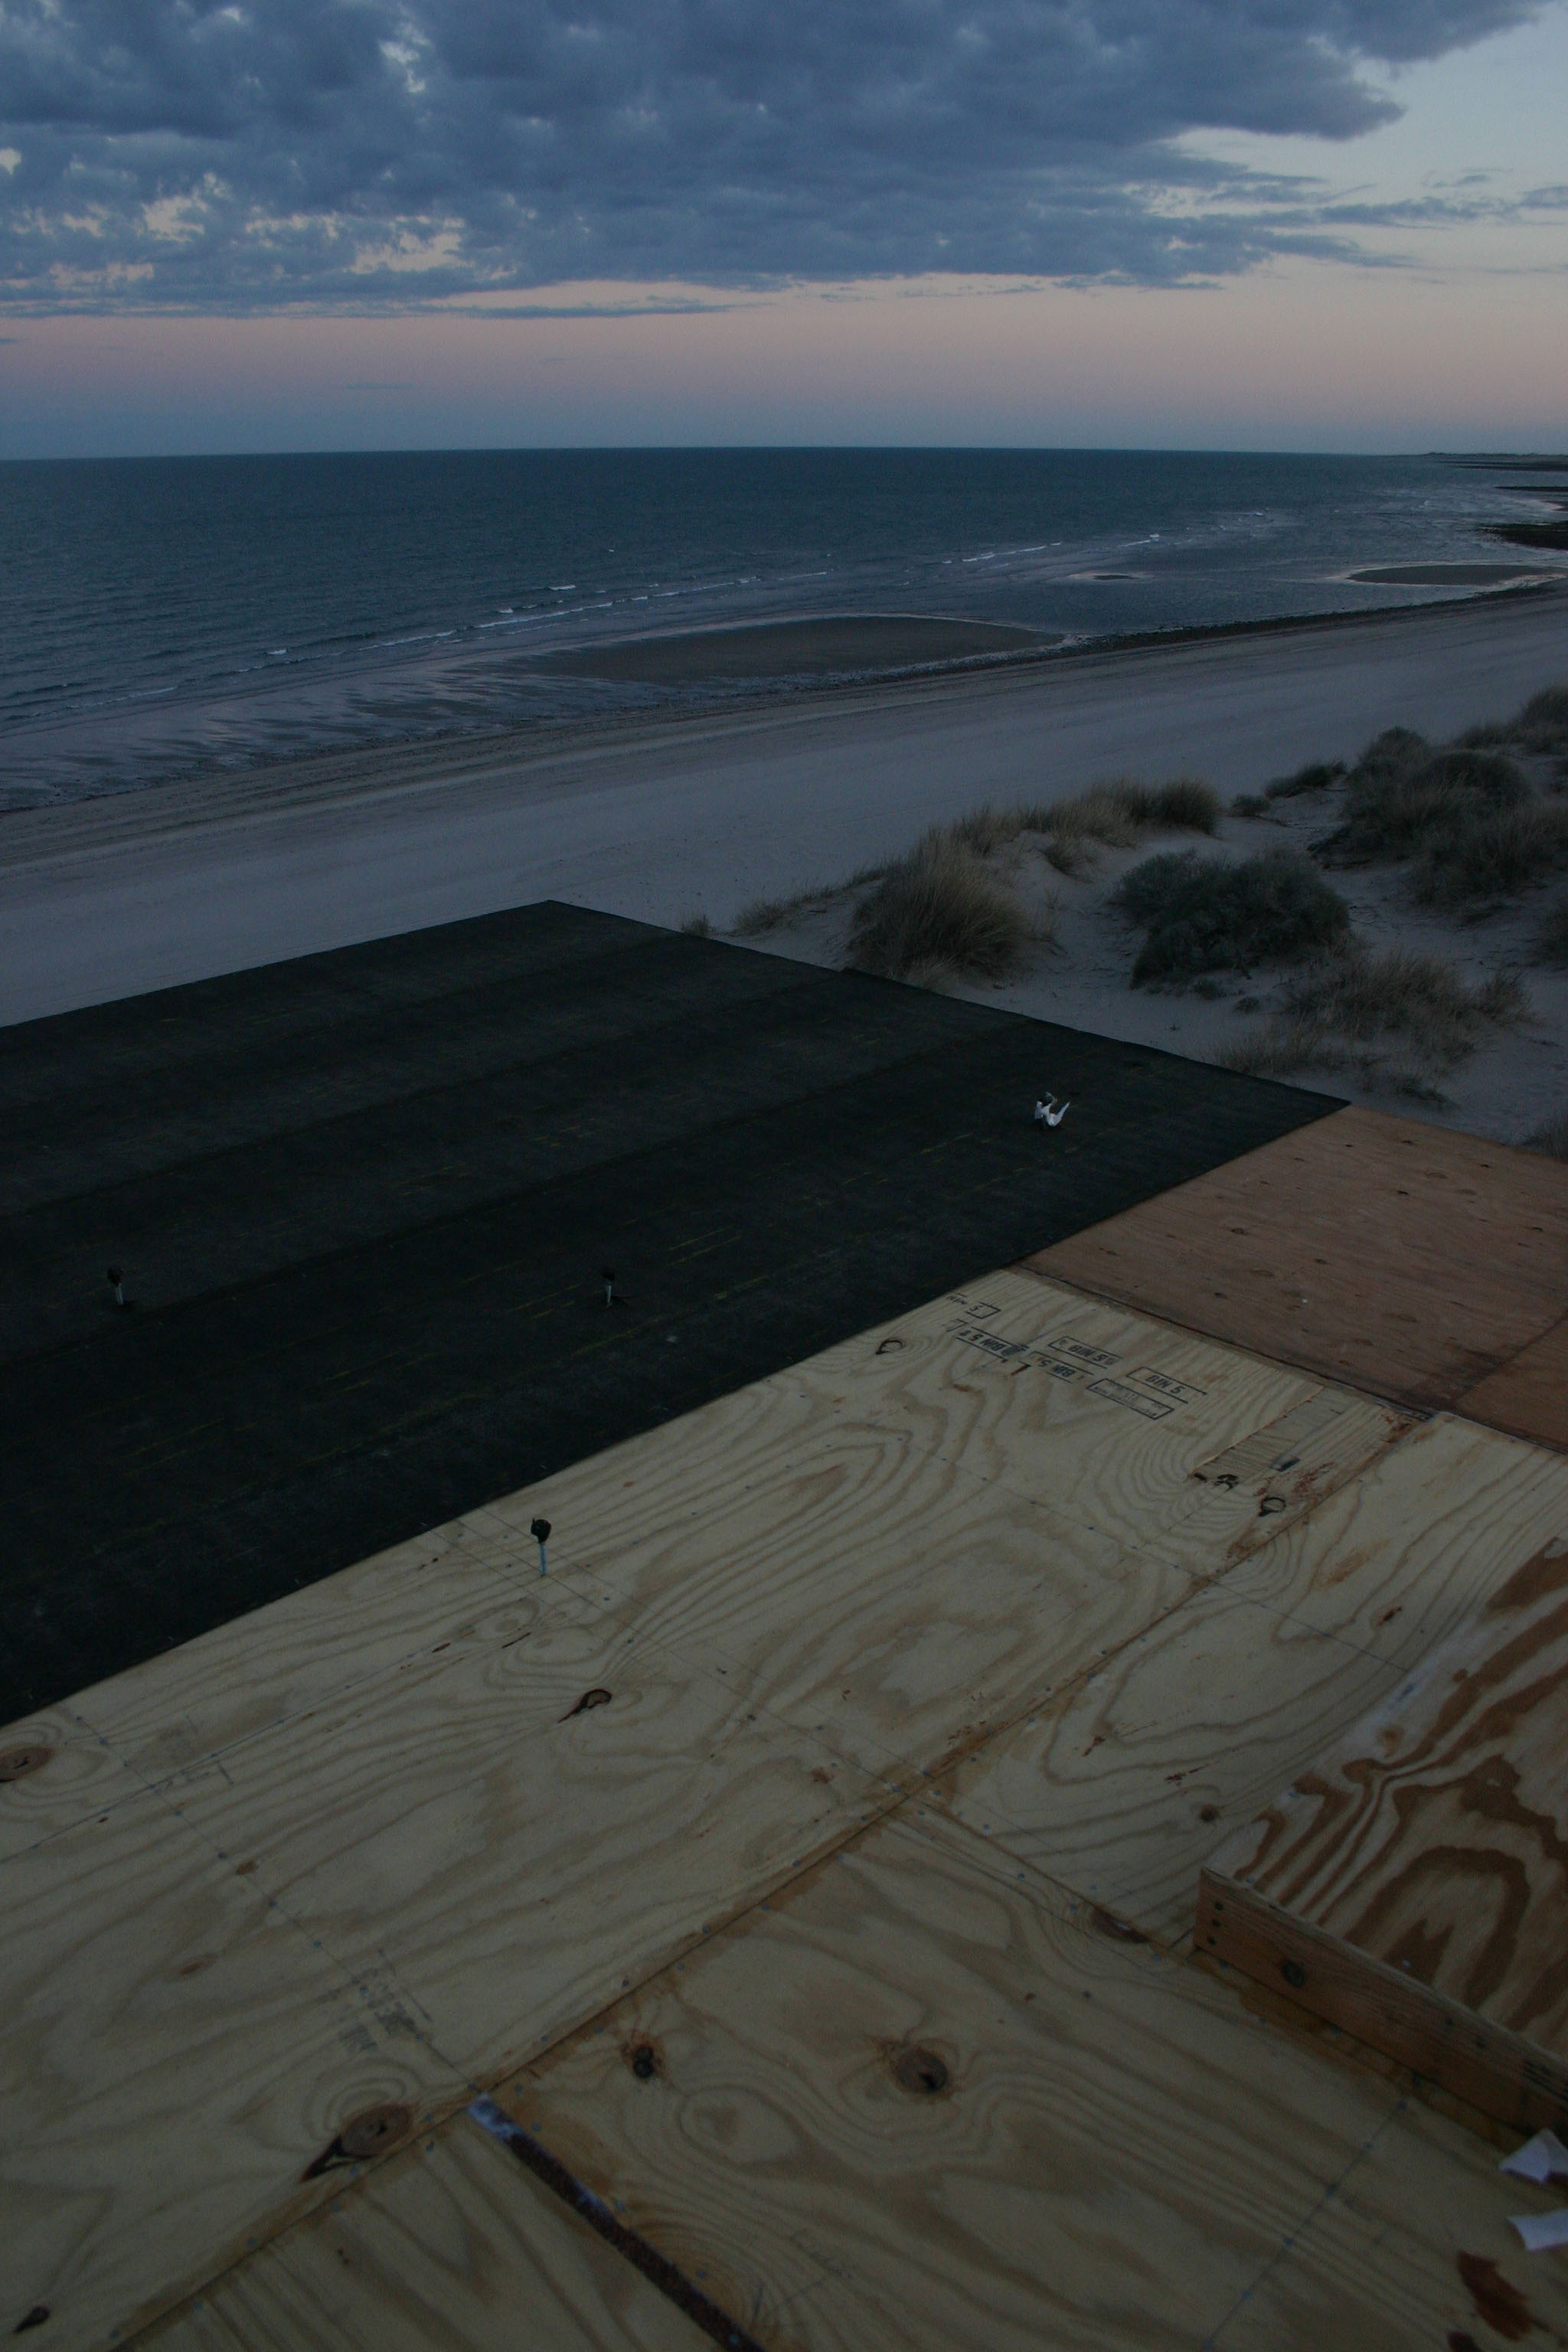
A layer of craft paper is stapled to the plywood
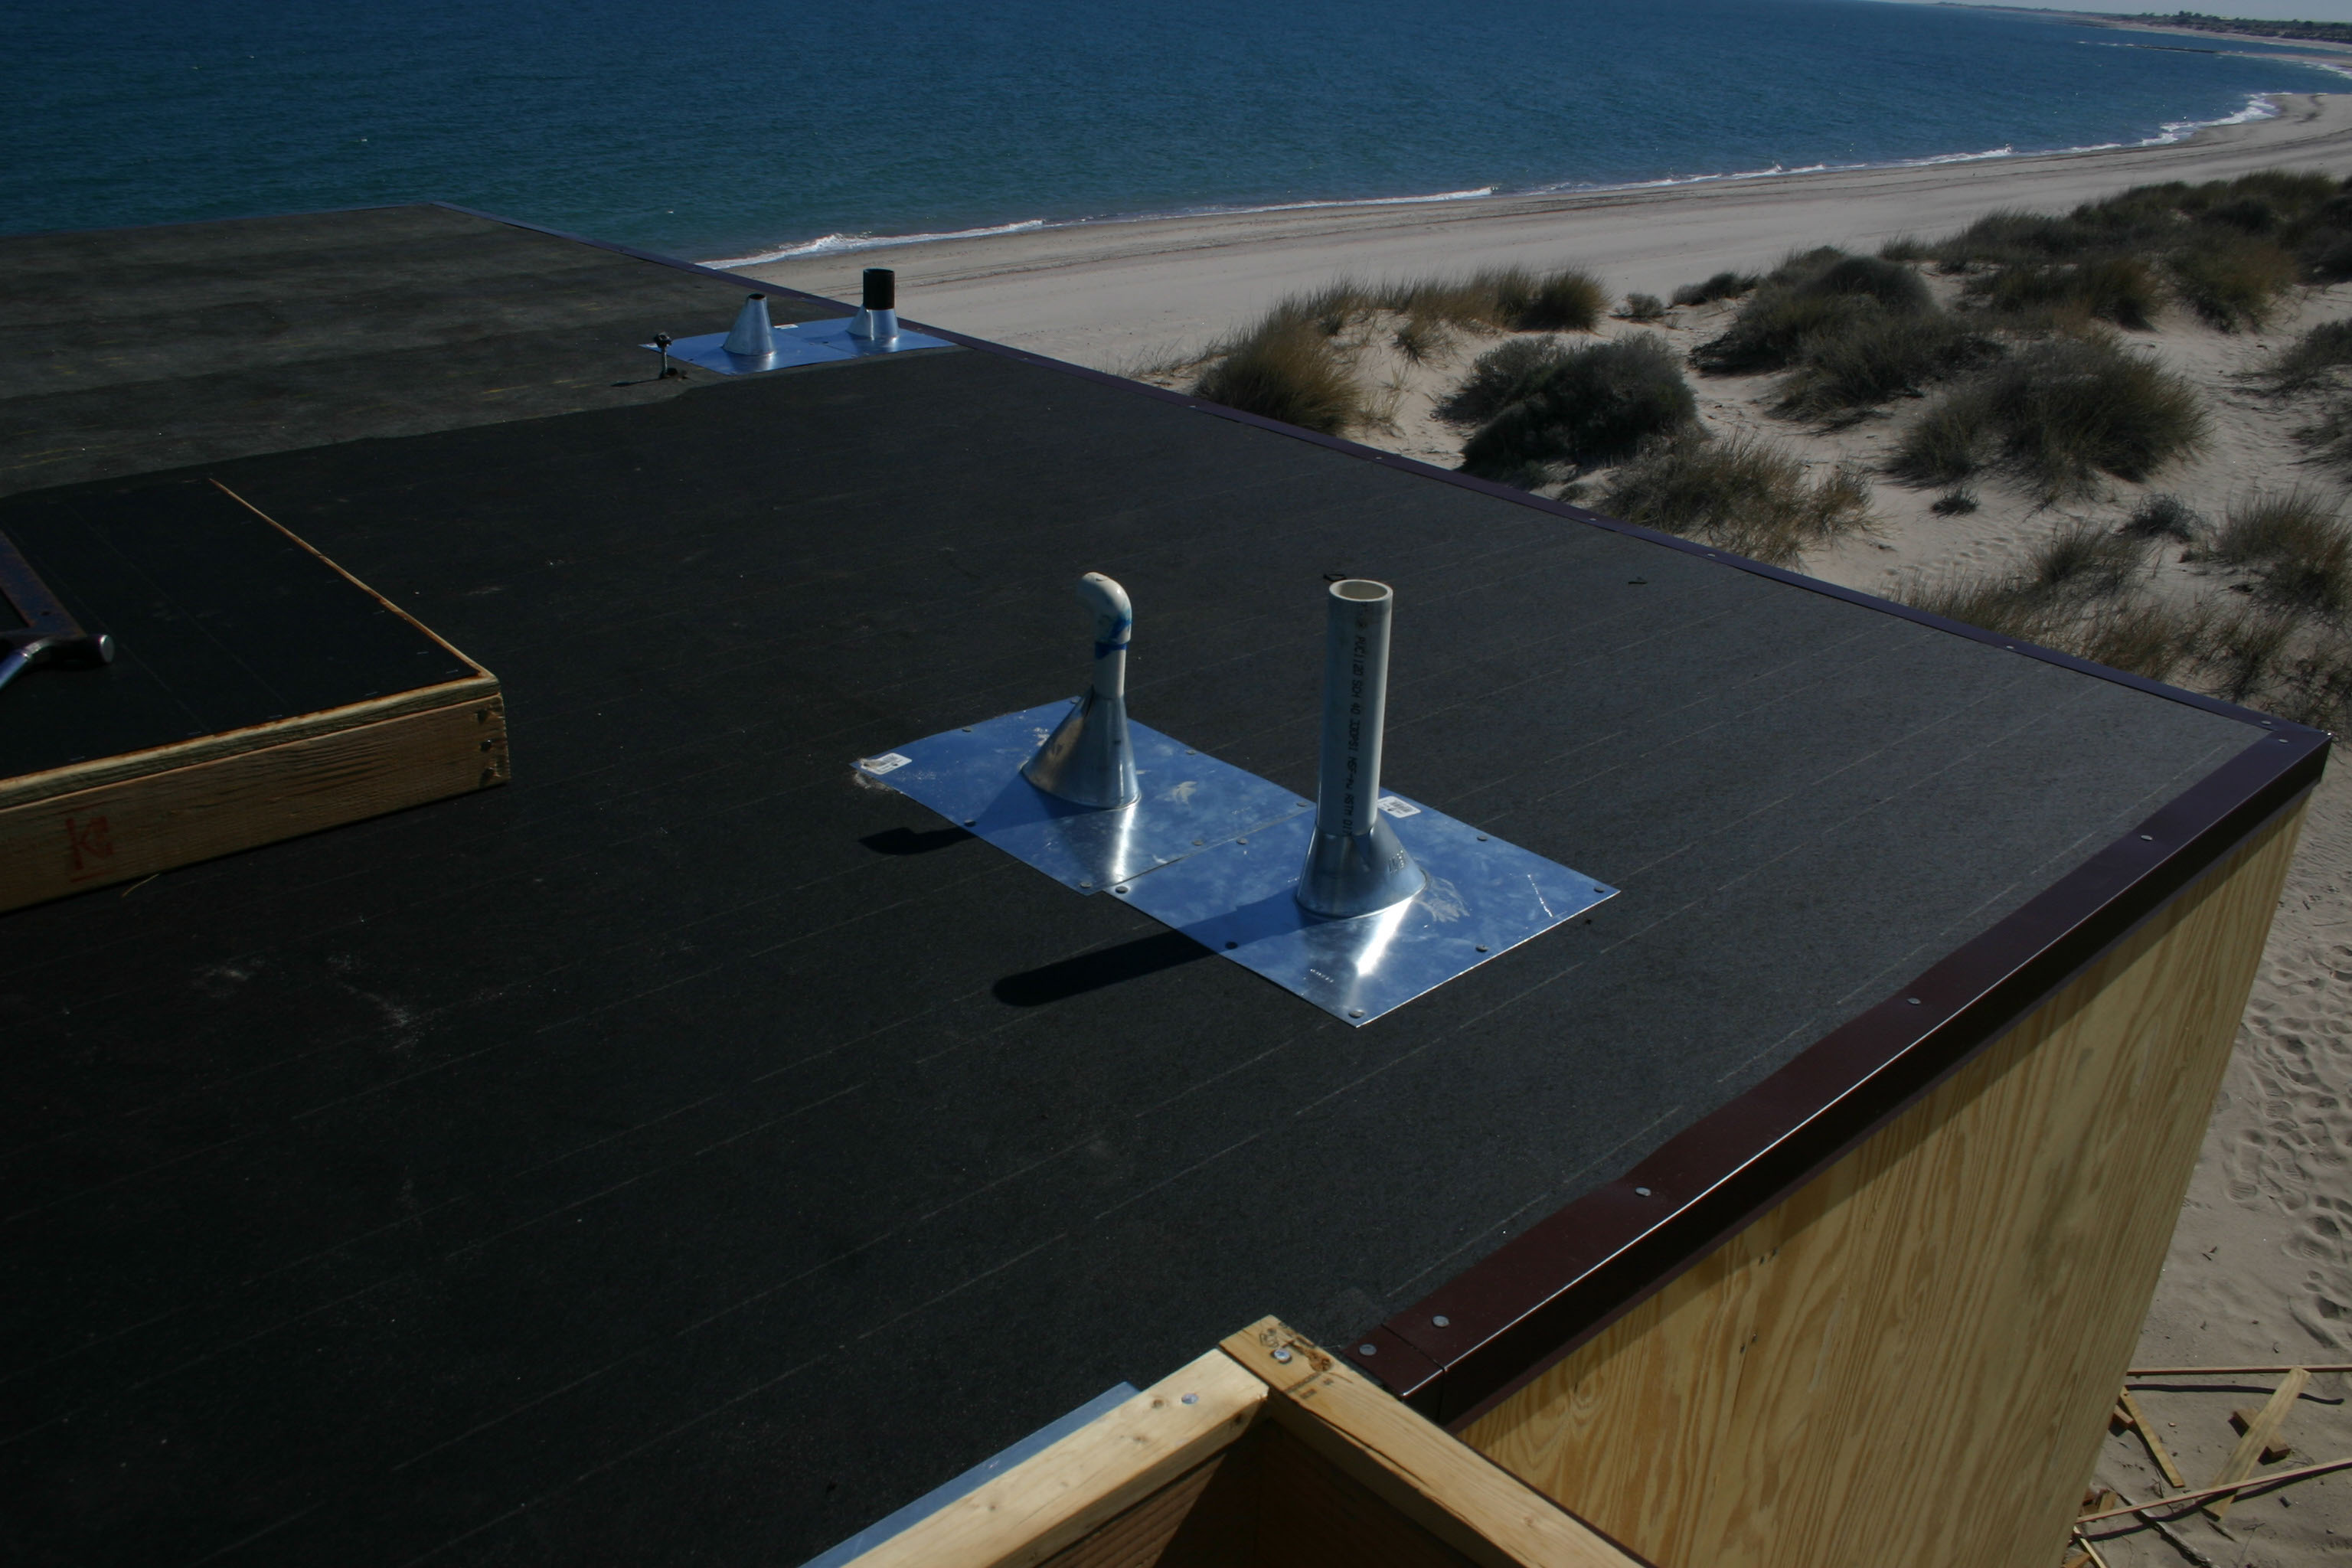
The kraft paper layer is complete, flashing applied all around the periphery, vents and vent covers nailed in place, and the final layer of rolled roofing material is being applied with tar in the background
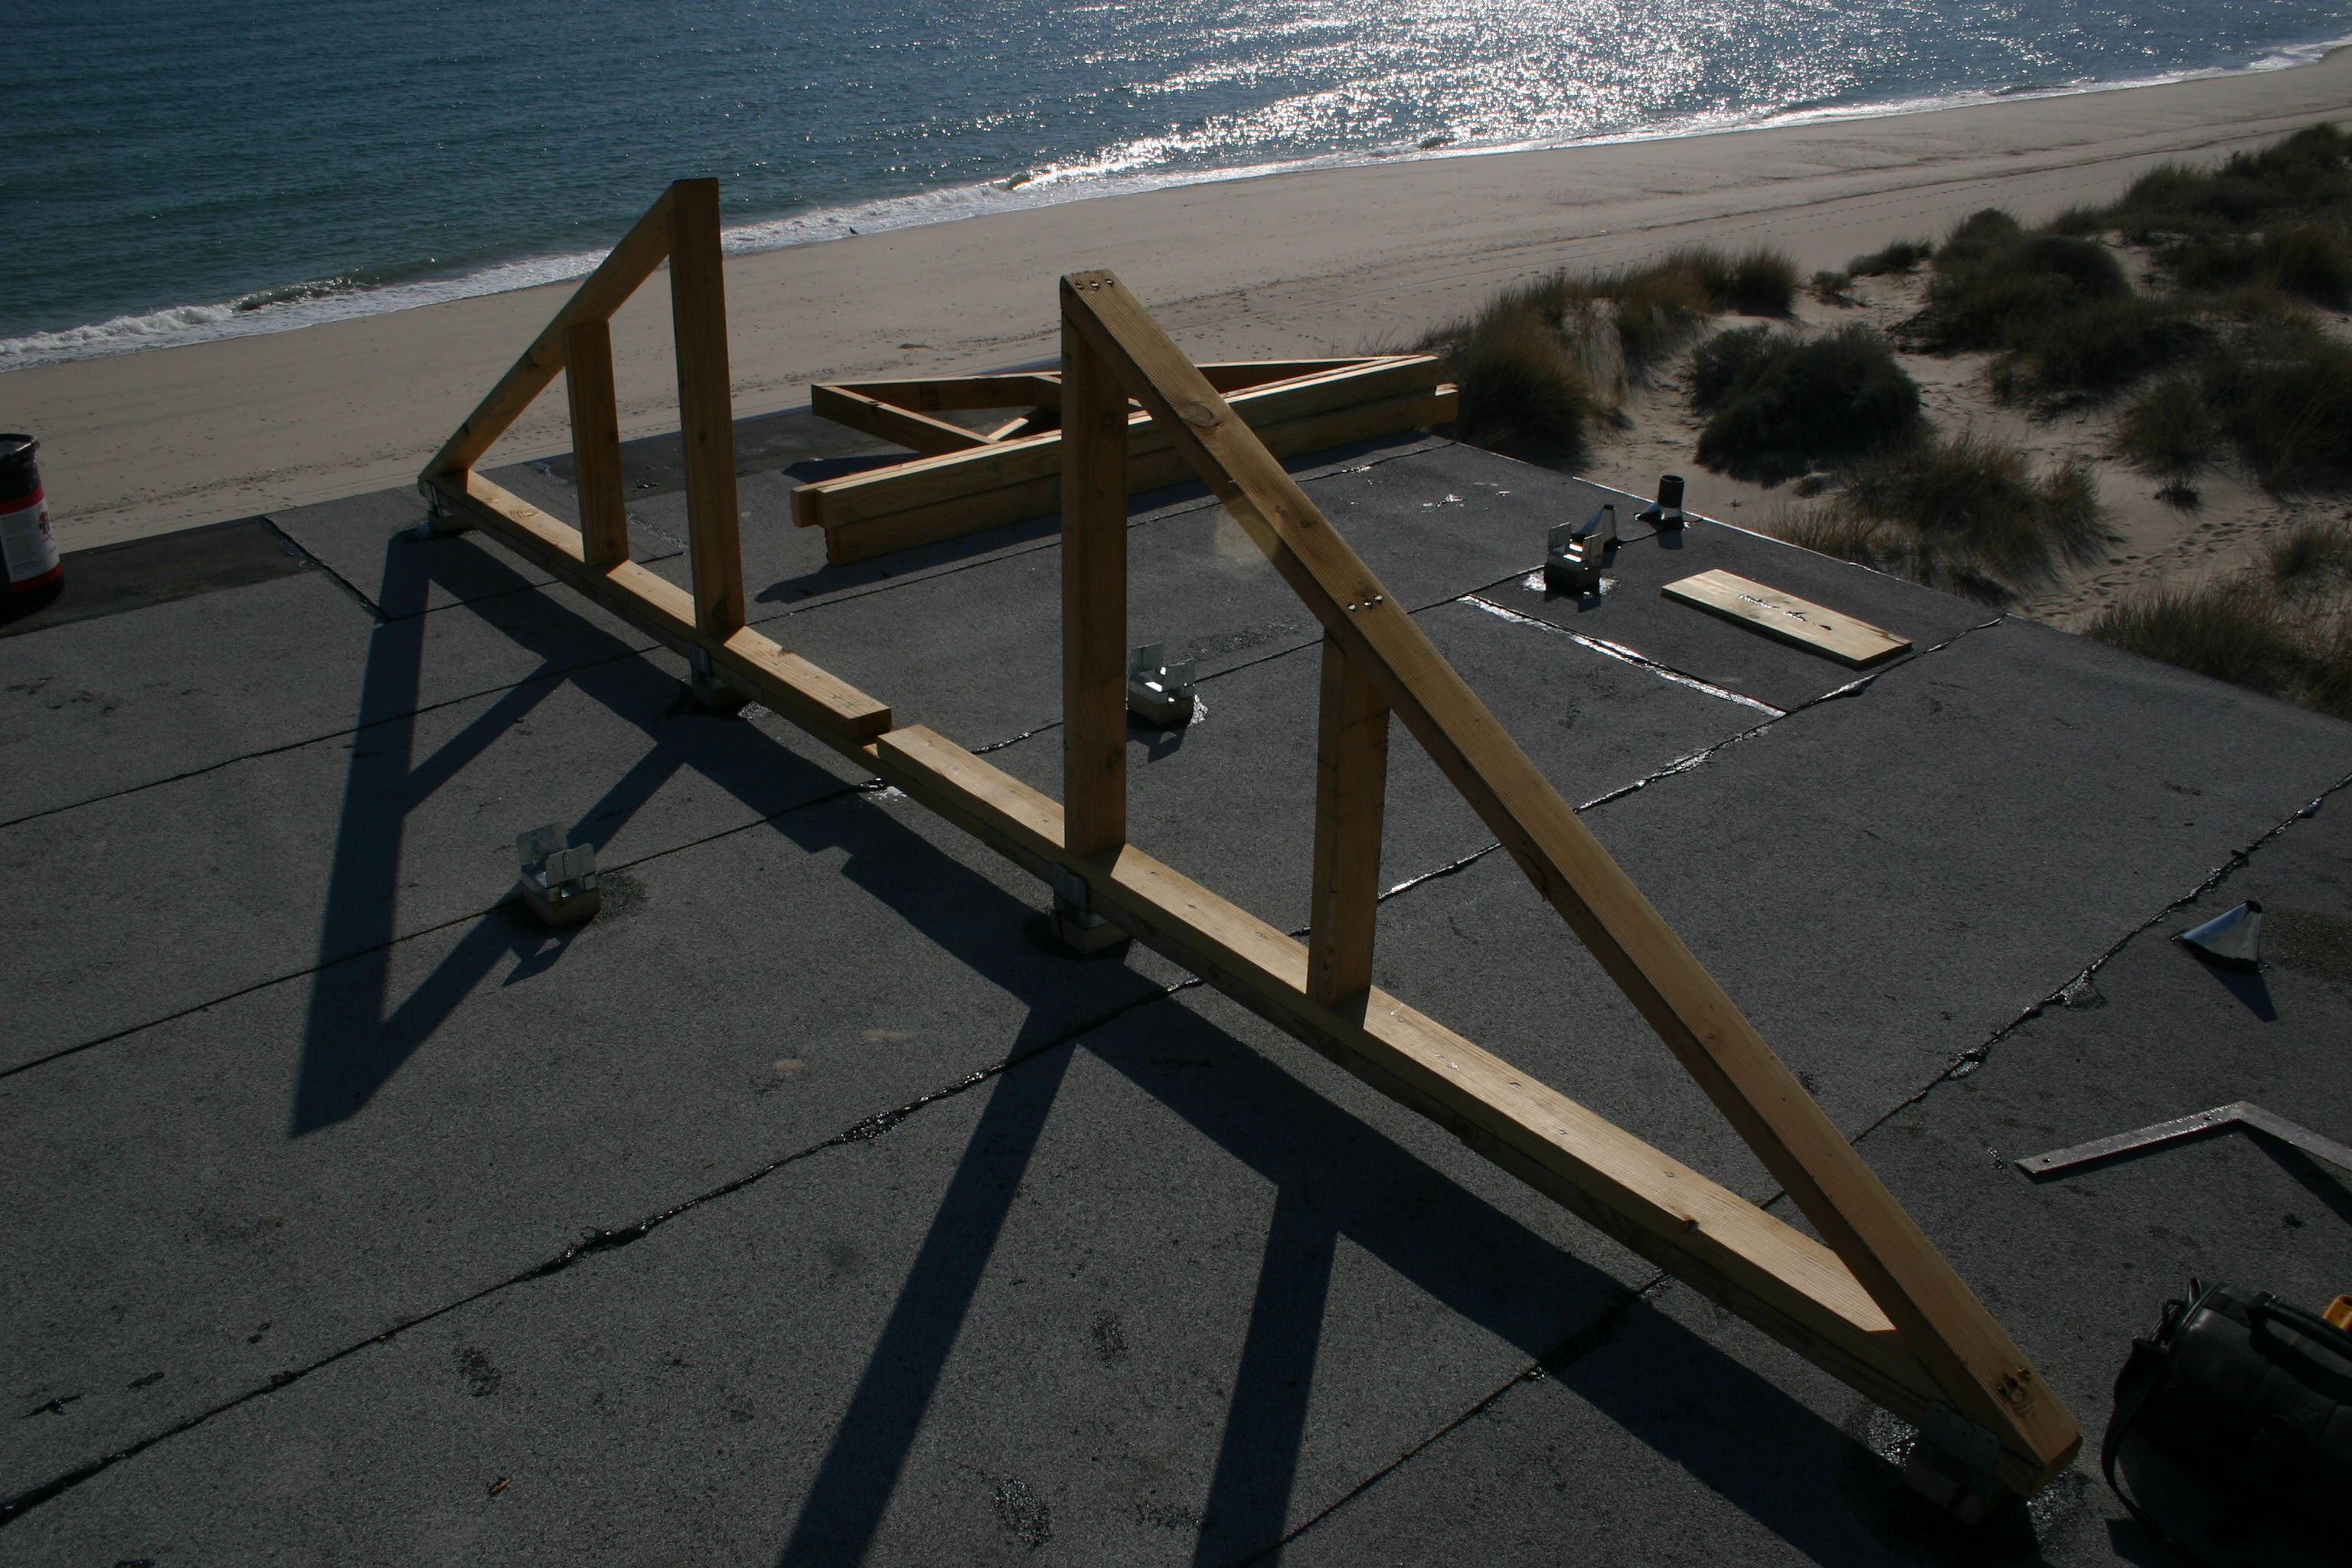
John hauled the trusses to the roof with ropes .These will support the water tank and prevent it from being blown off the roof. One half of the truss is mounted on metal brackets protruding from the roofing
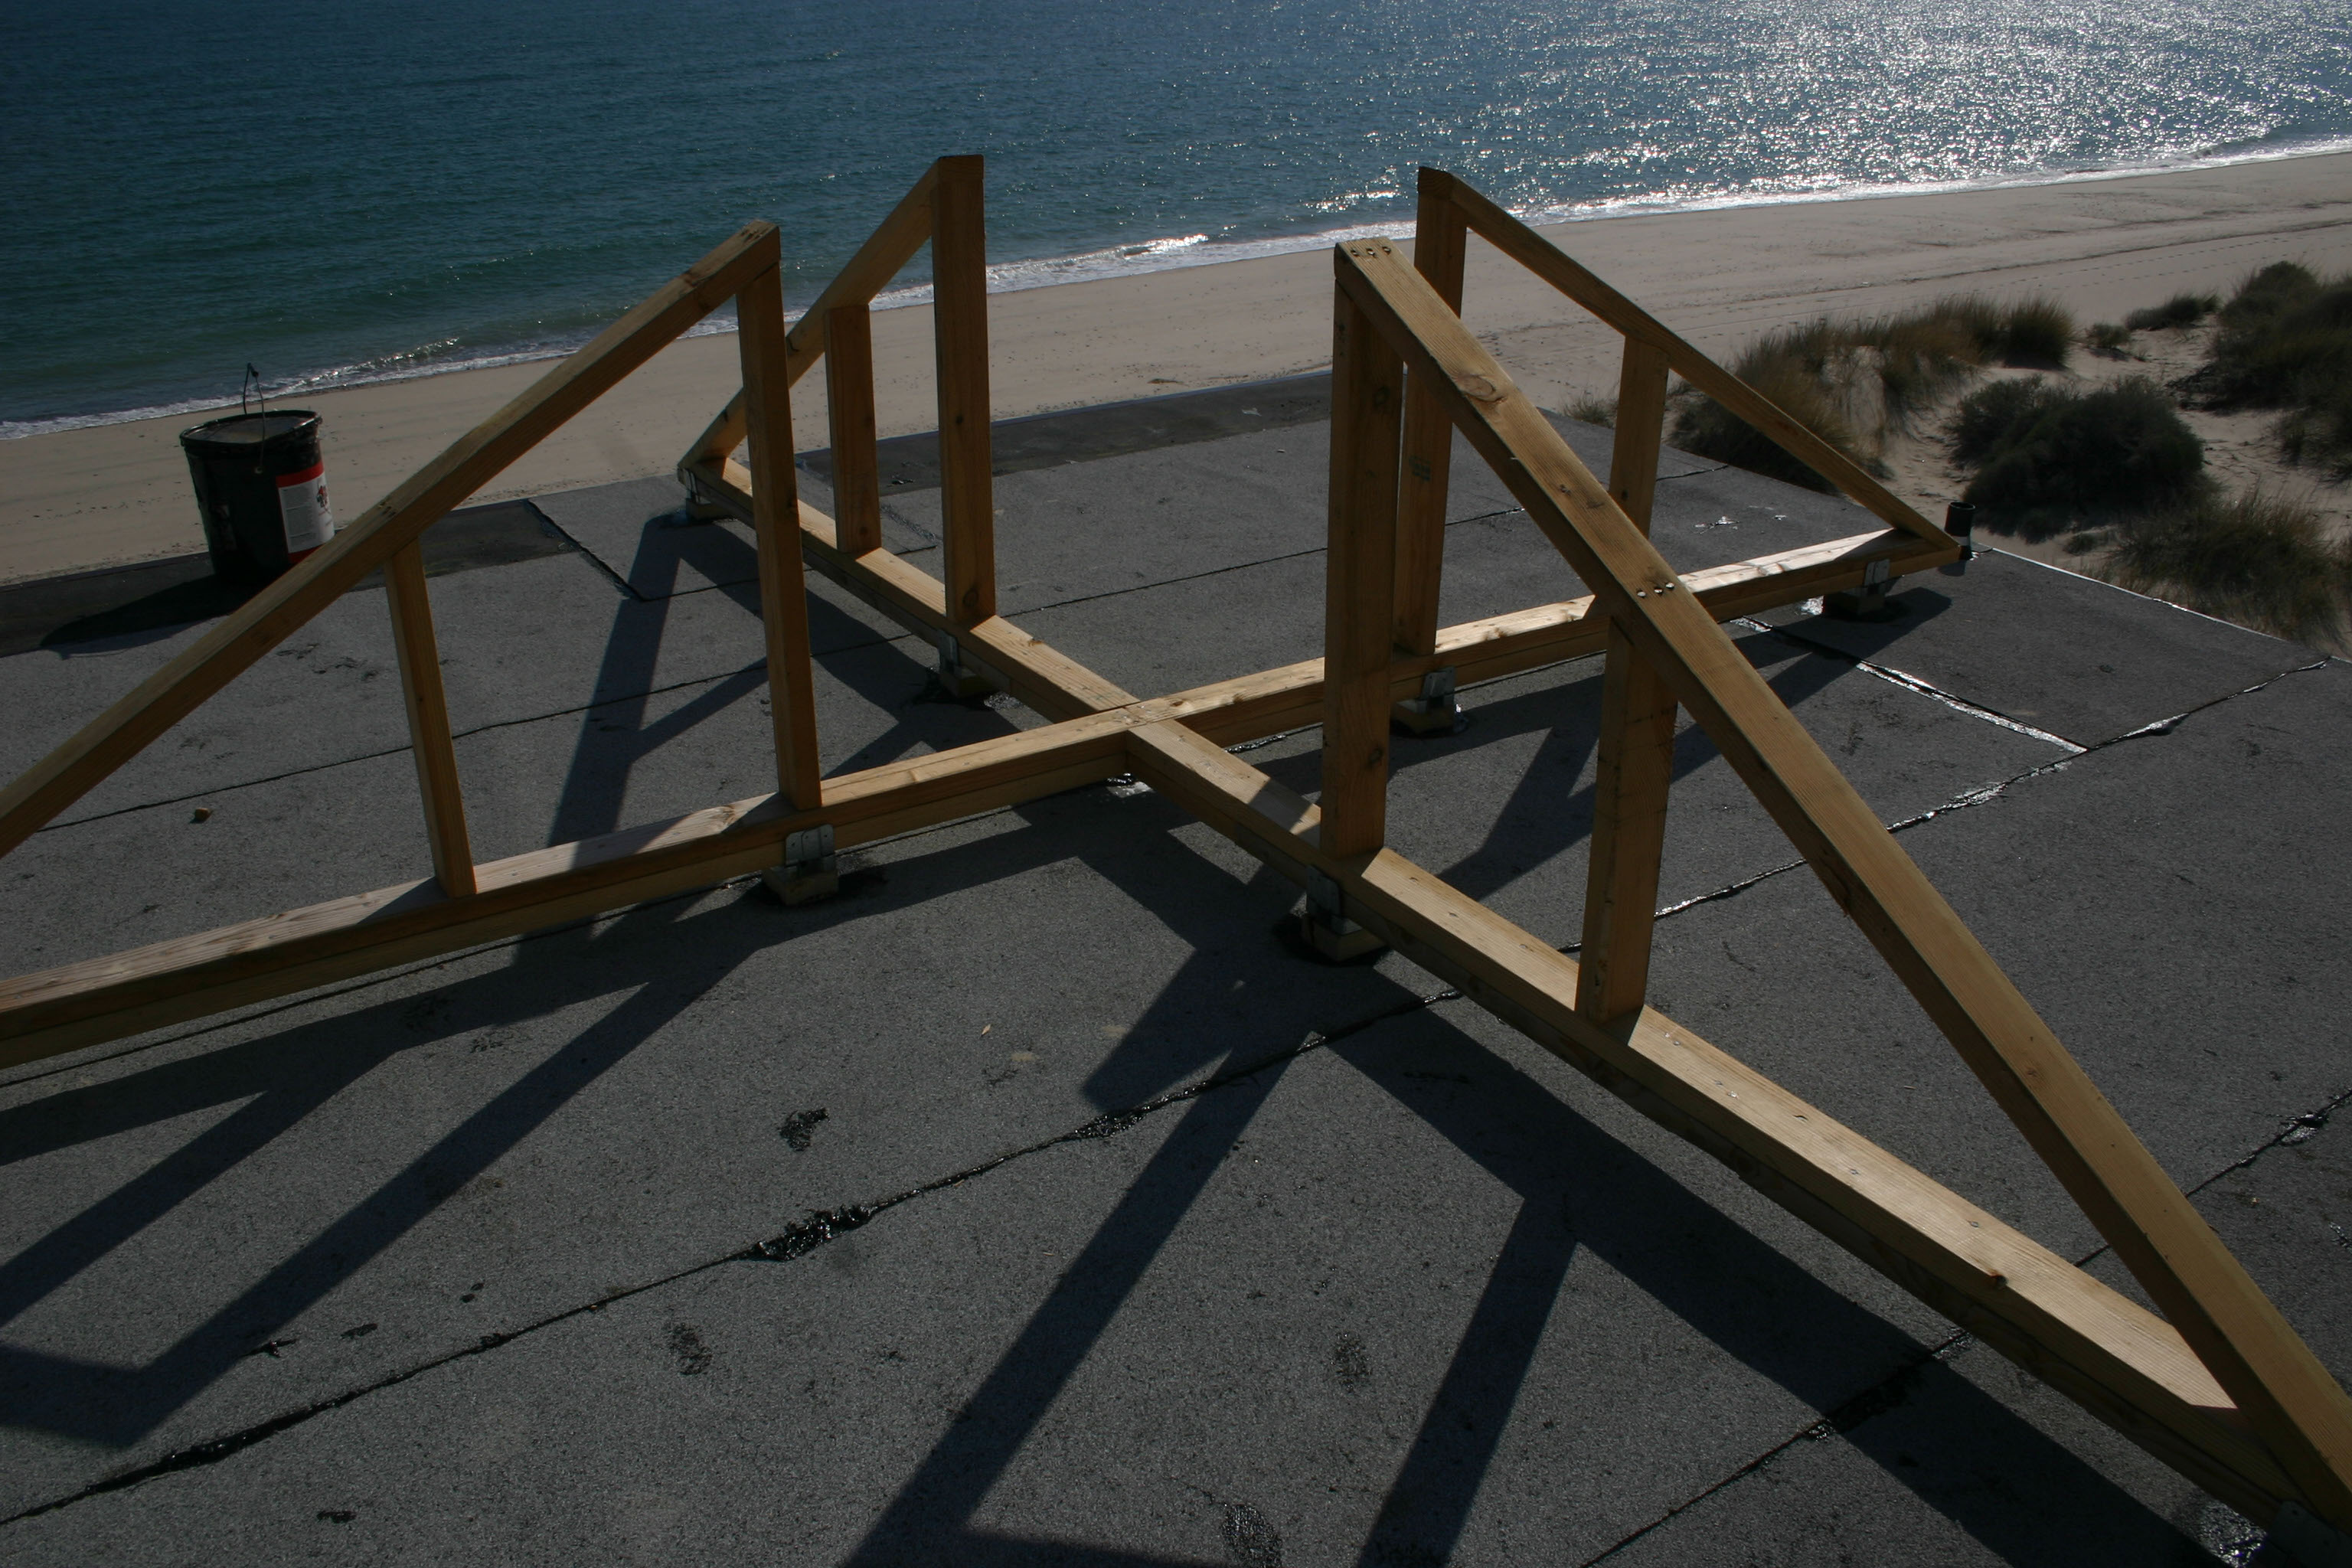
Both halves of the truss structure are now in place. Omitting a block under the center intersection to support the tank was an error.
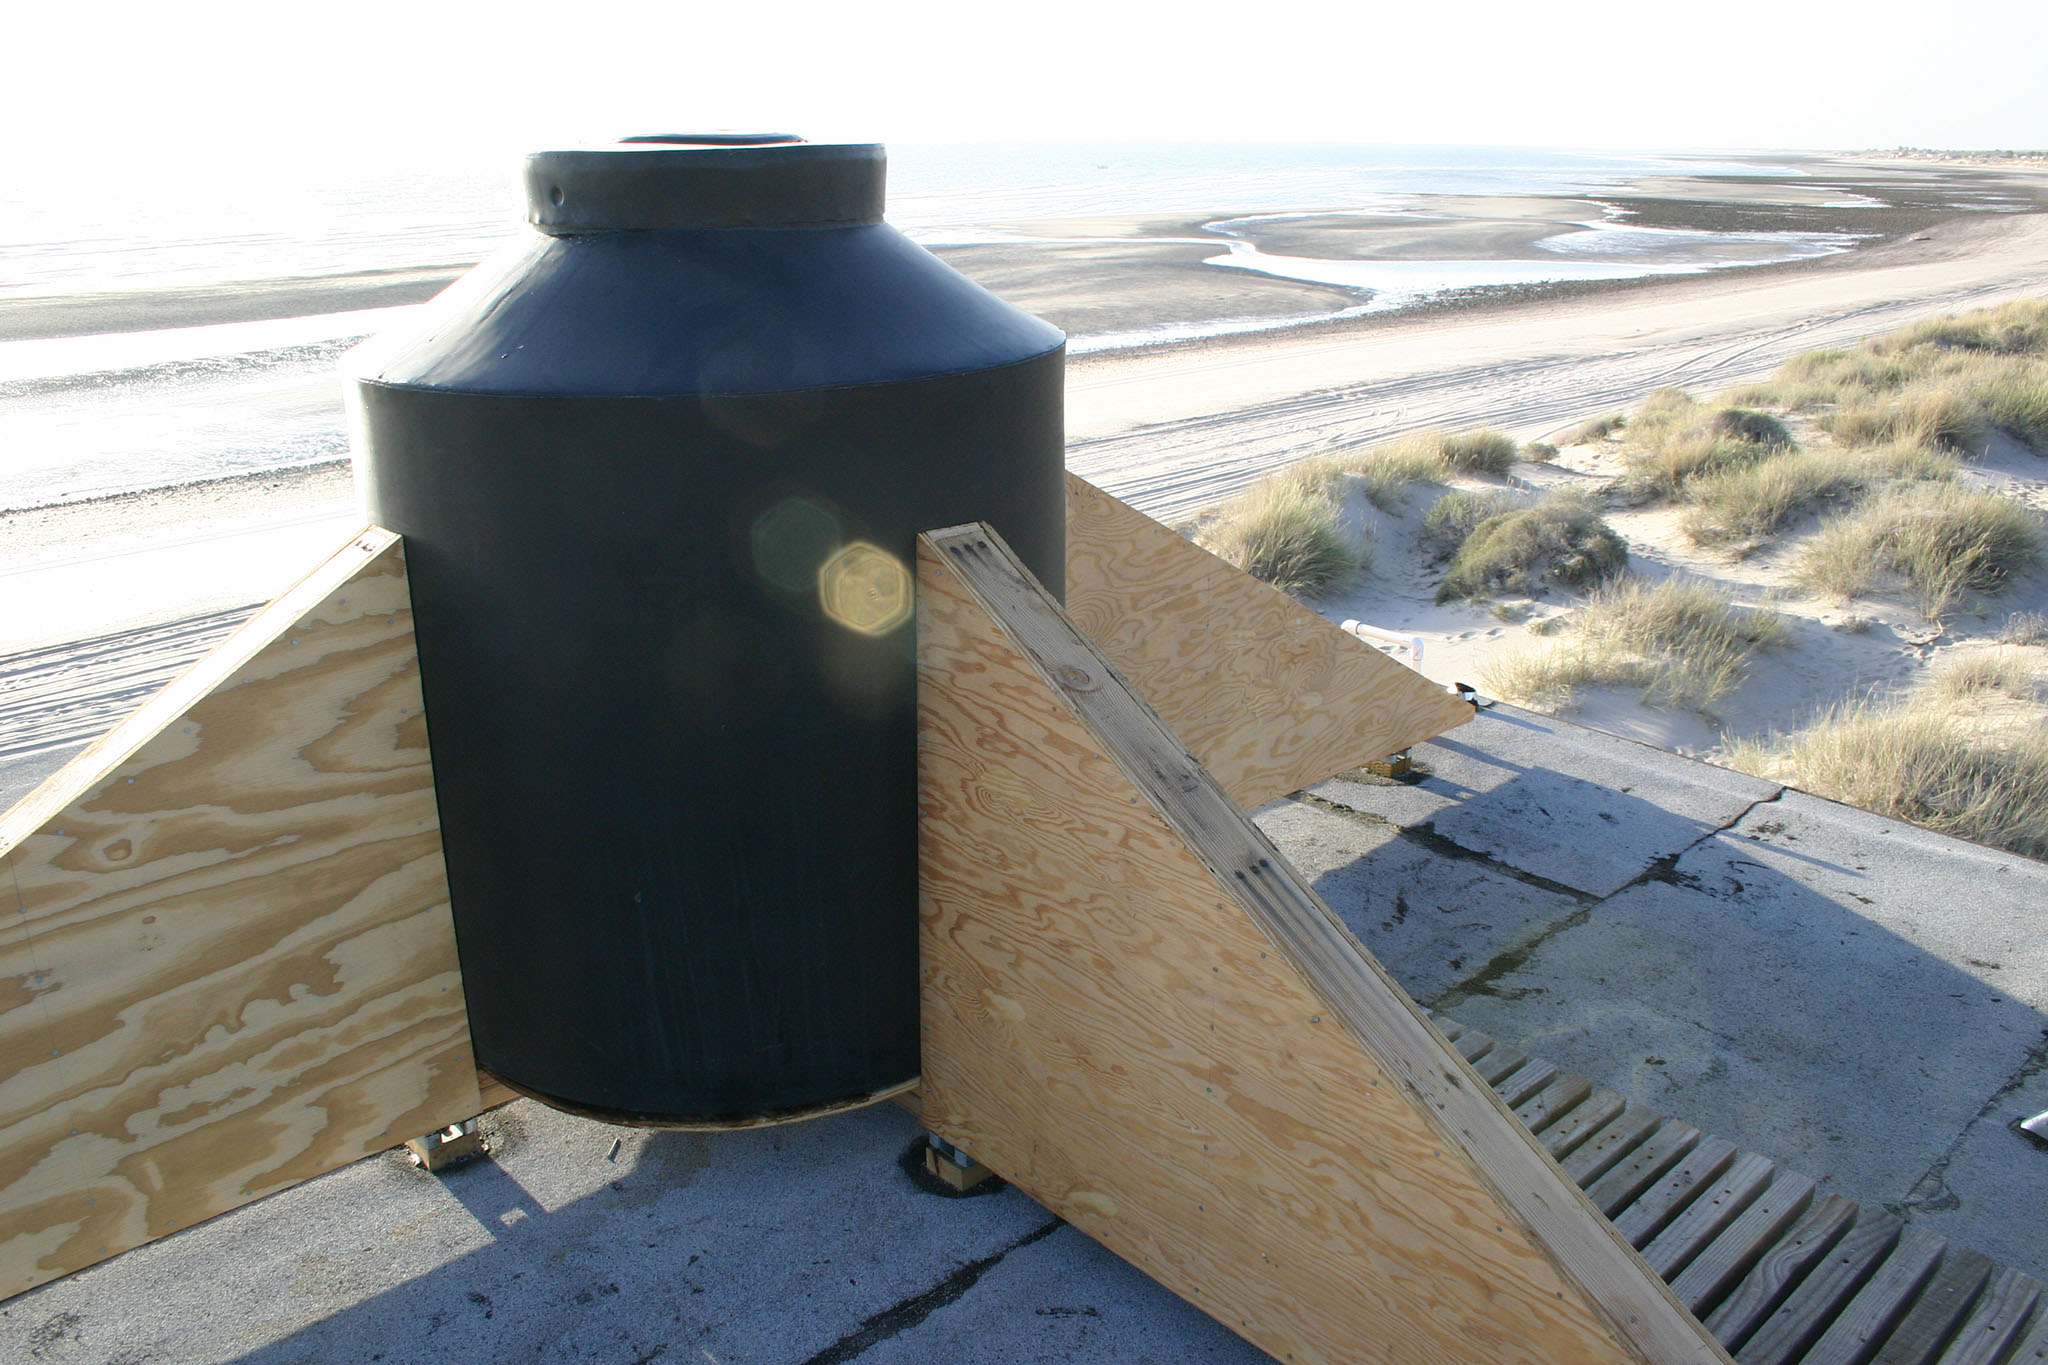
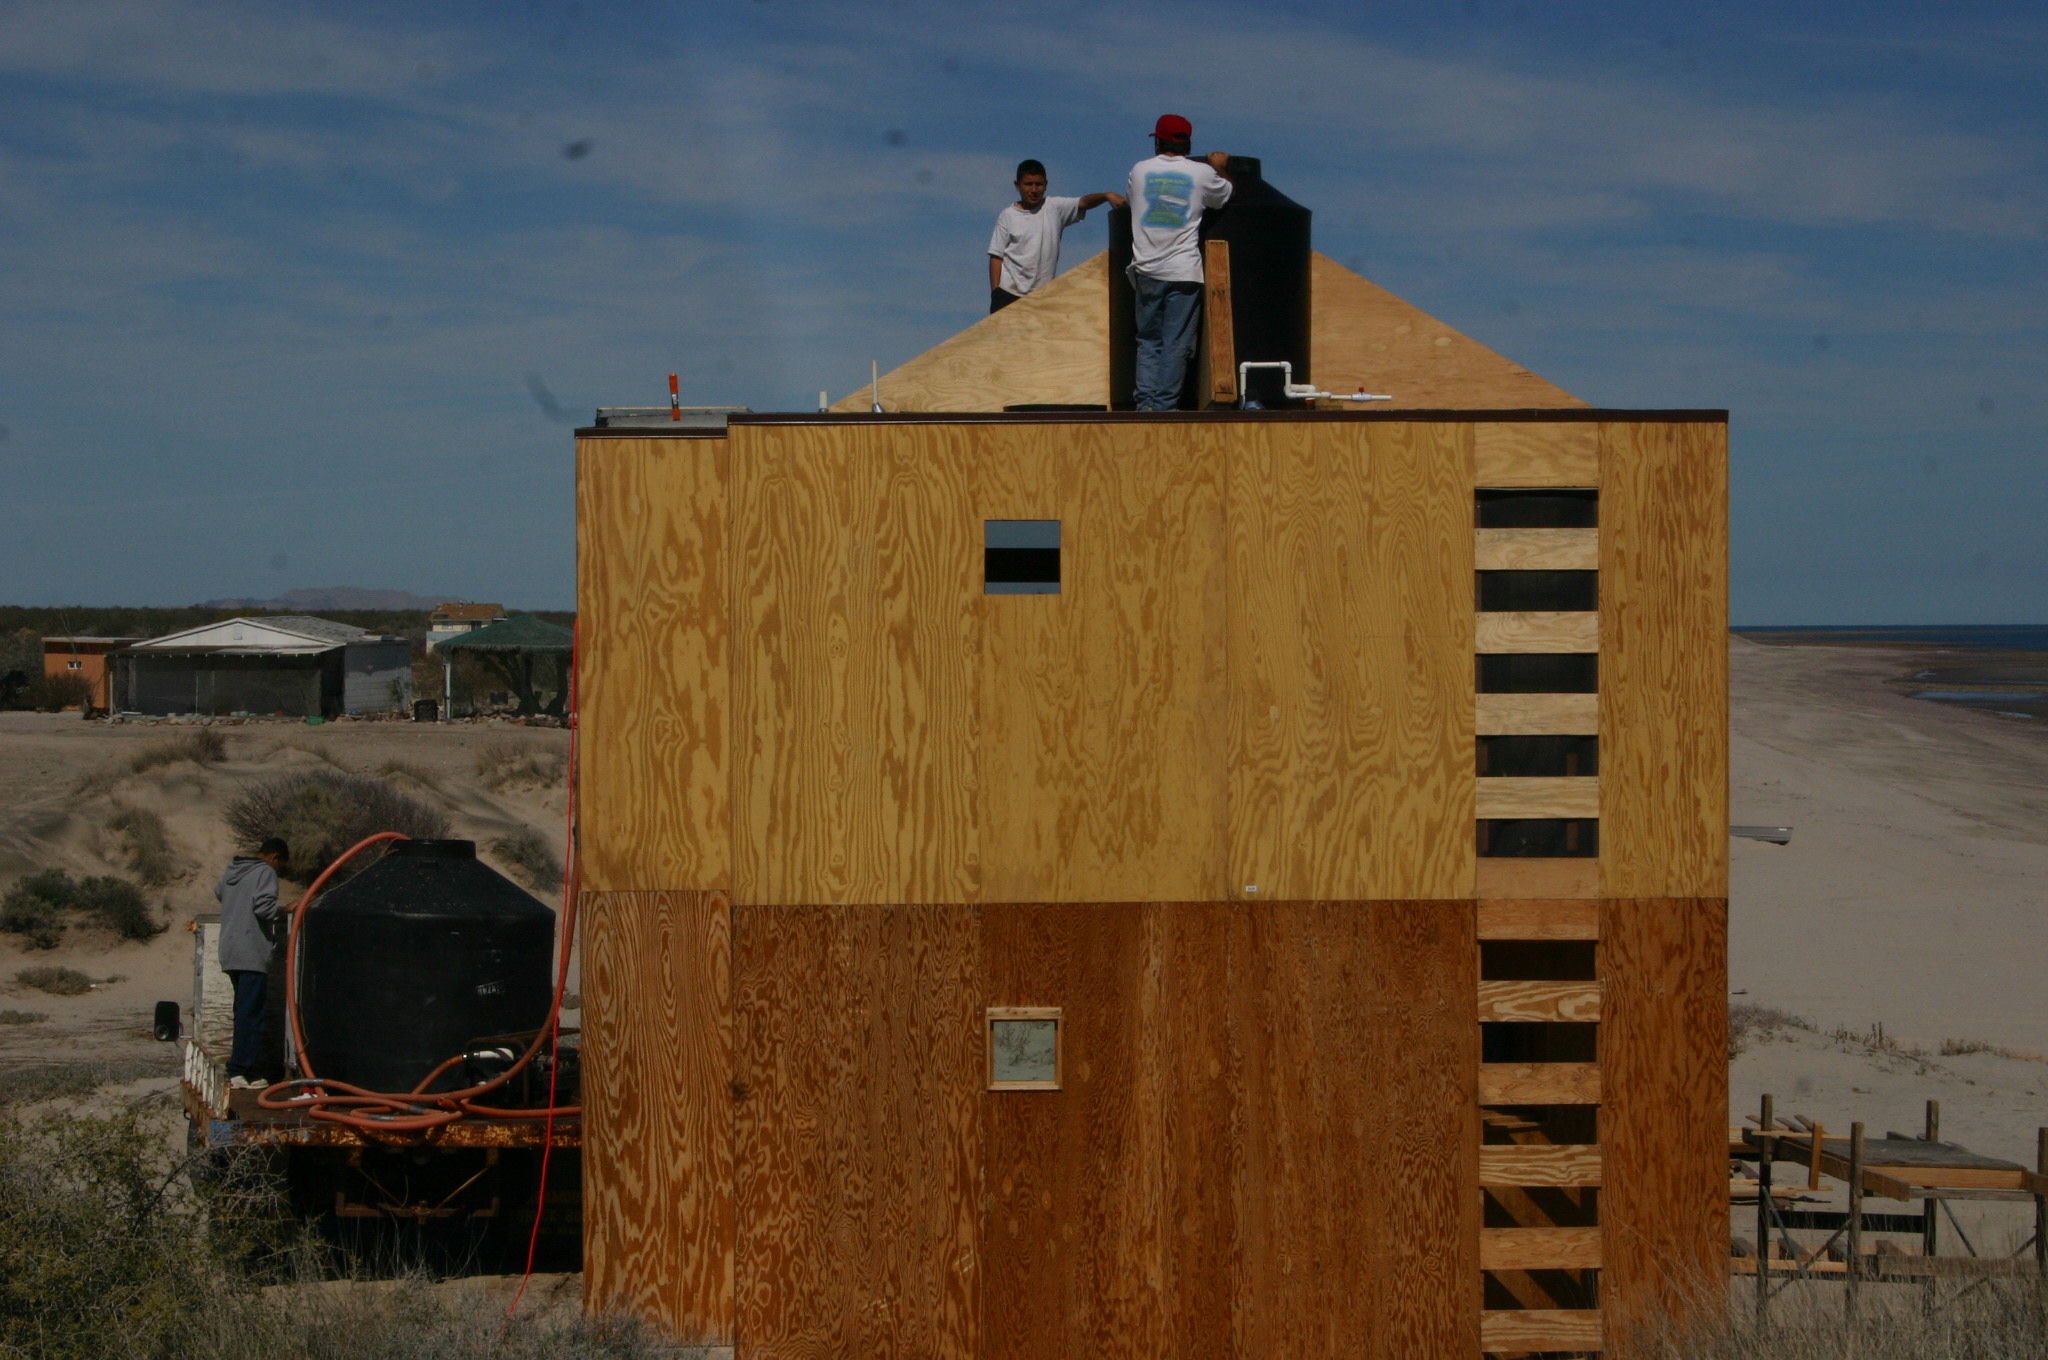
Now the tank itself is hauled onto the roof by ropes and placed onto the trusses. A difficult job for one man
Plywood applied to the frame makes a very strong structure. The circle of plywood that the tank is resting on eventually proved to be inadequate
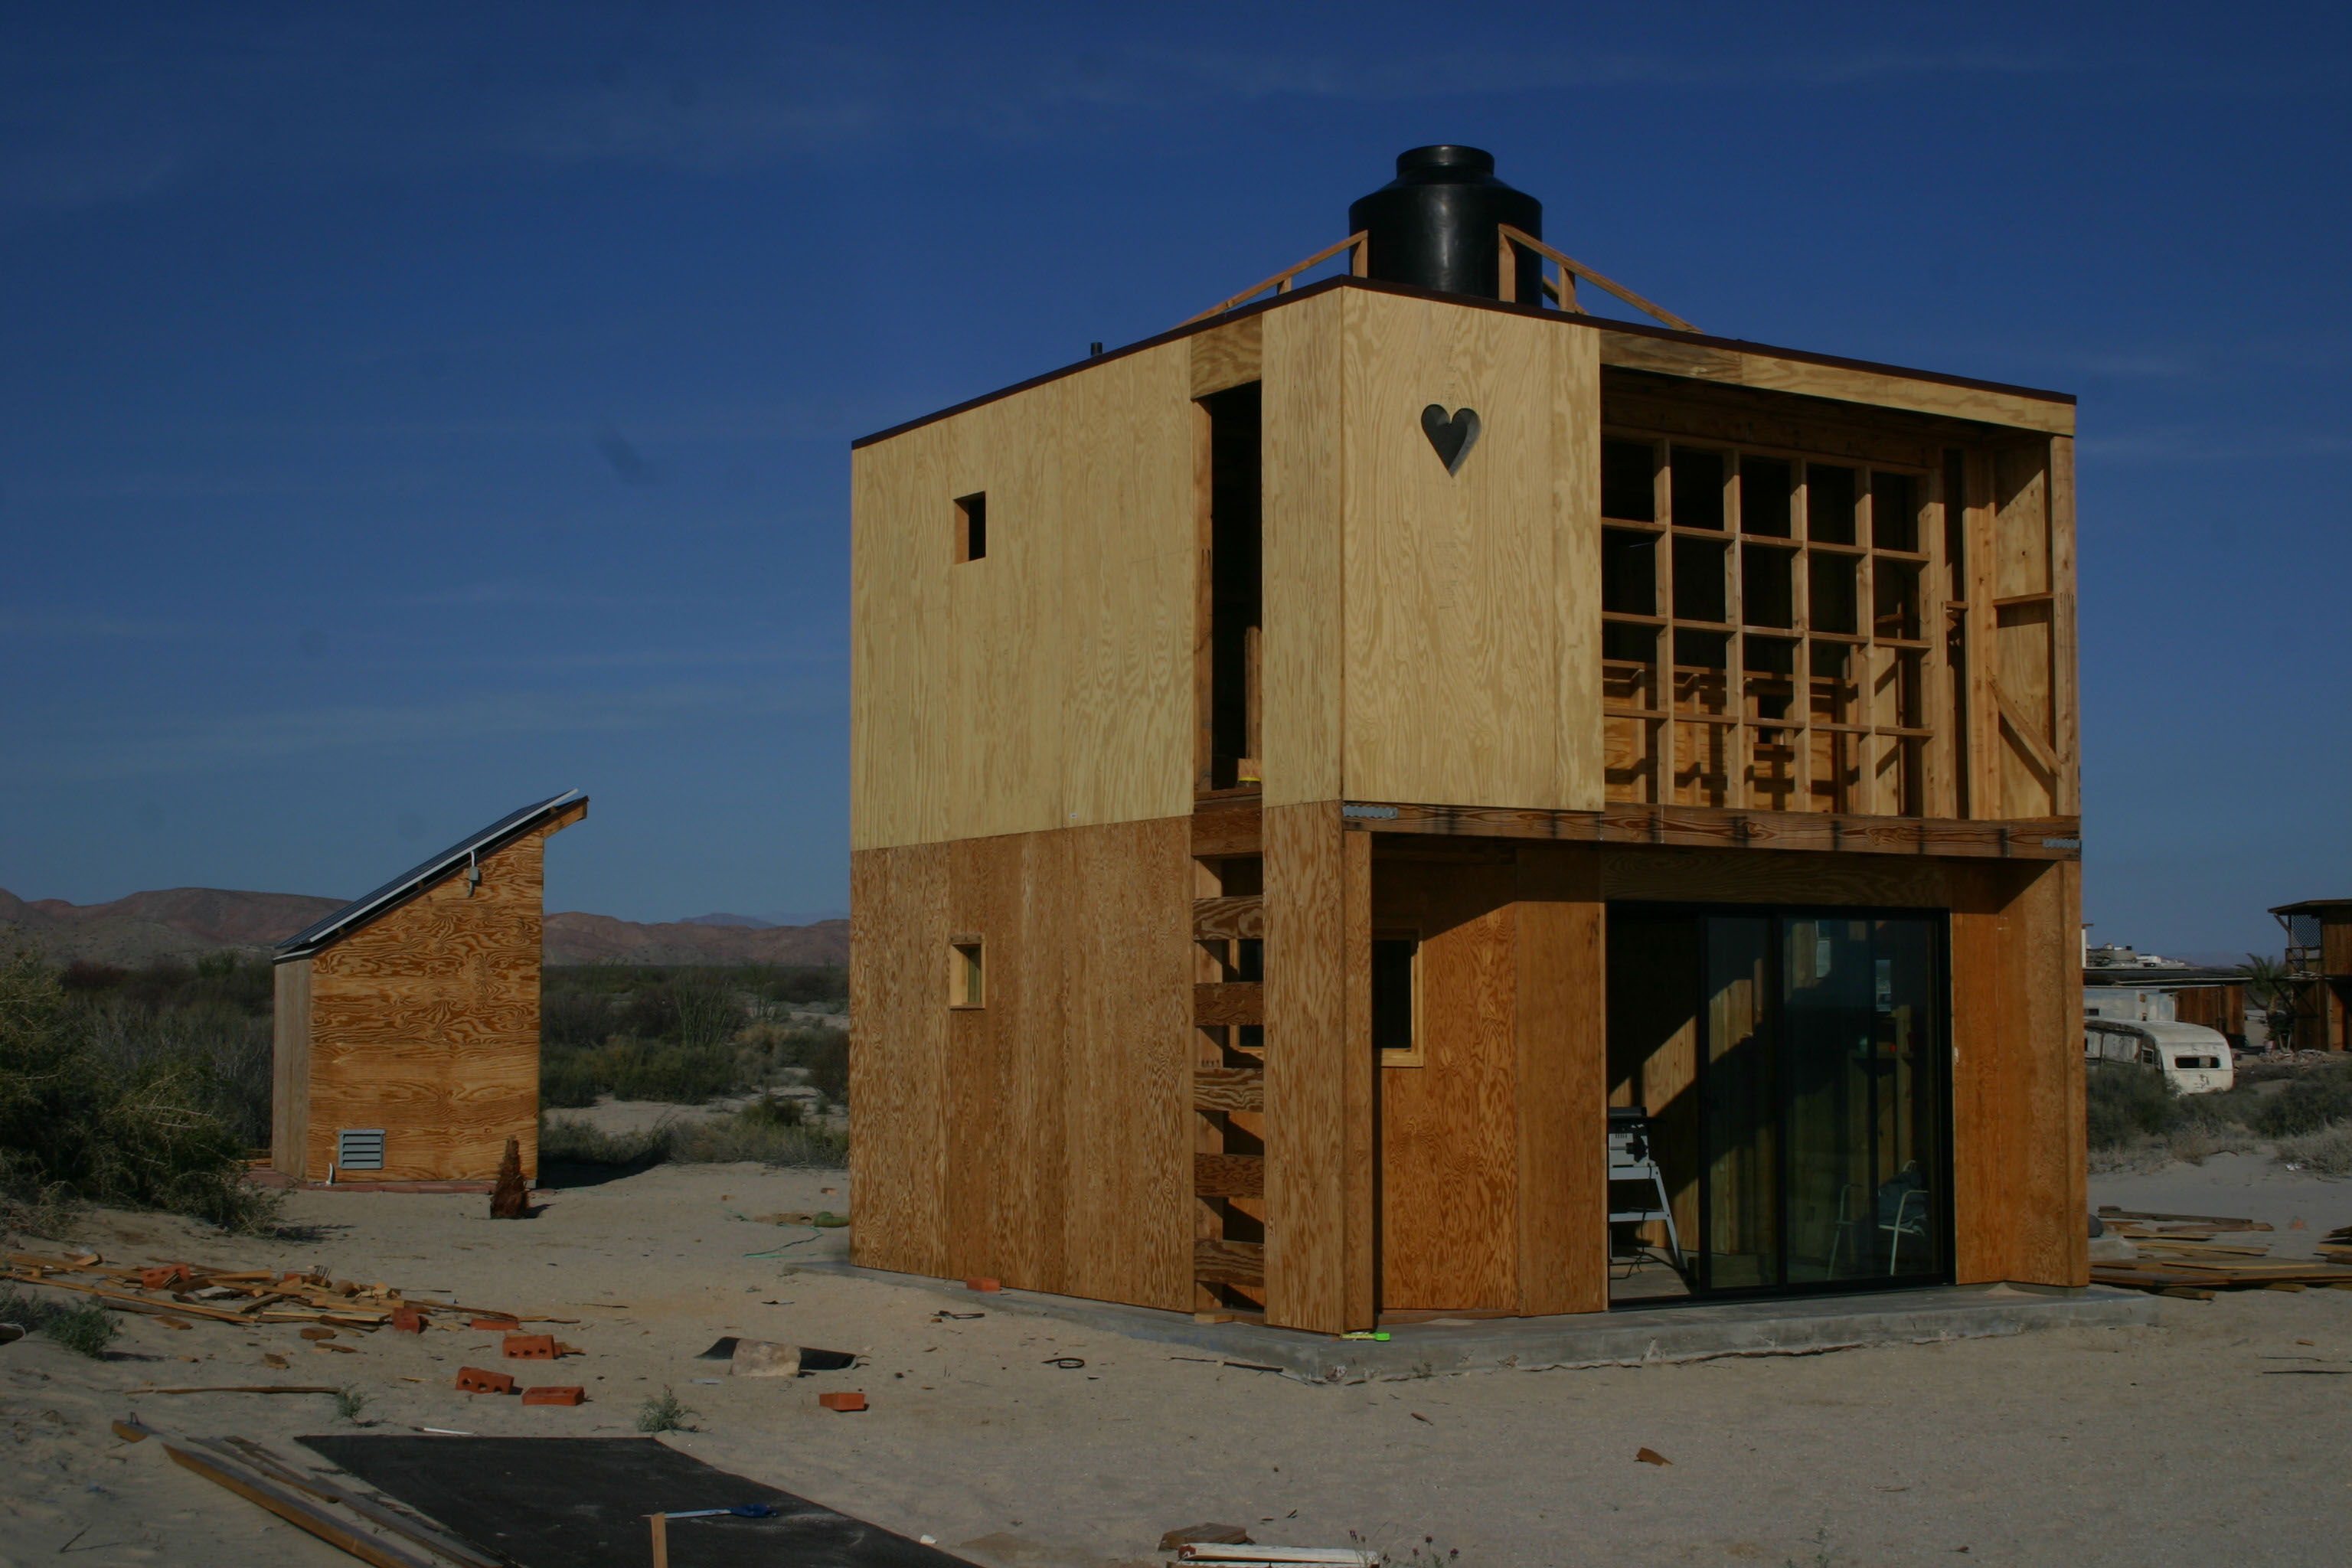
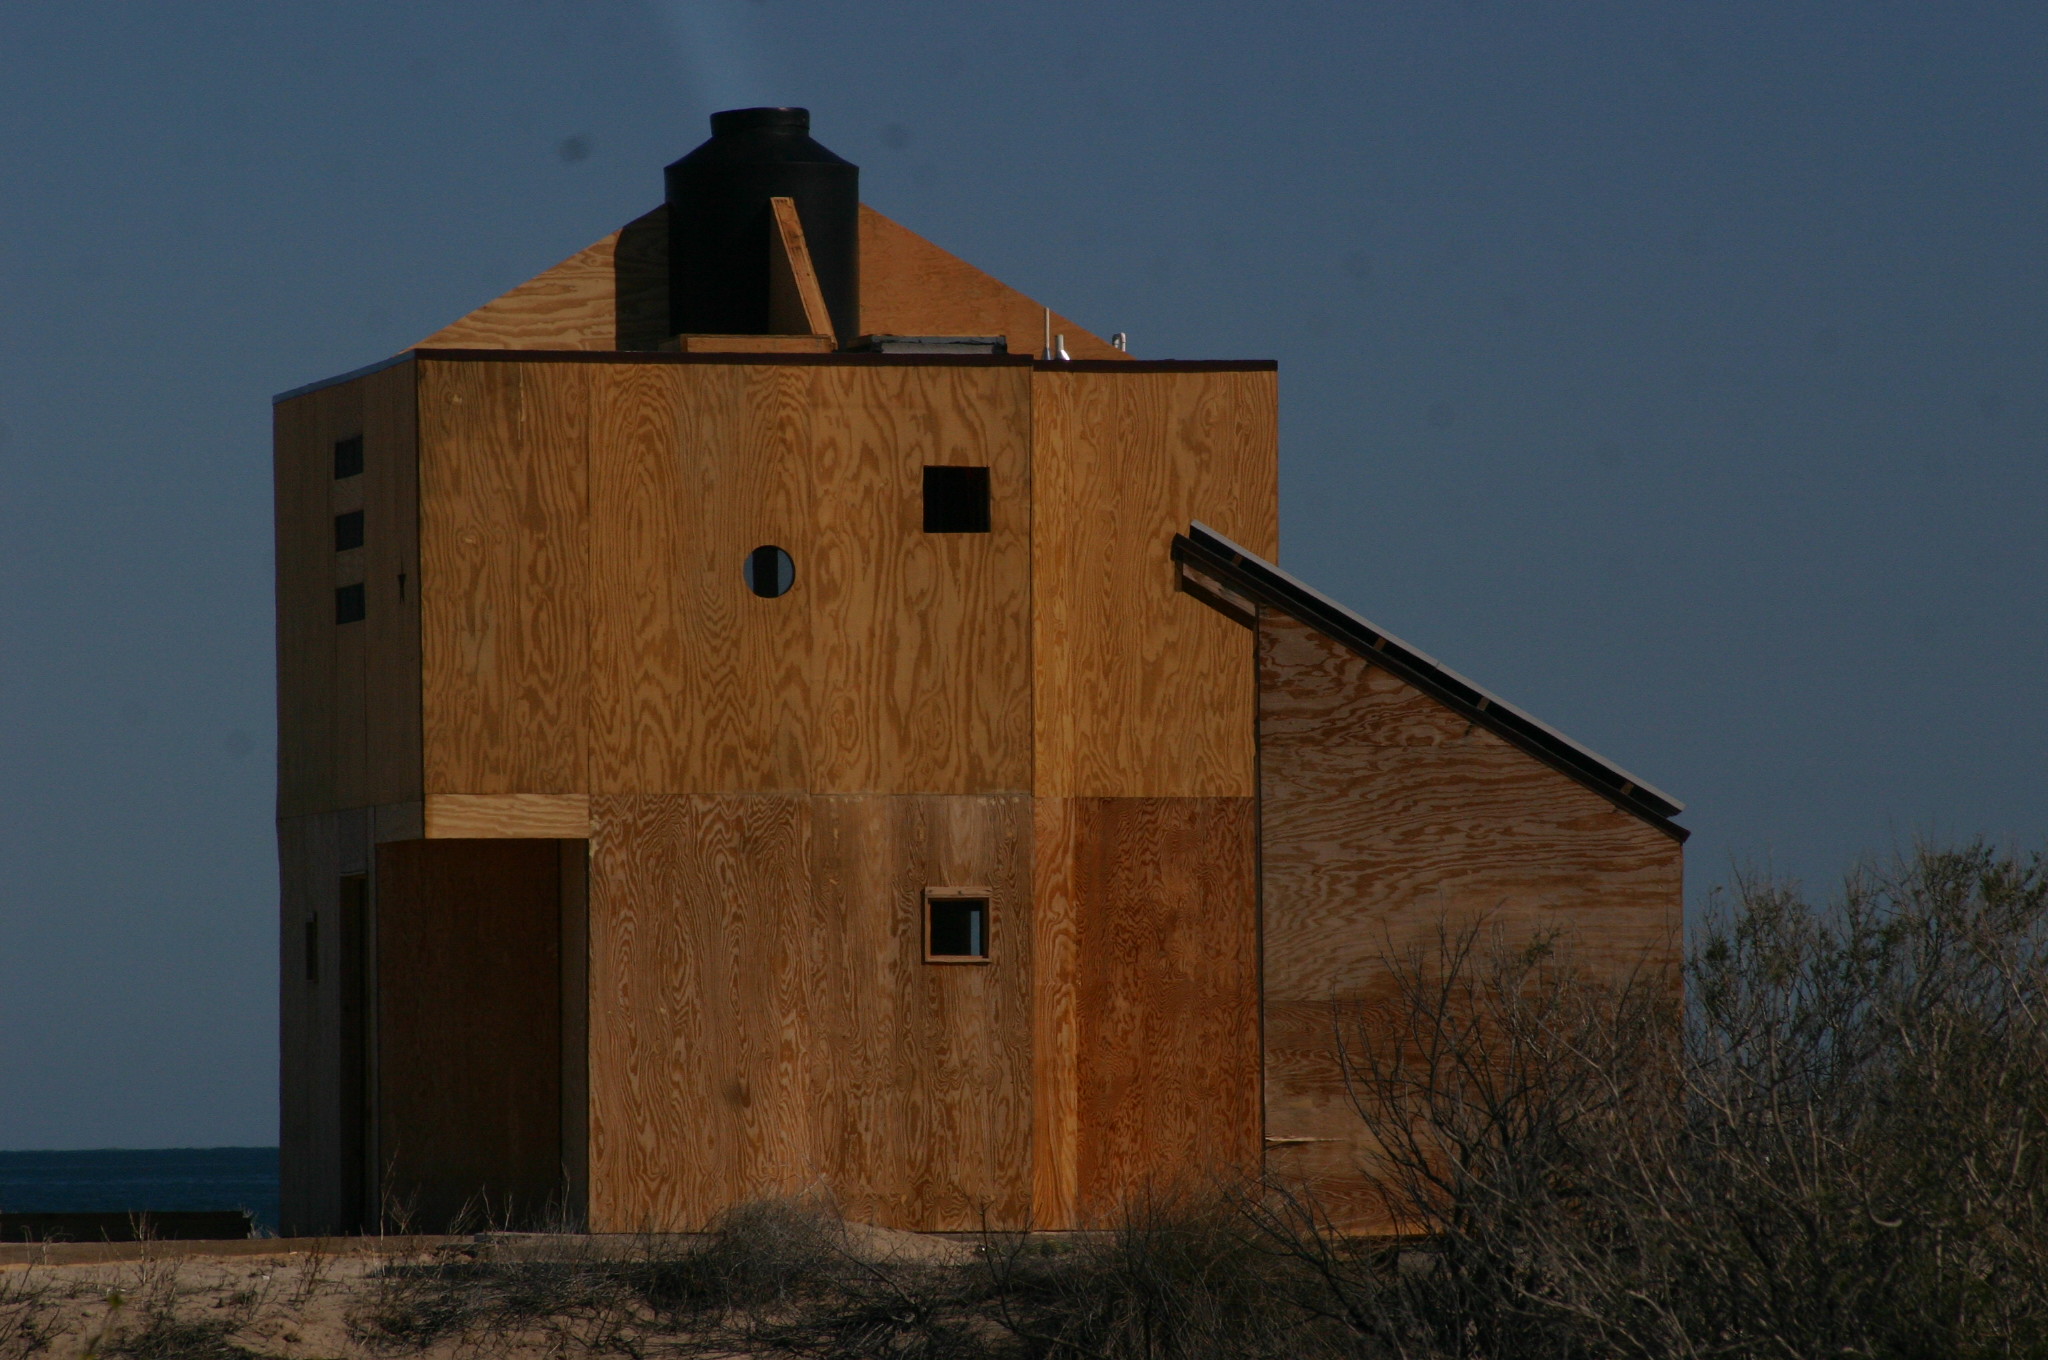
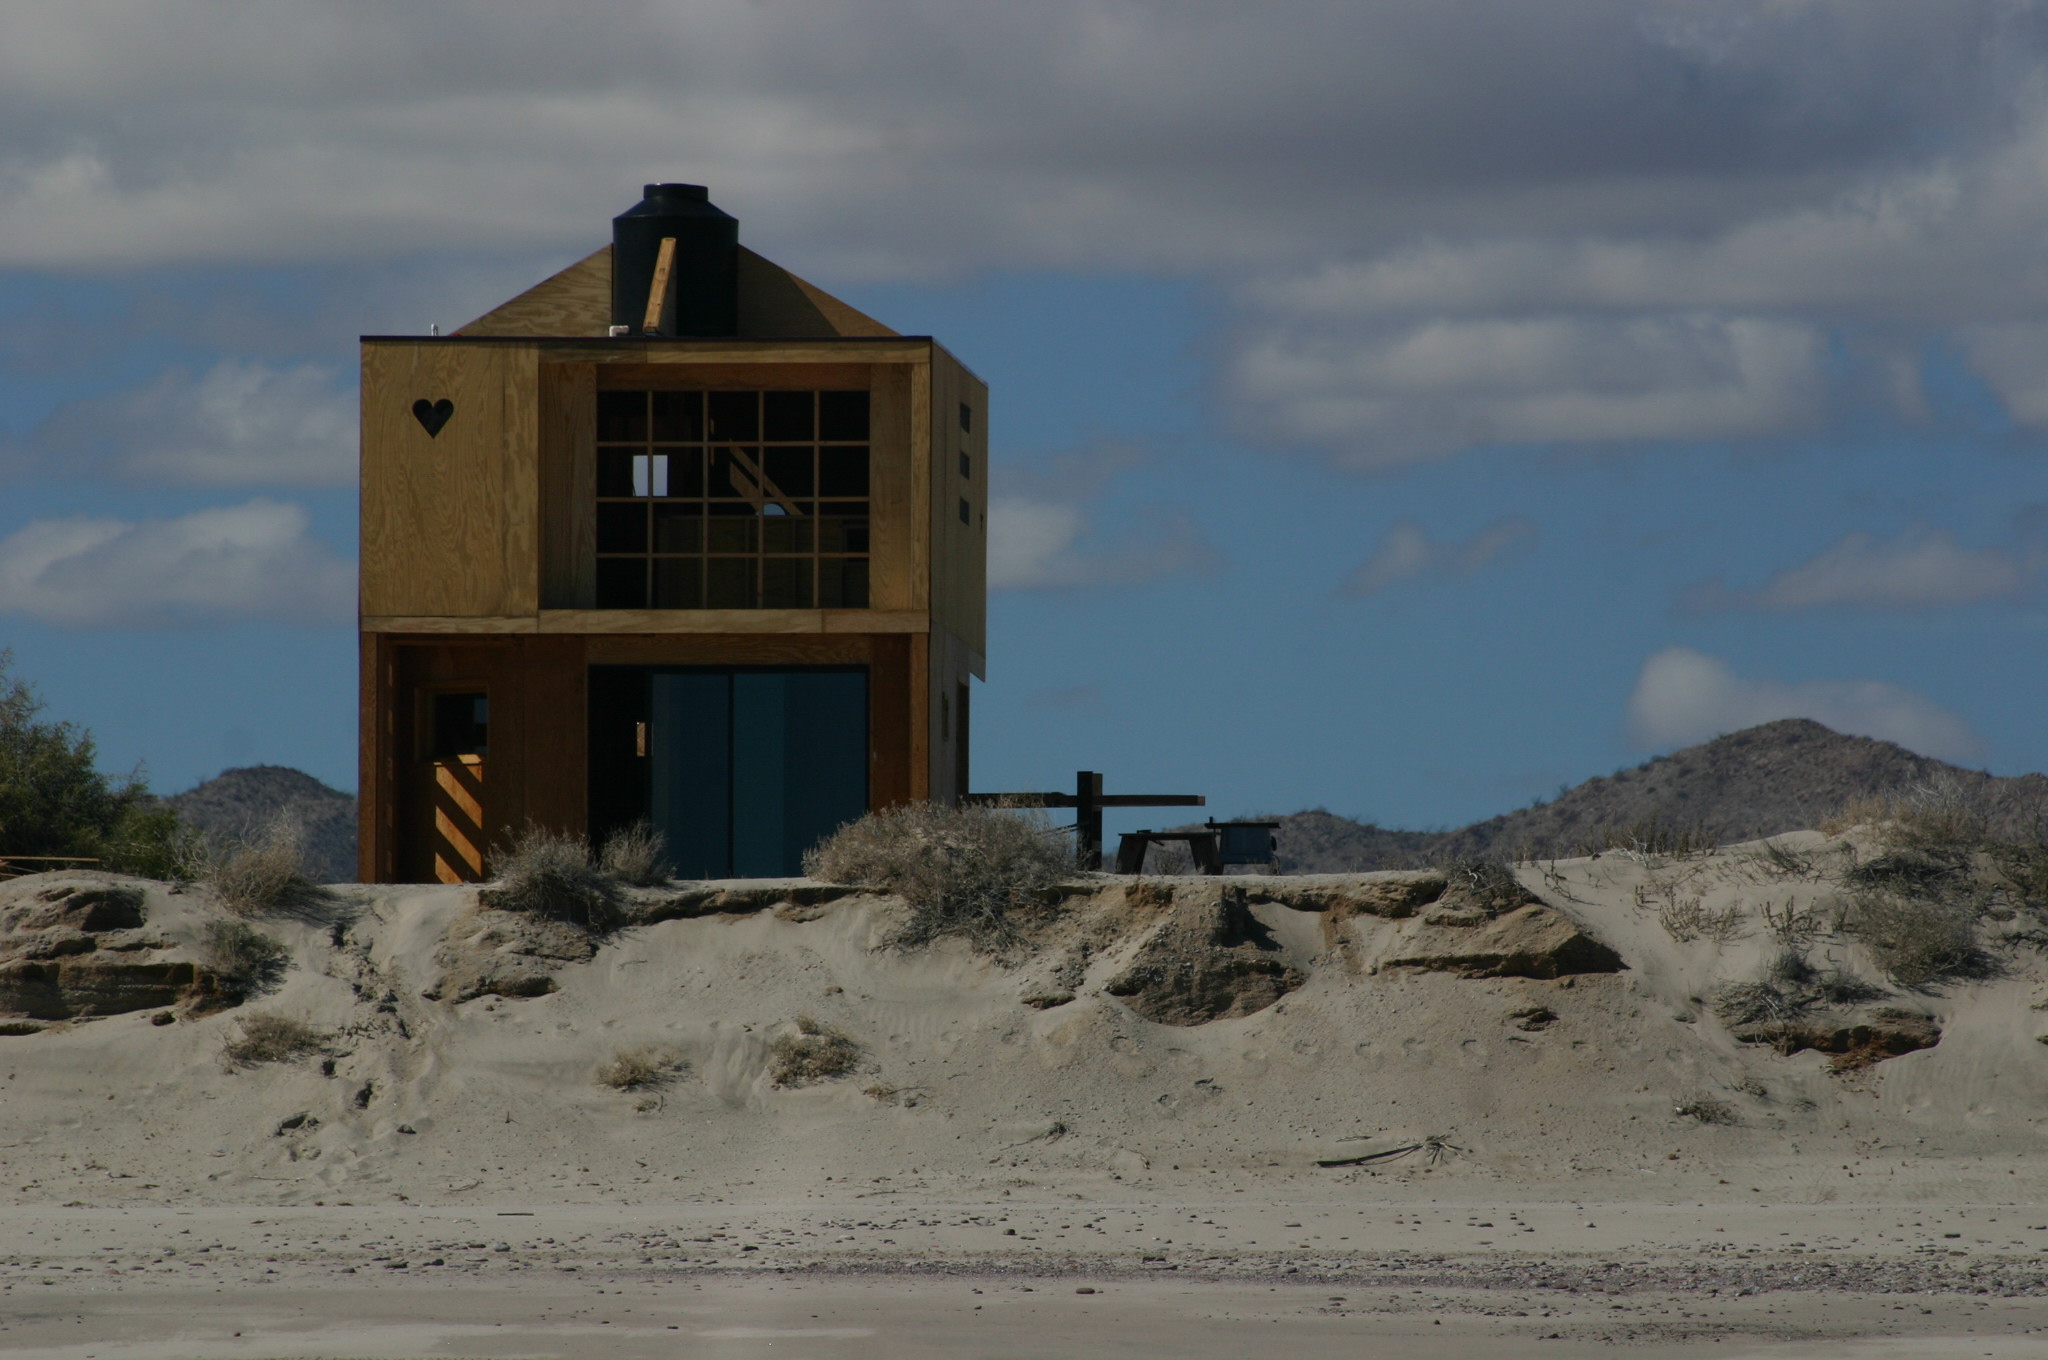
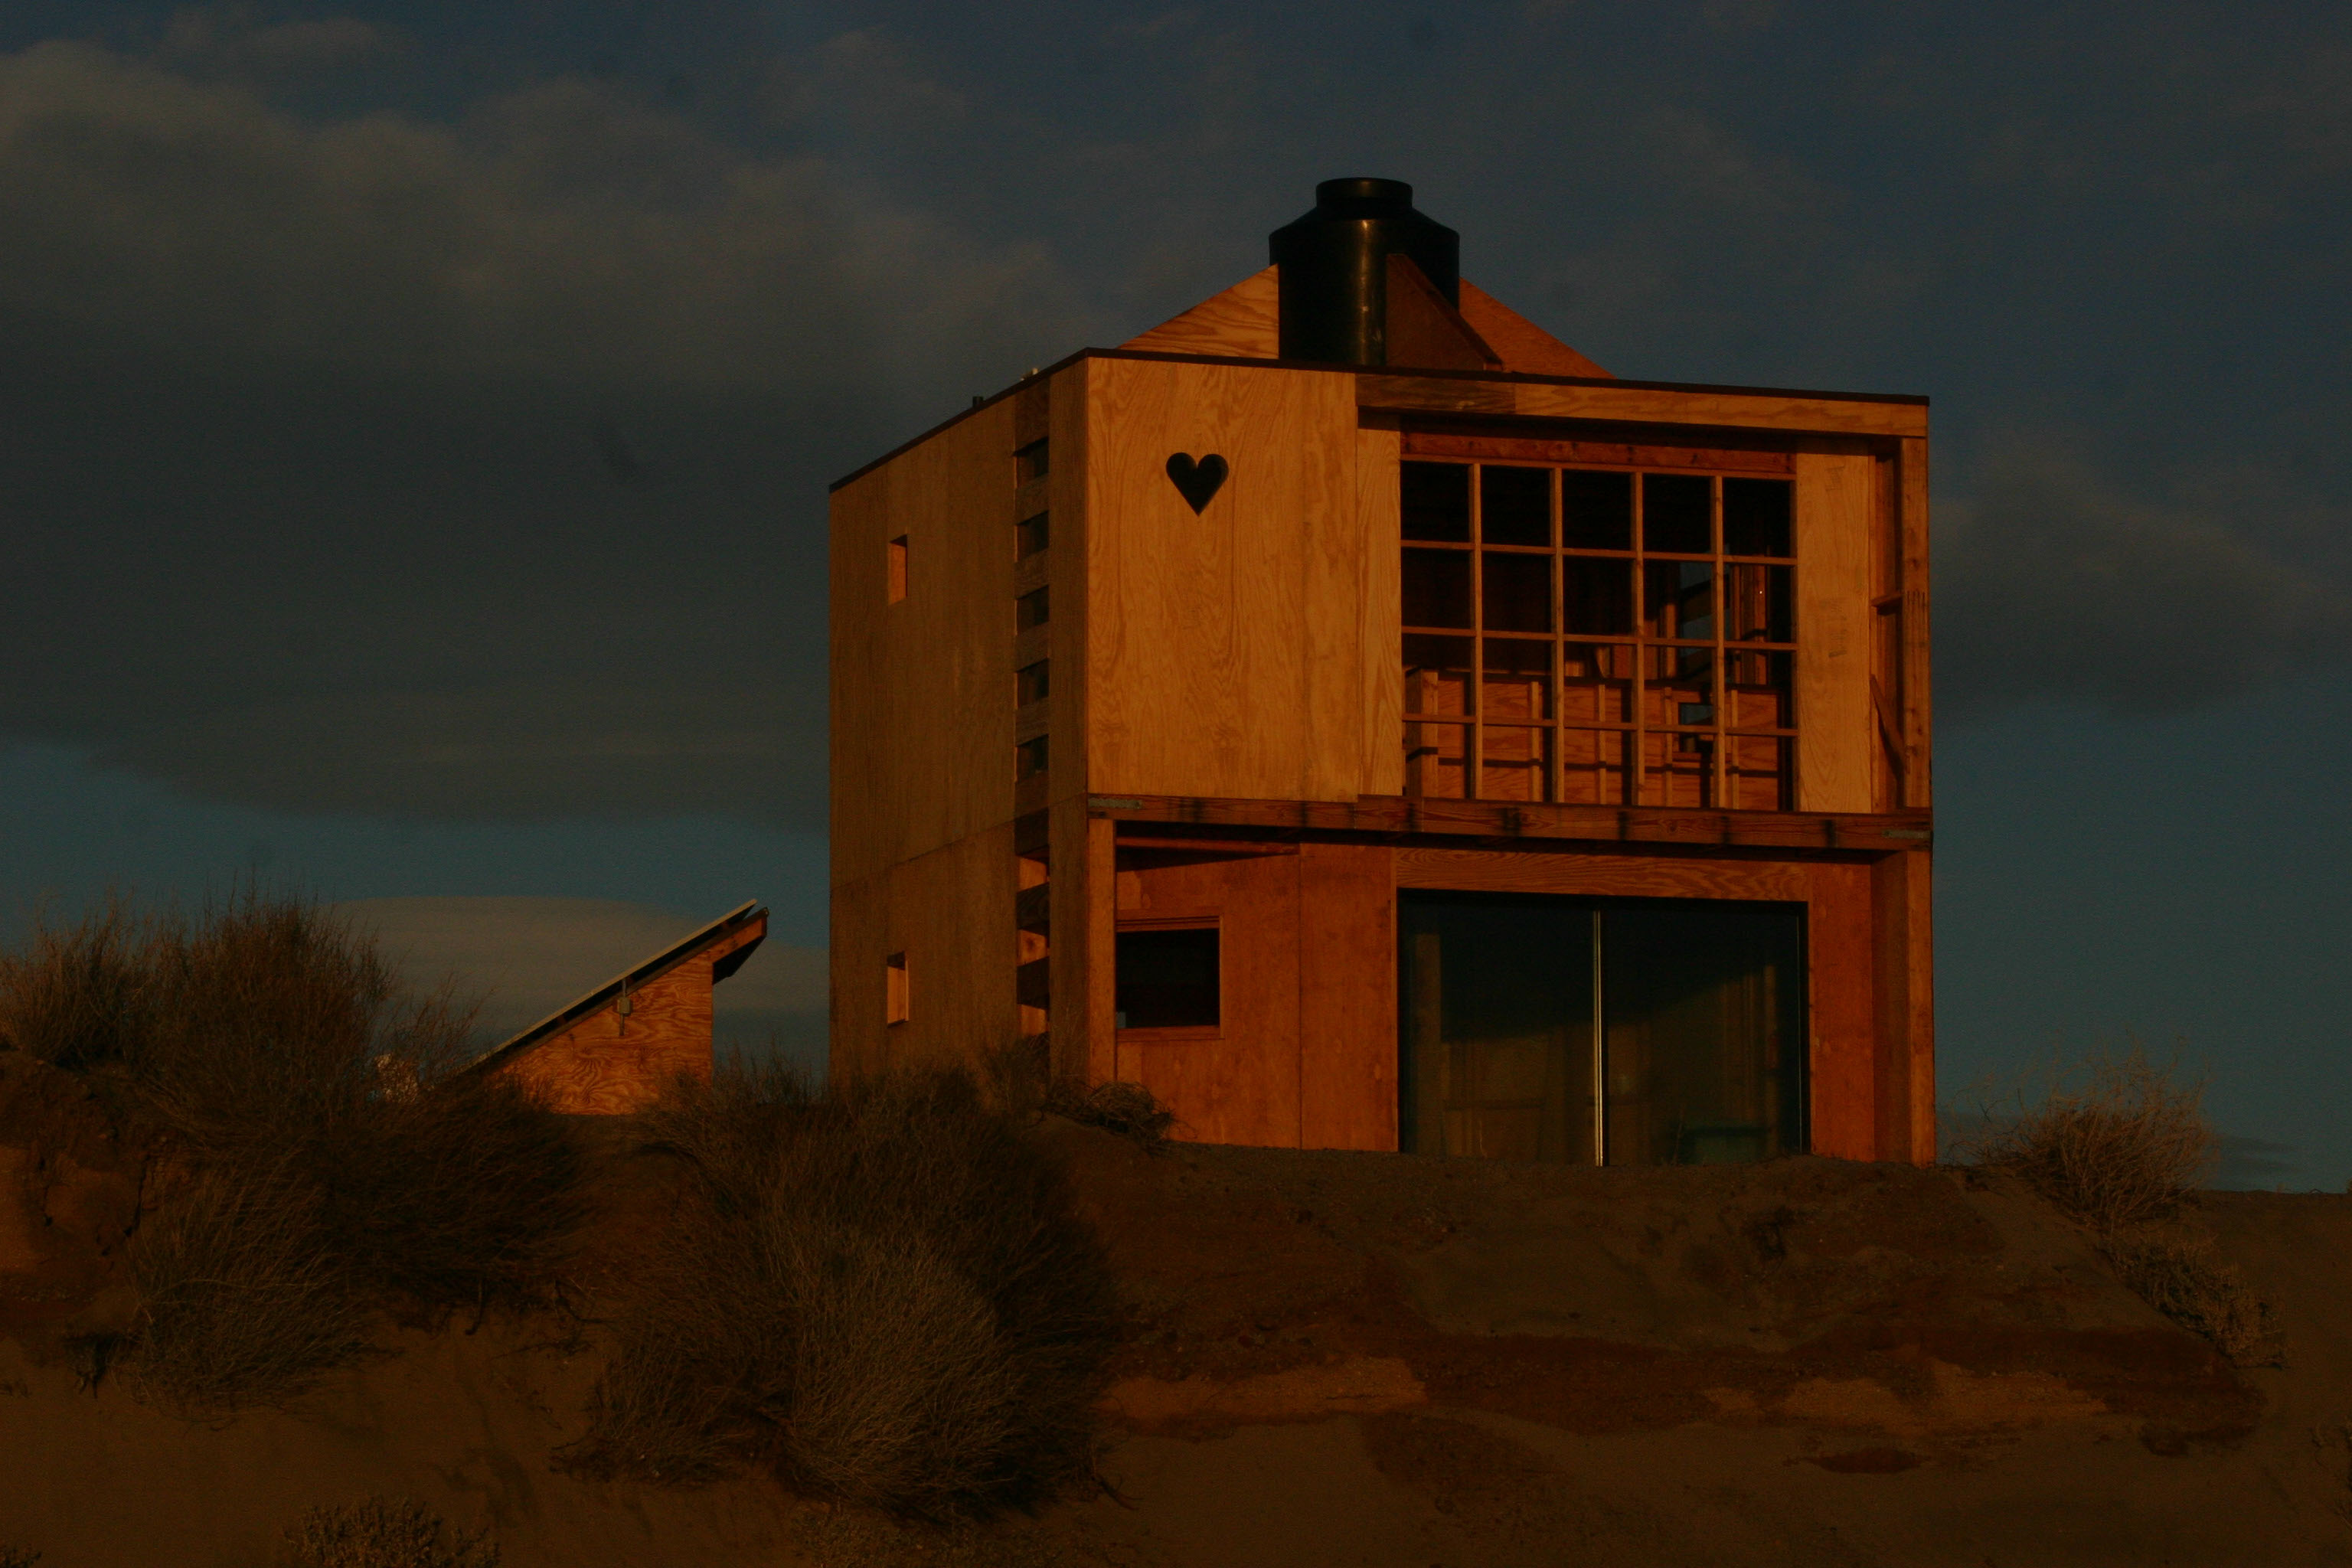
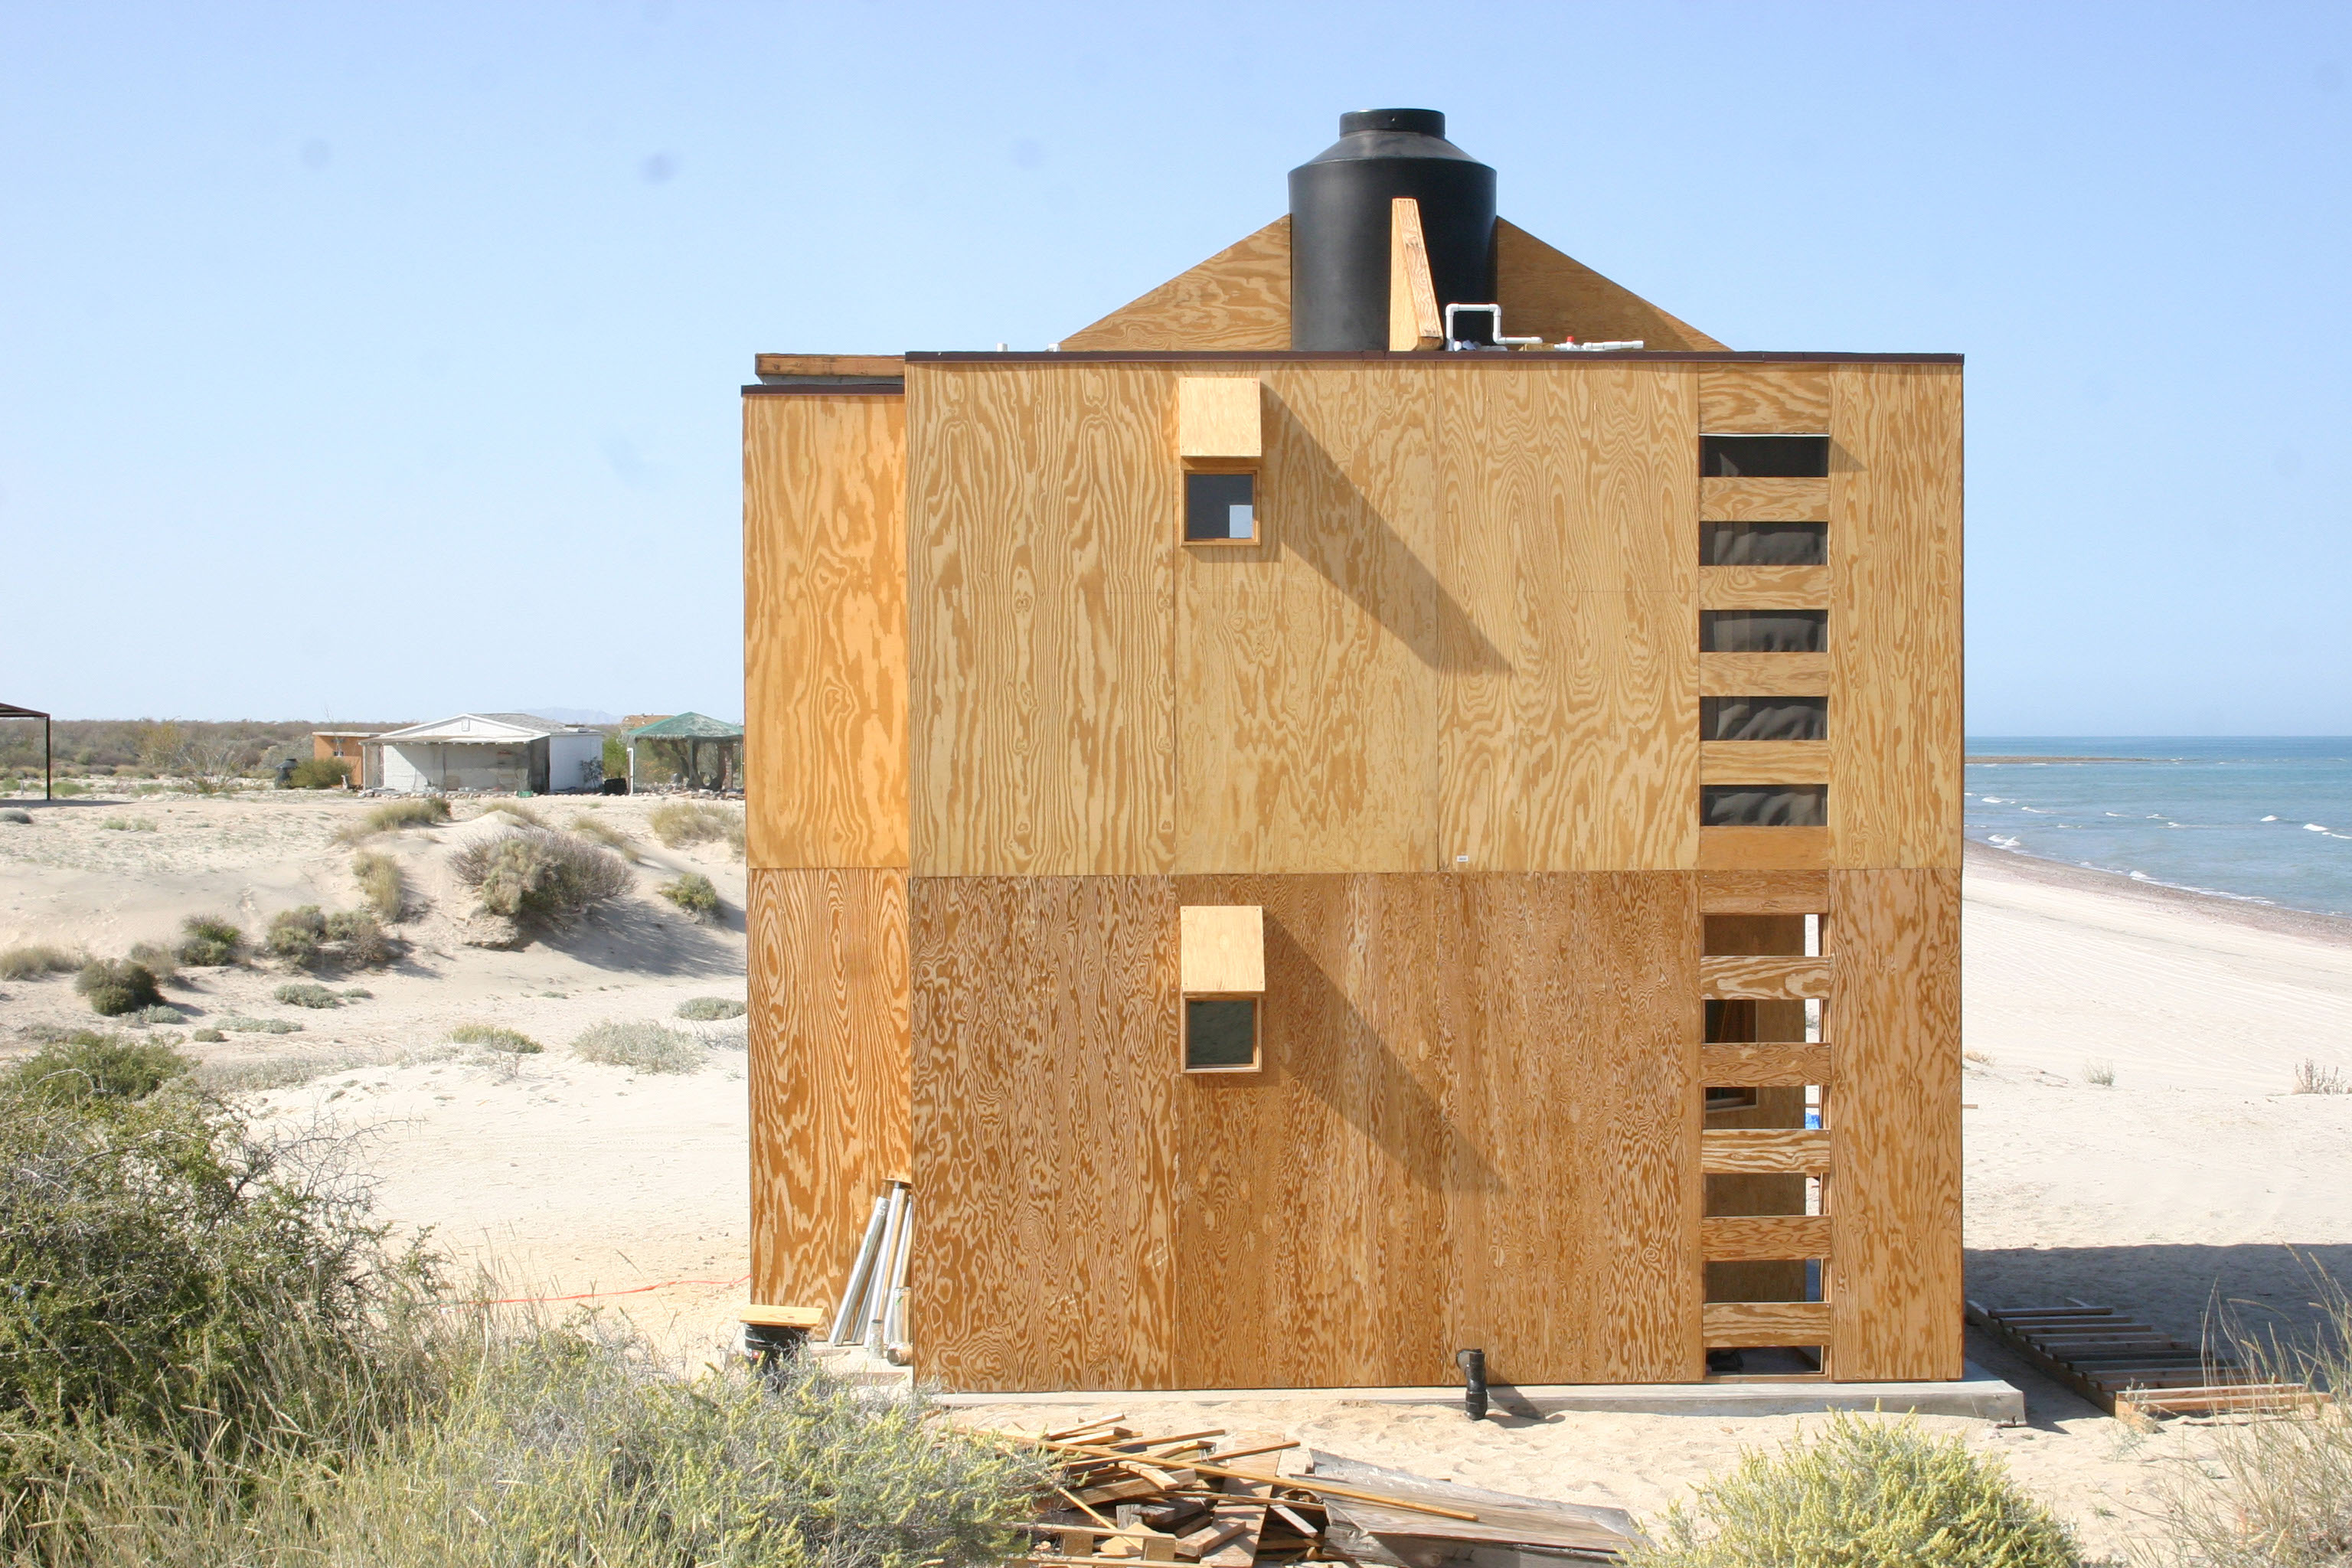
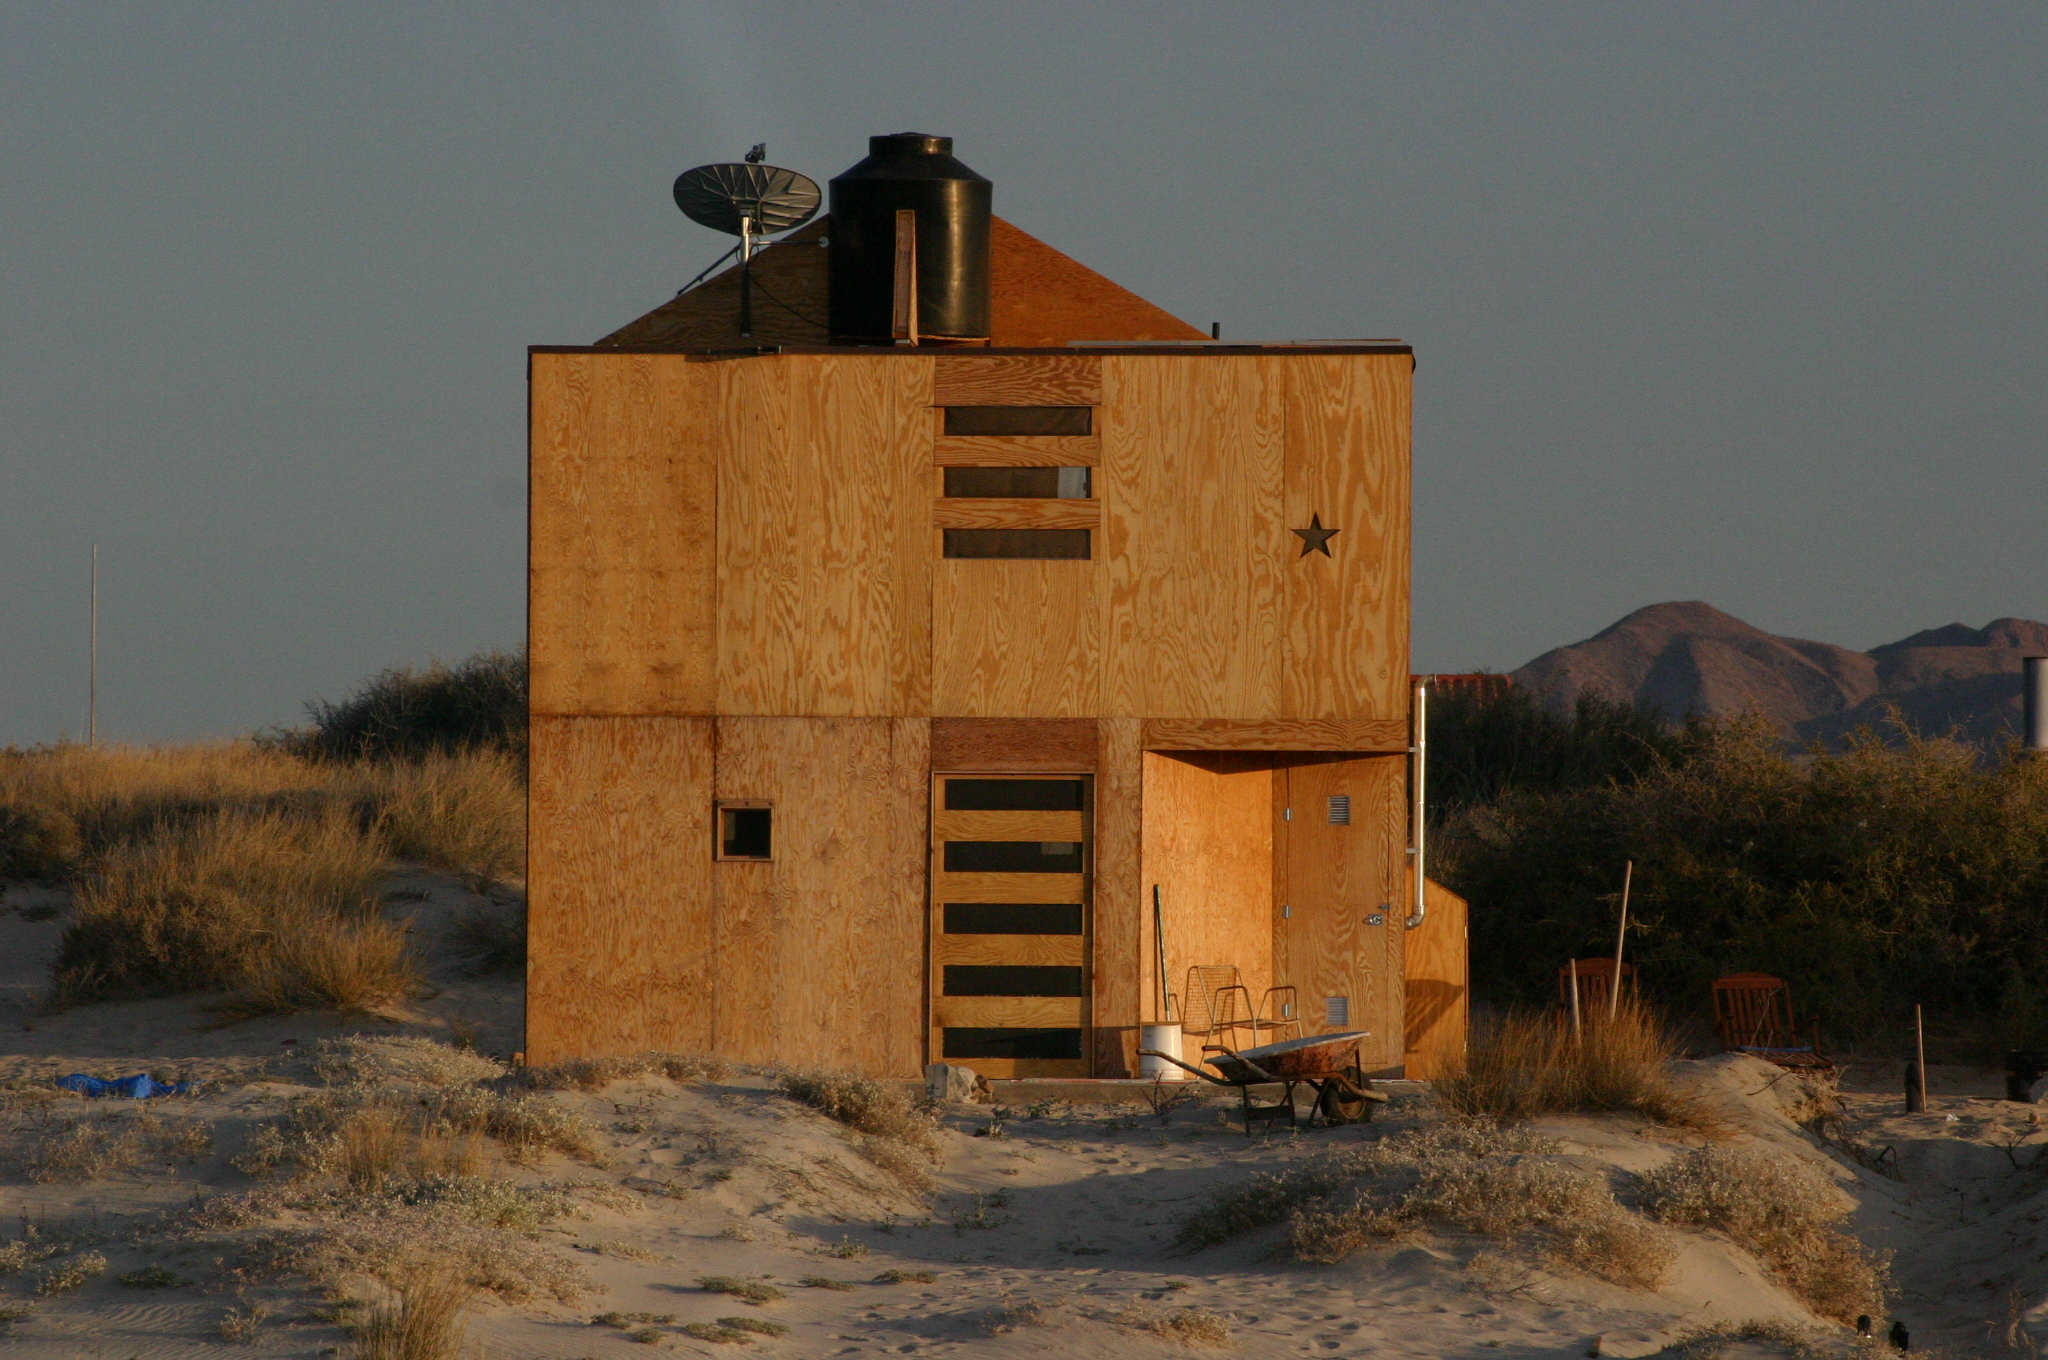
With the roof tank structure now complete, the roof-line of the Cube takes on its characteristic form, echoing the shape of the mountains in the distance
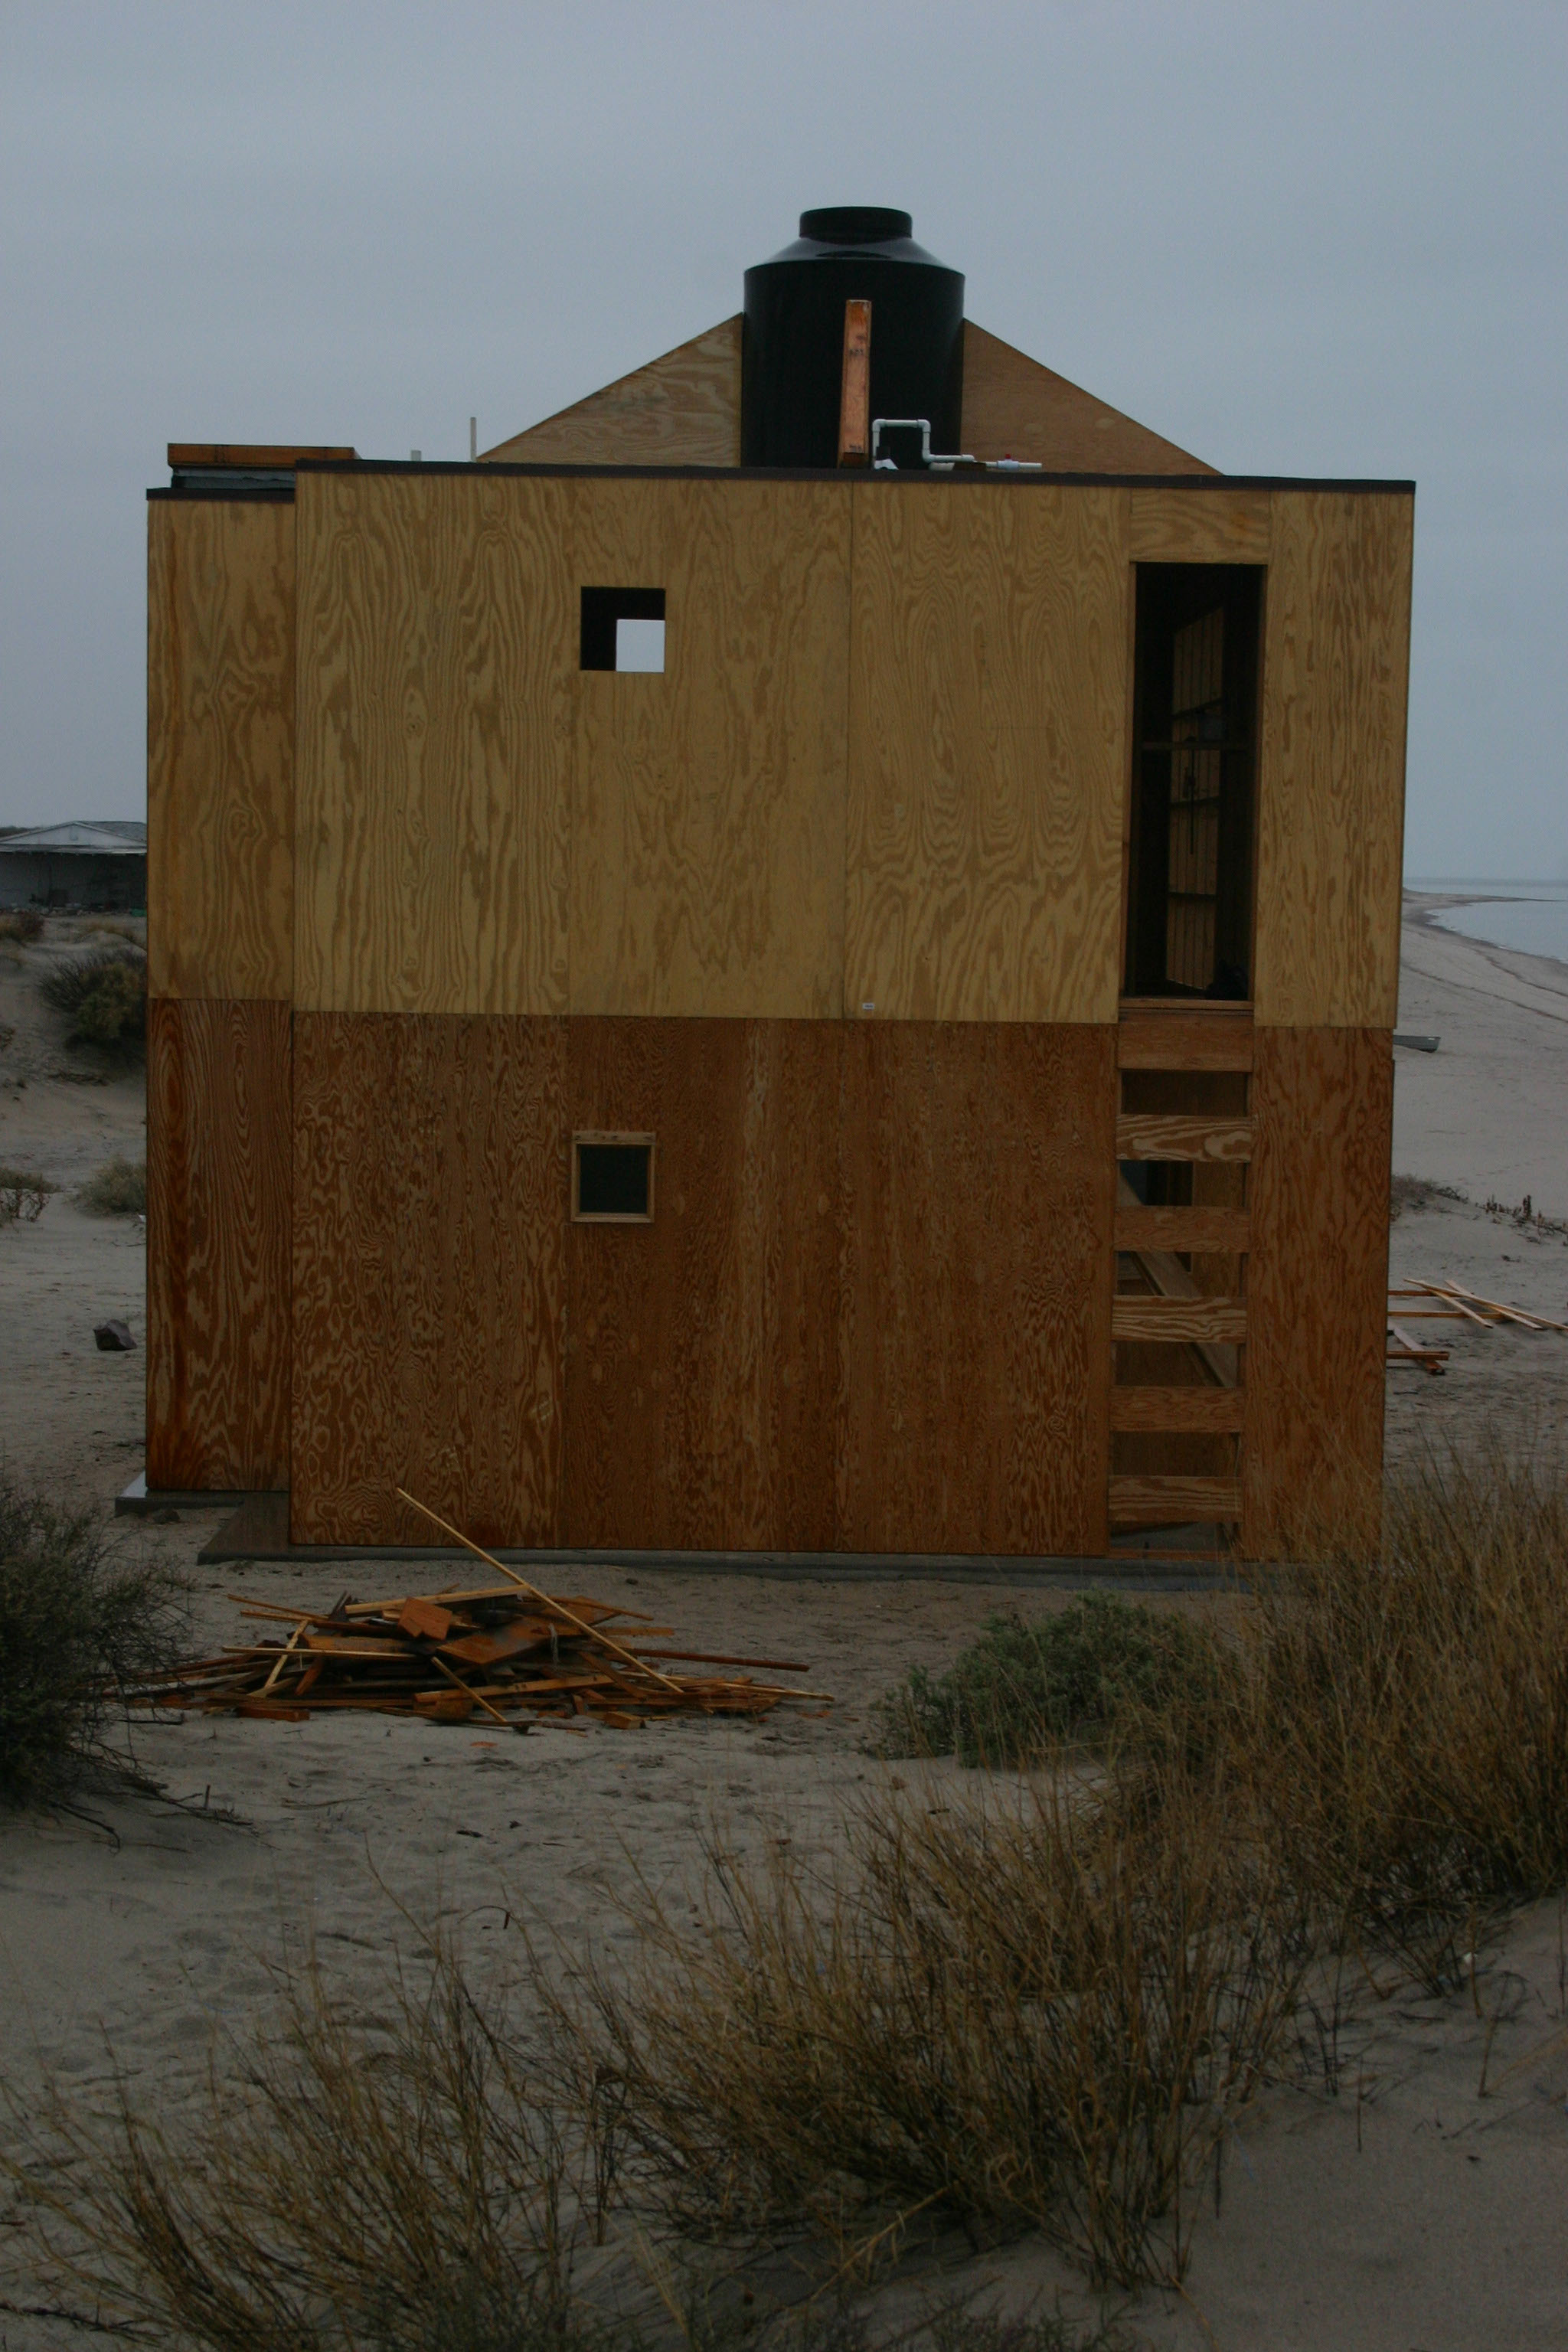
PVC pipes to carry water from the tank to the house can be seen here. The vertical ventilation opening in the wall is covered with insect screen before horizontal slats are added
The angular brown forms of the Cube evoke the shapes of a Cubist painting
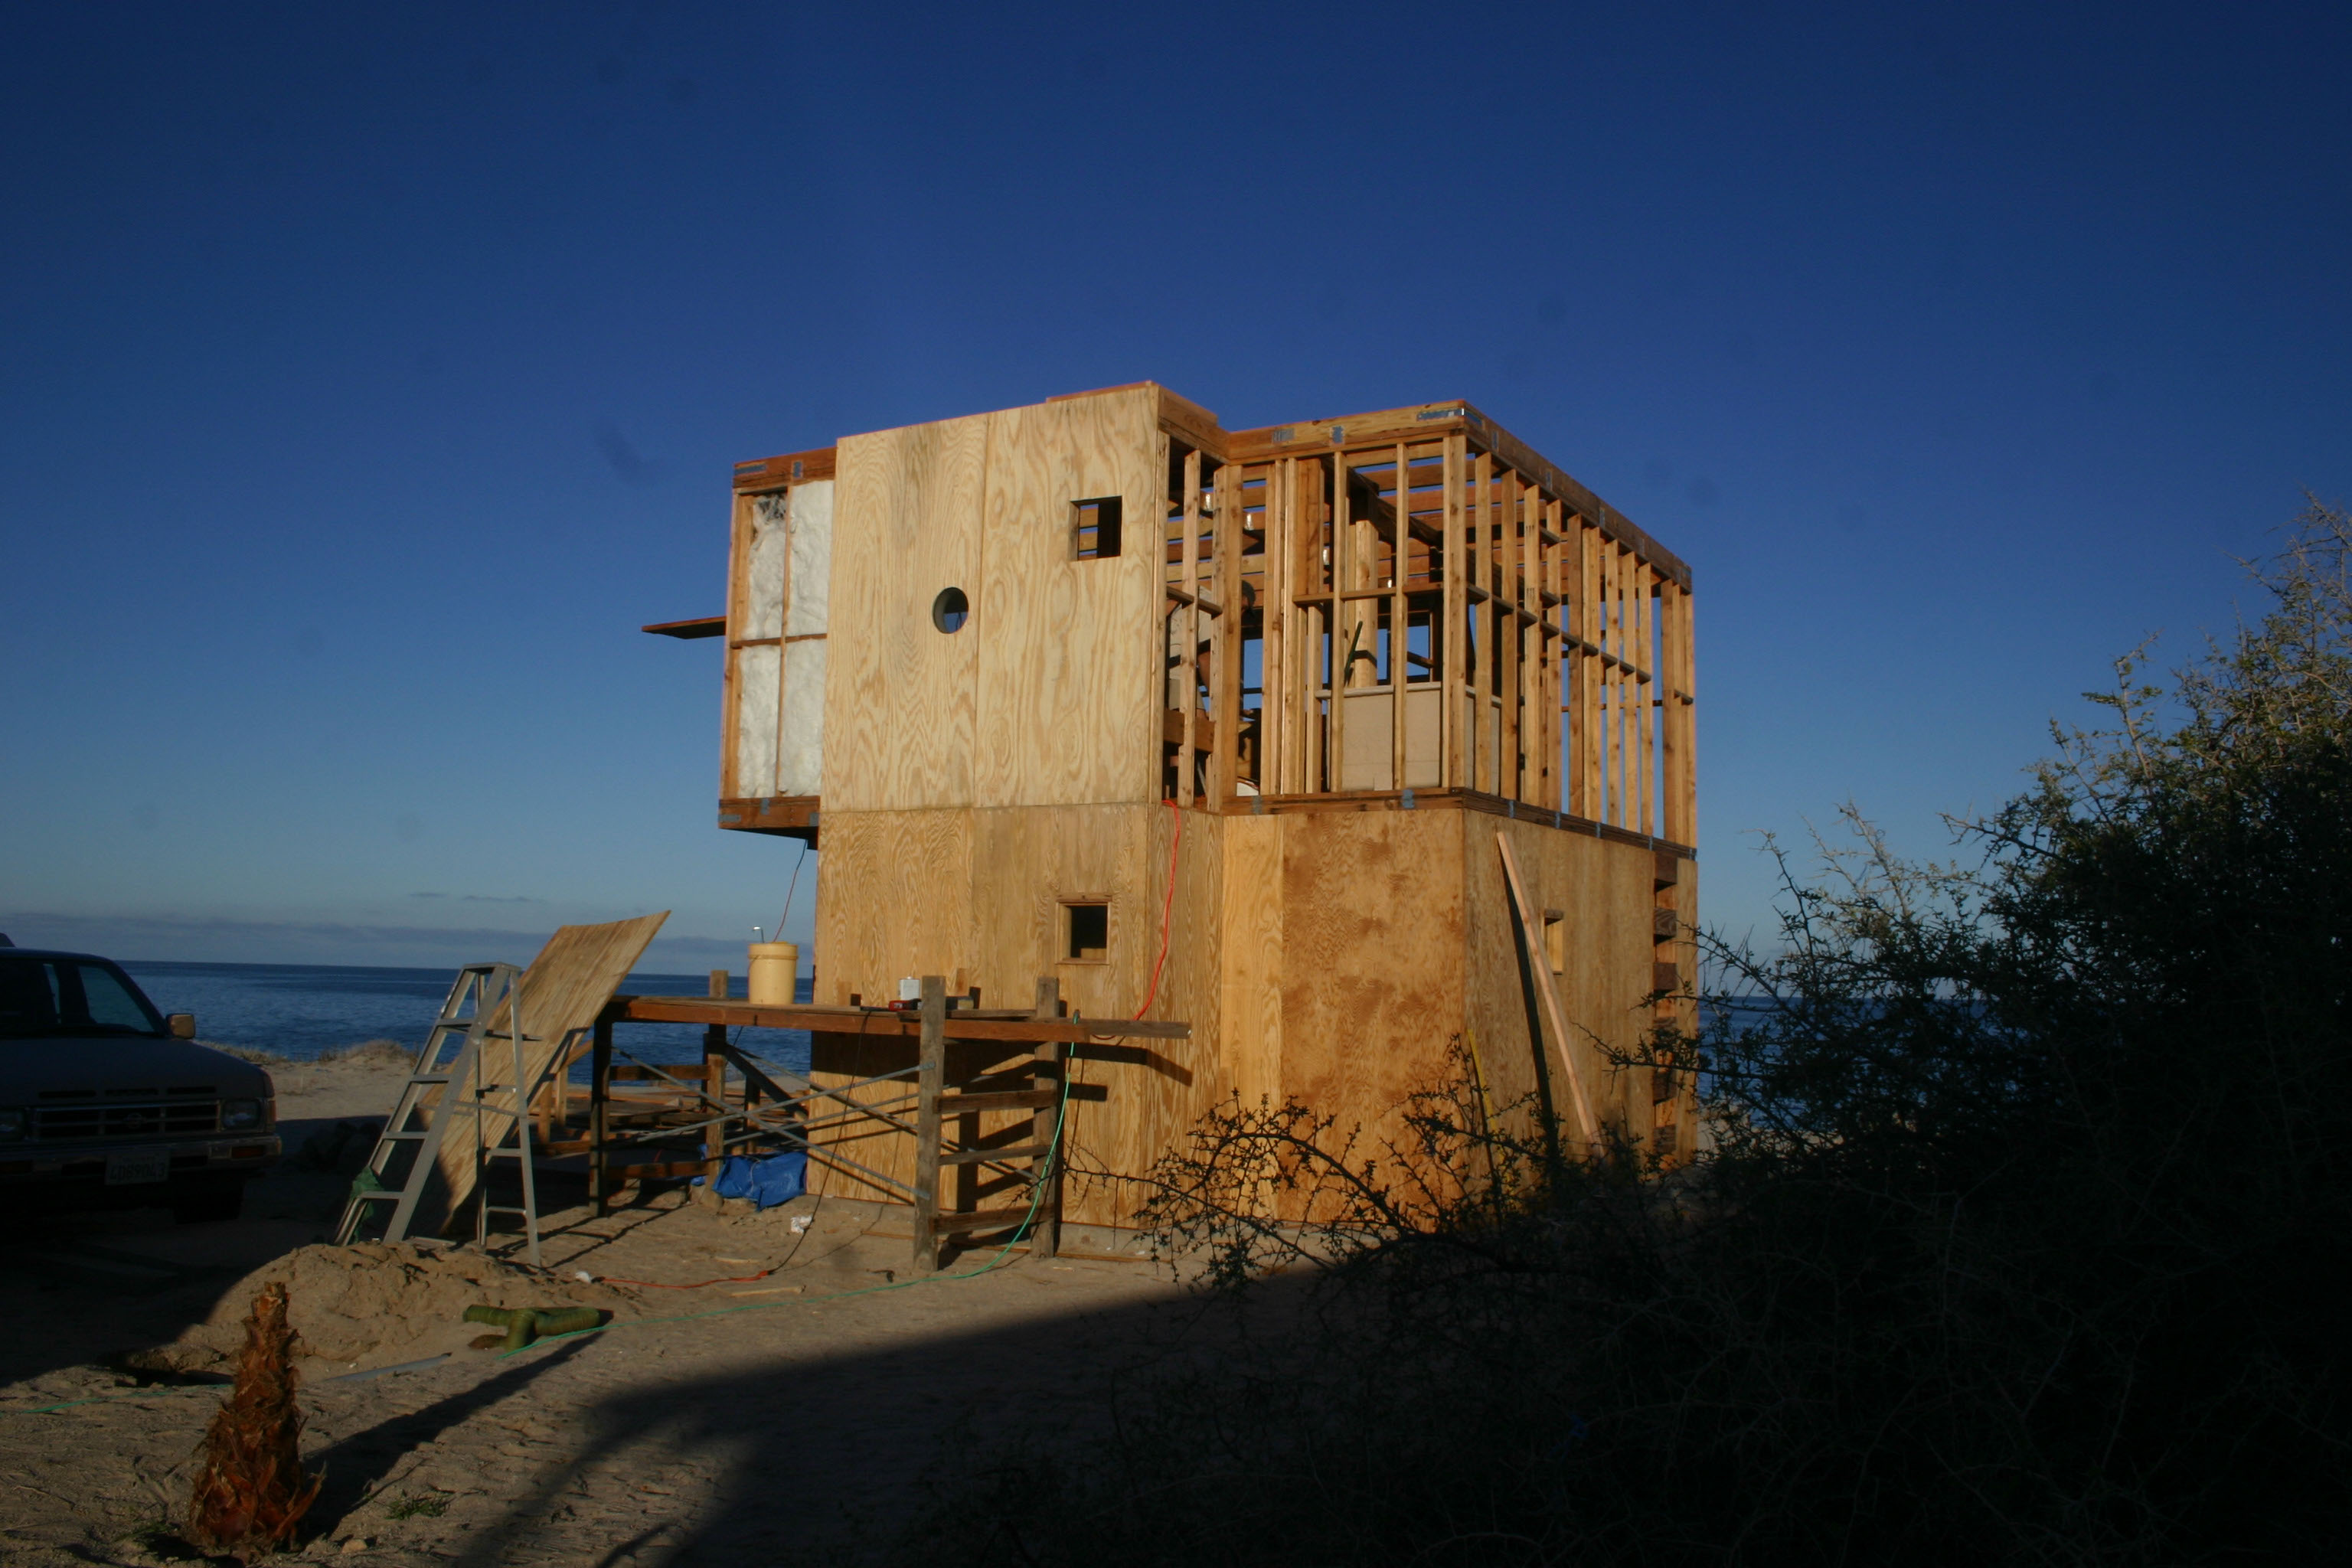
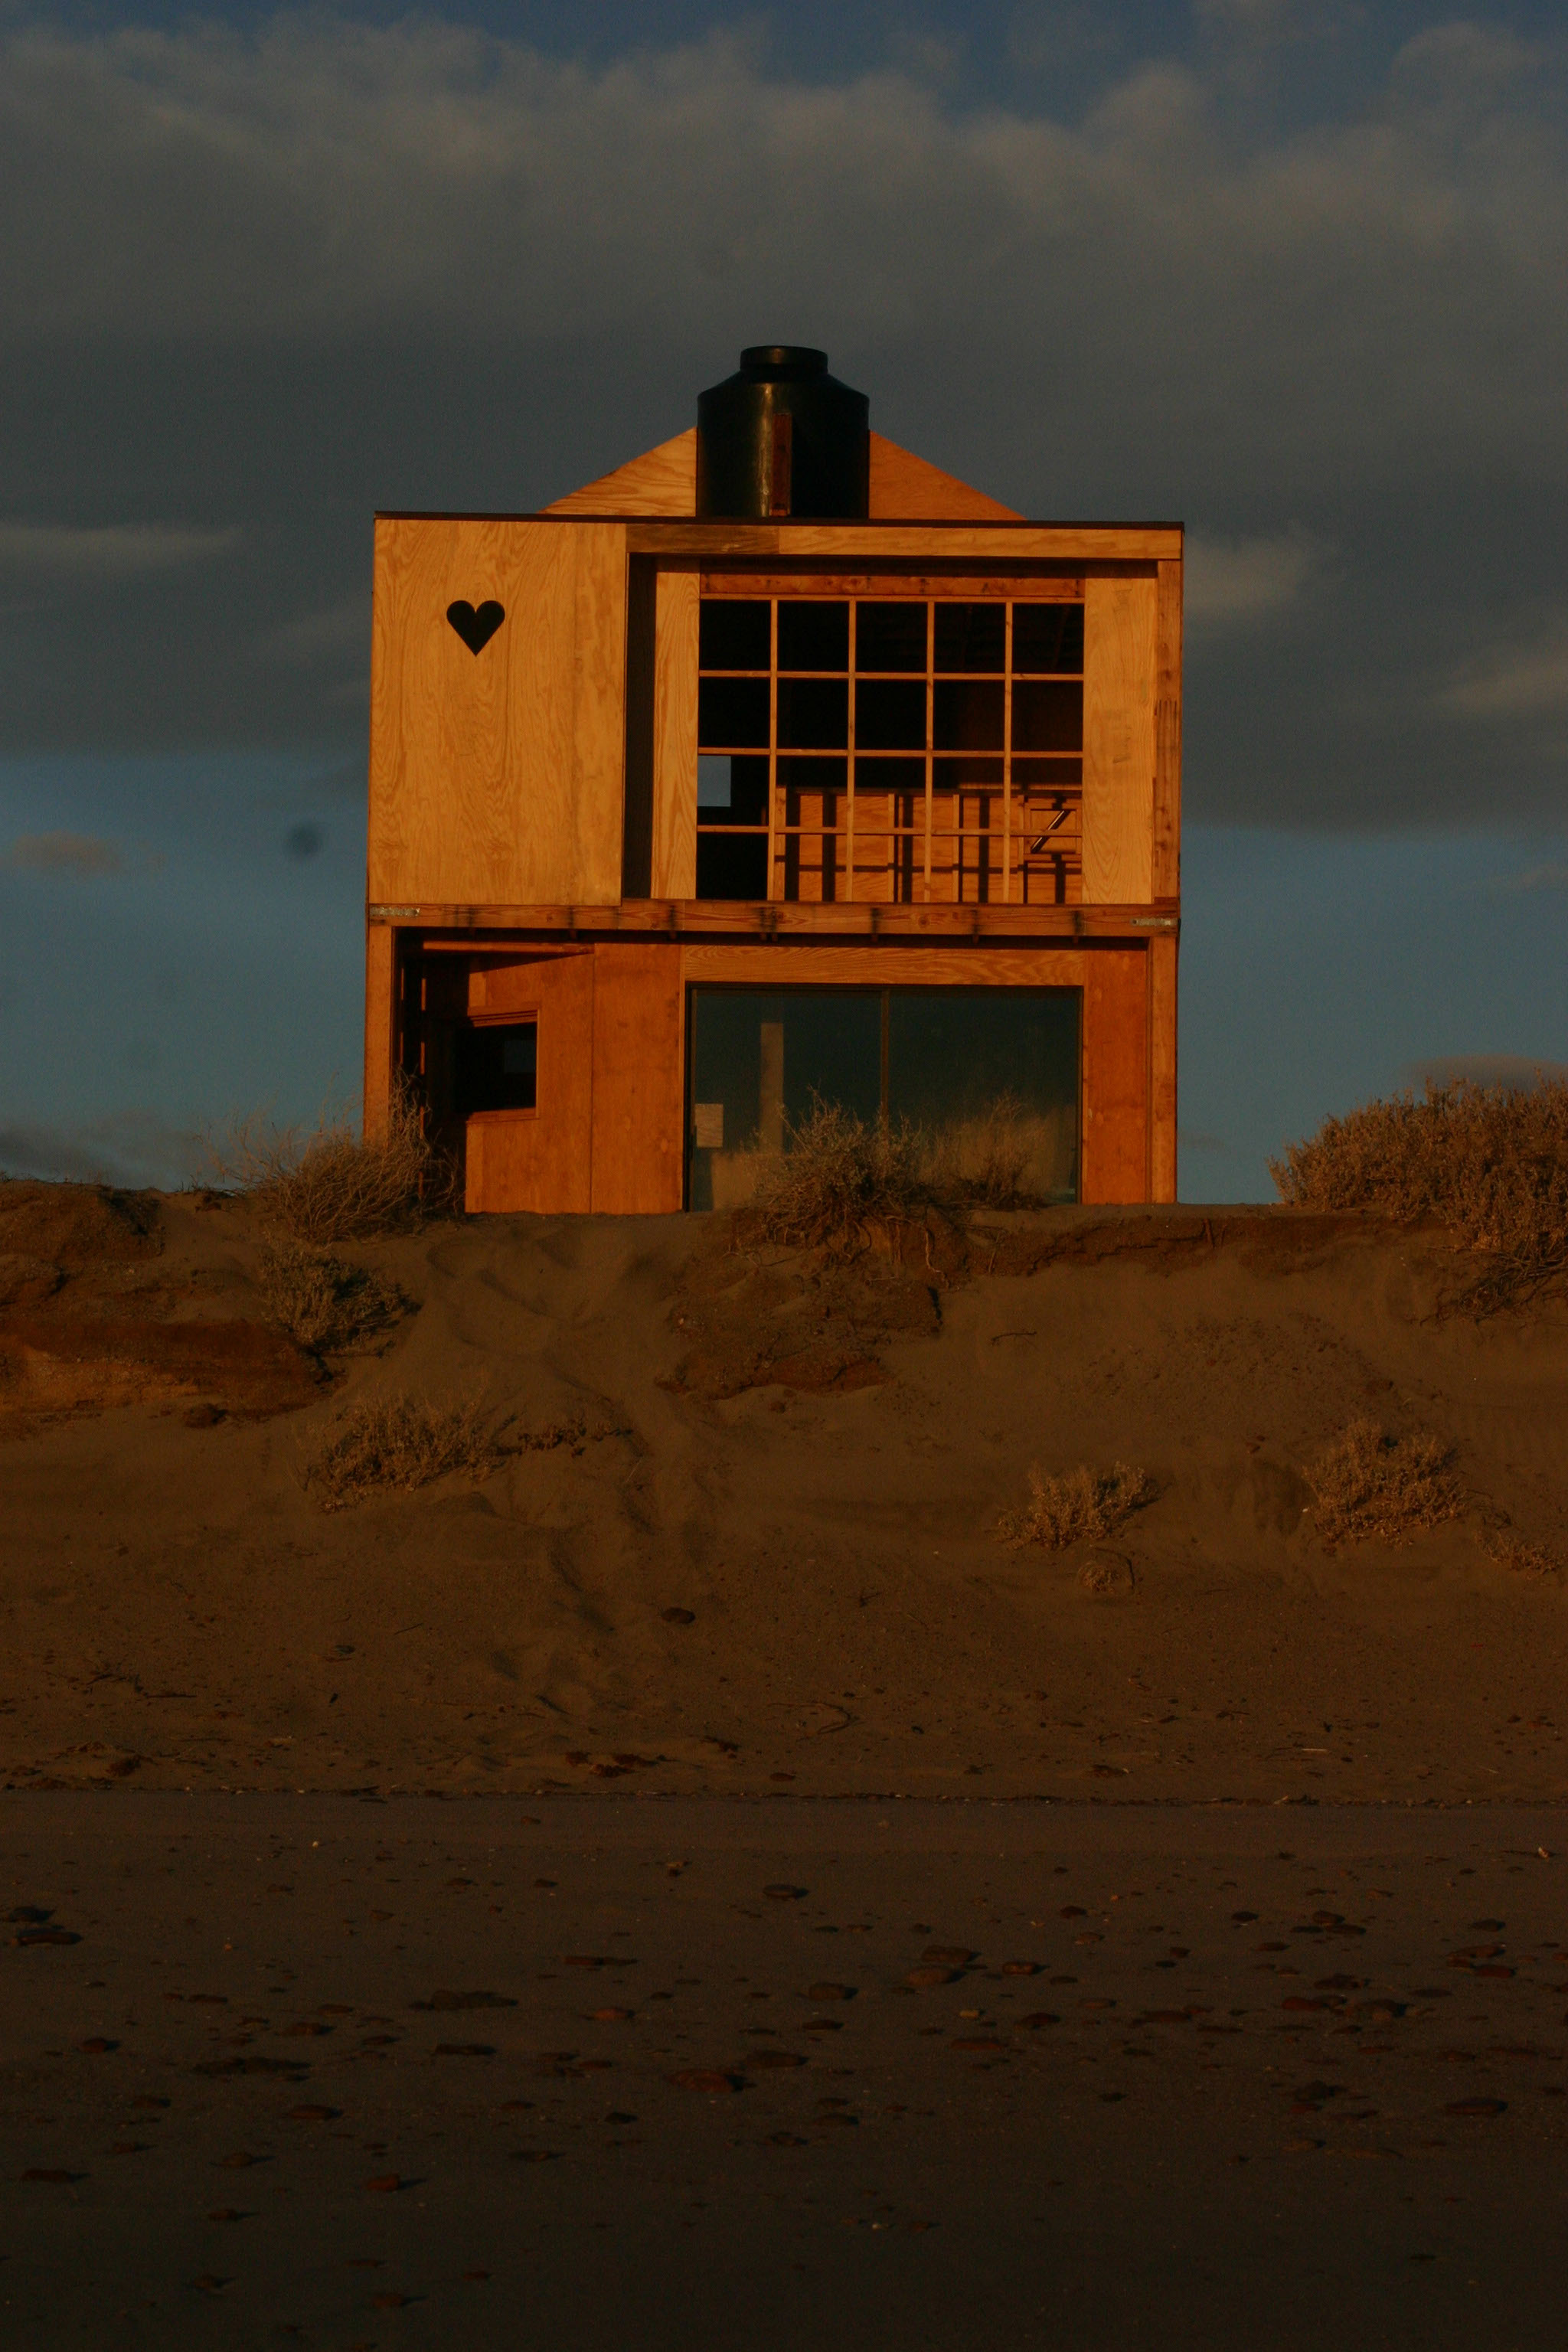
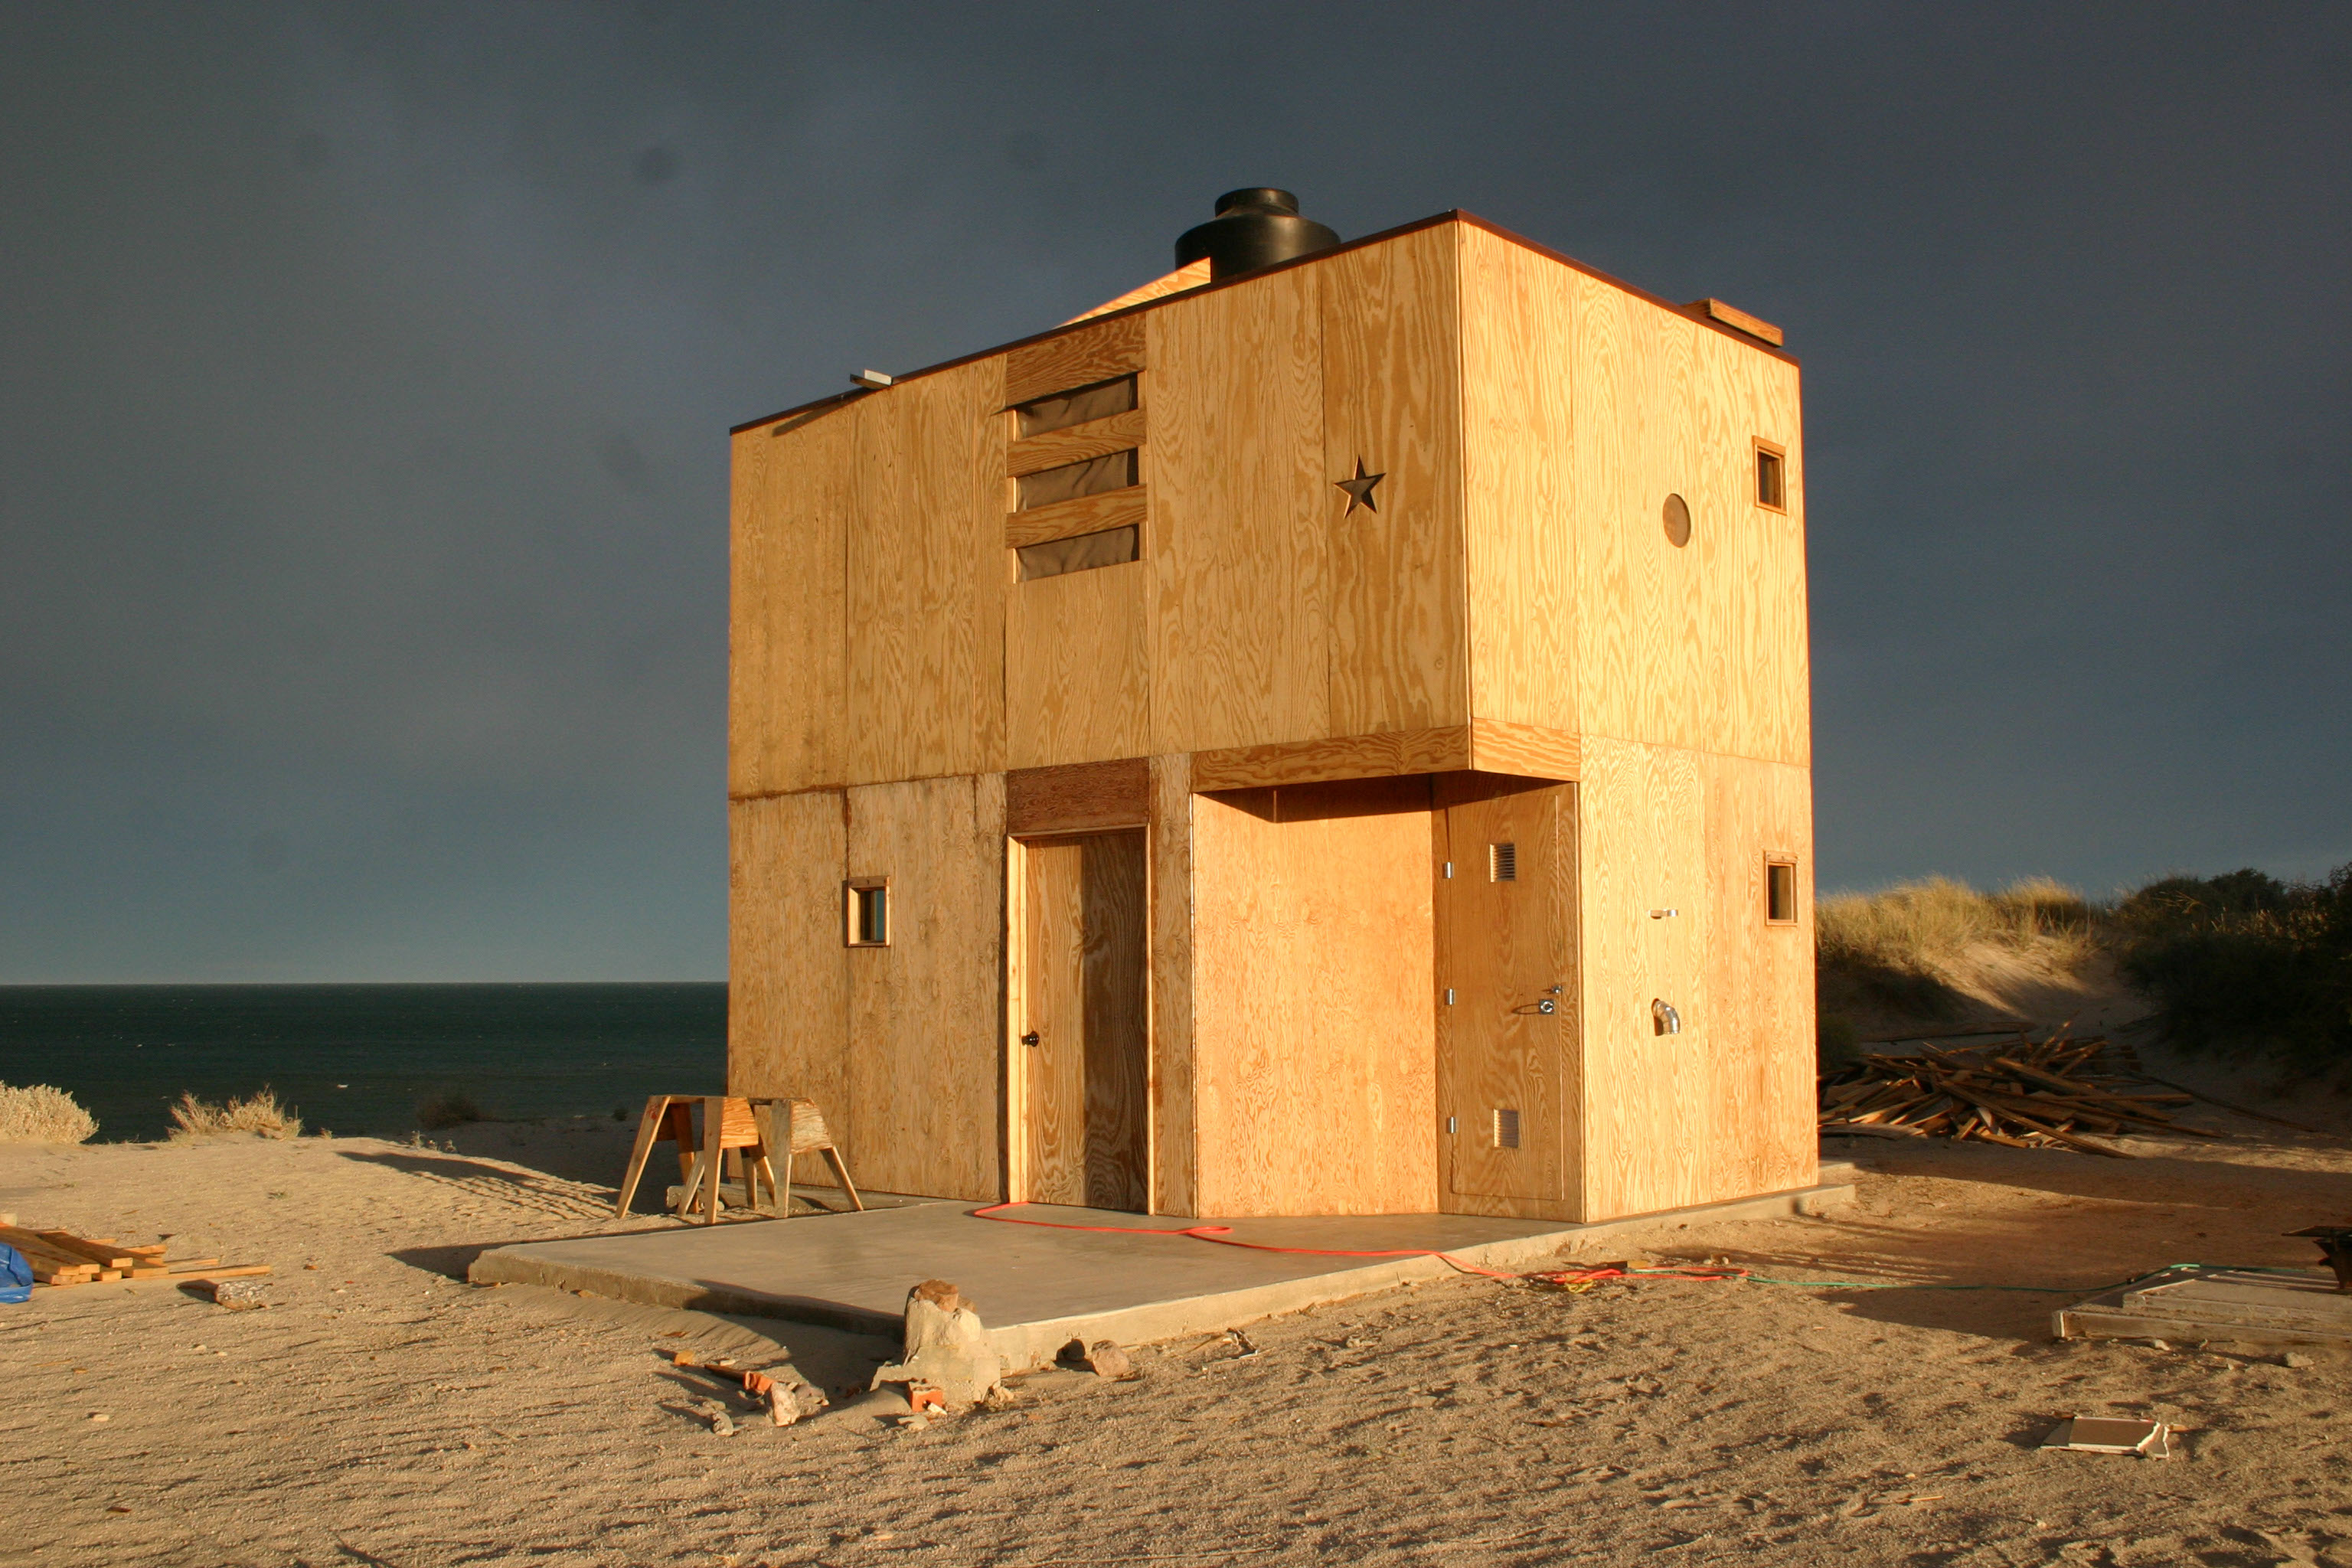
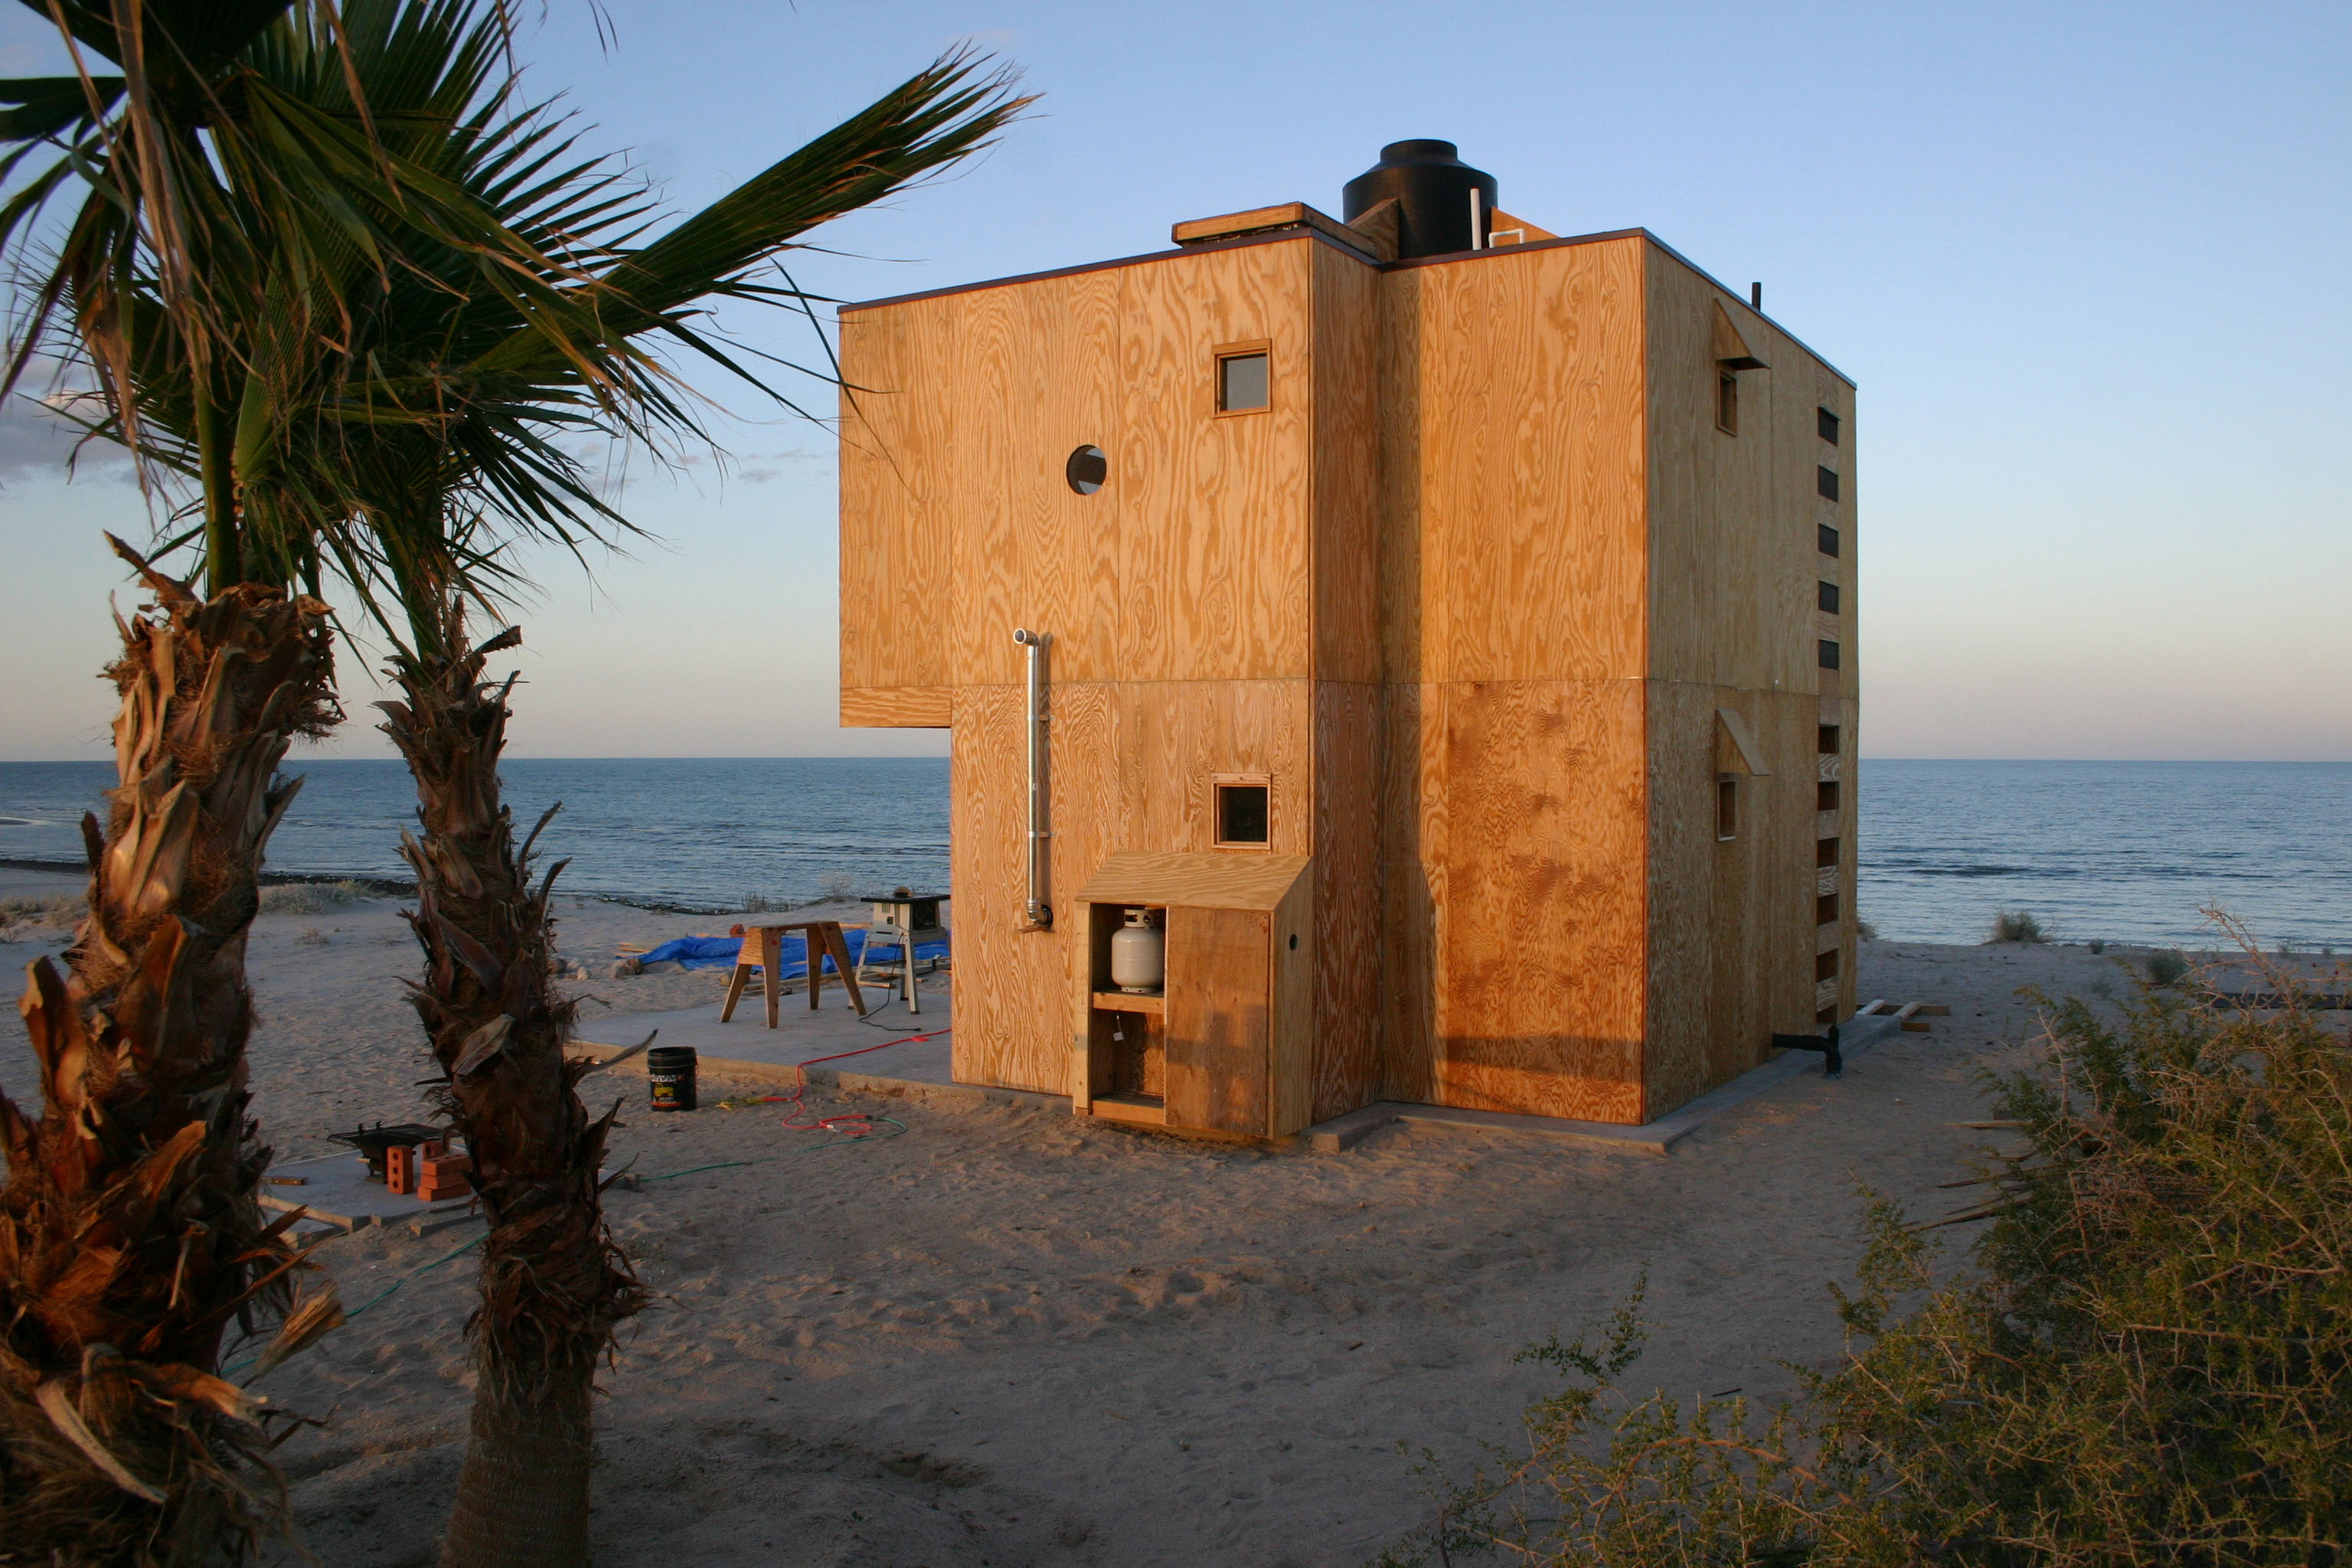
The Cube exterior as it nears completion is, perhaps, an example of "starkitechture"
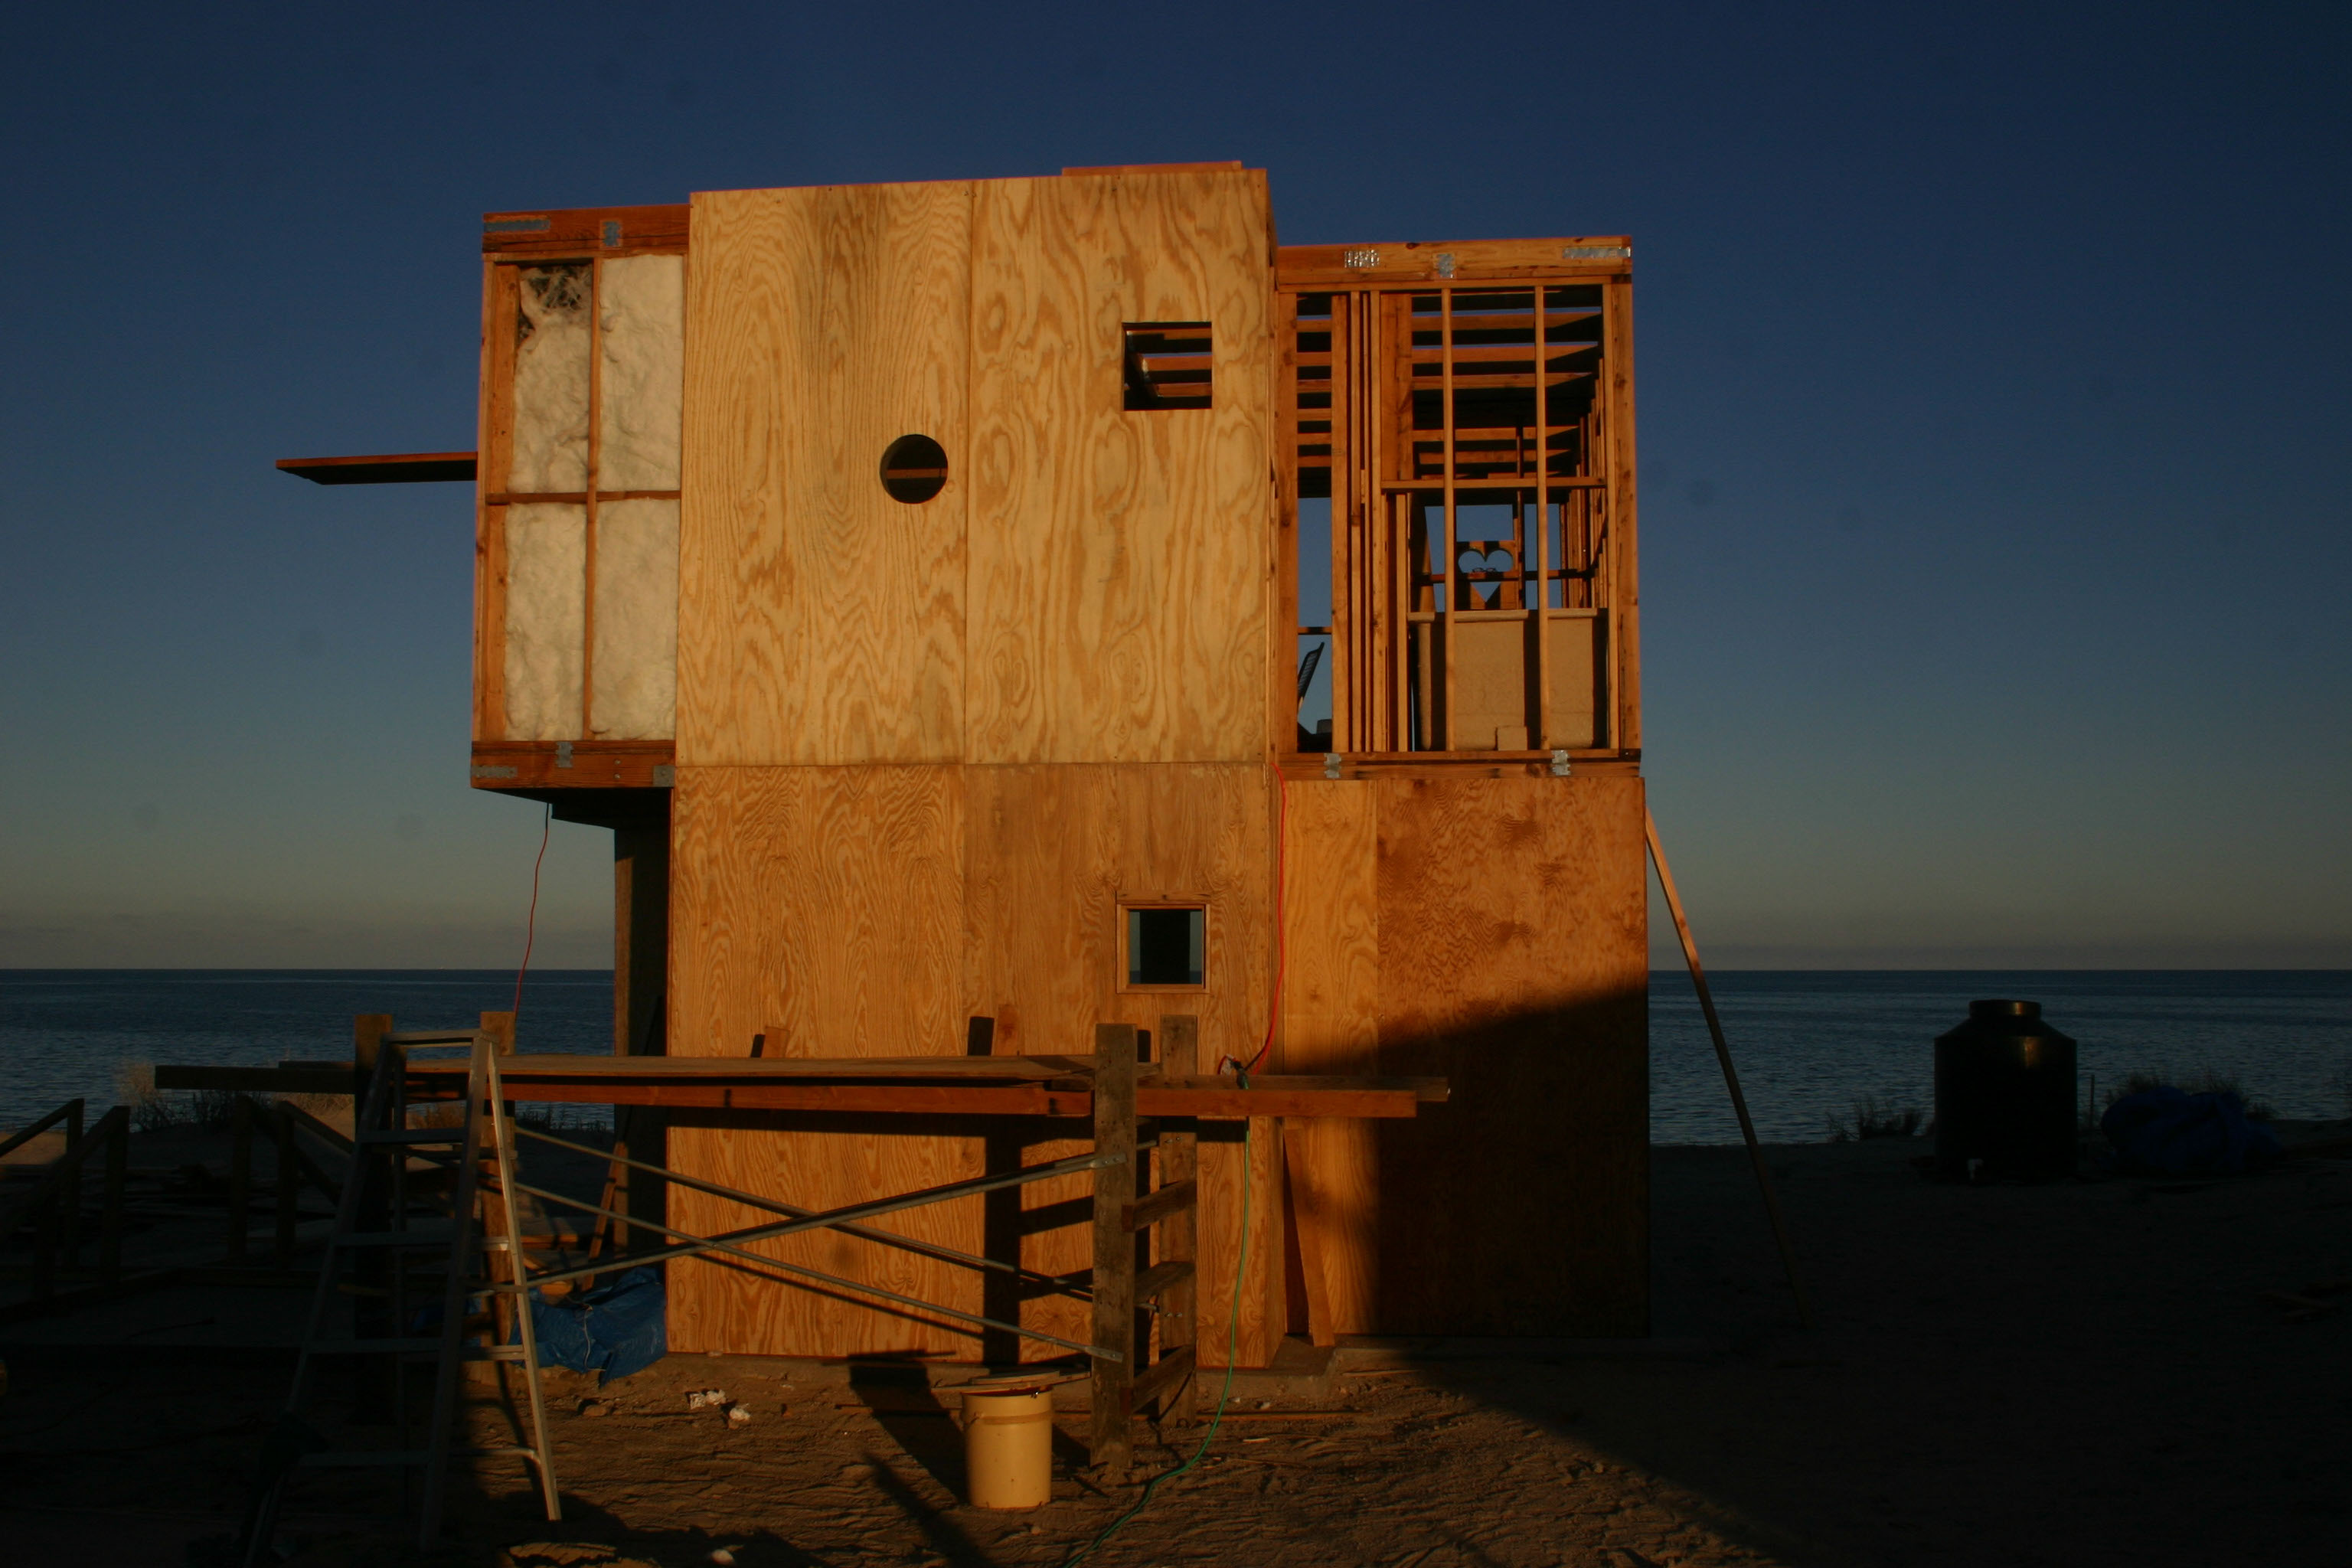
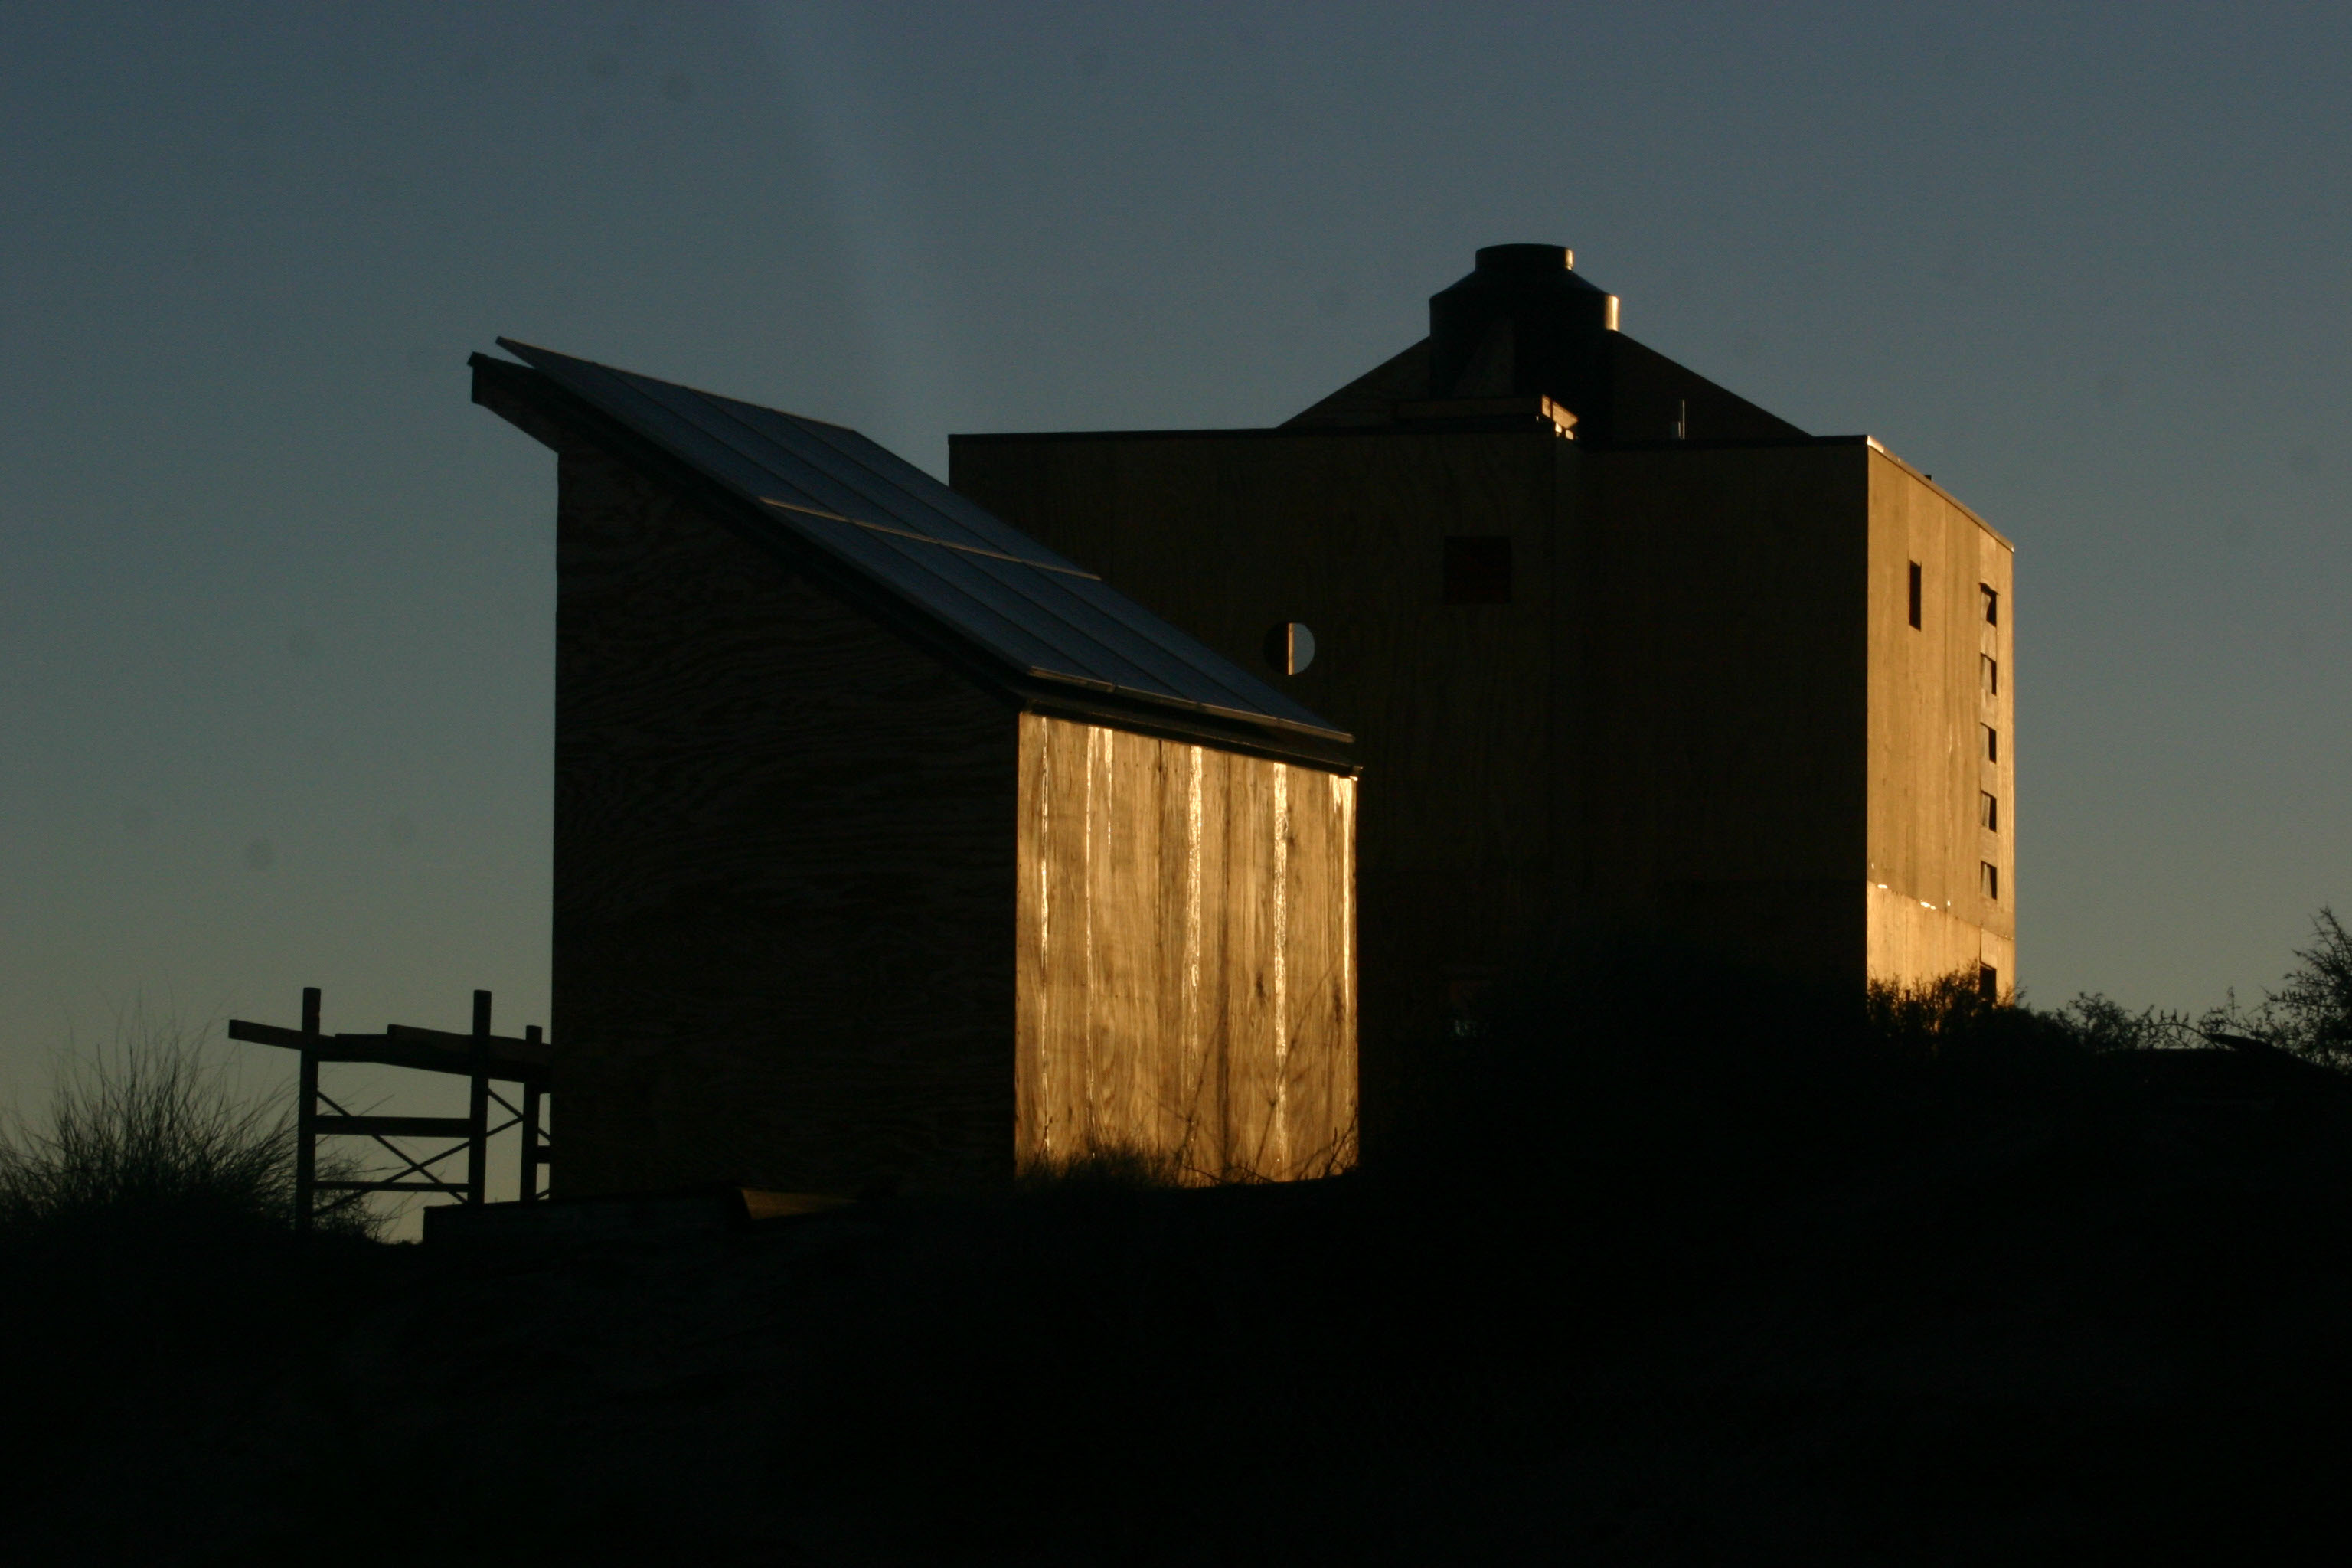
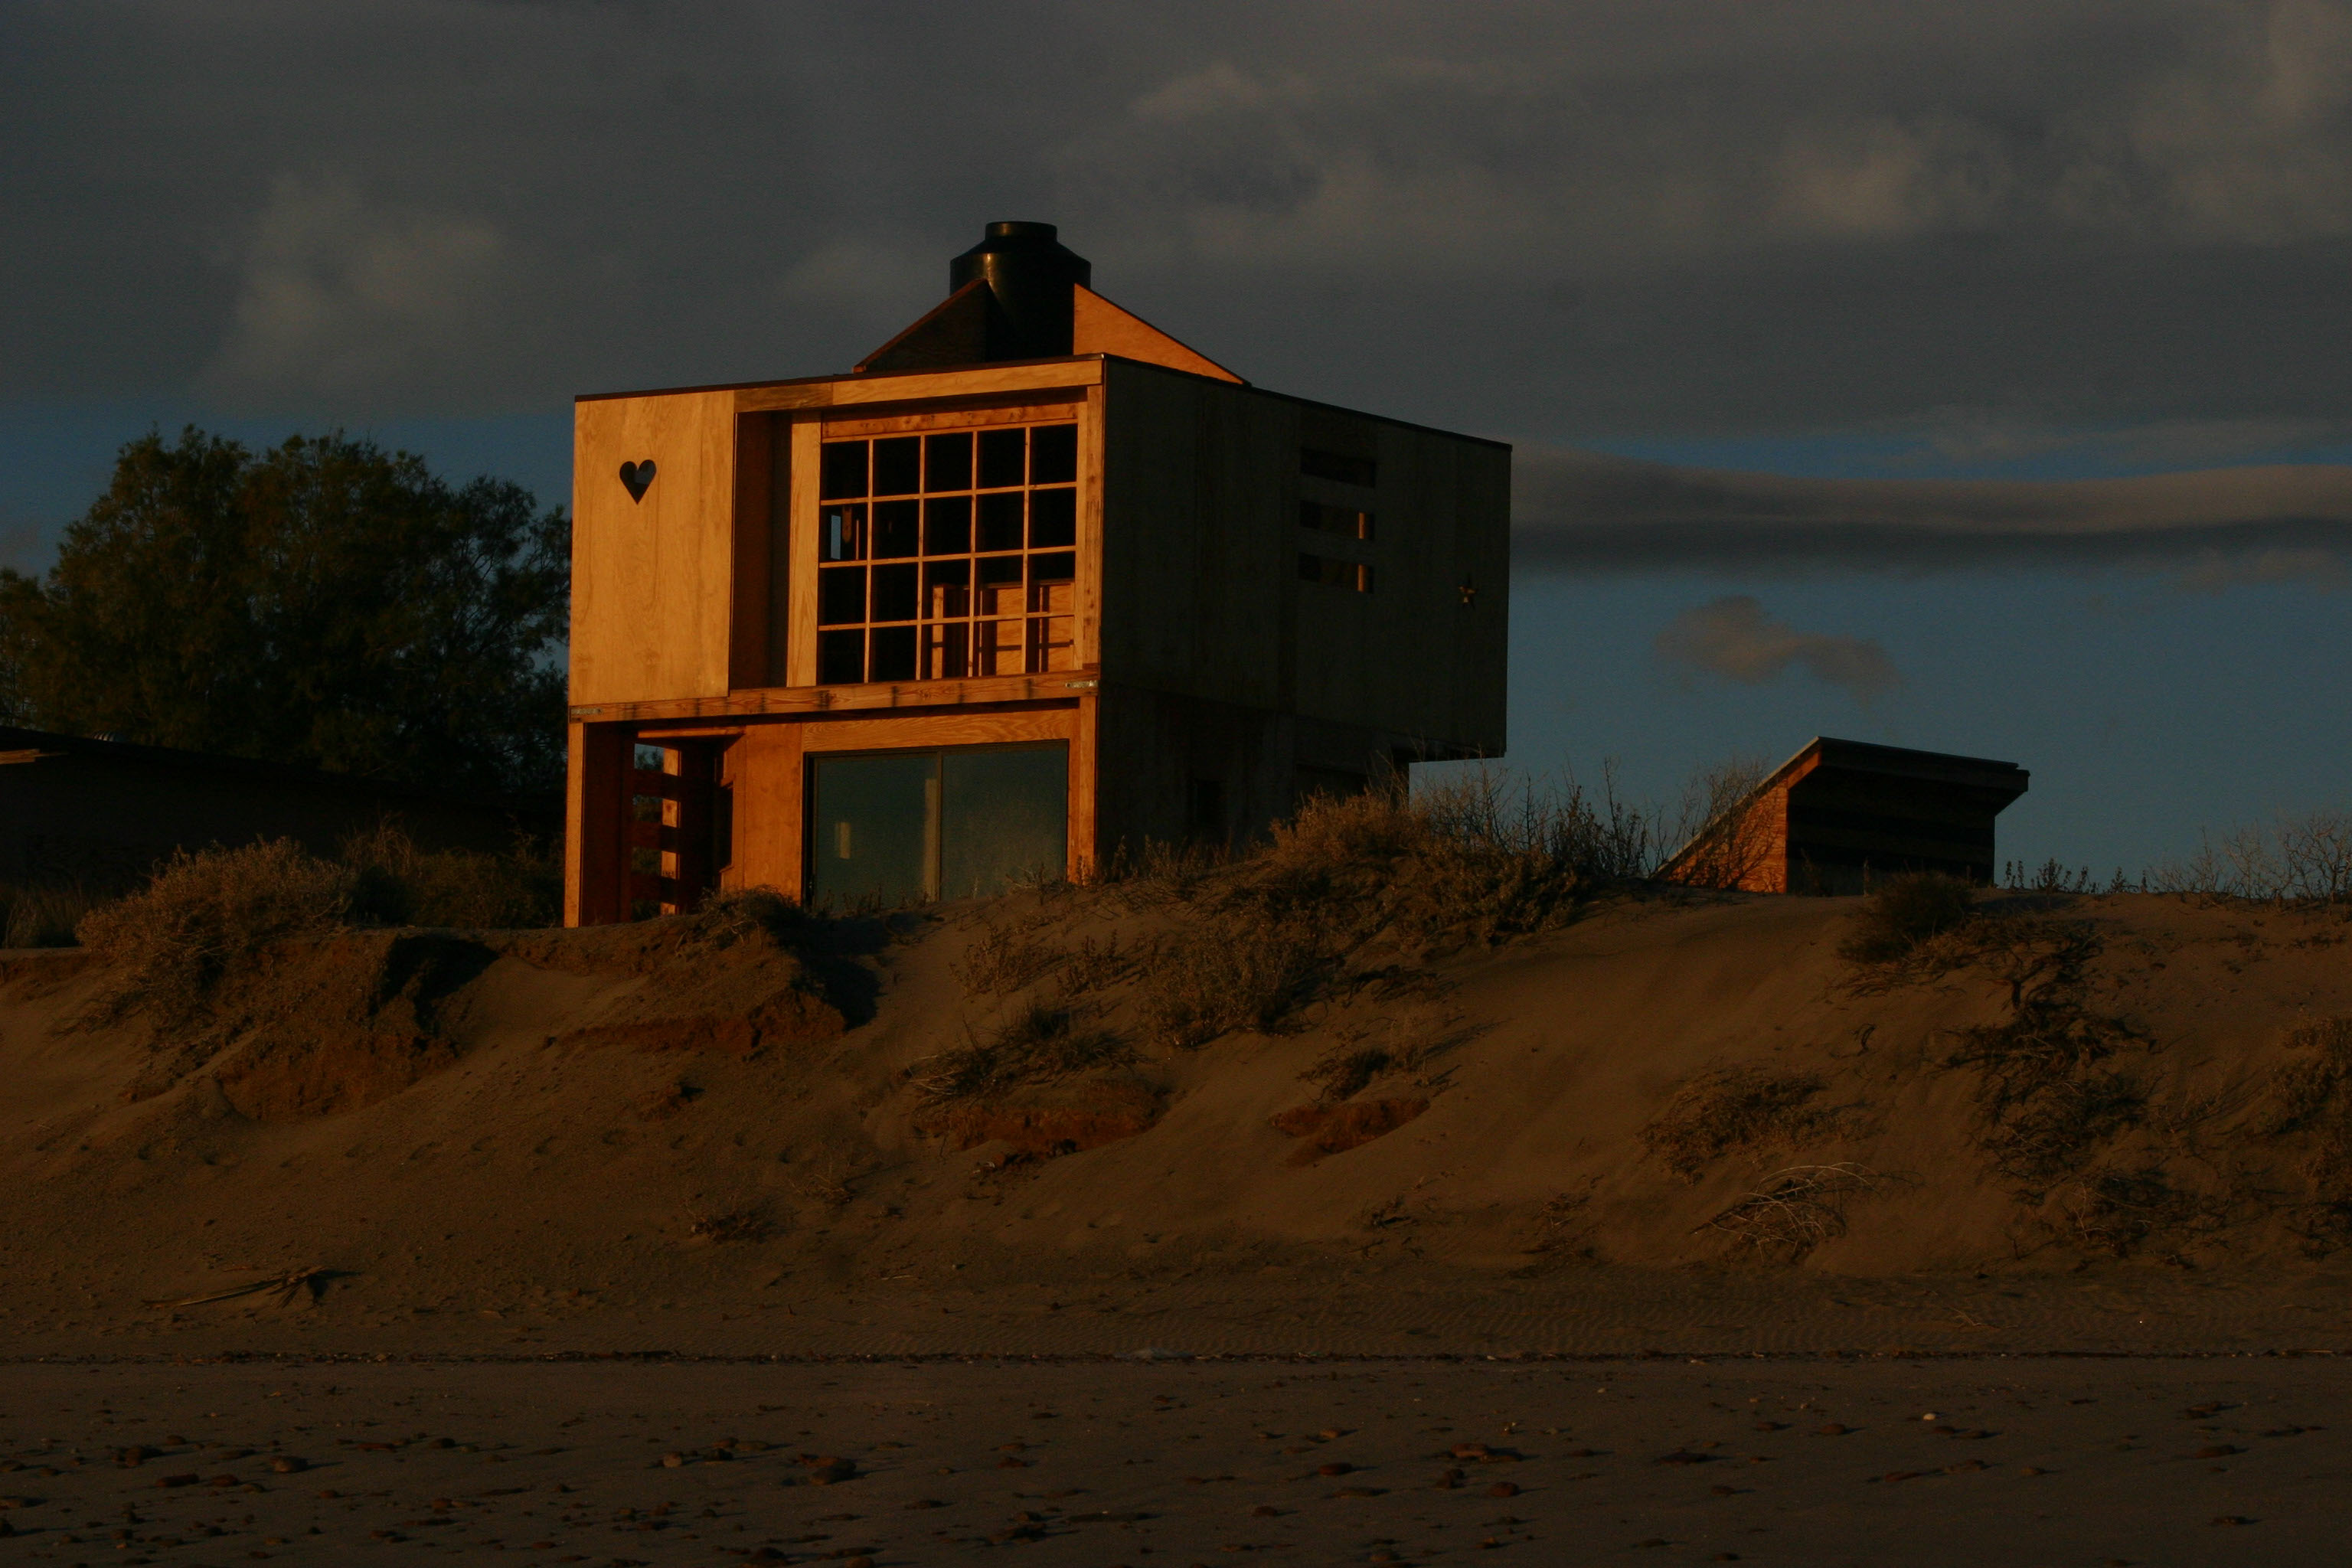
Dawn light illuminates the plywood walls
Viewed from the beach, the afternoon sun casts diagonal shadows from the slats by the kitchen window
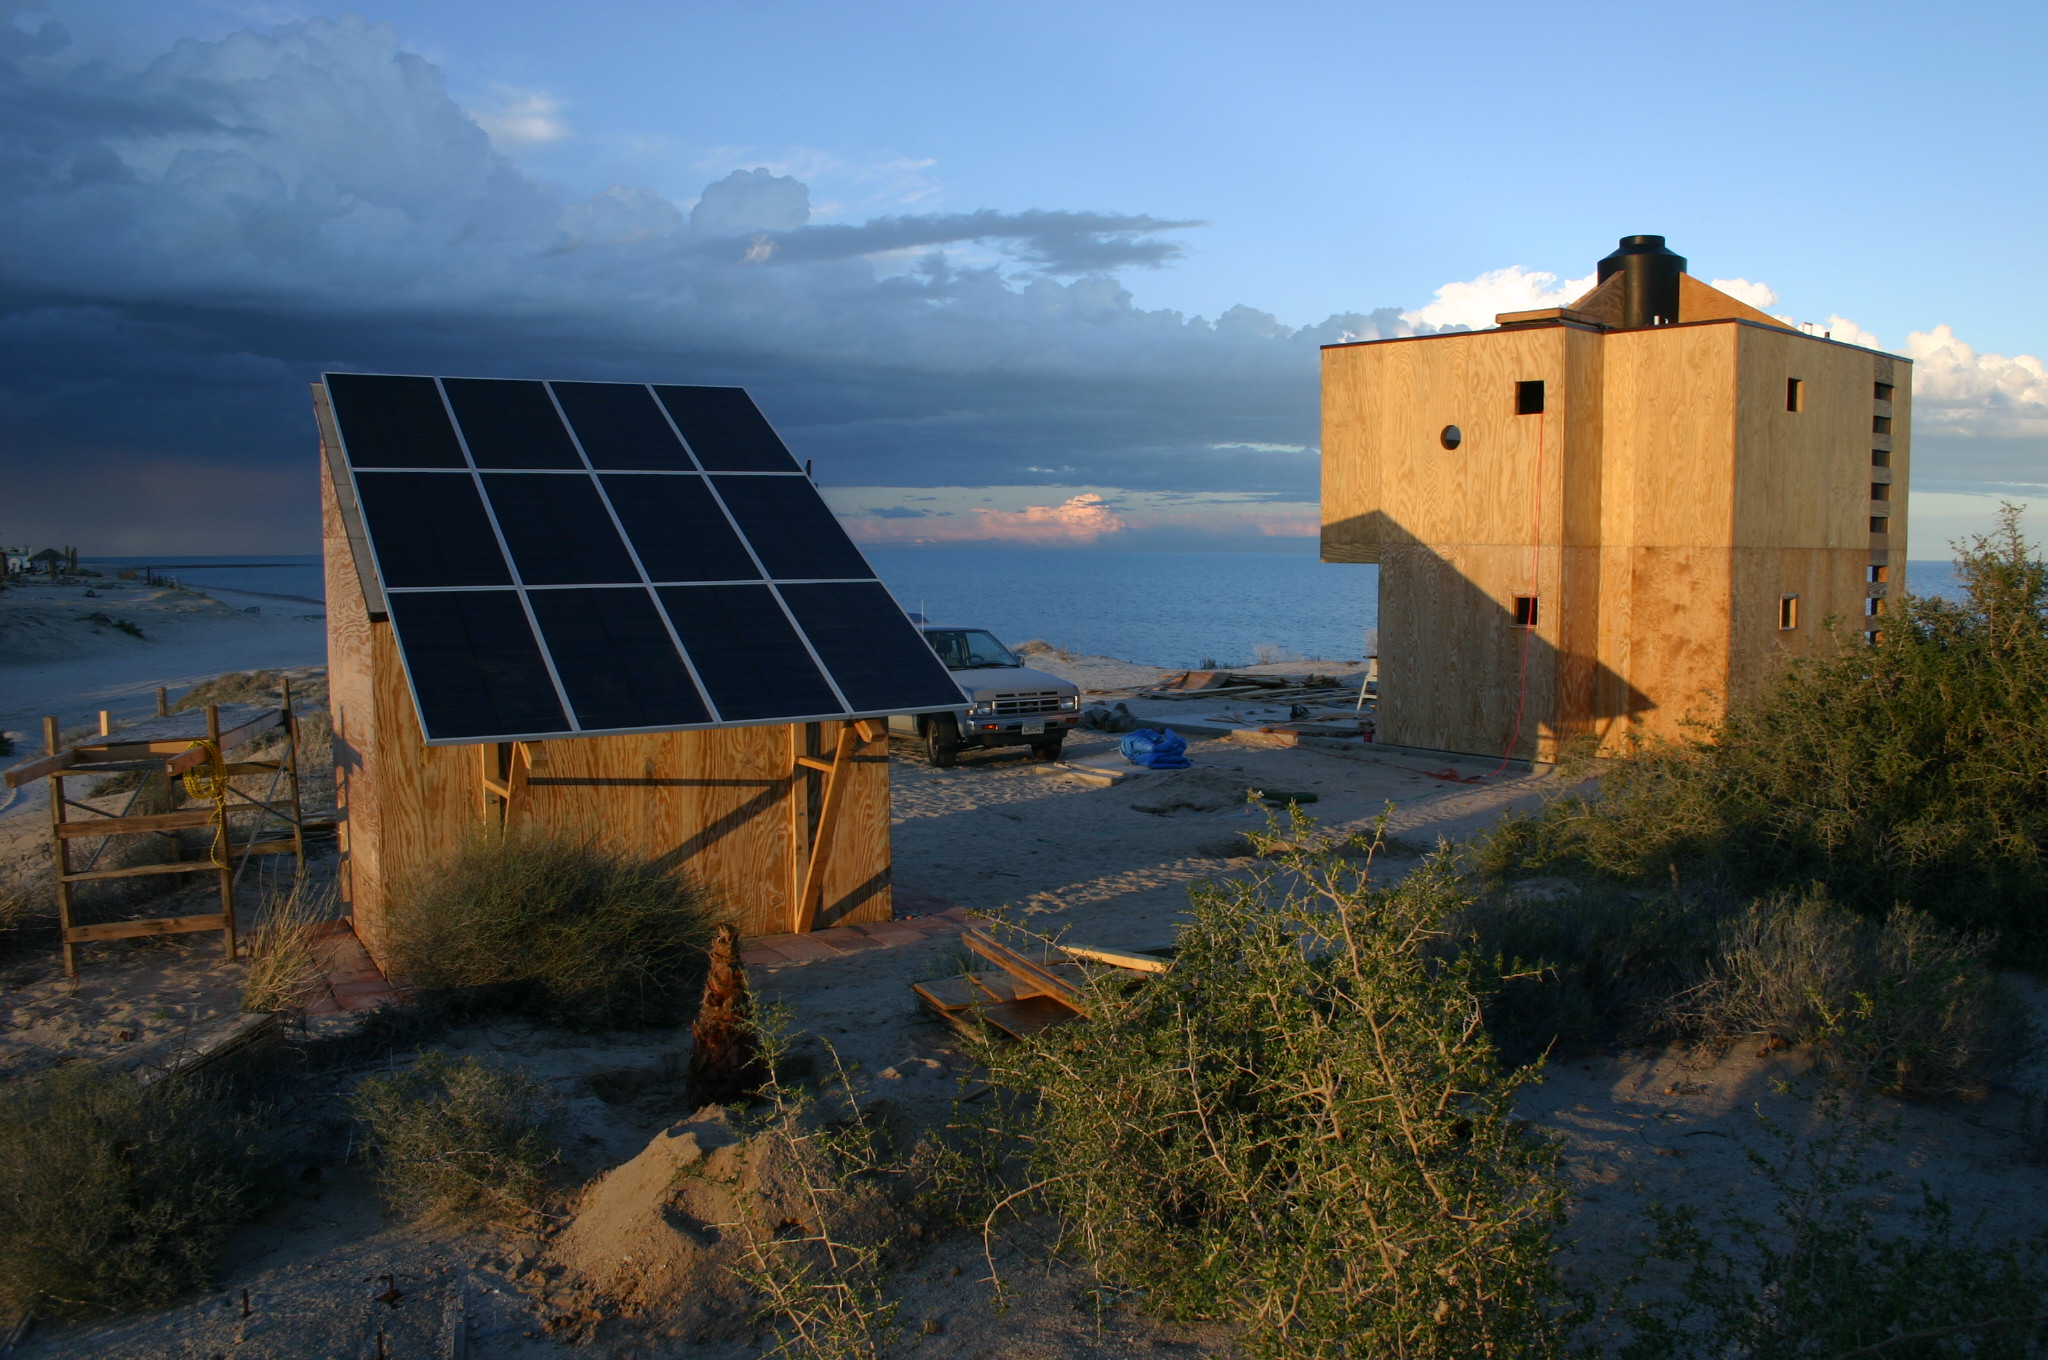
Even before the Cube was occupied it was obvious that eight solar panels would be insufficient, so four more were added on trusses
North side viewed from the beach at dawn
East side viewed from the beach at dawn
South side viewed from the beach at dawn
Filling the roof tank for the first time. It leaked
Reaching the Cube from the road before the concrete ramp was made was a risky undertaking
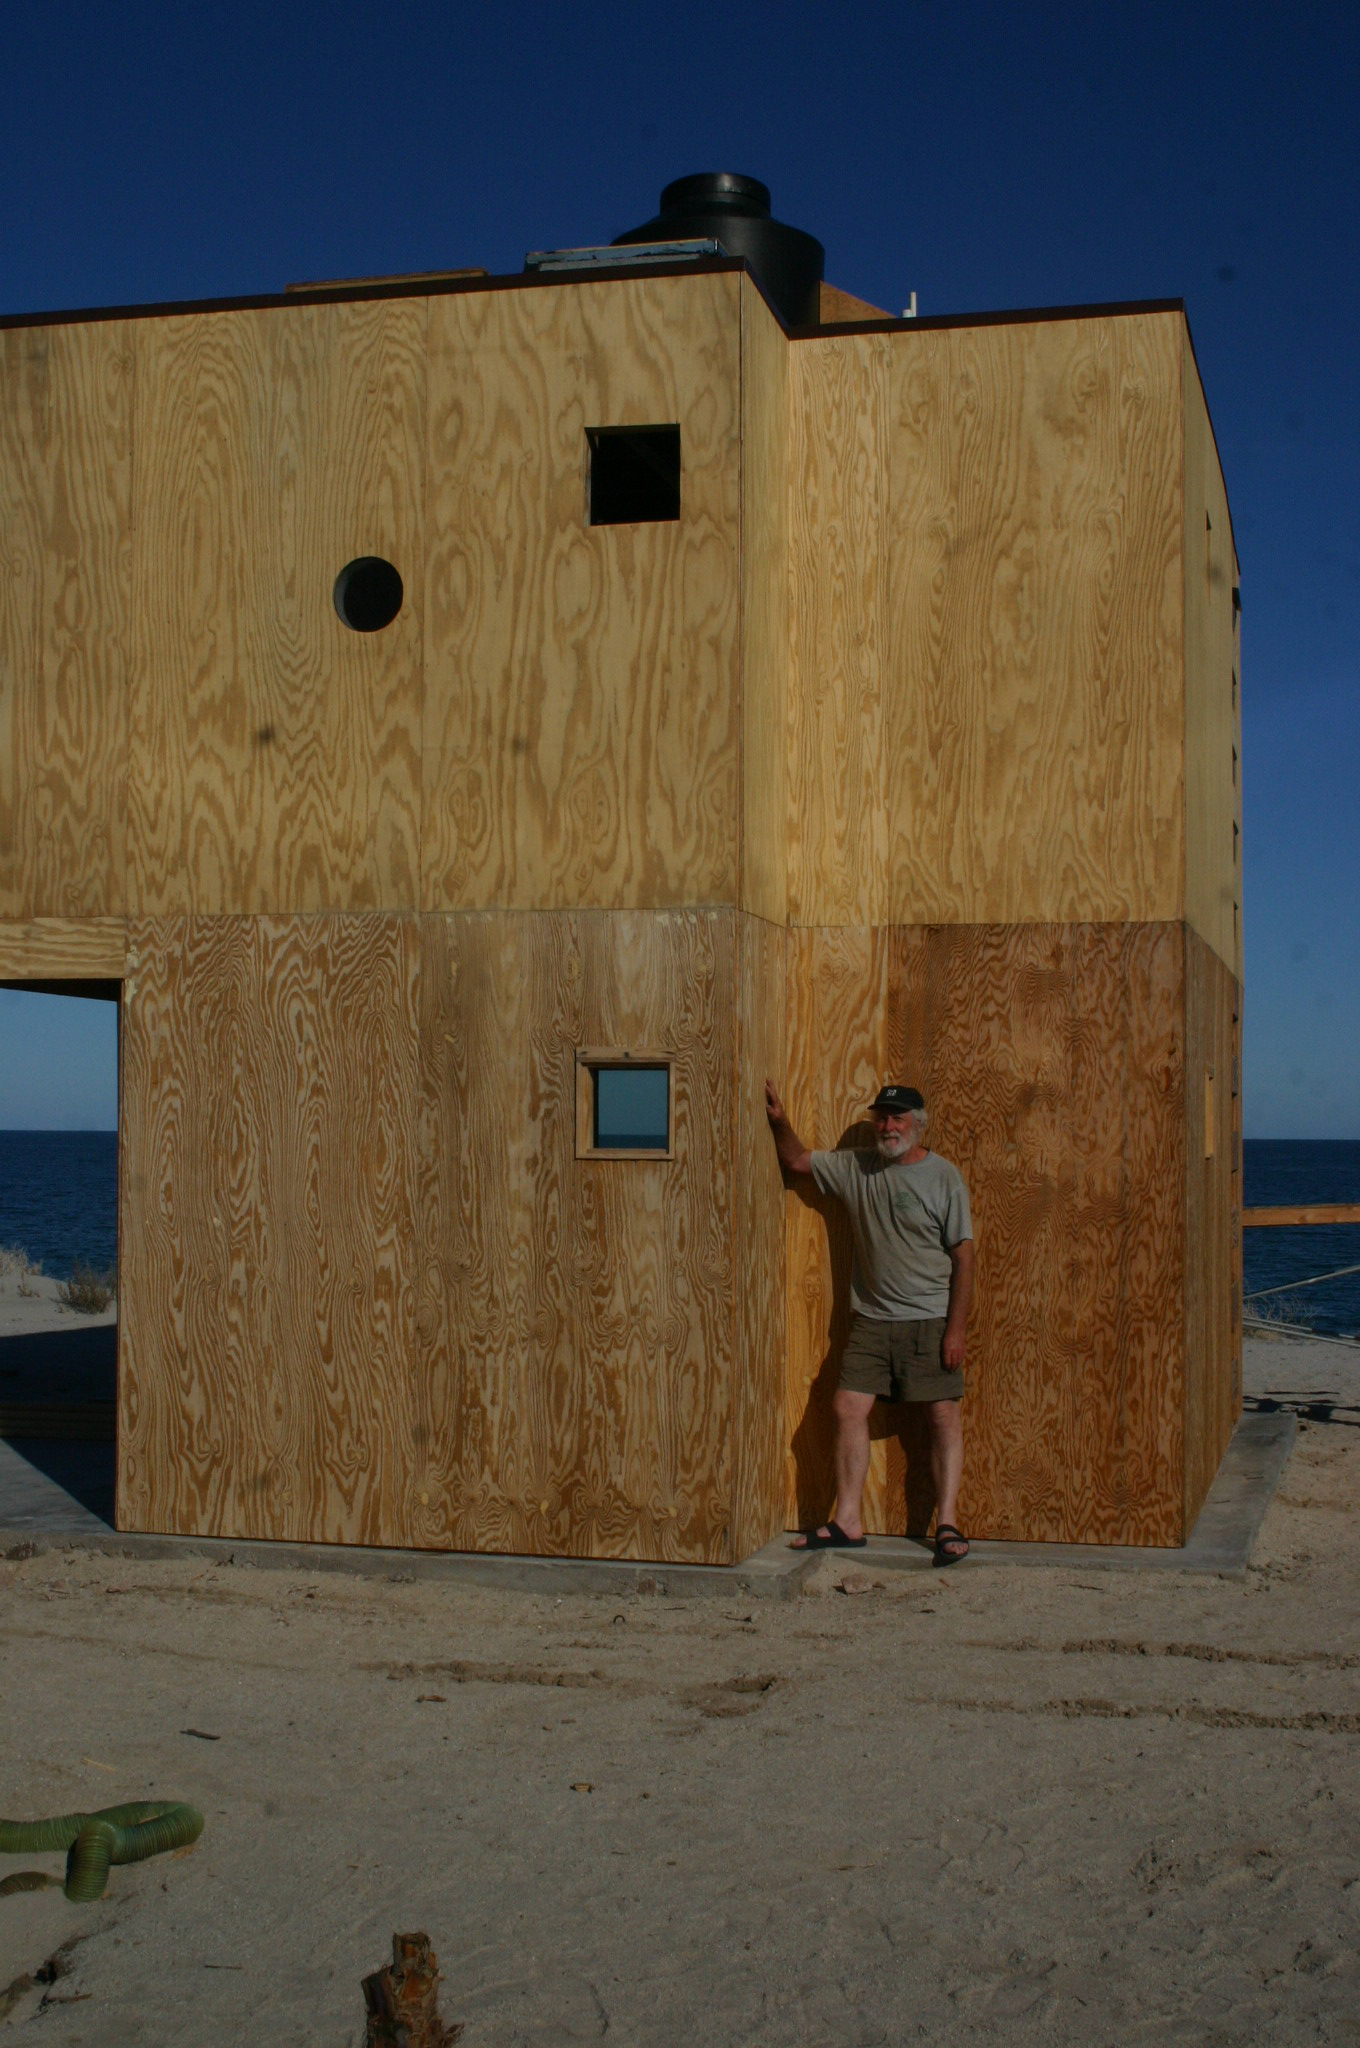
John shows how small the house really is
The Cube now has all its glass in place
Plywood "eyelids" protect vents cut in the wall above the fixed glass square windows, should it ever rain
Viewed in the late afternoon light, the upper windows now have glass or insect screen. The heavy front door is made from two plywood panels screwed to a frame of studs
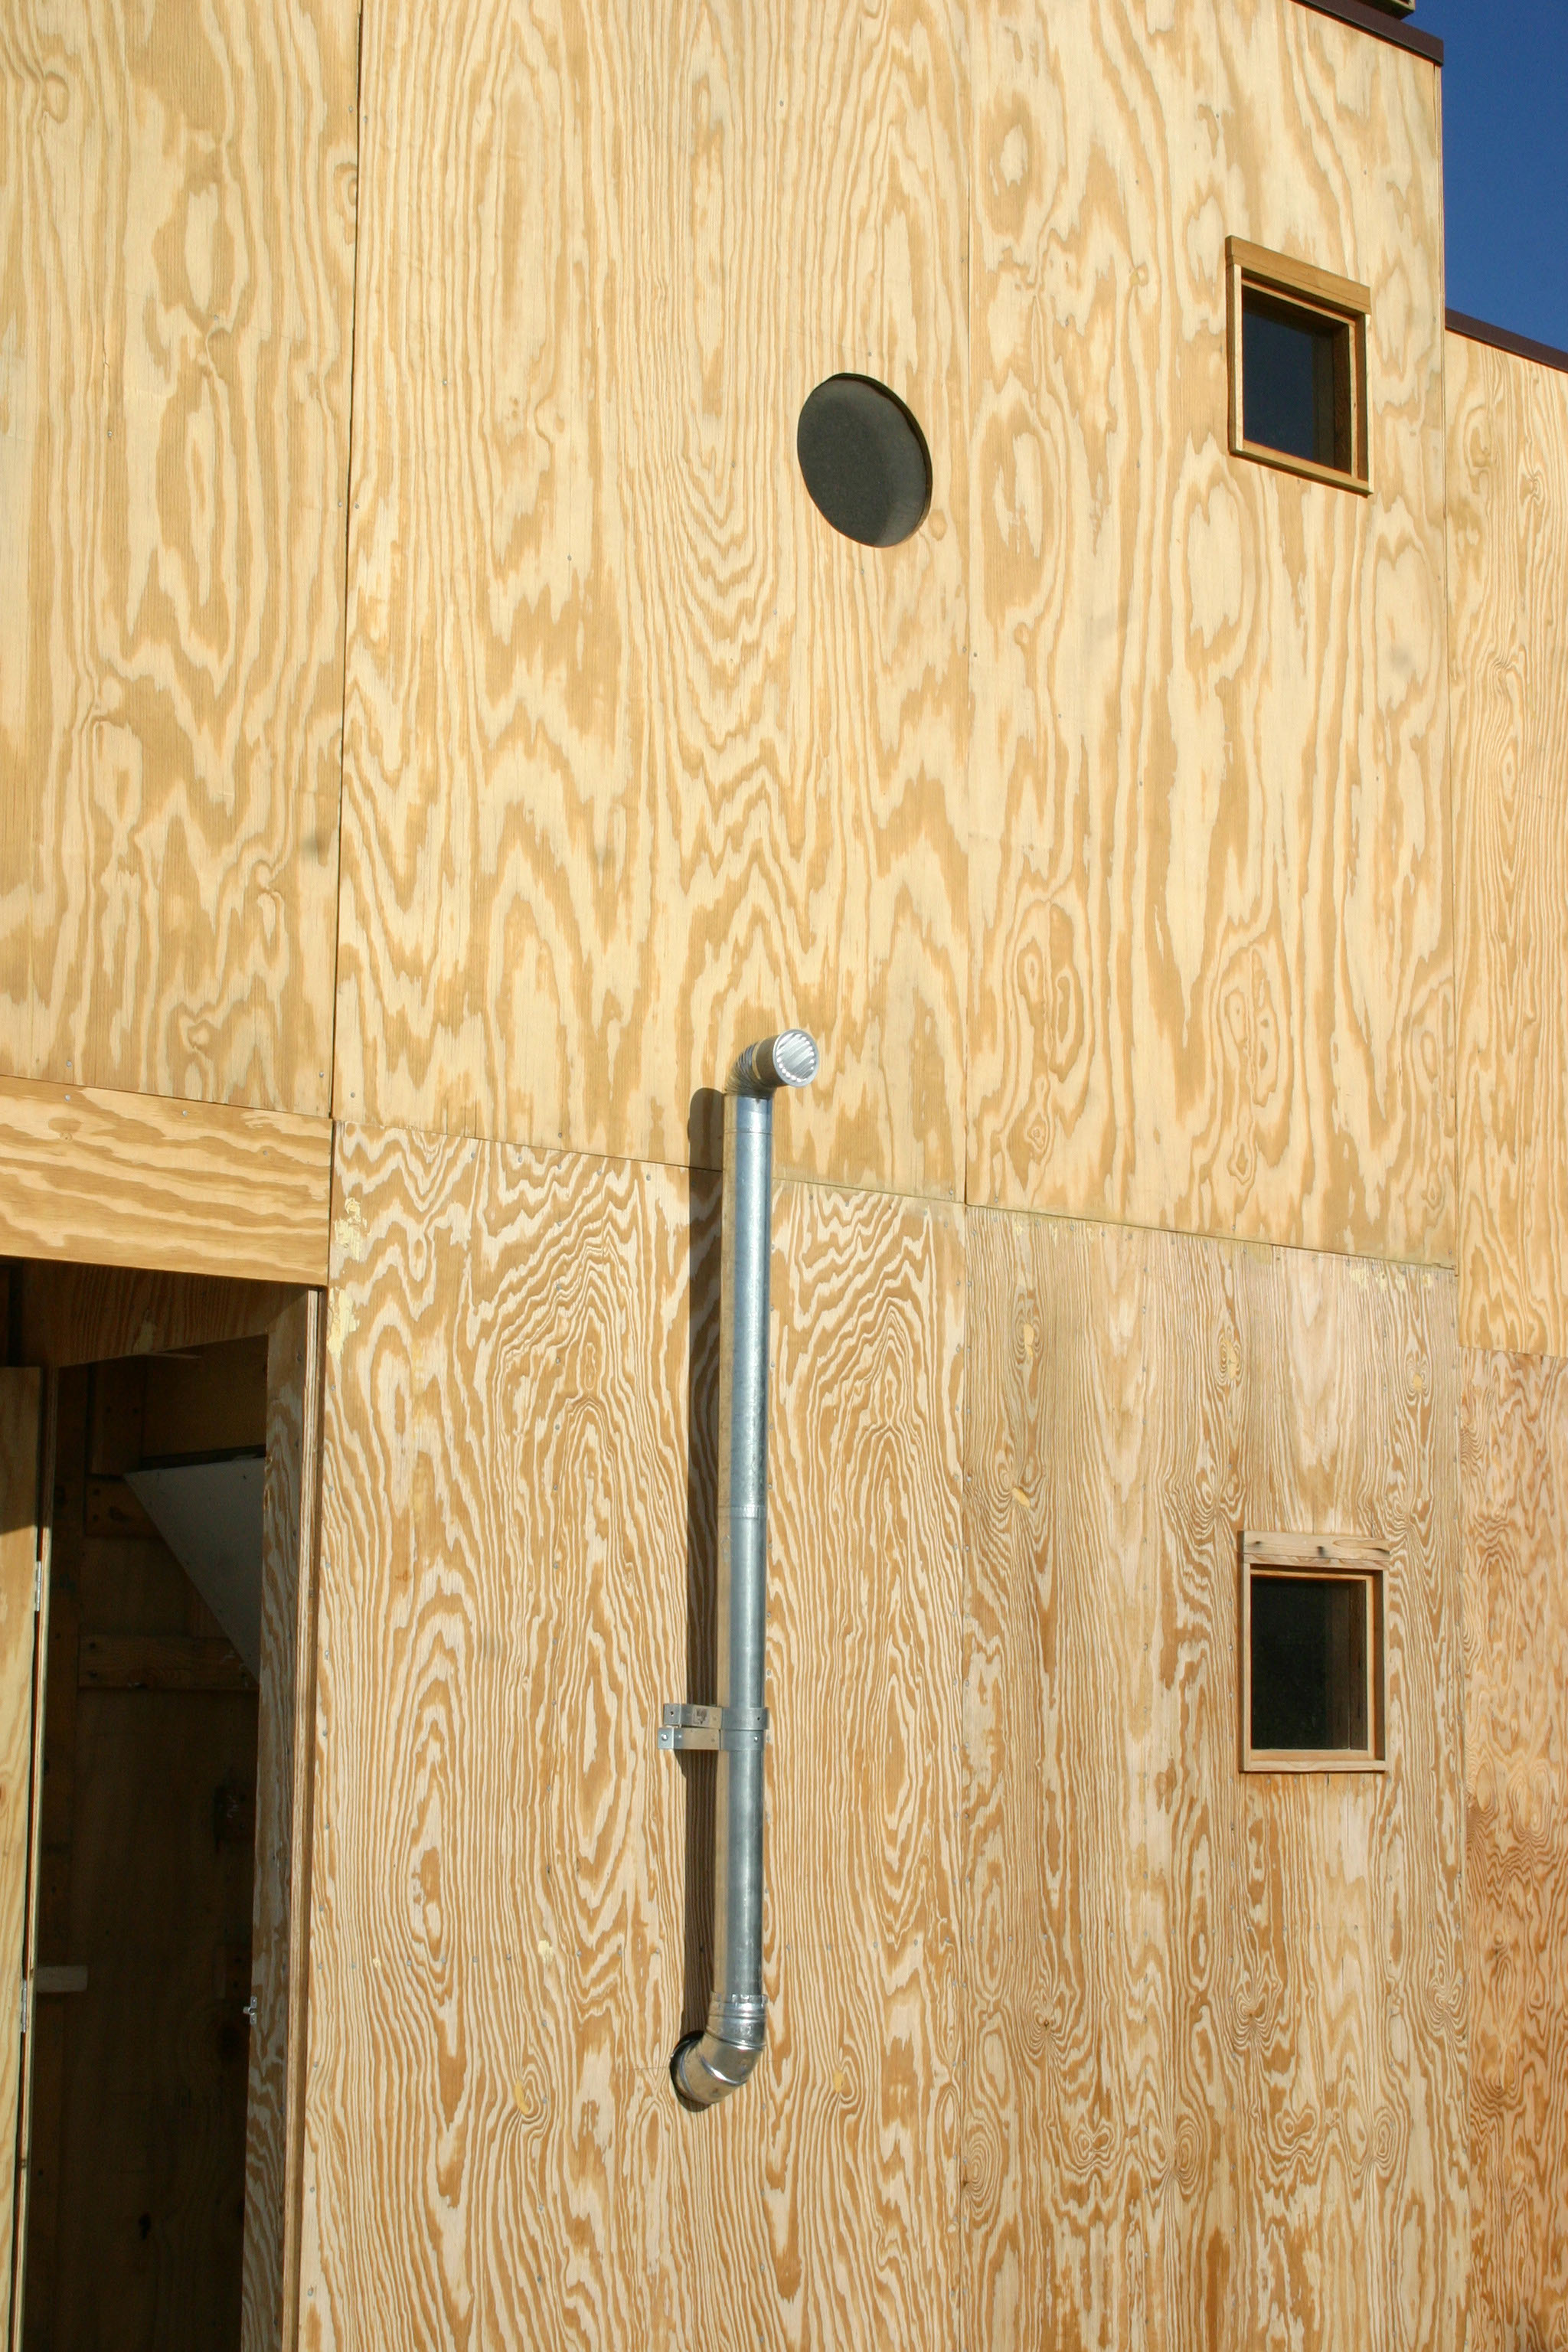
Adding a flue from the hot water heater. Ultimately this was to be extended to twice its length
The light tone of the plywood walls will darken considerably as the wood is baked by the intense sunlight and picked by the salt sea air
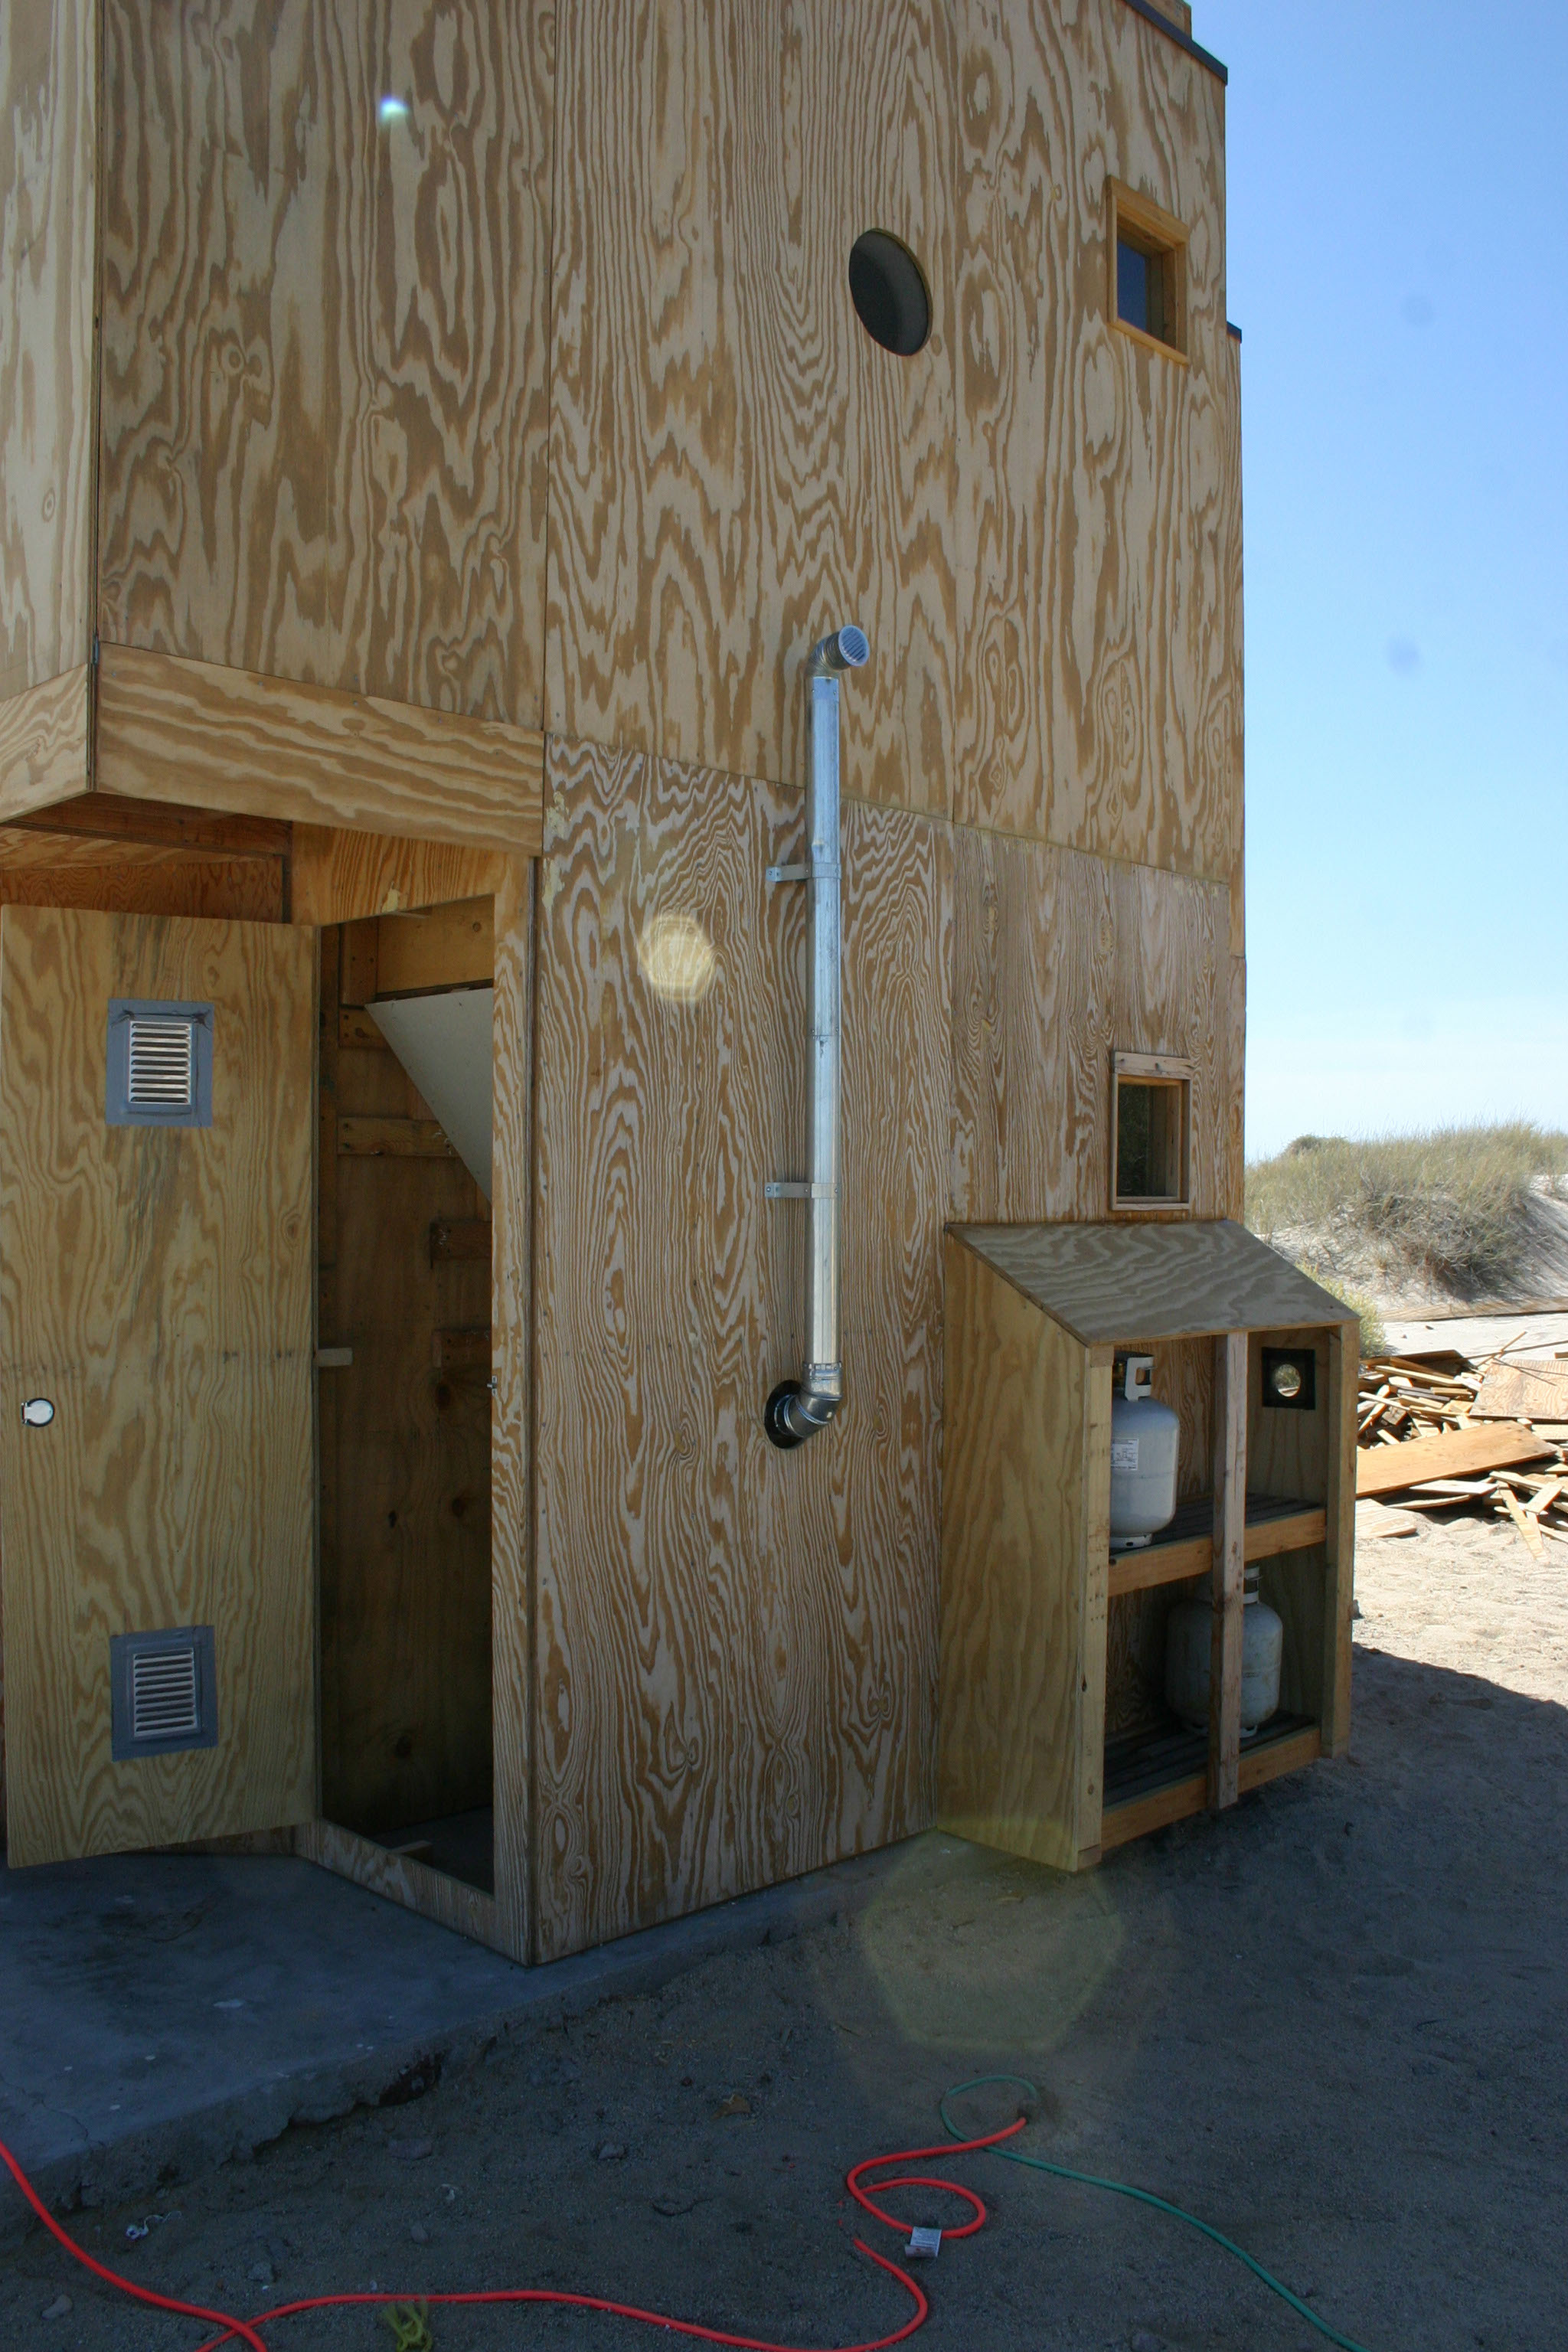
Adding a hutch to house the propane supple for the gas stove and the water heater
A screen door with slats is added to the front door. This would ultimately prove impractical
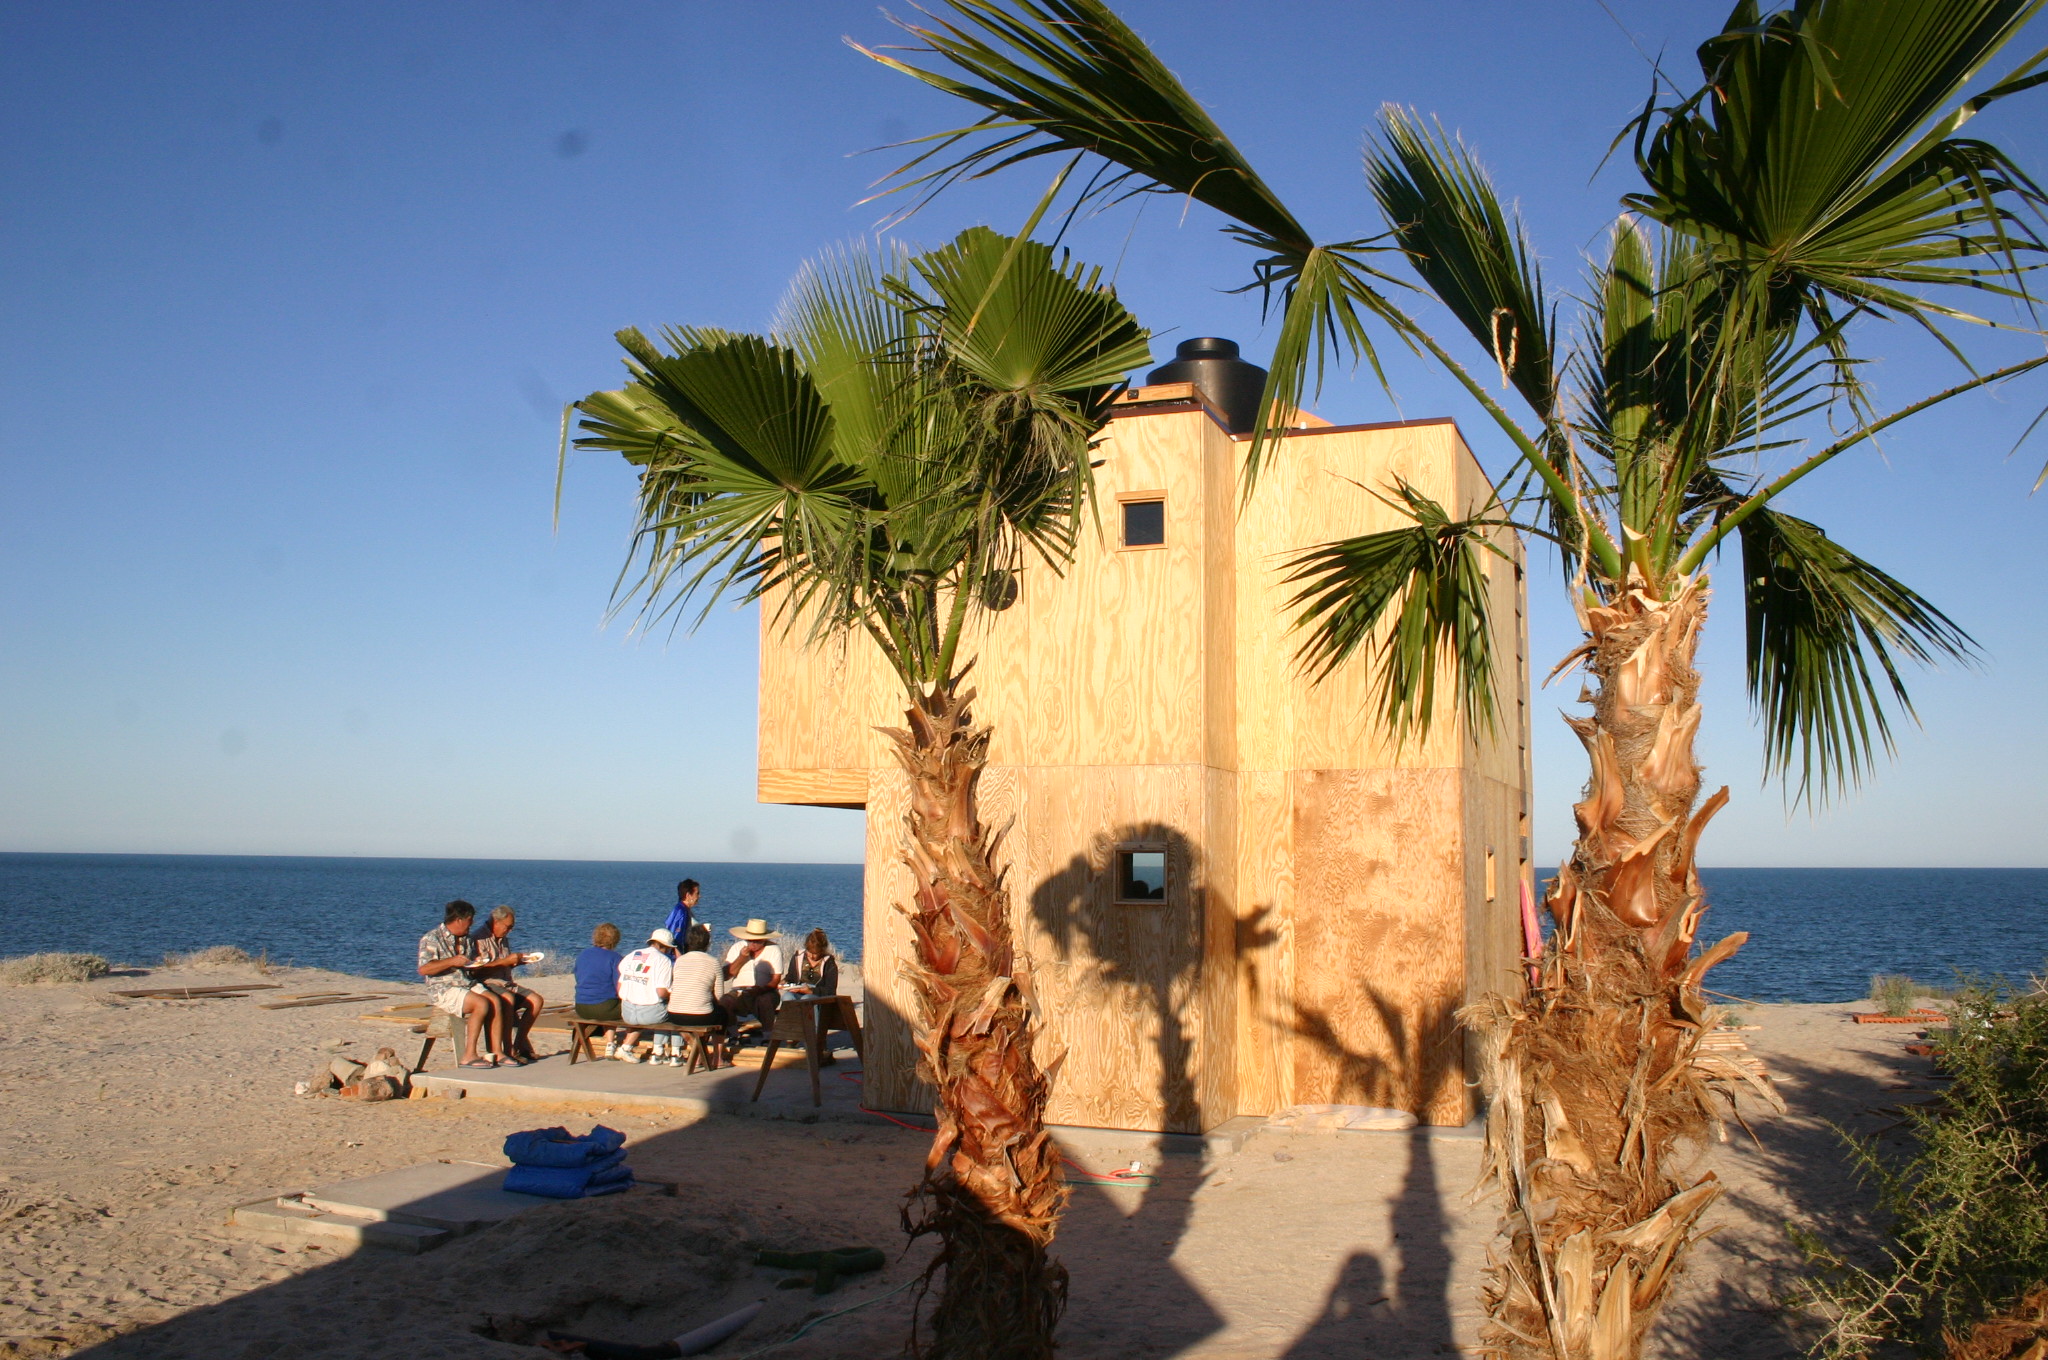
The handsome palm trees in the foreground sadly did not survive without constant watering
Residents and guests celebrate opening day for the Cube
<
>
38 - 84